Start, continue, or fork a session
To begin working on a task, you need to start an agent session and give the agent your prompt and the required context. JetBrains Air in IDEs launches the agents using presets – configurations that determine which agent to start, and what model, effort, and access level to use. JetBrains Air in IDEs creates a preset automatically for every supported agent that it detects on your machine or that you install, so an agent is ready to start a session as soon as it becomes available.
If you already have a session you want to continue, JetBrains Air in IDEs also allows you to resume such a session, keeping its previous messages and attached context. You can then send a new request in the same session.
To try another approach to the same task, you can fork a session: the fork continues the conversation in a new session and leaves the source session unchanged. To keep the changes of the fork apart from the source session and from the files that you work with, fork it into a temporary Git worktree. You can also start a new session in a temporary worktree.
A session runs on your machine by default. If your organization provides cloud runs, you can also run the agent in the cloud, in a temporary environment based on a clone of your remote repository.
Start a new session
JetBrains Air in IDEs provides multiple ways to start a new session, but the most convenient are:
The agent widget in the main toolbar.
The Agent Sessions tool window.
The global prompt that can be called from anywhere in the IDE.
All entry points create the same type of session. However, the context of their use differs. You may want to choose an entry point based on whether you want to start an empty session immediately or provide your initial request and add context beforehand:
Use the agent widget in the main toolbar to start an empty session immediately. You can then enter your prompt, add context, and send it to the agent.
Use the Agent Sessions tool window to start an empty session while reviewing or managing sessions.
Use the global prompt to provide the agent with context before starting the session. Invoking it from the file open in the editor with the relevant code selected attaches the file and selection as context, so you can add the remaining details and send the prepared initial request to the agent.
To start a session:
Click the agent widget in the main toolbar to start an empty session with the currently selected preset.
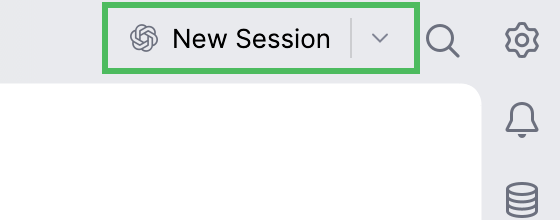
To use another preset, click
 next to the widget and select it from the list.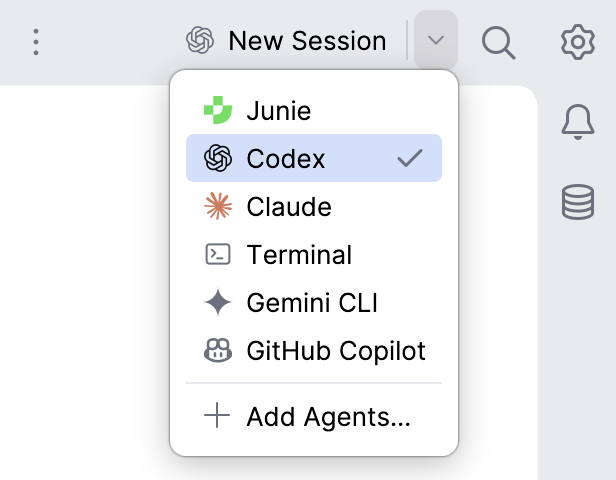
Open the Agent Sessions tool window. If it is not visible, select .
Click New Session to start a new session with the currently selected preset.
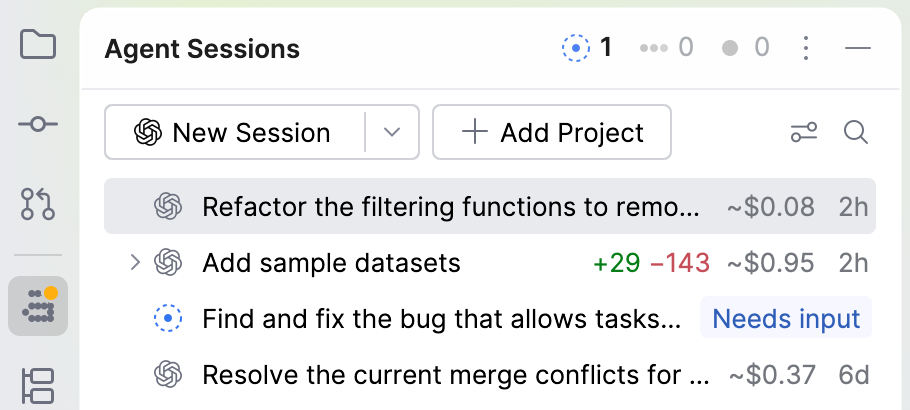
To use another preset, click
next to the button and select it from the list.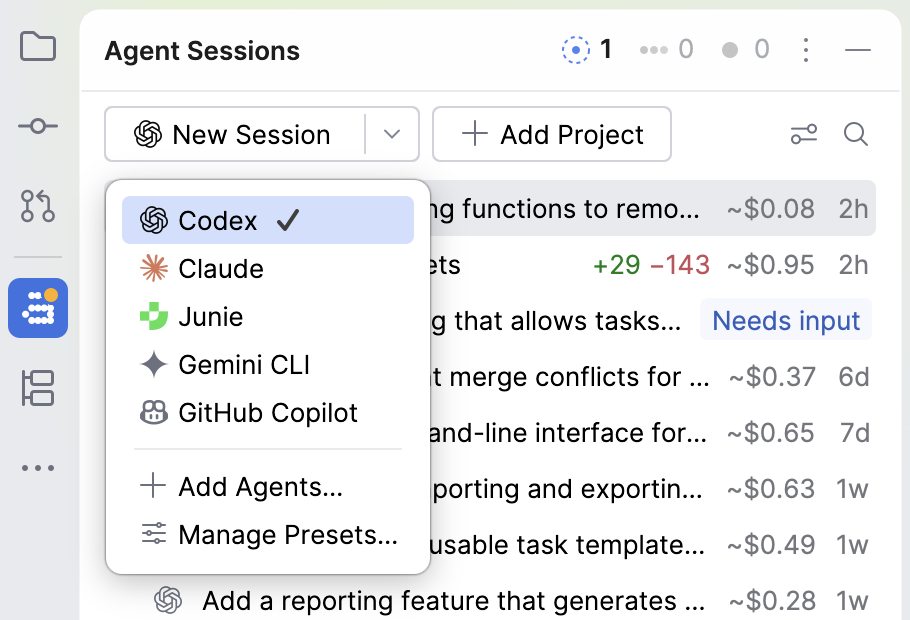
Press Ctrl twice to open the global prompt. You can invoke it from anywhere in the IDE.
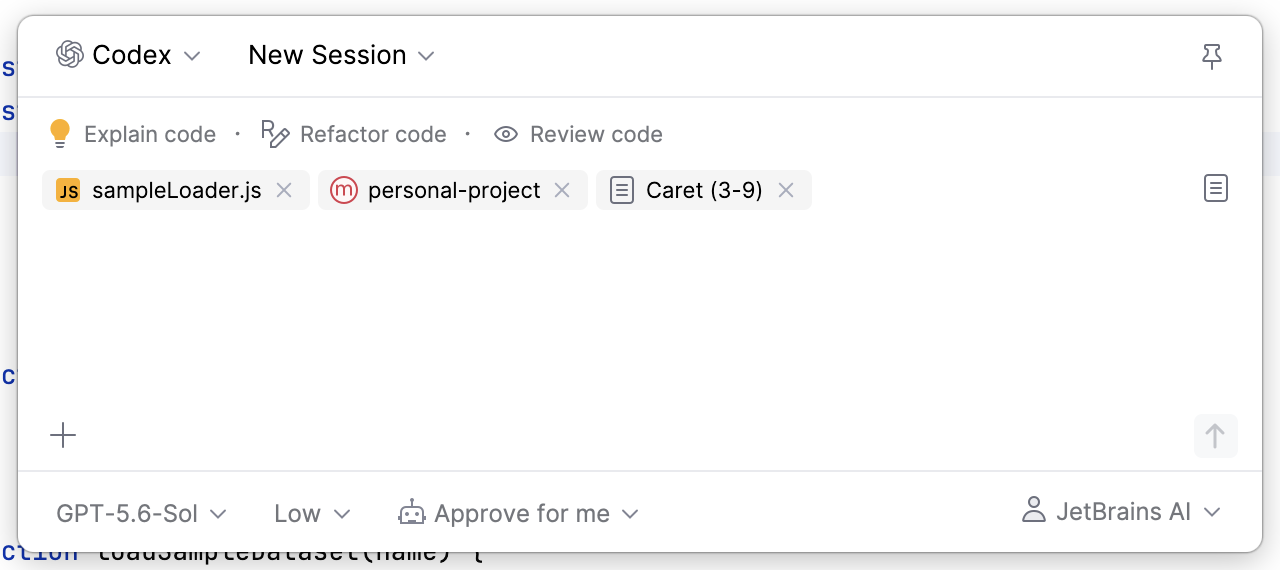
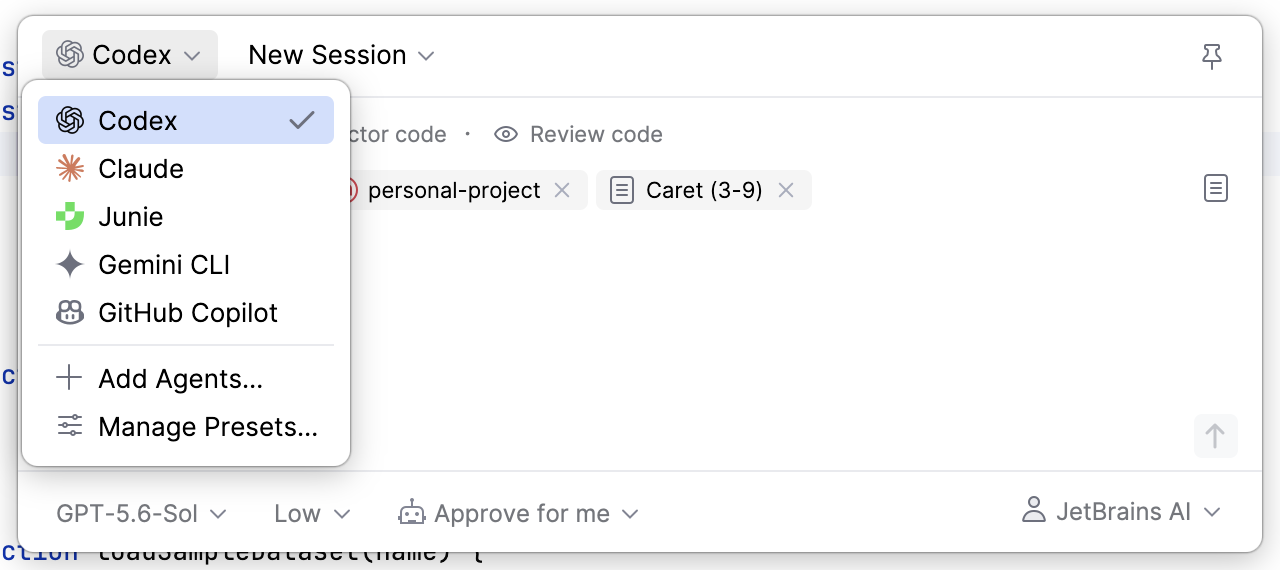
To use another preset, click the currently selected preset and select the required one from the list.
Type your request in the text field and press Enter.
As a result, a new session opens in a separate tab in the editor called Agent Session View, where you can interact with the agent and work on your task.
Continue an existing session
If you want to continue working in an existing session, you can do so using the global prompt. The new request is added to the selected session, which retains its previous messages and attached context.
Press Ctrl twice to open the global prompt. You can invoke it from anywhere in the IDE.
Click the New Session button, select Existing Session, and choose the required session from the list.
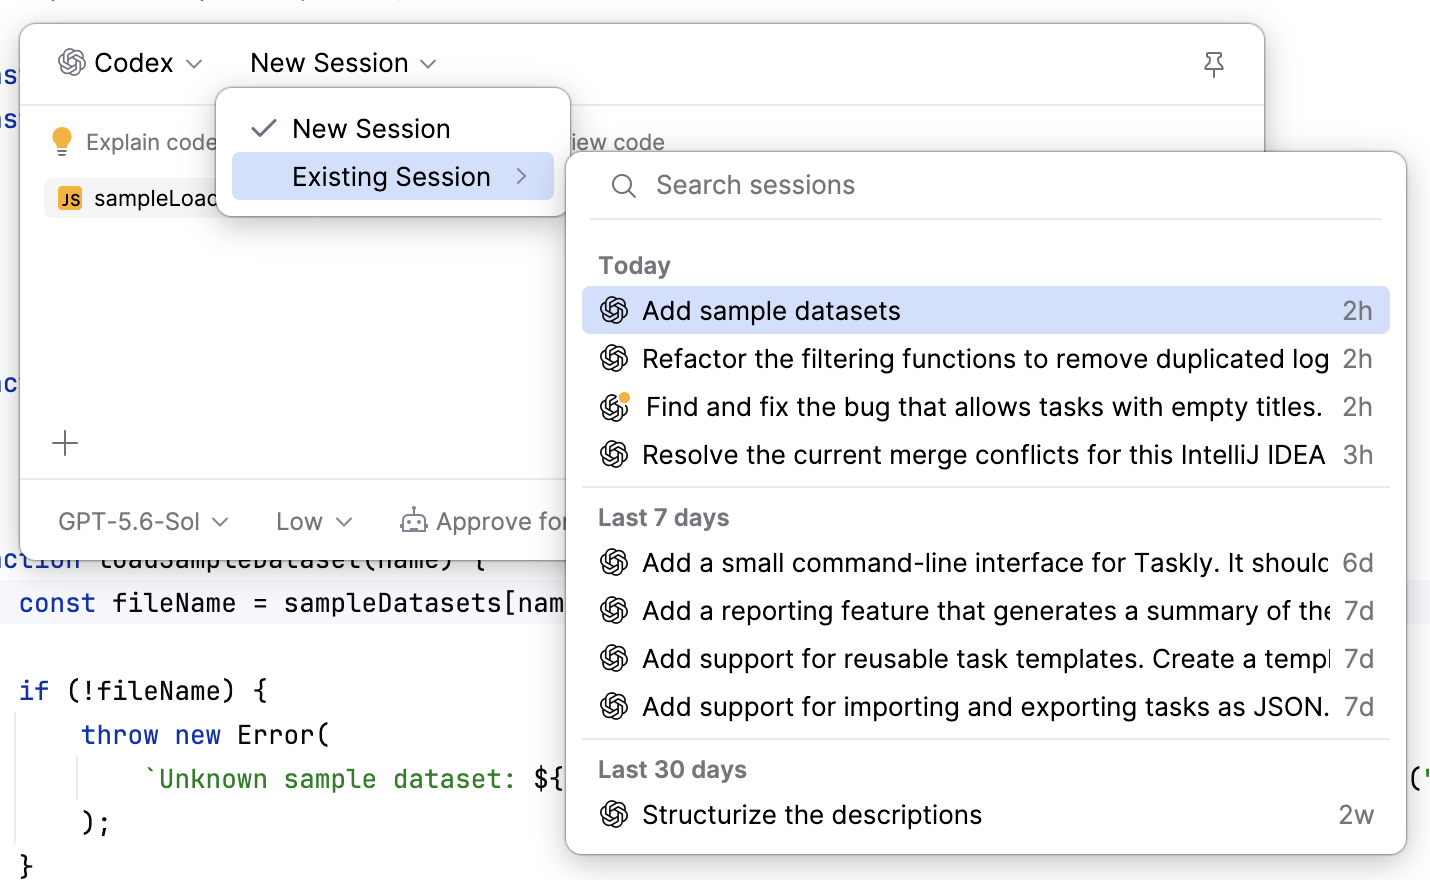
Type your request in the text field and press Enter.
This adds your prompt and attached context to the existing session, allowing you to continue your work.
Fork a session
Forking a session creates a new session that continues the conversation of an existing one. The fork preserves the conversation up to the fork point, while the source session remains unchanged. You can use this feature to explore an alternative approach to solving the task without losing the original session.
When you fork a session, you can choose where the new session runs:
In a new temporary worktree – the fork branches the conversation and works in its own copy of the repository, so its changes do not affect the source session or your checkout. Use this option when you need filesystem and Git isolation.
In the same workspace – the fork shares the files and Git checkout of the source session, and only the conversation branches off. Use this option when you want to explore another conversational or implementation direction without duplicating the checkout.
The fork opens in its own tab and is listed in the Agent Sessions tool window together with your other sessions. A forked session is marked with the corresponding icon in the tool window:
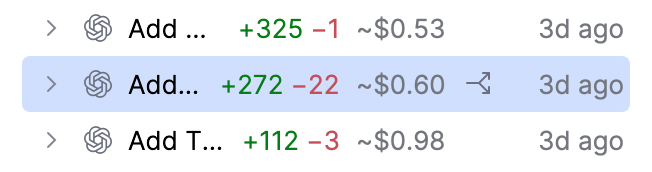
Whichever option you choose, you review and transfer the changes of the fork in the same way.
Fork in a new temporary worktree
A Git worktree is a separate working copy of a repository. It has its own files and checkout, while all worktrees of the repository share the same Git history. When a session runs in a temporary worktree, the agent works in this separate copy and does not modify the files of the source session or the checkout that you are using.
Fork a session into a temporary worktree when you want to:
Let the agent make changes without modifying the files in your current checkout.
Work on an alternative implementation in parallel with the source session.
Review the changes of the agent before you bring selected commits into your current branch.
Choose the entry point depending on whether you want to continue an existing session or start from scratch:
In the Agent Sessions tool window, right-click the session and select .
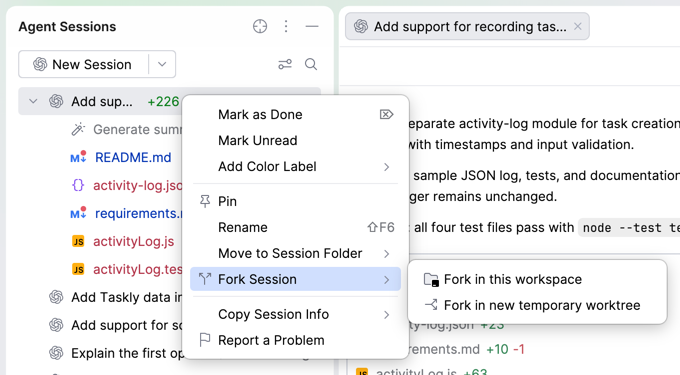
In the toolbar above the text field, click the run mode list and select Temporary Worktree.
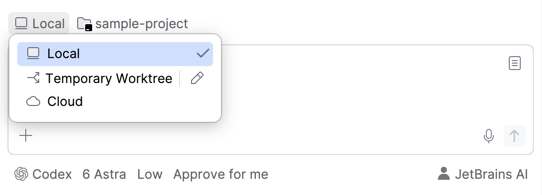
If you want to provide a specific name for the branch, click
 Custom Worktree Settings, enter the required name, and click Save.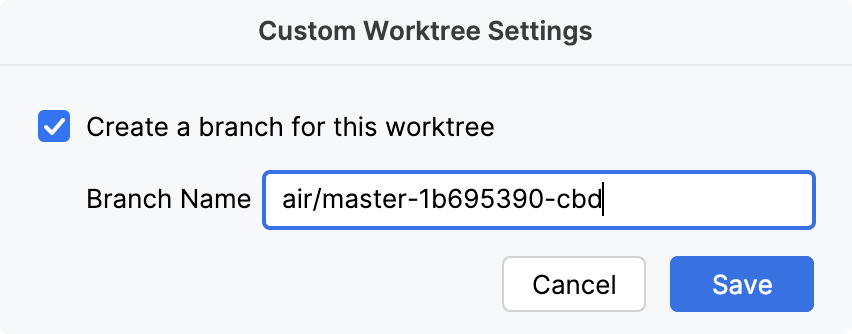
In the branch list next to the project, select the branch that the worktree is based on.
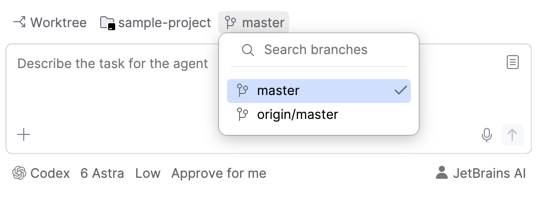
Write your request and send it.
As a result, JetBrains Air in IDEs creates the temporary worktree and starts the session in it.
Fork in this workspace
Fork a session in this workspace to explore another conversational path while keeping the same files and environment as the source session. The session works in the same Git checkout, and no worktree is created.
Choose the entry point depending on whether you want to continue an existing session or start from scratch:
In the Agent Sessions tool window, right-click the session and select .
In the toolbar above the text field, click the run mode list, then click the
Custom Worktree Settings button next to Temporary Worktree.Clear the Create a branch for this worktree checkbox, and click Save.
In the branch list next to the project, select the branch that the worktree is based on.
Write your request and send it.
As a result, JetBrains Air in IDEs starts the session in the same workspace, without creating a worktree.
Review and transfer the changes
The changes that the agent makes in a fork stay in the fork until you transfer them to your project. The workflow is the same whether you forked the session into a new temporary worktree or in this workspace. Before committing the changes prepared by the agent, you can review them by clicking the  Worktree Changes button.
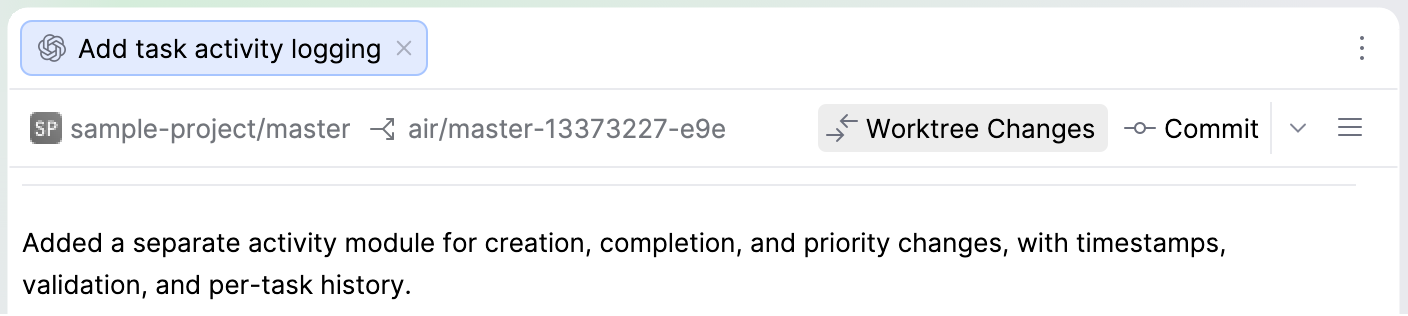
This opens the diff of all the files changed in the worktree.
To transfer the changes to your project, commit them in the fork, then cherry-pick the commits into the target branch of the source project:
In the session header, click
 Commit.
In the Commit tool window, specify the commit message and click Commit.
In the session header, click
 Cherry-pick. This applies the commits of the worktree to the target branch of the source project.
Cherry-picking applies the commits to your local branch and does not push anything to a remote repository. If you only need the changes locally, you do not need to do anything else. Otherwise, follow the standard procedure to push the changes to the remote repository.
Manage temporary worktrees
JetBrains Air in IDEs creates temporary worktrees in a common root directory and can delete the ones that you no longer use. To change the root directory, limit the number of worktrees, and review or delete the worktrees of a project, press Ctrl+Alt+S and select . For more information, refer to Worktree.
Run an agent in the cloud
Instead of running an agent on your machine, you can run it on JetBrains infrastructure. In a cloud run, the agent works on a cloud clone of your repository, and the run continues after you close the IDE.
Use a cloud run to offload a long-running or resource-intensive task. The agent works remotely while you continue using the IDE for other work.
Availability
Cloud runs are available only to users in organizations that are eligible for cloud runs in JetBrains Central, with cloud tasks enabled by the organization administrator. Users with personal licenses cannot use cloud runs.
Before you start a cloud run, make sure that the following requirements are met:
You are logged in to your JetBrains Account and have selected an eligible organization or workspace.
The project is under Git and has a remote repository hosted on GitHub or GitLab that Air can access.
You have access to the remote repository, and the JetBrains Air connection app has access to it. If this is your first cloud run for the repository, JetBrains Air in IDEs prompts you to authorize the connection app and grant repository access.
The checked-out branch is pushed to the remote, together with all commits that the task depends on. The cloud environment is created from the remote repository, so uncommitted changes and local-only commits are not available to the agent.
Start a cloud run
To run an agent in the cloud:
In the toolbar above the text field, click the run mode list and select Cloud.
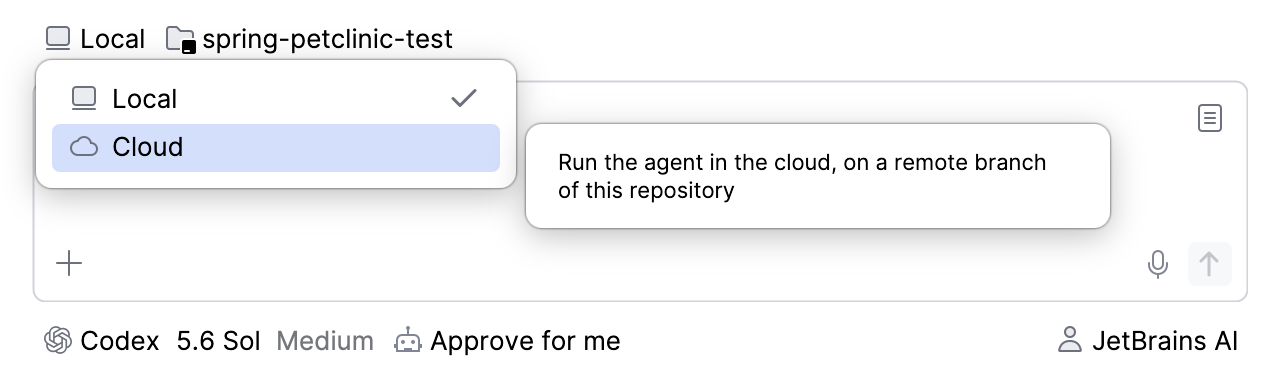
Select the agent, model, reasoning effort, and access level the same way as for a local session.
If you want to run the agent in a specific environment, click the selector next to the run mode and choose the required one under Environments.
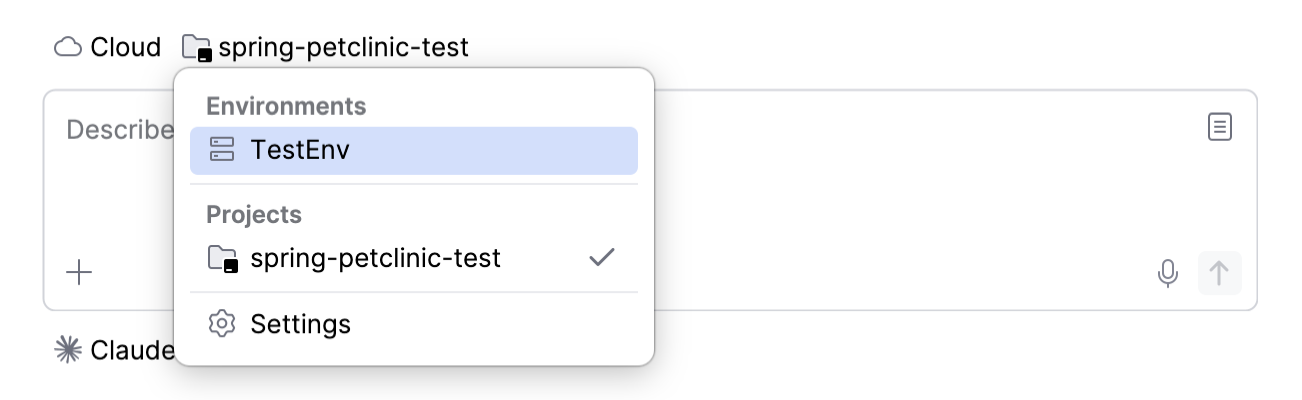
Write your request and send it. JetBrains Air in IDEs resolves the repository, the branch, and the commit to start from, creates the run, and passes your request to the agent.
The cloud session opens in the Agent Session View and reads like a local one: it shows the same conversation, tool calls, and permission requests, so you follow the agent and answer its questions in the same way.
Because the run is hosted in the cloud, closing the IDE does not stop it. When you open the project again, JetBrains Air in IDEs reconnects to the run and shows what the agent did while the IDE was closed.
Cloud runs that you start outside the IDE – for example, in Air or on another machine – also appear in the Agent Sessions tool window. They are grouped under the project associated with the Git remote used by the run. For more information, refer to Manage agent sessions.