WSL2
WSL (WSL 2) – Windows Subsystem for Linux – is a compatibility layer for running Linux binary executables natively on Windows 10 and later. Currently, it supports several Linux distributions, such as Ubuntu, OpenSUSE, and SLES.
With WSL toolchain set up for your project, you can build using a toolchain from Linux, and run/debug on WSL, without leaving CLion running on your Windows machine.
Configure WSL
Download and install a WSL distribution (for instance, Ubuntu) from Microsoft Store.
For this step, be sure to use at least Windows 10 or later with the latest “Fall Creators Update” (minimum version 1709, build 16299.15). See the official guide Install the Windows Subsystem for Linux for instructions.
To work with WSL 2, your Windows version should be 10 build 18917 or later. Follow these instructions to switch the distributive.
Note that CLion does not support legacy WSL, which you may have installed before upgrading your system to the build 16299.15 or later of Windows 10. In this case, you need to update your WSL distribution.
Run the Linux distribution.
Upon the first launch, the system may prompt you to enable the Windows optional feature. In this case, you need to do the following:
Open Windows PowerShell as Administrator and run
Enable-WindowsOptionalFeature -Online -FeatureName Microsoft-Windows-Subsystem-LinuxRestart your computer.
Set up the Linux distribution environment:
Install cmake, gcc, or/and clang (and optionally build-essentials package), as follows:
sudo apt-get update sudo apt-get install cmake gcc clang gdb build-essential
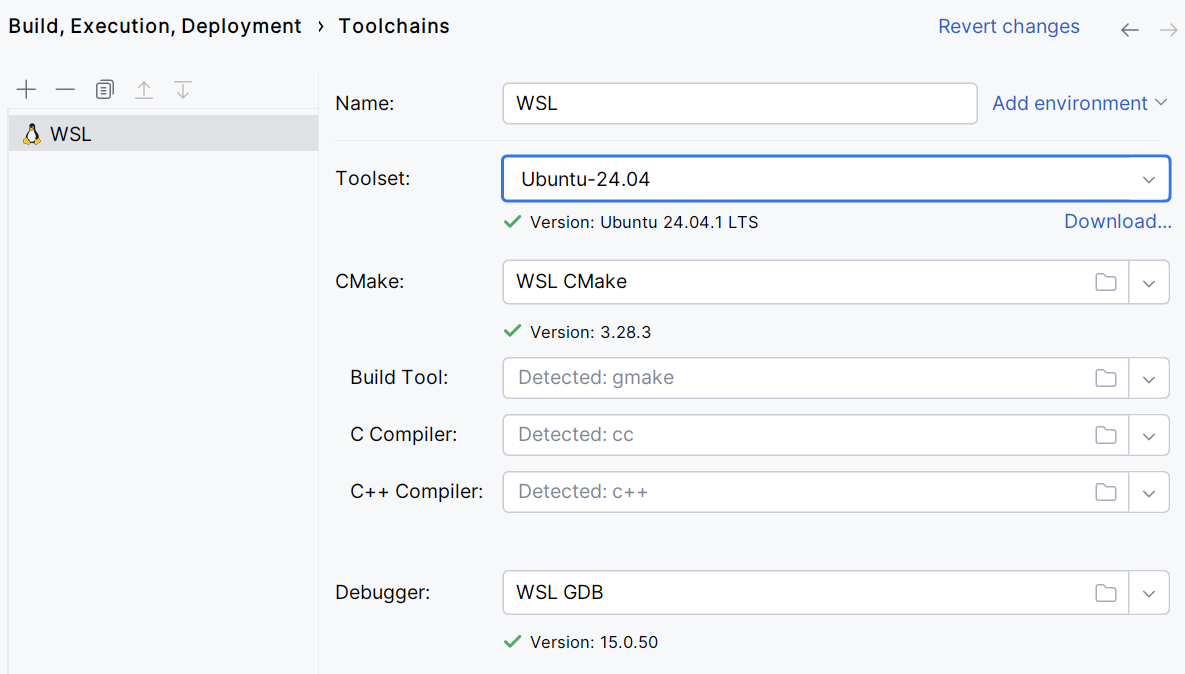
Configure a WSL toolchain for your project
In CLion, go to .
Click
to create a new toolchain and select WSL.
In the Toolset field, select one of the available WSL distributions. The list includes the distributions detected by
wsl.exe --list, which includes the imported ones.
Wait for all the tools to be detected and save the settings.
Now to start using the toolchain, do the following:
Set the WSL toolchain as default (move it to the top of the list) or create an associated CMake profile.
Switch to the WSL toolchain in .
Call .
In the Native Application configuration, point Executable to the binary using the \mnt\.. notation (for example, \mnt\c\Users\jetbrains\CLionProjects\SimpleMakefile\runme).