Remote with local sources
This remote mode enables you to work in CLion on a macOS, Linux, or Windows desktop targeting a remote Linux machine connected via SSH. You can choose any Linux-based target, including embedded systems on single-board computers like Raspberry Pi. Also, your program can be launched on a cloud platform or, for example, inside a Docker container.
In this mode, the IDE instance runs locally, and your source files are also placed on the local client, with automatic synchronization to the remote host. On the remote host side, CLion performs compilation and build using host compilers and CMake/make, uses host GDB for debug, and runs the application on the remote target.
Steps of the workflow
provide credentials and check the connection,
wait for tools detection, provide the paths manually if required.
Set the Remote toolchain as default or create an associated CMake profile.
If needed, adjust path mappings in the deployment entry.
Use the default profile or select the profile from step 2 for build, run, and debug.
provide credentials and check the connection,
wait for tools detection, provide the paths manually if required.
Switch to the remote toolchain in .
If needed, adjust path mappings in the deployment entry.
Call .
In the configuration settings, point Executable to the remote binary.
Windows client specifics
When working on a Windows client, keep in mind the following:
Due to the IntelliJ platform issue, you need to set the property value
idea.case.sensitive.fs=truein the idea.properties file (to access the property file, select from the main menu), then restart CLion with cache reset ().For files synchronization on Windows, by default, CLion relies on its own Remote Host Access and compression on the host side using the tar utility. This mechanism works slower than synchronization with the Rsync tool on macOS and Linux. You can enable Rsync synchronization on Windows by selecting the Use rsync for download/upload/sync checkbox in deployment settings.
Create a toolchain with remote credentials
Go to .
Click
 and select Remote Host:
If you already have an SSH configuration, select it from the Credentials list:

Otherwise, click
 next to the Credentials field. In the dialog that opens, create an SSH configuration and provide the credentials for accessing you remote machine:
After establishing the connection, CLion attempts to detect the tools in default remote locations /usr/bin/cmake and /usr/bin/gdb (or using the full paths, if you have provided manually). When the checks finish successfully, the toolchain is ready for use:

You can make the newly created toolchain the default one (for this, move it to the top of the toolchains list by clicking

 ). When set as default, the remote toolchain is used for all the projects you create and open in CLion.
For CMake projects, if you set the remote toolchain as default, the default CMake profile will connect to it automatically, so you do not need to configure a separate CMake profile for it.
(CMake) Create the corresponding CMake profile
Go to .
Click
to create a new CMake profile, and connect it to your remote toolchain using the Toolchain field:
Alternatively, set the remote toolchain as default and select Use default.
Apply the changes.
(Makefile) Select the remote toolchain in Makefile setting
Go to .
Select your remote toolchain in the Toolchain field:

Alternatively, set the remote toolchain as default and select Use default.
Apply the changes.
Use the File Transfer tool window () to monitor the progress of file synchronization:

Check and adjust the deployment configuration
When you create a connection entity for the remote toolchain, CLion puts it in the list of server access configurations in .
CLion automatically configures the paths for your project code synchronization. Use the Mappings tab to change the default mappings (for example, to set a particular remote directory for the copied sources instead of the default tmp folder):

For CMake projects, CLion automatically triggers synchronization when you change deployment settings. You can monitor the process in the File Transfer tool window ():

When uploading your project to the remote machine, CLion uses the directory containing the top-level CMakeLists.txt as a project root (CPP-23995). If your top CMakeLists.txt is located in a different subdirectory, change the local path in the Mappings tab.
When uploading a Makefile project to the remote machine, CLion uses the directory containing the Makefile as a project root (see the general ticket CPP-23995). If your Makefile is located in a different subdirectory, change the local path in the Mappings tab.
You can set up remote development without source synchronization to avoid unnecessary file duplication when your local and remote machines share a mounted volume (for example, in the case of using a Docker container) or when 3rd-party synchronization is configured outside of CLion.
For this, open the Connection tab and change the connection type to Local or mounted folder, then set up the path mappings (for Docker, specify the mapped volumes).

CLion always downloads the CMake build folder on CMake reload. However, this can be skipped if the Local or mounted folder deployment type is selected, and the CMake build folder is stored under one of the existing path mappings.
The deployment process for SFTP connections can be sped up with the help of the Rsync tool. On macOS and Linux, Rsync support is enabled by default, on Windows, you need to enable it by selecting the Use rsync for download/upload/sync checkbox in deployment settings.
Excluded paths
By default, CLion analyzes and synchronizes all the directories listed in CMakeLists.txt. However, if you exclude a directory using the Mark Directory as | Excluded action, it will be marked as Excluded path for the remote deployment and will not be synchronized with the remote machine. This is performed automatically when you exclude a folder before configuring a remote toolchain.
You can check and adjust the excluded paths in the dedicated tab of the deployment entry settings:

If you mark a directory as excluded when there is a remote toolchain configured and the project has been synchronized already, CLion will suggest that you update the excluded paths. After the update, the excluded folder will be synchronized further.

If you un-exclude a previously excluded directory, CLion will suggest to update the list of the excluded paths and re-upload the folder to the remote host.

Resync header search paths
To resolve your code correctly, CLion synchronizes header search paths with all the content from the remote machine to the local client. For example, even though standard library headers are taken from the target, you can navigate to them as if you were working locally in the CLion editor.
However, header search paths synchronization can be time-consuming, so CLion performs it automatically only upon the initial file transfer. After that, it is not triggered by CMake or Makefile reloads. So every time you switch the compiler or make changes in your project dependencies, make sure to update header search paths manually by calling .
You can also switch to automatic synchronization: set the clion.remote.resync.system.cache key in the Registry (go to or press Ctrl+Shift+A, type Registry, and search for the key by name).
Starting with version 2022.3, CLion uses pigz for compression on the remote host to synchronize the header search paths back to the local host, instead of gzip. This multithreaded gzip implementation makes things work faster.
Build, run, debug
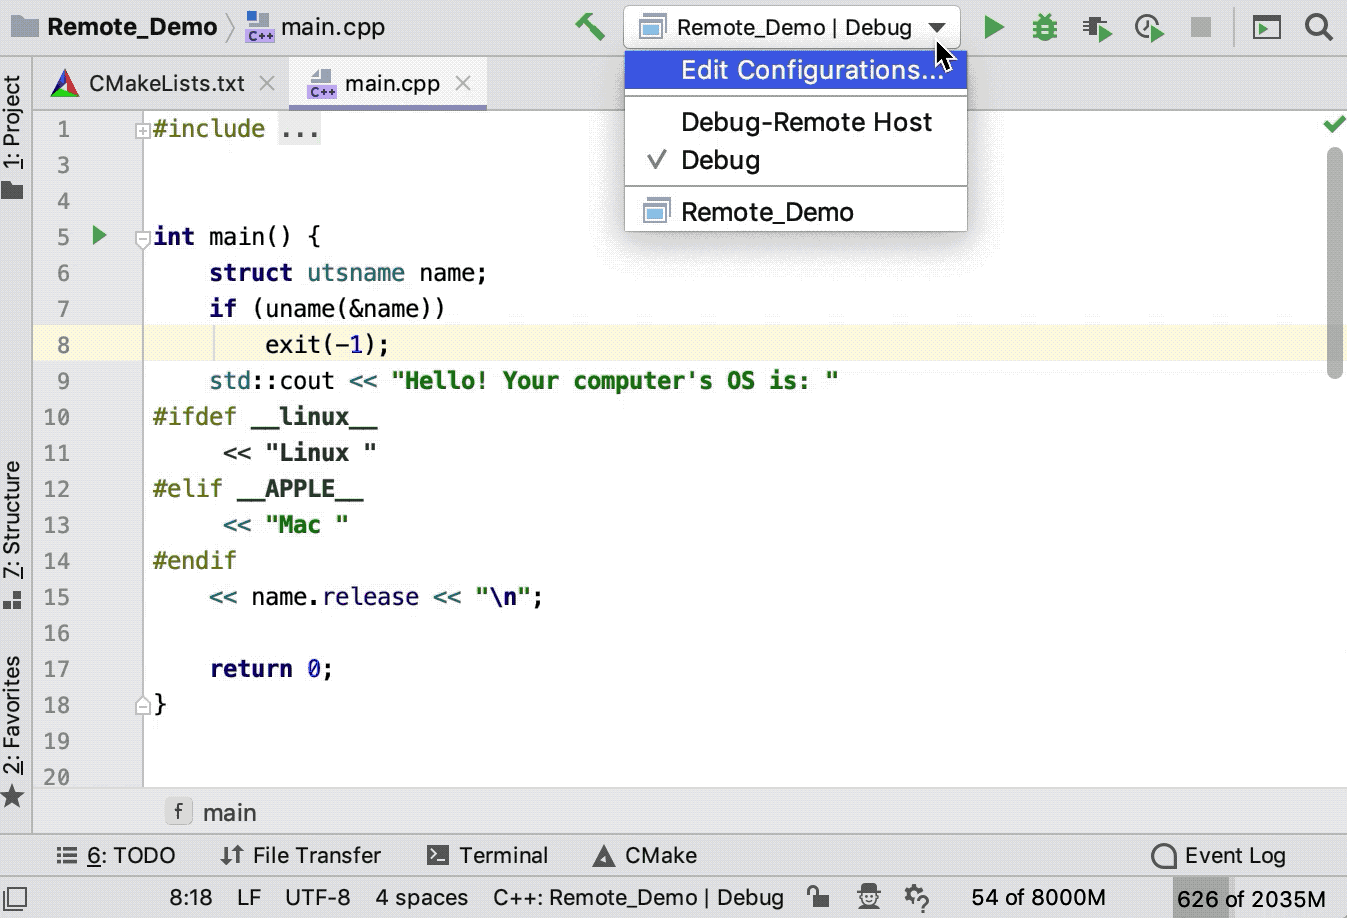
Now that you have a remote toolchain and the corresponding CMake profile configured, you can build, run, and debug your application and tests in the completely remote way by selecting the proper CMake profile in the Run/Debug configuration switcher:

Below you can find a demo showing how the application output changes depending on the OS that it runs on. Having macOS as a local system, we connect remotely to the Ubuntu target and check the OS name. In this example, code highlighting depends on the OS identifier, so when we switch the CMake profile or resolve context, CLion highlights the corresponding code branch:
Create a new Native Application configuration or edit an existing one.
In the Executable field, point CLion to the remote binary.

Save the configuration and use it to run or debug your Makefile application remotely.
Set environment variables
To configure environment variables for the remote OS, specify them in the beginning of the .bashrc file, before the
# If not running interactively, don't do anythingline.If your primary shell is not bash, follow the instructions for that particular shell or add
PermitUserEnvironment yesto the sshd_config file, restart the sshd service, and then configure the variables in ~/.ssh/environment.
Enable IPv6 support
To connect to IPv6 networks, you need to make adjustments in CLion JVM options:
Run from the main menu. In the *.vmoptions file that opens, delete the
-Djava.net.preferIPv4Stack=trueline and add the following lines:-Djava.net.preferIPv4Stack=false -Djava.net.preferIPv6Stack=true -Djava.net.preferIPv6Addresses=trueRestart CLion.
In order to use hostnames instead of raw addresses, open C:\Windows\System32\Drivers\etc\hosts as Administrator on Windows or /etc/hosts as superuser on macOS/Linux and map the required addresses to the corresponding hostnames.
Each address should be placed on a separate line, followed by at least one whitespace and a list of whitespace-separated hostnames, for example:
f381::171d:c61c:c7f3:3a56 my.dev.host1 my.dev.host2 f381::171d:c61c:c7f3:3a26%en0 my.dev.host3On macOS, you also need to specify the list of the banned network interfaces:
Press Ctrl+Shift+A or choose from the main menu. In the popup that opens, start typing
Registry, select the corresponding item and press Enter.Find the deployment.macOs.bannedInterfaces key and set a comma-separated list of the interfaces to be banned, for example
awdl0,bridge0,en1,en2,lo0,p2p0,utun0,utun1.