Edit DSV files as tables
In DataGrip, you can use a table data representation to edit the contents of DSV files. For such files, a Data tab is available in the lower left corner of the text editor. In the Data tab, you can edit data in the data editor. For full information about data editor, refer to Data editor and viewer.

The following video shows how to import delimiter-separated documents into your database.
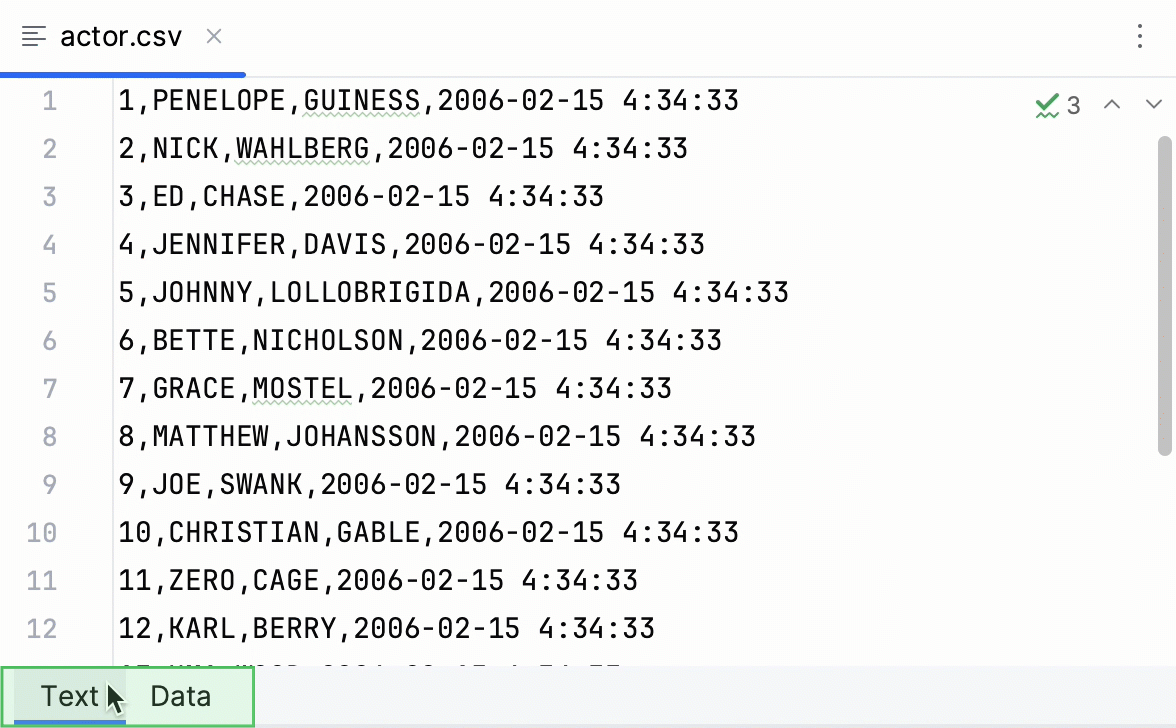
To switch between text and table views, click the Text and Data tabs in the lower left corner of the editor.
View file contents as table
In the Files tool window, click the DSV file that you want to view and edit as a table.
Right-click inside a delimited text file and then click Edit as Table. Alternatively, you can click the Edit as Table icon in the editor.
In the Configure CSV Format for <file_name> dialog that opens, specify format settings and click OK.
The dialog has three predefined formats (CSV, TSV, and Pipe-separated) and lets you create a custom format. For example, you may require comma-separated values with semicolons as row separators.
Once you confirm the format settings, the Data tab will present data in a table format correspondingly. If you want to use different format settings, repeat the previous procedure and open the data editor again.
For more information about the Configure CSV Format for <file_name> dialog, refer to the reference.
Sort data
Click the column header to toggle between sorting directions: ascending, descending, and initial unsorted state.
The column sorting is not stacked by default. It means that if you click a sorting icon near the column name to sort data by, the sorting based on other columns will be cleared. If you prefer to use the stacked sorting, click the sorting icon while pressing Alt.
State
Description

Indicates that the data is not sorted in this column. The initial state of the sorting marker.

The data is sorted in the ascending order.

The data is sorted in the descending order.

The number to the right of the marker (1 on the picture) is the sorting level. You can sort by more than one column. In such cases, different columns will have different sorting levels.
Hide columns
Right-click the column header and then click Hide Column.
To see the list of all columns, right-click any column header and then click Show Column List. Names of hidden columns are shown struck through. To toggle between hidden and shown state of a column, select it in the list and press Space.
Move columns
To move the column in your CSV file, open the Table tab and drag the column.
Enable coding assistance
Right-click the column header or individual cell and then click Set Highlighting Language to select a language and provide coding assistance when modifying the contents.
Transpose a table
Click the View as button (
 ) on the toolbar, and select Transpose.
To make this mode a default for tables and views, open settings by pressing Ctrl+Alt+S and navigate to . From the Automatically transpose tables list, select Always. When this option is enabled, query results are not transposed.
Extract data
If you need to use the data from the table elsewhere, DataGrip provides several possibilities to copy or save it.
DataGrip uses data extractors to export data in various formats to a file or the clipboard. Each time you export or copy data, the copied data format is defined by the selected data extractor.
For more information about data extractors, refer to the corresponding page.
Export data to file or clipboard
To export full data to a file, open a table and click Export Data
 on the toolbar. Configure export settings and click Export to File.
To export full data to the clipboard, open a table and click Export Data
on the toolbar. Configure the export settings and click Export Table to Clipboard.Alternatively, right-click a cell and select Export Table to Clipboard. The data will be exported using currently selected data extractor.
In contrast to the Export Table to Clipboard action, the Copy Ctrl+C action only copies the selection of rows. To copy all the rows, click a cell, press Ctrl+A and then Ctrl+C.
Import data to a database
Click the Import to Database button (
 ) on the toolbar.
Specify the database, target schema (to create a new table with the exported data) or table (to add exported data to an existing table).
Configure the data mapping and settings for the target table. For more information about the Import dialog, refer to the Import topic.

Reference
Configure CSV Format for <file_name> dialog
This dialog opens when you select the Edit as Table command in the editor when viewing a file with delimiter-separated values.
This dialog contains the settings for converting delimiter-separated values (for example, CSV, TSV) into table data.

Preview is limited with 10 records to prevent the rest of the data from loading. When you change settings, the preview changes correspondingly.
Item | Description |
|---|---|
Formats | Select a template that successfully converts the file data into a table. You can change settings of predefined templates or add a new template. To add a template, click Add Format button ( Use the Add Format ( |
Value separator | Select or type the character that you want to use as a separator for values. |
Row separator | Select or type the character that you want to use as a separator for rows. |
Null value text | Select or type the text that you want to use if a cell contains the |
Add row prefix/suffix | Click the link and type a row prefix and suffix. Prefix and suffix are character sequences which in addition to the row separator indicate the beginning and end of a row. |
Quotation | Each line in the area under Quotation is a quotation pattern. A quotation pattern includes:
If there is more than one pattern, the first pattern is used. Use the Add ( |
Quote values | Select when you want to enclose values within quotation characters.
|
Trim whitespaces | Ignore or remove whitespace characters. If this checkbox is cleared, the whitespace characters are treated as parts of the corresponding values. |
First row is header | Treat the first row as a row that contains column names. |
First column is header | Treat the first column as a column that contains row names. |