Menus and toolbars
DataGrip menus and toolbars contain commands that affect the entire project or large sections of the project. To apply a command to the current context, use context-sensitive pop-up menus. Most of the commands has an associated keyboard shortcut to enable quicker access to it.
Use menu items with a checkbox in the menu to show or hide the main elements of the DataGrip window. For example, if you want to show the main toolbar, select View | Toolbar.
Main elements of DataGrip window
- 1. Main menu
- By using the main menu, you can open and create projects, refactor the code, keep files under version control, or run other commands.

- 2. Main toolbar
- The main toolbar contains buttons that duplicate the essential commands for quicker access.
By default, the main toolbar is hidden. To display it, select on the main menu.

- 3. Navigation bar
- The Navigation bar is an alternative to the Database tool window.

- 4. Context menus
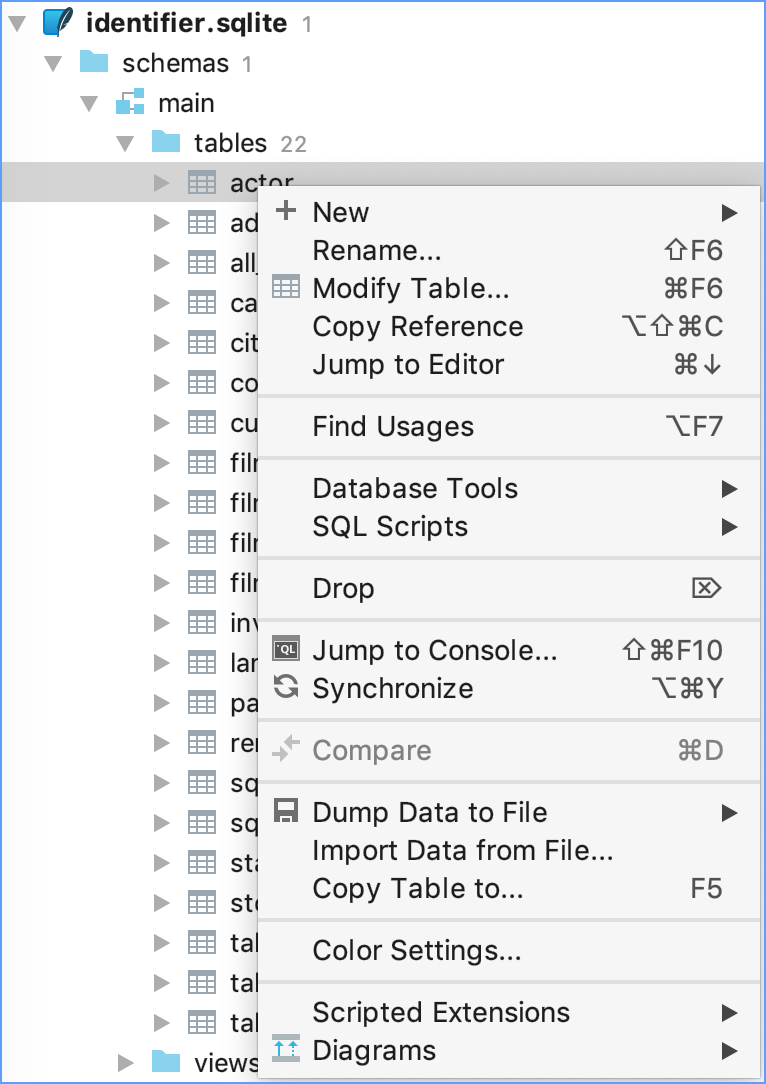
- Context menus, available with right-click, contain commands applicable to the current context.

- 5. Pop-up menus
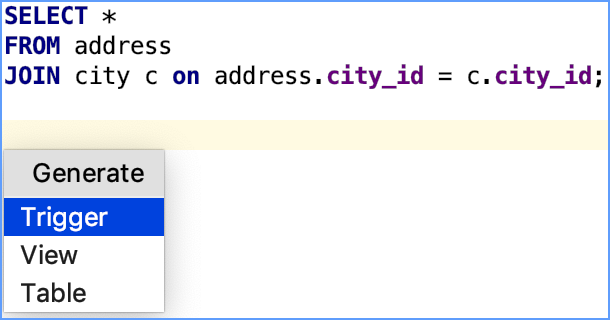
- Pop-up menus, available with Alt+Insert, contain commands applicable to the current context.

Tips and tricks
Show or hide the main elements of the DataGrip UI by using the menu.
Descriptions of the actions from menus and toolbar buttons are displayed in the left side of the Status bar.
If you know which action you want to perform, but do not know where to find it, press Ctrl+Shift+A, type the action name, and select it from the suggestion list.
The Linux native menu
In DataGrip for Linux, you can use the Macintosh-style menu – a horizontal menu bar attached to the top of the screen.
Enable the native menu
Press Ctrl+Shift+A to open the Find Action dialog, type
Experimental features, and press Enter.Select the checkbox next to the
linux.native.menuoption, apply the changes, and close the dialog.Restart DataGrip.

Troubleshooting
The native menu is an experimental feature that may not work correctly with all Linux window managers. If your IDE doesn't start after you have enabled the native menu, disable it using the JVM options:
Open the Toolbox App, click
 next to the necessary instance, and select Settings.
Next to Java Virtual Machine options, click Edit.
Add the following line to the file and save the changes:
-Dlinux.native.menu.force.disable=trueStart DataGrip.
-
Create a copy the file with JVM options (options that are used to run DataGrip):
<IDE_HOME>/bin/datagrip64.vmoptions(for the default 64-bit JVM)
<IDE_HOME>/bin/datagrip.vmoptions(for optional 32-bit JVM) -
Insert the file copy to the configuration directory located in: ~/.<PRODUCT><VERSION>/config.
Add the following line to the file and save the changes:
-Dlinux.native.menu.force.disable=trueStart DataGrip.