Files with delimiter-separated values
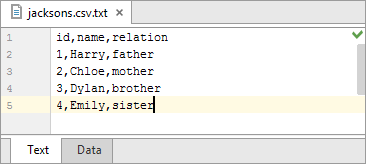
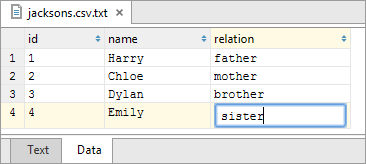
DataGrip lets you edit delimited text files (CSV, TSV, and other delimiter-separated formats) as tables. The table editor is available if the following conditions are satisfied:
The filename extension is associated with the text filetype.
Open the table editor
Right-click inside a delimited text file and then click Edit as Table.
-
Specify format settings and click OK.
The dialog has two predefined formats (CSV and TSV) and lets you create a custom format. For example, you may require comma-separated values with semicolons as row separators.
The table editor opens in a separate tab based on the settings you configure. If you want to use different format settings, repeat the previous procedure and open the table editor again.


Right-click any cell or column header to access available commands for modifying the table.
Sort data
-
Click the column header to toggle between sorting directions: ascending, descending, and initial unsorted state.
The number indicates the sorting level (priority), when you sort by multiple columns.
Hide columns
-
Right-click the column header and then click Hide column.
To see the list of all columns, right-click any column header and then click Column List. Names of hidden columns are shown struck through. To toggle between hidden and shown state of a column, select it in the list and press Space.
Enable coding assistance
Right-click the column header or individual cell and then click Edit As to select a language and provide coding assistance when modifying the contents.
Transpose table
Right-click any cell in a table and then click Transpose to switch rows and columns.
Extract data from a table
If you need to use the data from the table elsewhere, DataGrip provides several possibilities to copy or save it.
Copy selected cells to the clipboard
Right-click the selected cells and then click Copy or press Ctrl+C.
Copy all table data to the clipboard
Right-click any cell in the table, point to Dump Data, and then click To Clipboard.
Save all table data to a file
Right-click any cell in the table, point to Dump Data, and then click To File.
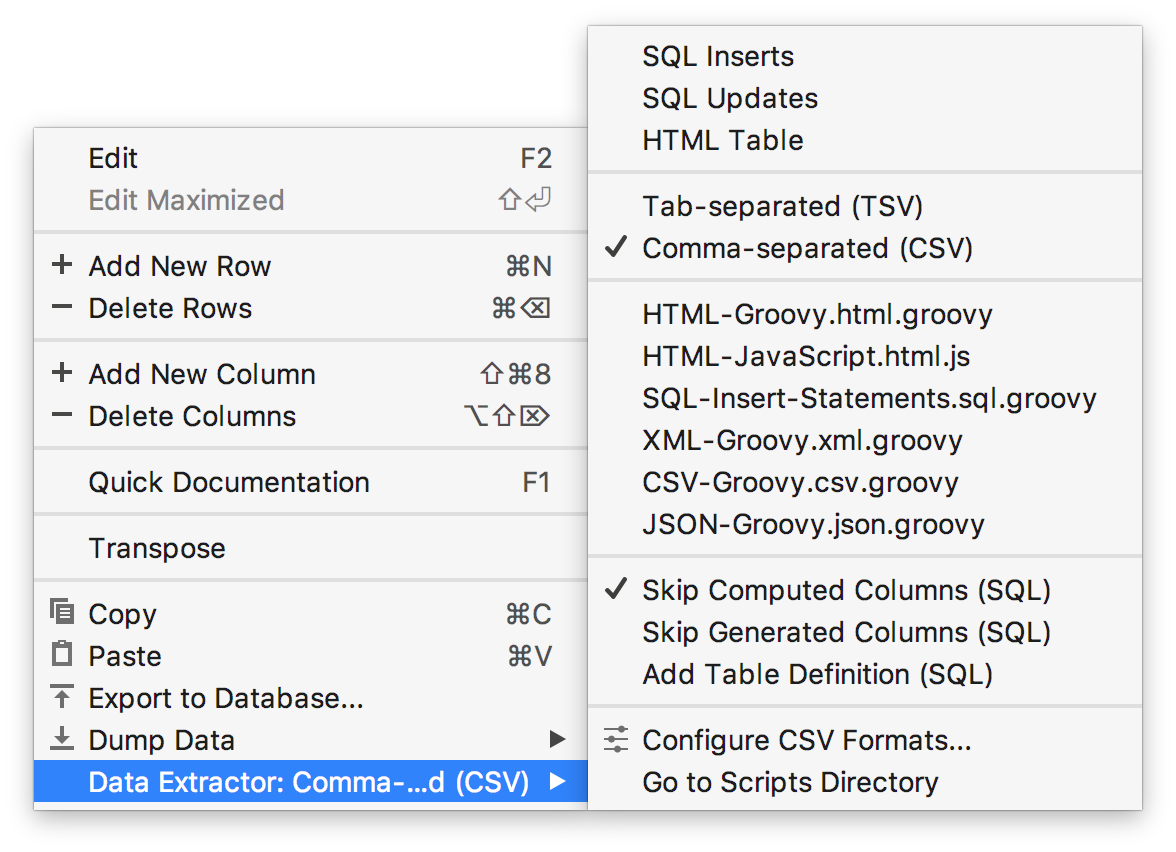
You can configure how extracted data is converted into text using predefined output formats, customized formats, and scripts. To configure the output for extracted data, right-click any cell in the table and point to Data Extractor.

In this menu, you can select the output format (for example, as SQL INSERT statements, HTML table, or in CSV format) or a script that converts data into a specific format. The following additional options are also available:
- Skip Computed Columns (SQL)
- Enable to exclude columns with calculated values (affects SQL output formats).
- Skip Generated Columns (SQL)
- Enable to exclude columns with auto-increment values (affects SQL output formats).
- Add Table Definition (SQL)
- Enable to include the
CREATE TABLEstatement (affects SQL output formats).
Export data to a database
Make sure that the database is added as a data source in the Database tool window.
Right-click any cell in the table and then click Export to Database.
Specify the database, target schema (to create a new table with the exported data) or table (to add exported data to an existing table).
Configure the data mapping and settings for the target table.