Run DataGrip for the first time
When you run DataGrip for the first time, or after you have upgraded it from a previous version, some steps are required to complete the installation, customize your instance and start working with the IDE.
How to run
Run DataGrip using the executable in the installation directory under bin or find it in the Start menu. You can also use the desktop shortcut, if it was created during installation.
Run the app in the Applications directory, from Launchpad or Spotlight.
Run DataGrip using the shell script in the installation directory under bin. You can also use the desktop shortcut, if it was created during installation.
Import DataGrip settings
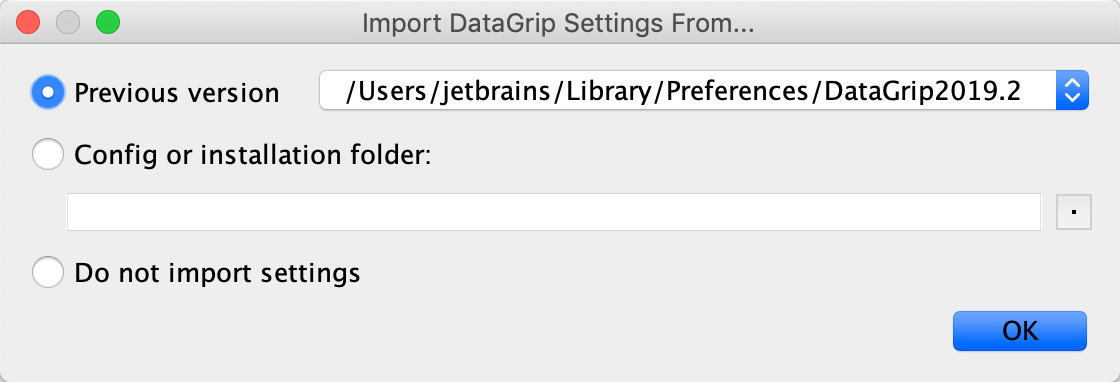
In the Import DataGrip Settings From dialog, select whether you want to import the IDE settings:

If this is your first instance of DataGrip, choose the Do not import settings option.
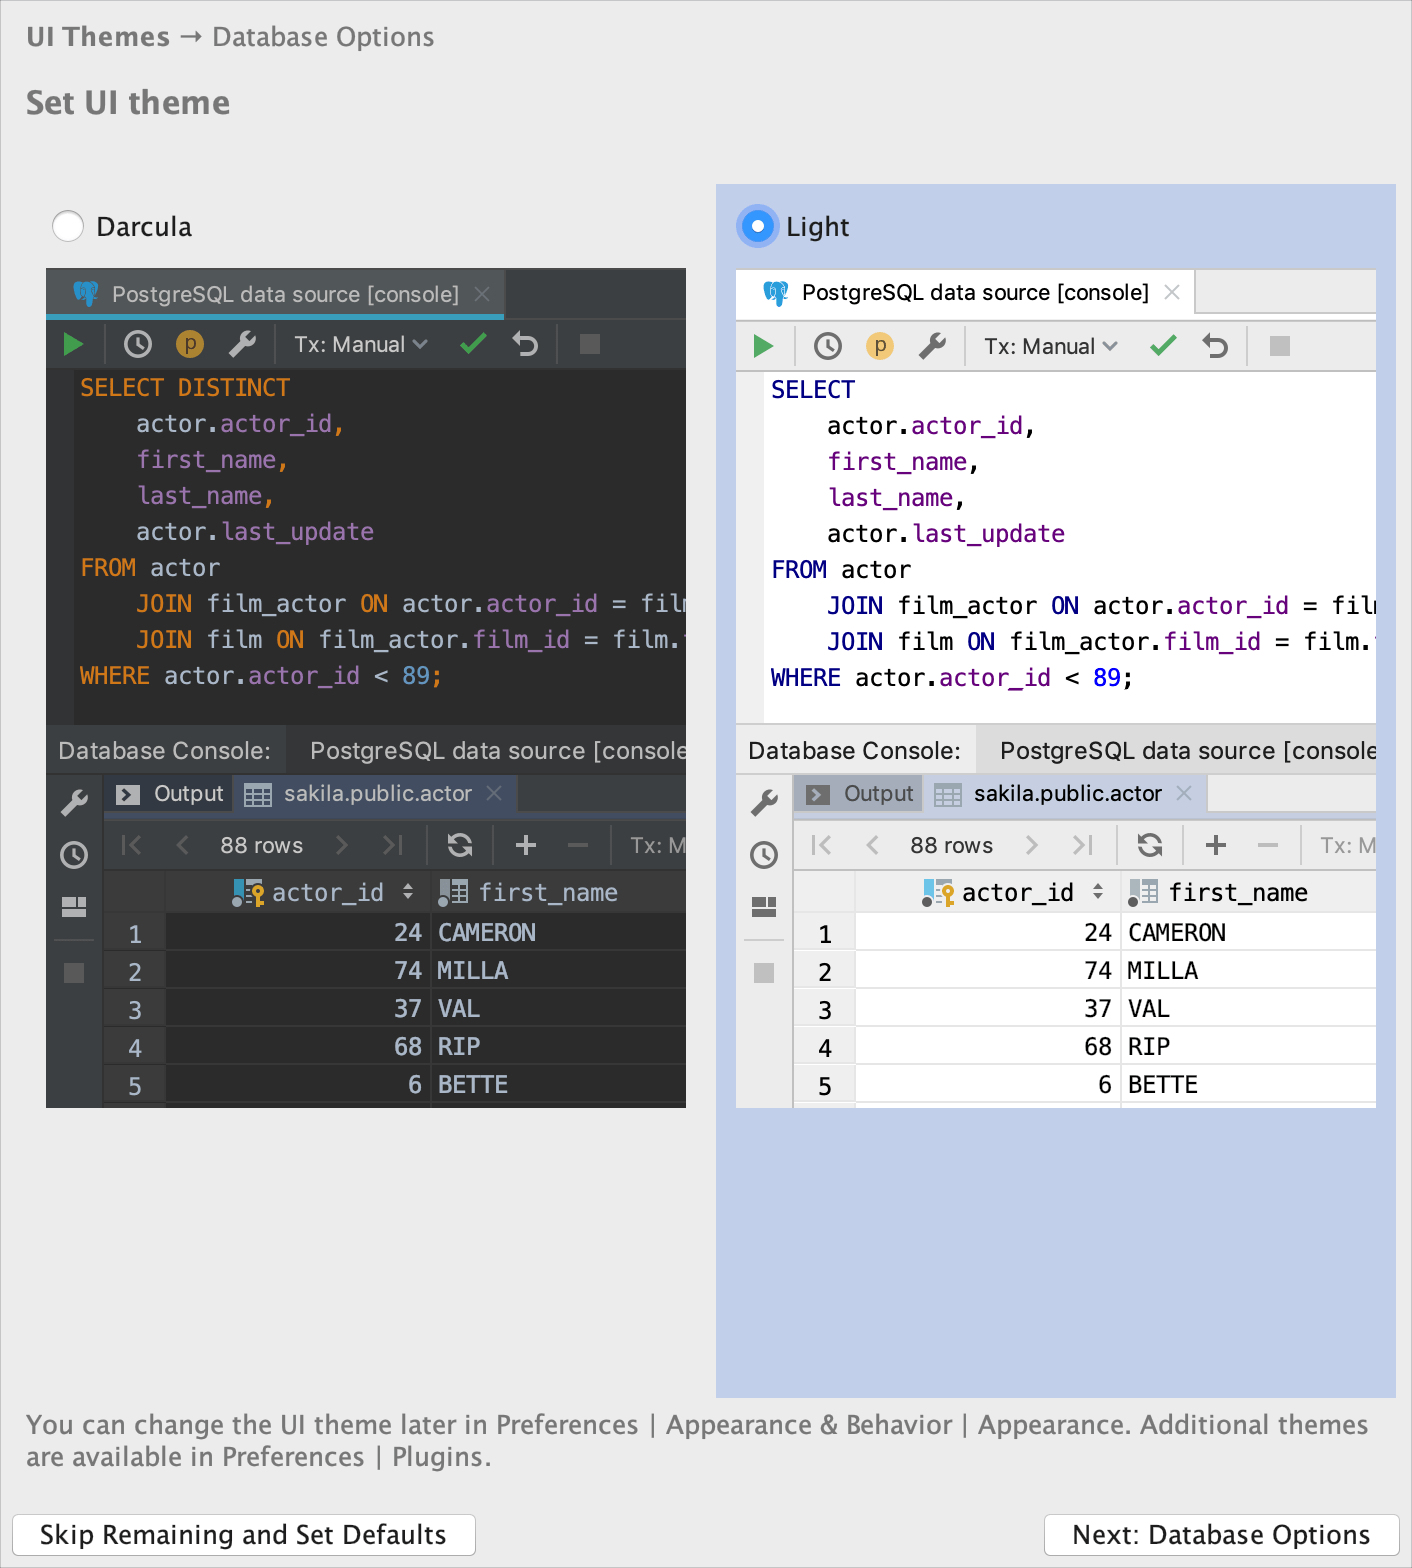
Select the user interface theme
Select whether you want to use the default Darcula or Light theme.

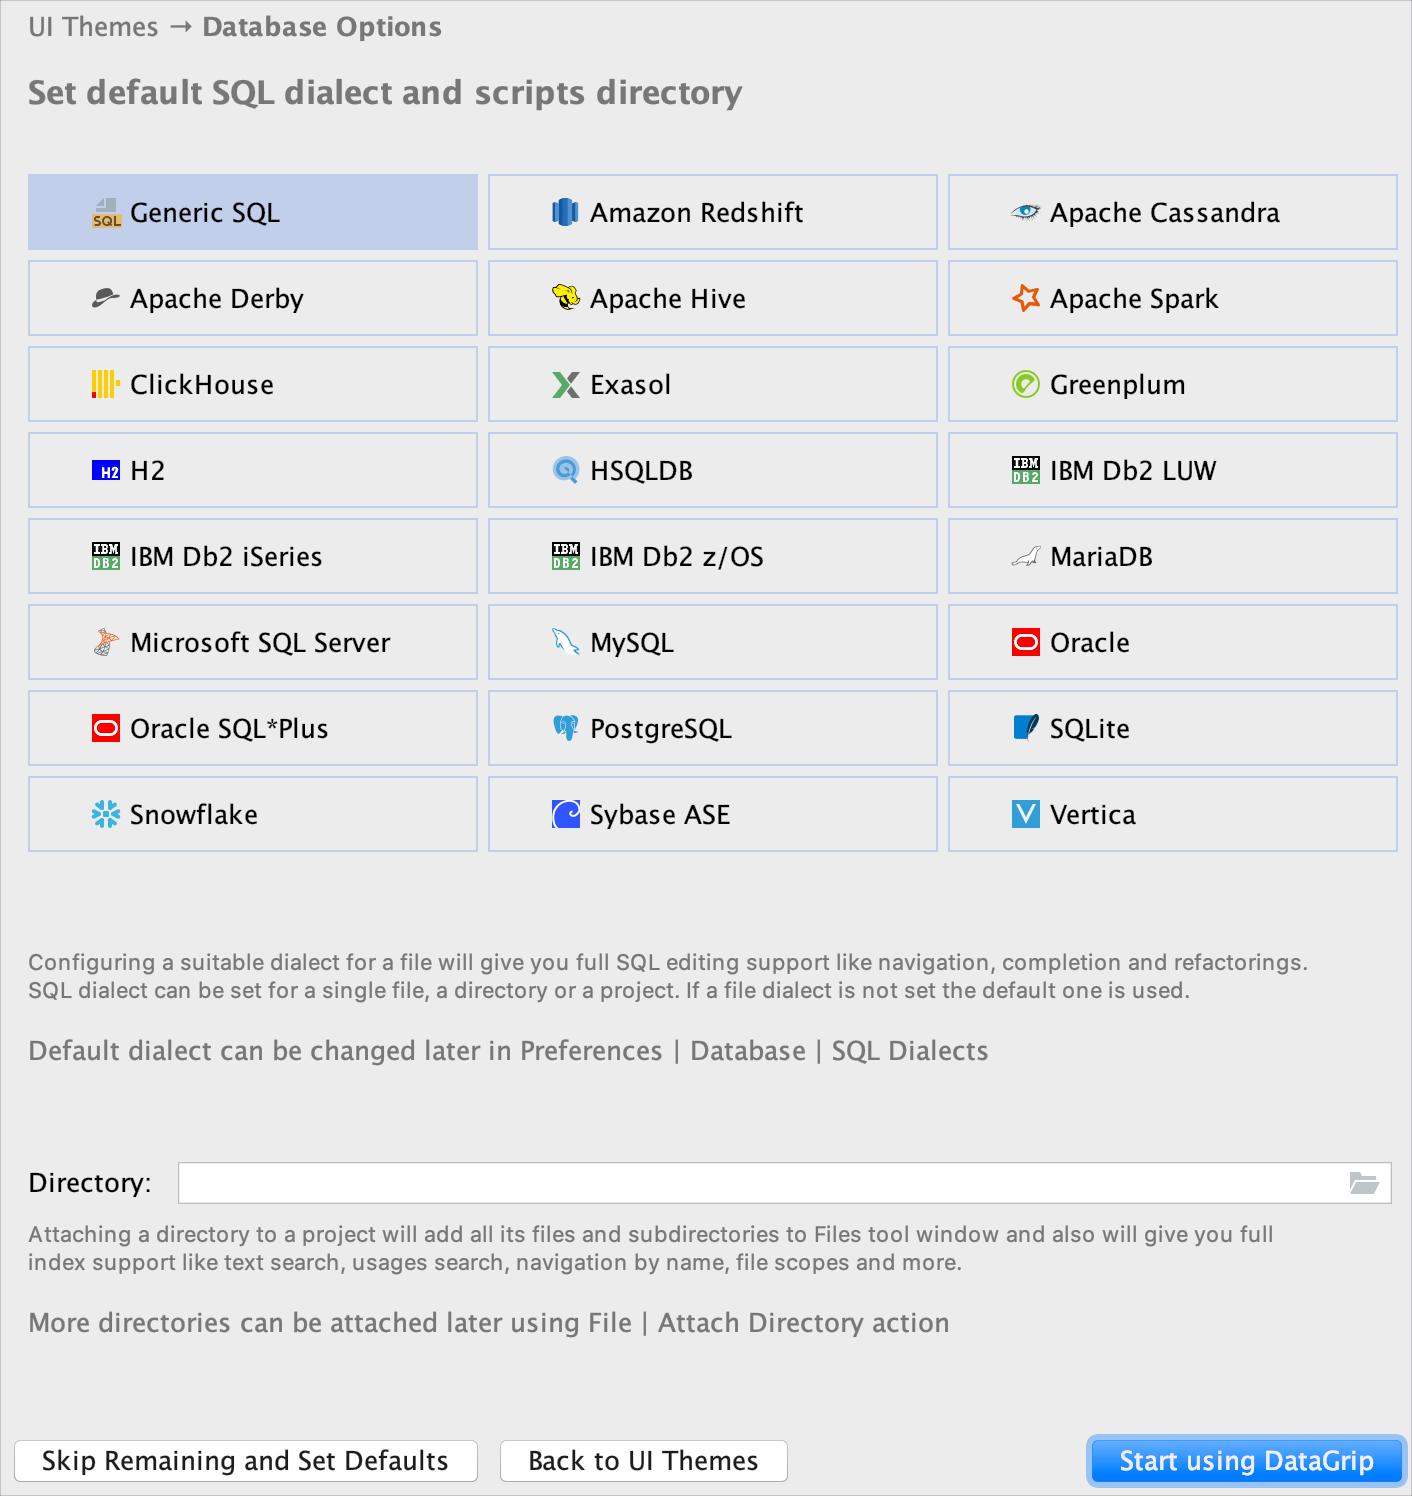
Select a preferred dialect for SQL files
On the next step, you are prompted to select a preferred dialect for SQL files. The selected dialect provides code assistance including syntax analysis, completion, and refactoring. If you plan to use different dialects, select <Generic SQL>.
Also, on this step, you can select a directory with SQL scripts and attach it to your project. The directory and all subdirectories can be accessed in the Files tool window ().
