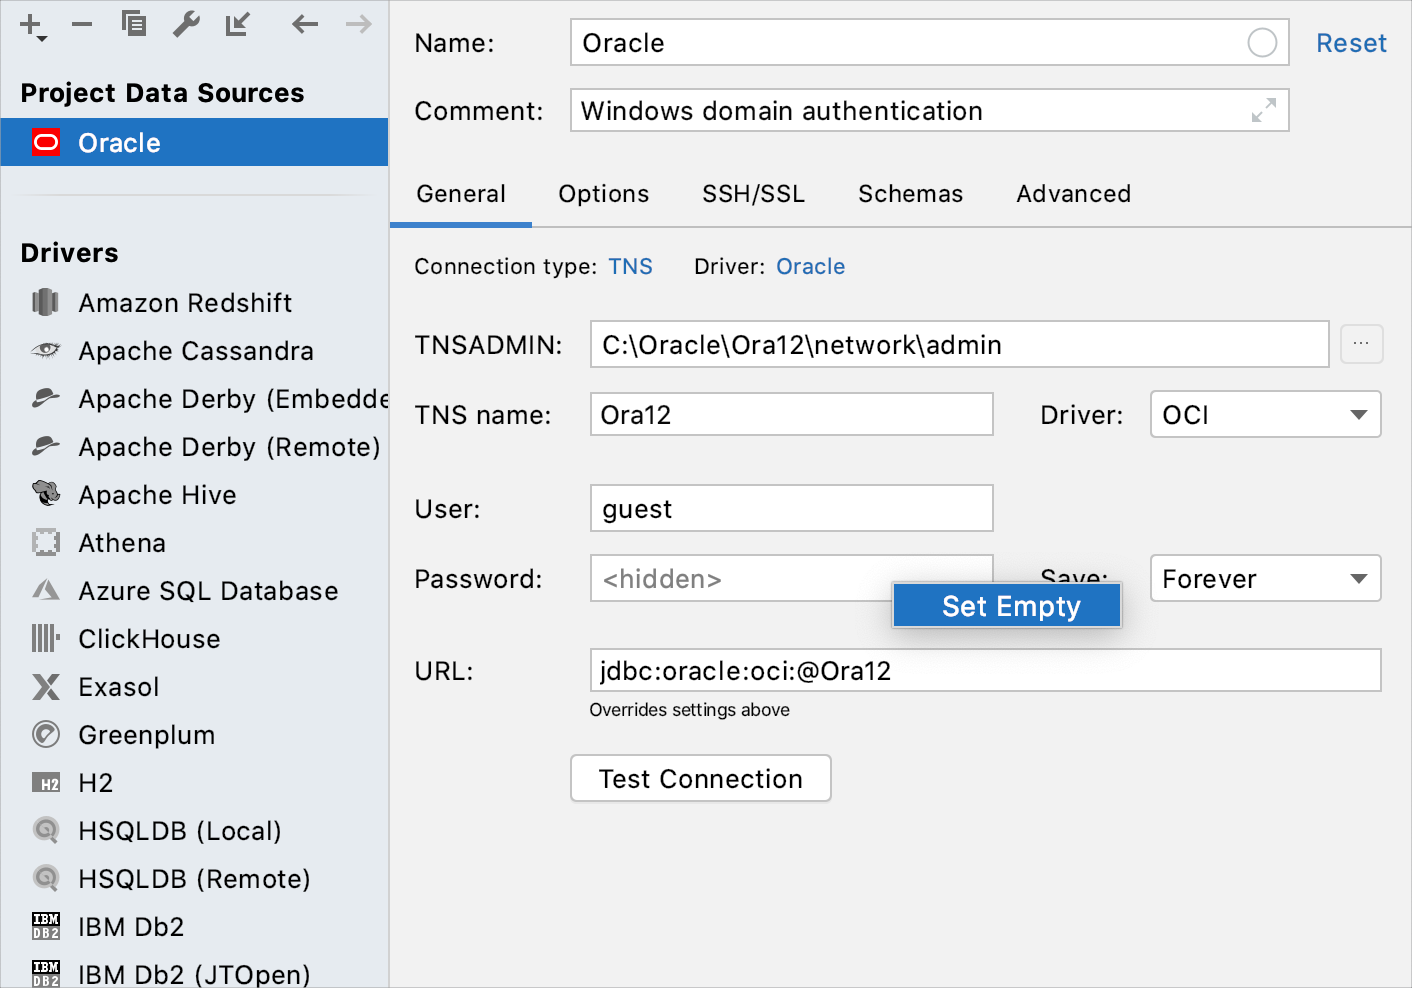
Connect to Oracle with OCI
Creating the Oracle OCI connection
Oracle Call Interface (OCI) is a C language interface to Oracle databases for custom or packaged applications. By using OCI, you can connect to Oracle and authenticate your user by using Windows domain authentication.
Open data source properties. You can open data source properties by using one of the following options:
Navigate to .
Press Ctrl+Alt+Shift+S.
In the Database tool window ( ), click the Data Source Properties icon
.
In the Data Sources and Drivers dialog, click the Add icon (
) and select Oracle.
At the bottom of the data source settings area, click the Download missing driver files link.
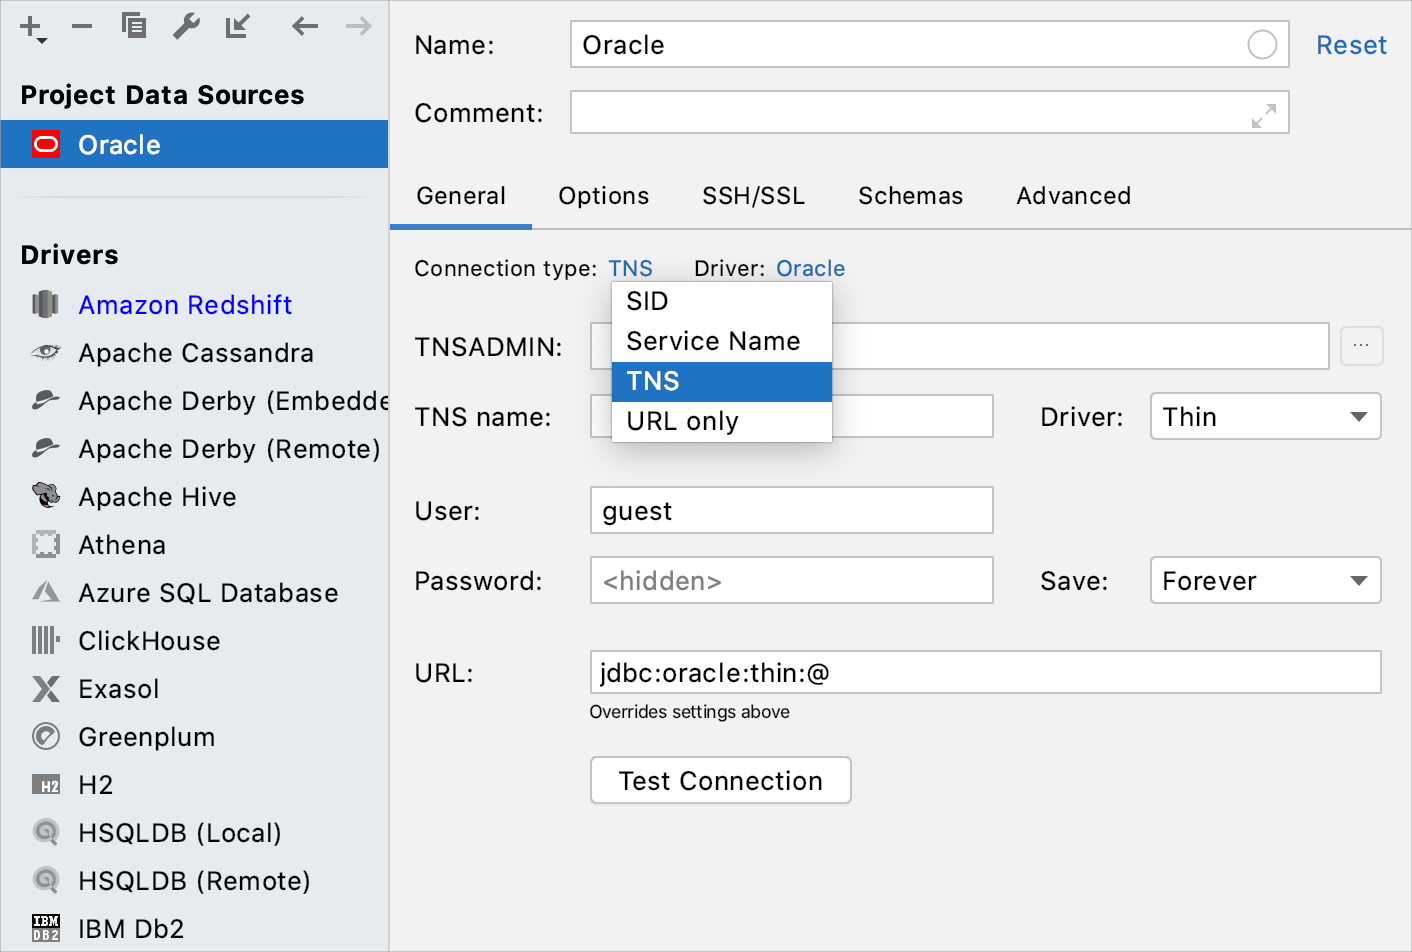
From the Connection type list, select TNS.
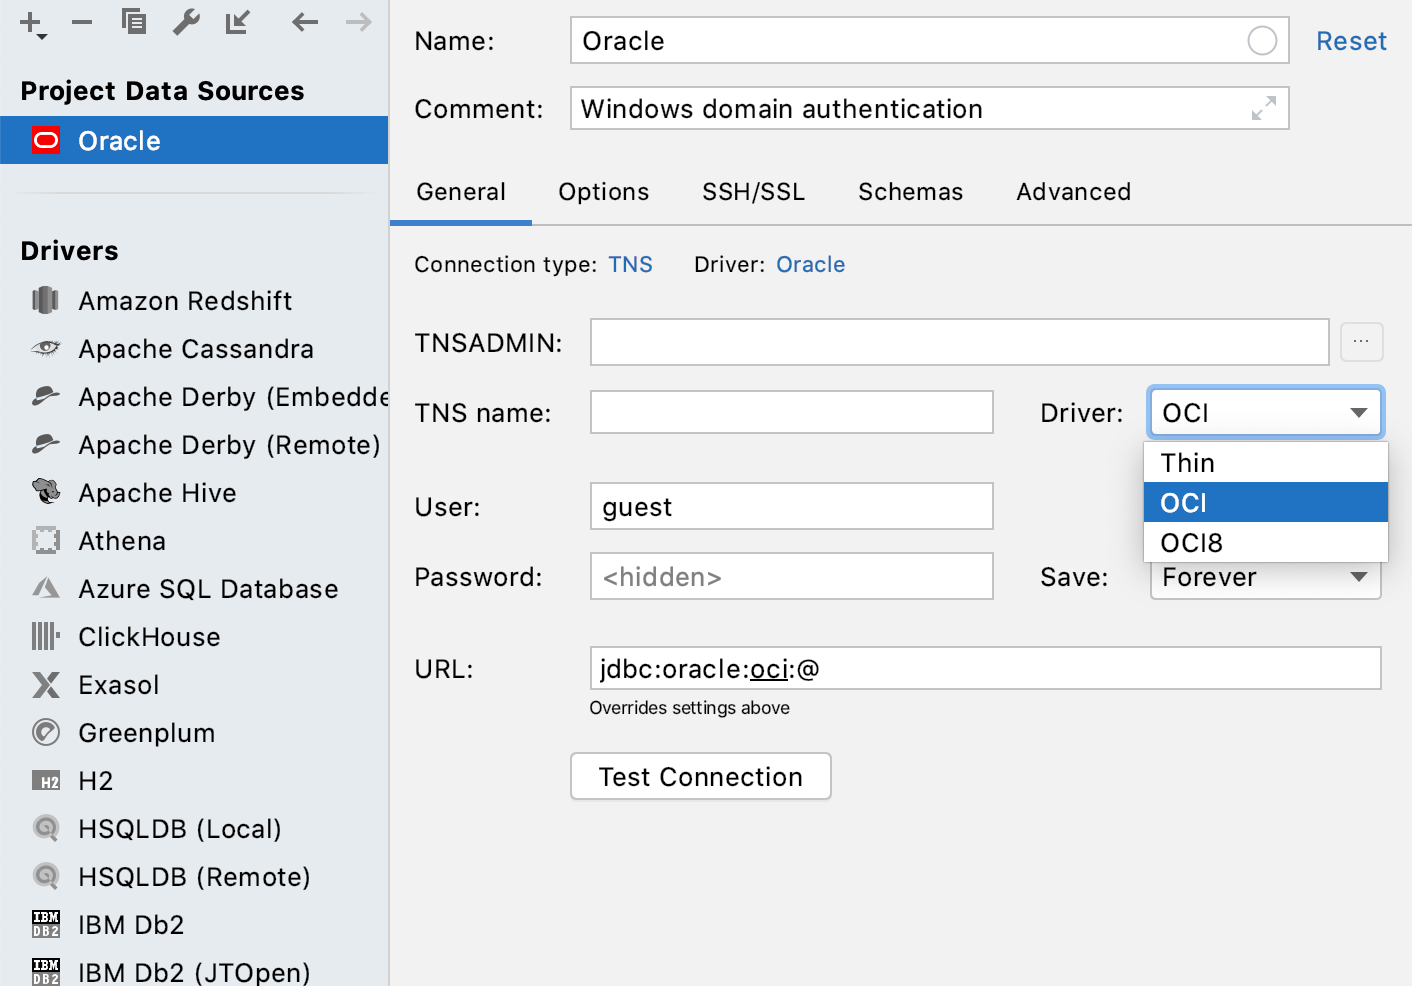
From the Driver list, select OCI.
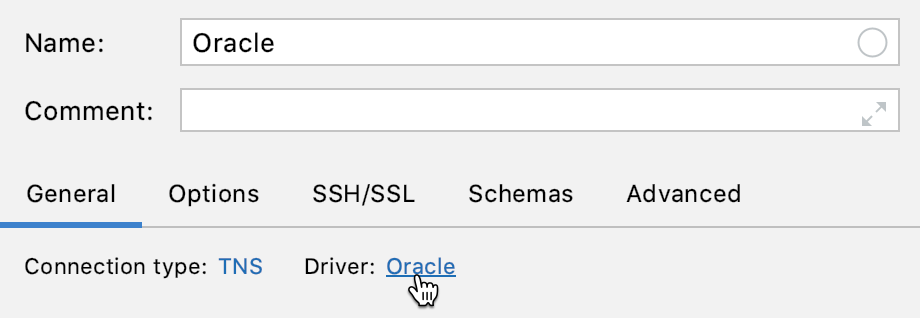
Click the Oracle driver link.
In the Driver files pane, select the exiting driver entry and click the Remove button (
).
Click the Add button (
) and select Custom JARs. In the file browser, navigate to ojdbc*.jar and orai18n.jar files.
You can get these files in the following locations:
The
ORACLE_HOMEdirectory that is a directory where the Oracle software is installed. By default, ojdbc*.jar is in ORACLE_HOME\jdbc\lib. Take the maximum available version of ojdbc*.jar in the directory (for example, ojdbc7.jar ). orai18n.jar is in the ORACLE_HOME\jlib.Download them from the Oracle site. Ensure that you download ojdbc*.jar and orai18n.jar that are suitable for your server version.
In the file browser, select a file and click Open. Add ojdbc*.jar and orai18n.jar to the Driver files pane.
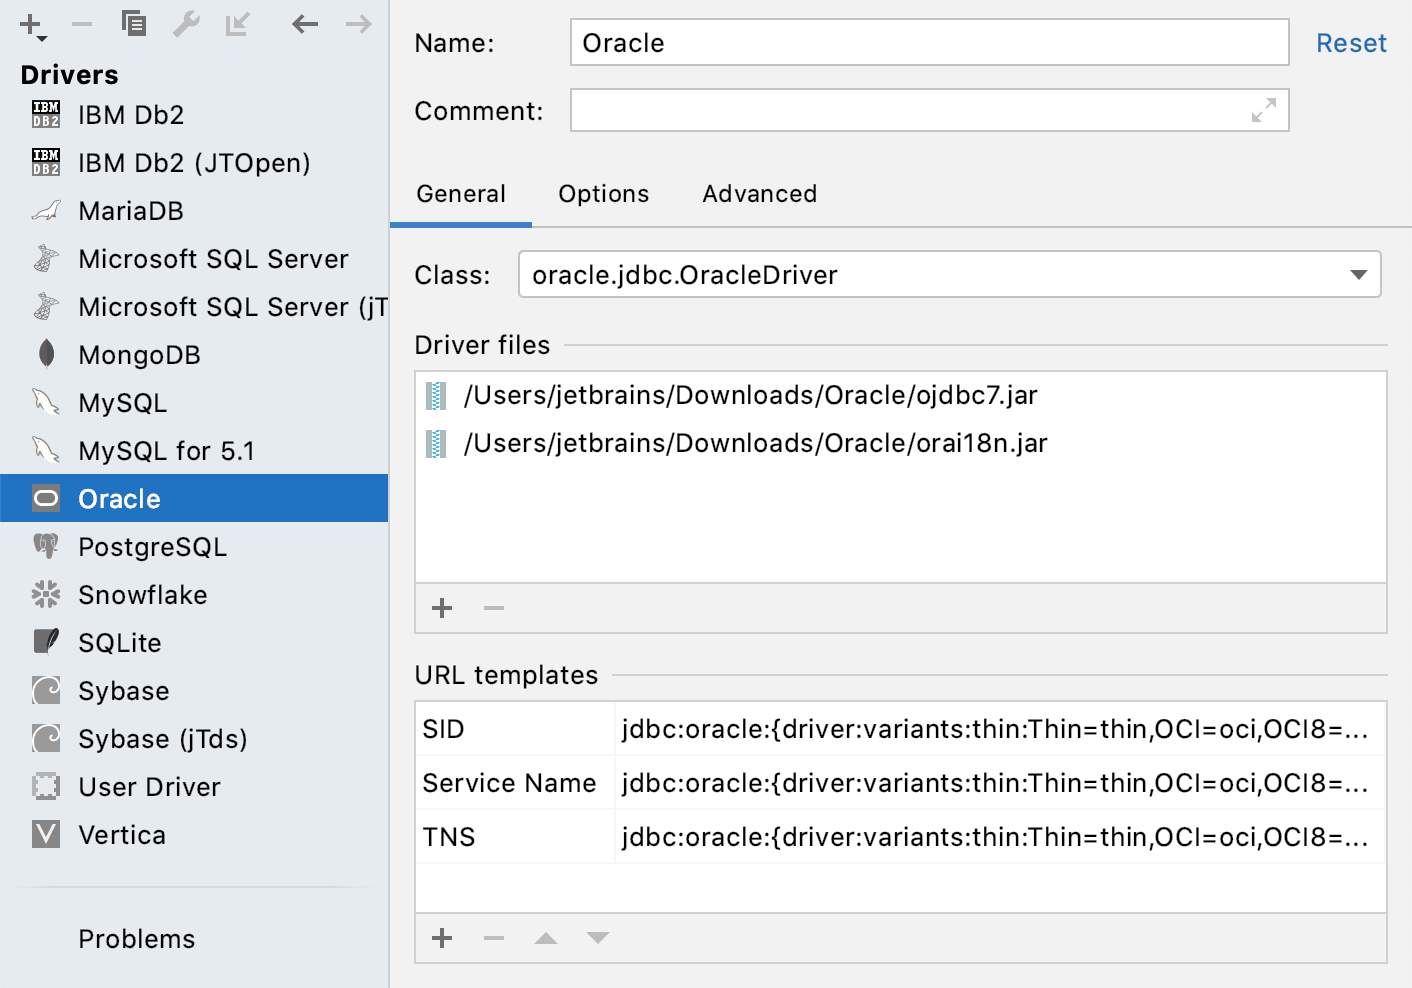
Click the Add button (
) and select Native Library Path. In the file browser, navigate to the bin directory in the
$ORACLE_HOMEdirectory. To find the current value of the$ORACLE_HOMEvariable, open the command prompt and runecho %ORACLE_HOME%(for Windows) orecho $ORACLE_HOME(for Linux and macOS).Use this action instead of setting
LD_LIBRARY_PATH(macOS and Linux) orPATH(Windows) environment variables to $ORACLE_HOME\BIN.Click the created Oracle data source.
In the TNSADMIN field, specify the path to the tnsnames.ora. By default, tnsnames.ora is located in the ORACLE_HOME/network/admin directory. For more information about tnsnames.ora, see Local Naming Parameters (tnsnames.ora) at docs.oracle.com.
In the TNS name field, specify what service name to use (see a value of
net_service_namein tnsnames.ora) if you have more than one service.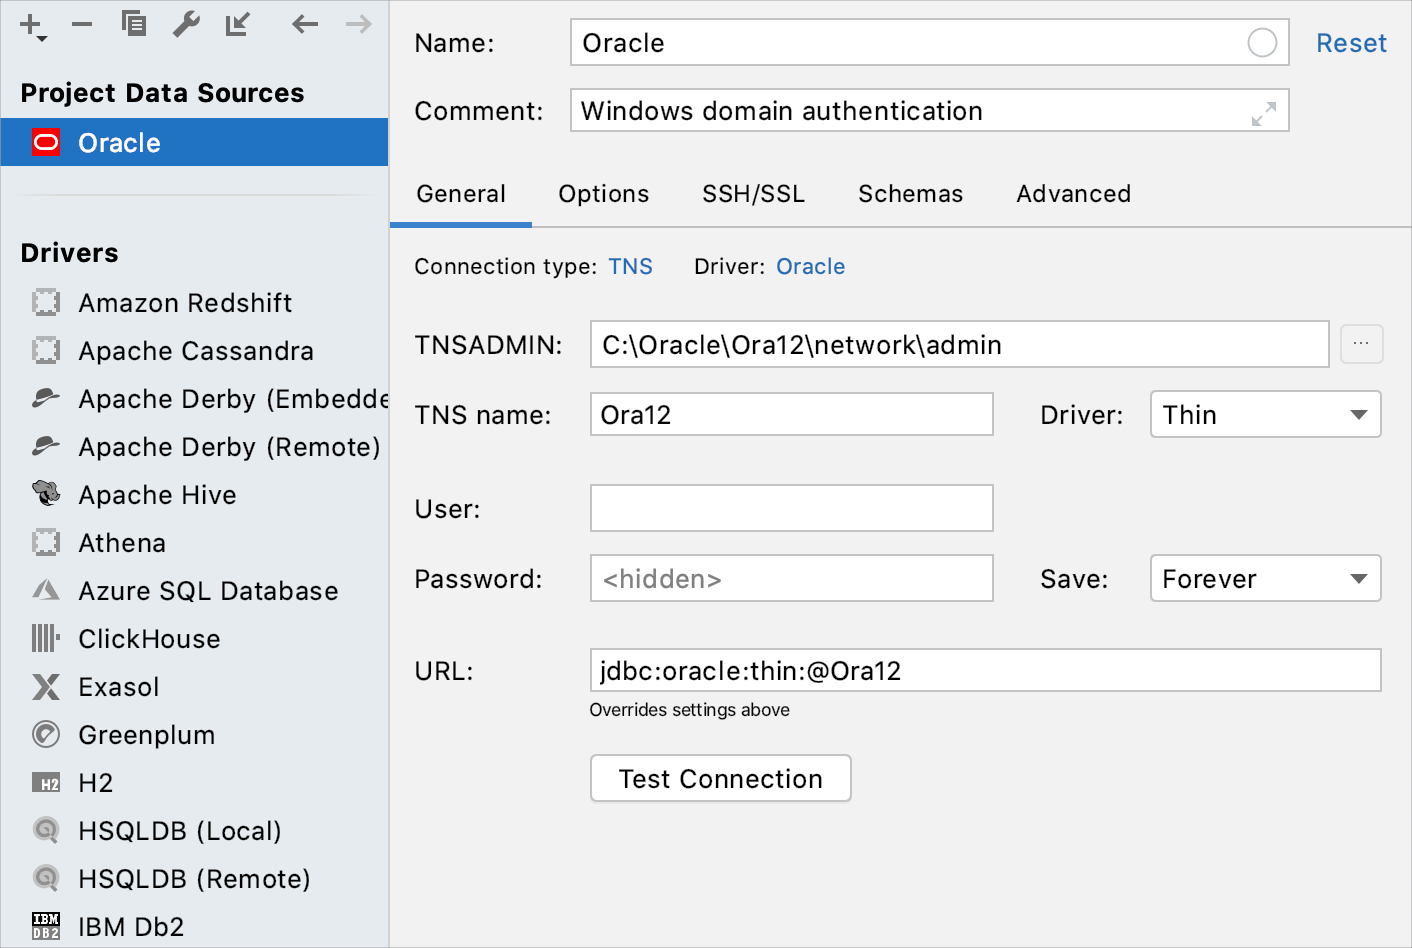
To ensure that the connection to the data source is successful, click Test Connection.
Connecting to Oracle by using Windows domain authentication
Create an OCI connection to Oracle. For more information about creating the OCI connection, see Creating the Oracle OCI connection.
Right-click the Password field and select Set empty.
From the Save list, select Forever.
To ensure that the connection to the data source is successful, click Test Connection.
