Comment notebooks
Use comments to improve and facilitate collaboration on notebooks and reports.
Basic procedure
Add comments in notebooks or reports
The comments feature works on the cell level. You can leave a comment to any specific cell in the notebook or report. Each original comment starts a thread that will contain the initial comment and all respective replies.
Open the notebook or report.
Click the Add comment icon next to the upper right corner of the cell.
In the comment box, click Add comment. A text field will appear.
In the text field, type your comment.
(Optional) To mention another user, do the following:
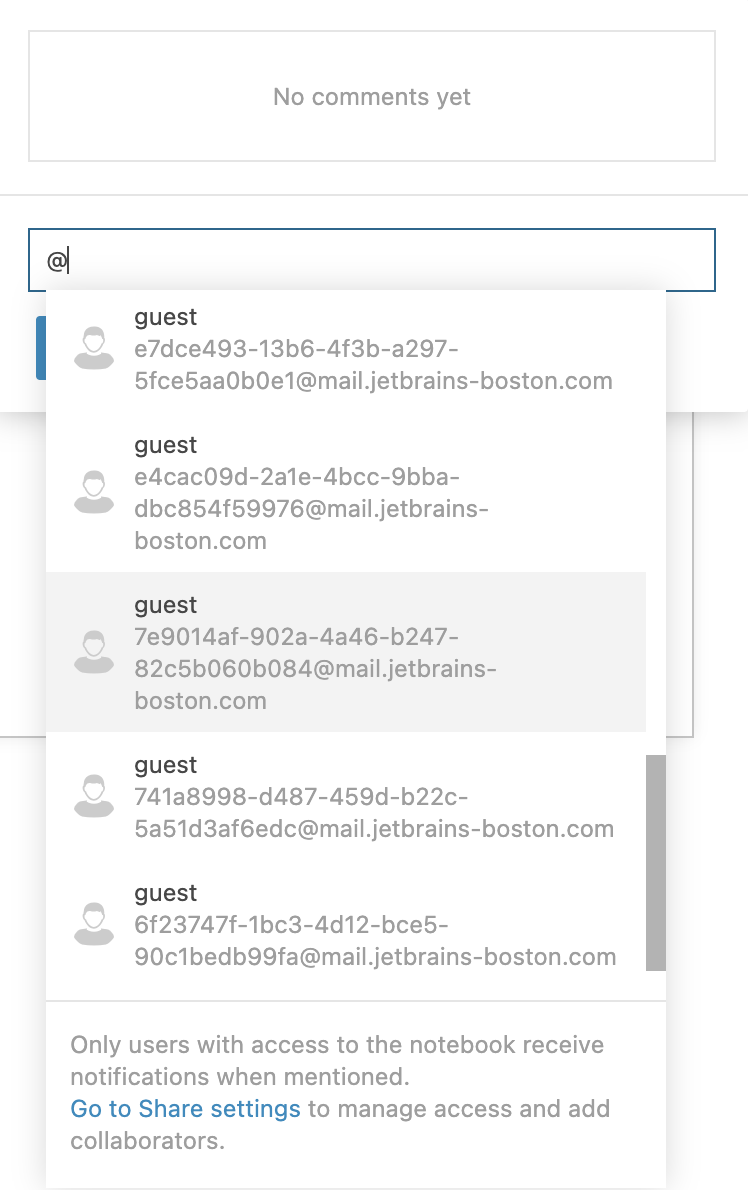
Type @. This will open a list of users that you can mention.

Click the user you want to mention. Their user name will appear in the text field for your comment.
(Optional) To mention another user, repeat the steps.
After you finish writing the comment, click the Post button.
Once your comment is added:
A separate thread is created that will contain the original comment and all replies to it. Multiple comments form a stack of threads, all displayed in the same comment box for the respective cell.
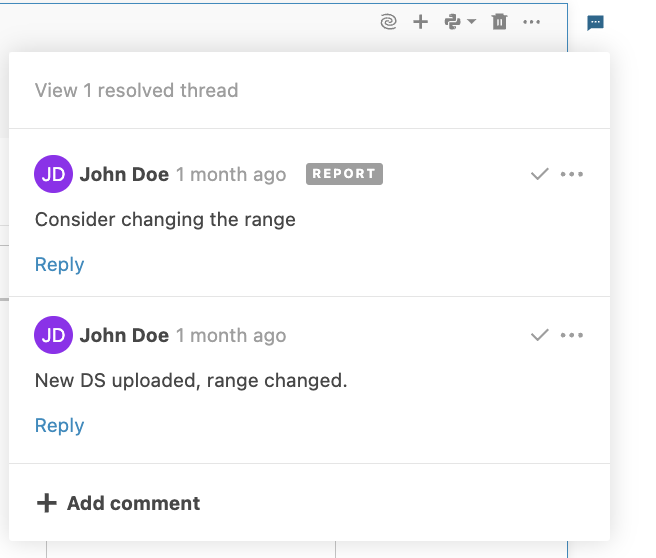
If added to a cell in the report, such a comment will be marked with a REPORT label.
In the image below, you can see a comment view with two threads. One of the comments was added in the report and marked accordingly.

Notebook/report owner and users mentioned in the comment are notified via email. If you don't want to get notifications, go to and select the None checkbox.

Further actions on comments
Reply to a comment
Participate in collaboration by replying to notebook or report comments.
Find the comment you want to reply by navigating to the respective cell.
Click the View comments icon.
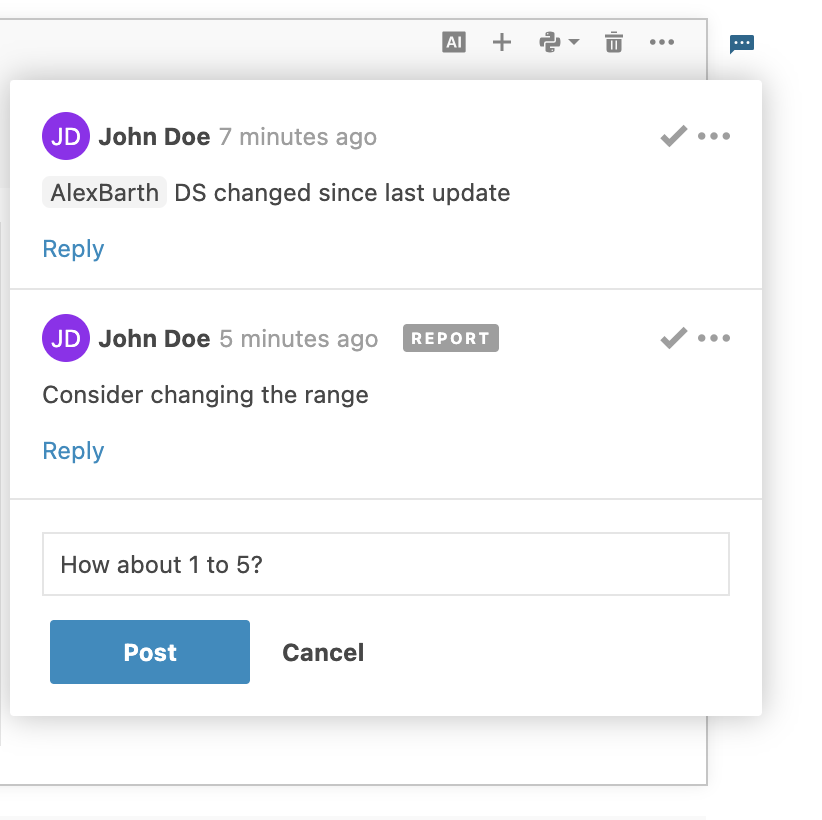
Click Reply. (Optional) If there are several threads to the cell, make sure you reply to the right comment.

In the text field, type your reply and click Post.
The reply you made will be added to the respective thread.
Resolve notebook comment threads
Users with editor rights can resolve comment threads. By doing so, you hide a comment thread from the comment view and disable the replying option. You can later reopen a resolved comment thread to make it active again.
Navigate to the cell with the comment thread you want to resolve and click the View comments icon.
Hover over the thread and click the Resolve thread icon.
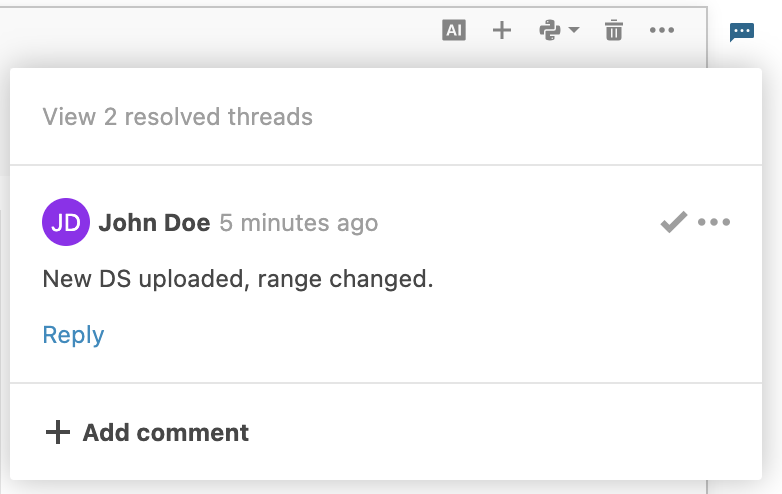
(Optional) To view the resolved thread, click the View [n] resolved thread(s) line on top of the comment view.

Reopen or delete notebook comment threads
You can reopen or delete an unresolved thread so that users can view it and leave replies.
In the notebook, navigate to the cell with the resolved comment thread you want to reopen and click the View comments icon.
Click the View [n] resolved thread(s) line on top of the comment view. You will see the stacked resolved threads.
Hover over the thread you want to reopen and click the More actions icon.
Seleсt one of the options:
Reopen thread to make the thread active again.
Delete to delete the thread. Complete the action by confirming it in the confirmation dialog.
Click Go back to active threads to return to the unresolved threads.
Edit a comment
As the author of an original comment or reply, you can edit its text.
Navigate to the comment you want to edit and click the View comments icon.
In the comment view, hover over the comment/reply and click the More actions icon.
Select Edit from the dropdown.
Edit the text and click the Save button.
Delete a comment
Users with editor rights can delete a comment.
Navigate to the comment you want to delete and click the View comments icon.
In the comment view, hover over the comment/reply and click the More actions icon.
Select Delete from the dropdown.
Confirm the action in the confirmation dialog.
Keywords
comments, collaboration, leave comments, comment code