Share a notebook from Private workspace
This topic explains how to share notebooks that are stored in your Private workspace. You cannot share the workspace itself, but you can share any of its notebooks with any other user.
Users with edit access can work directly on the shared version of the notebook. Users with view access can view the shared version of the notebook but must clone it to their file system to edit its content.
Sharing procedure
There are two ways you can share your notebooks:
You share the link to the notebook
You invite users by email
Create a link
Follow this procedure to grant view or edit access to a notebook using a generated link. Anyone with the link can have the selected type of access to the notebook.
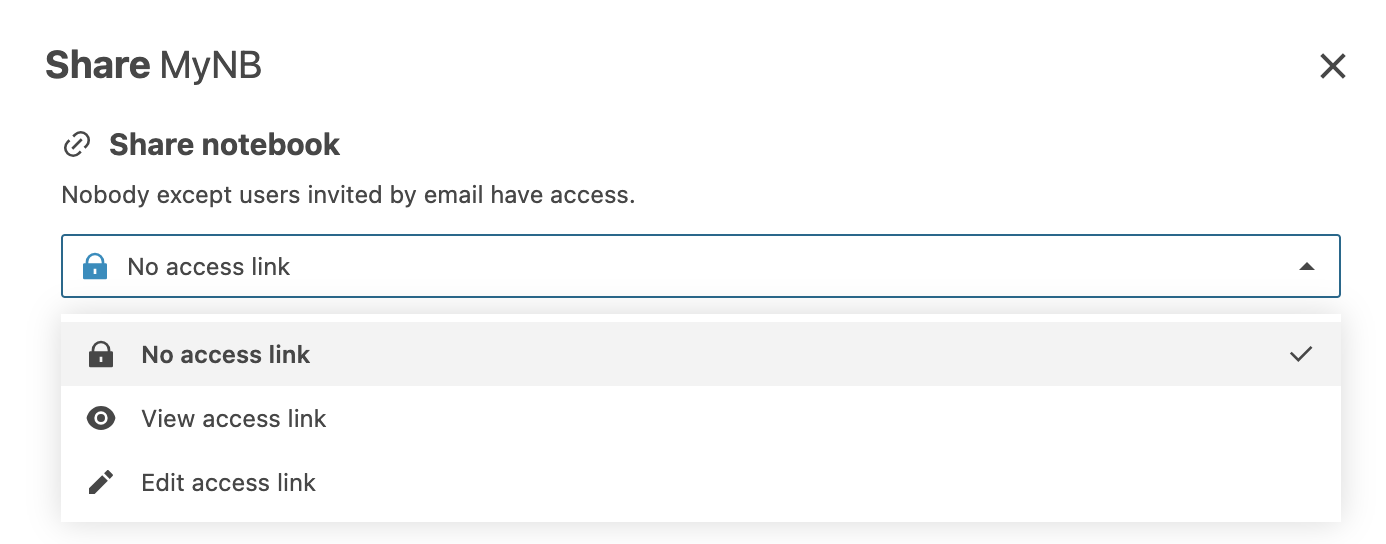
On the editor page, click the Share button in the upper right corner of the editor to open the Share [notebook_title] dialog shown in the picture below.

Under Share notebook, expand the list and select the access type you want to grant using the link.

Click the icons next to the notebook link to open it in a new browser tab or copy the link.

(Optional) To disable the link, repeat steps 1 and 2, and select No access link.
Invite users by email
Follow this procedure to share notebooks by sending email invitations with selected access types.
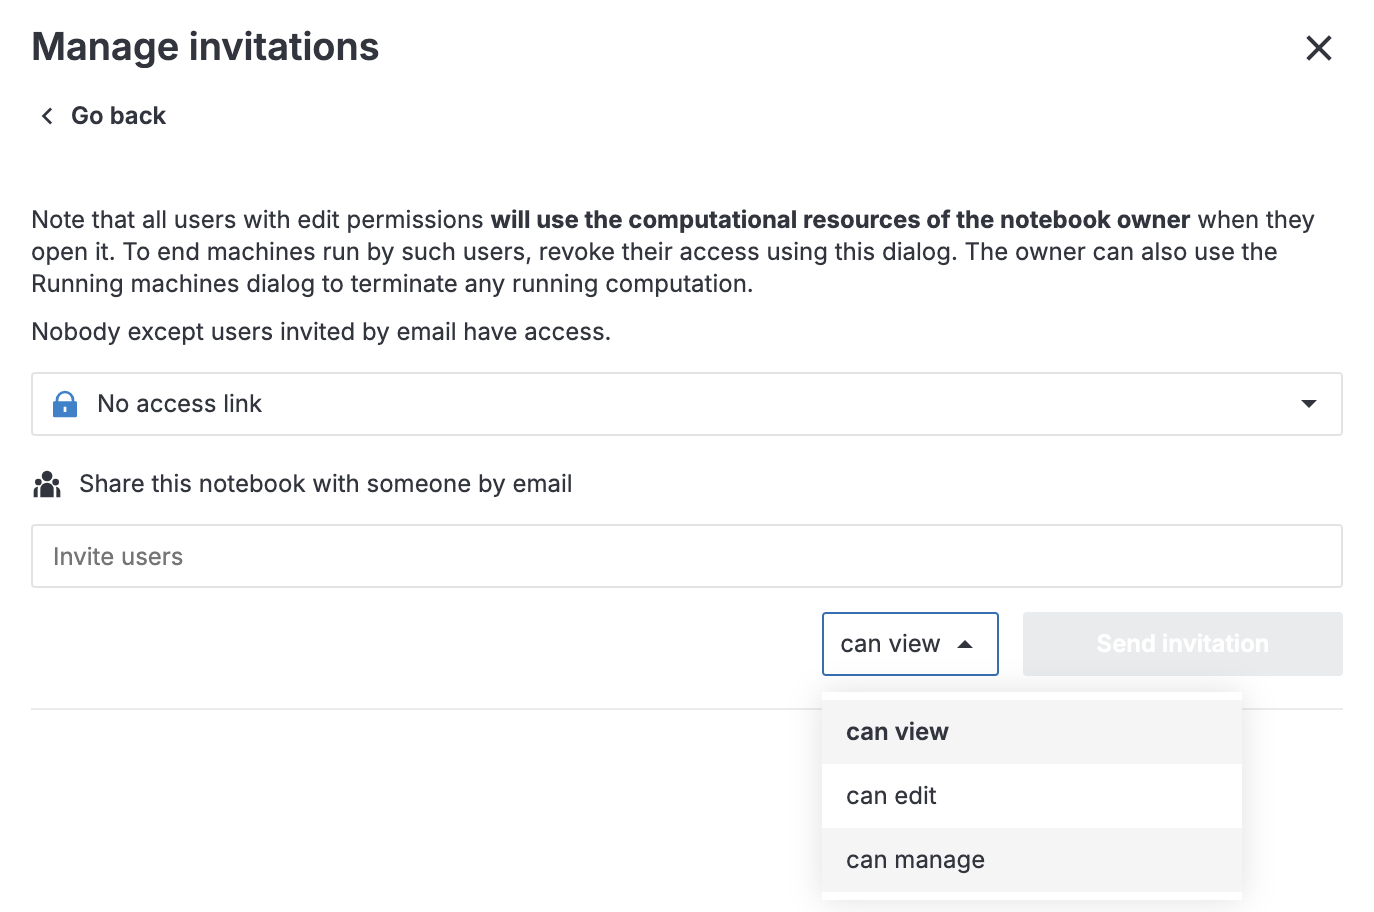
On the editor page, click the Share button in the upper right corner of the editor and click the Manage invitations button in the dialog.
In the field under Share this notebook with someone by email, enter the email addresses of the users you want to invite. You can use the autocomplete option:
The list of autocomplete suggestions includes user emails and user names matching the typed-in text.
In the On-Premises version of Datalore all registered users and user groups are searchable.
In the cloud version of Datalore, users invited for the first time will be available through autocomplete after they accept their invitation.
Select the access type you want to grant to the invited users.
Click the Send invitation button.
