Create and edit notebooks
When you have installed the required plugins and established connections to the servers, you can start working with your notebooks.
Right-click any notebook in the Big Data Tools window to open the context menu for the basic operations with the notebook. You can also use the following shortcuts:
Action | Shortcut |
|---|---|
Copy | Ctrl+C |
Paste | Ctrl+V |
Cut | Ctrl+X |
Move | F6 |
Rename | Shift+F6 |
Move to trash | Delete |
Create Note | Alt+Insert |
Zeppelin Connections Search | Ctrl+F |
Creating notebooks
You can create a new notebook on the target server (remote notebook) or in the DataSpell workspace (local notebook).
Create a remote notebook
In the Big Data Tools window, right-click any of the configured servers, folder, or note and select from the context menu or press Alt+Insert.

In the Create note dialog, enter the name of the notebook. You can use the
/symbol to create a notebook within a folder. Click OK.
The newly added notebook appears in the Big Data Tools window.

In DataSpell, you can create notebooks that are stored locally.
Create a local notebook
In the Workspace tool window, select a target directory, press Alt+Insert, and select Zeppelin Notebook.
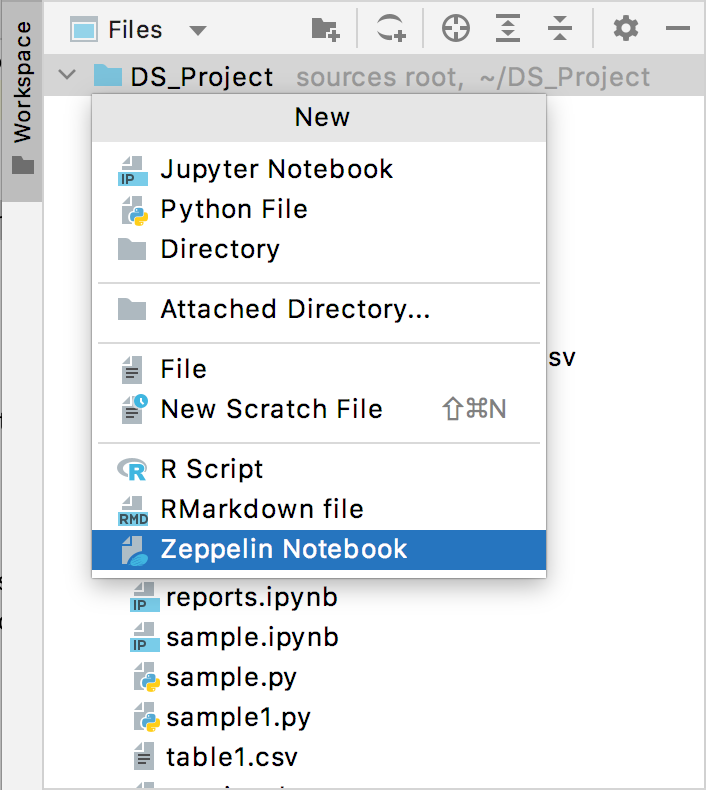
In the Create Zeppelin Notebook dialog, enter the notebook name and press Enter.

The newly added local notebook appears in the Workspace tool window.

You can search for a particular notebook in the established Zeppelin connections.
Search for a notebook
Select a target Zeppelin connection in the Big Data Tools window.
Click the
 on the Big Data Tools window toolbar. Alternatively, right-click and select Zeppelin Connections Search.
Type anything in the Search field. The matching notebooks will be shown in the list of findings.

Editing notebooks
Once you create a notebook, it opens in the editor.

Work with paragraphs
Press Enter and start editing your notebook right away.
DataSpell enables code assistance to facilitate editing and validating code:
Code completion helps you complete the names of classes, functions, and variables. Start typing the name of the code construct, and the suggestion list appears.
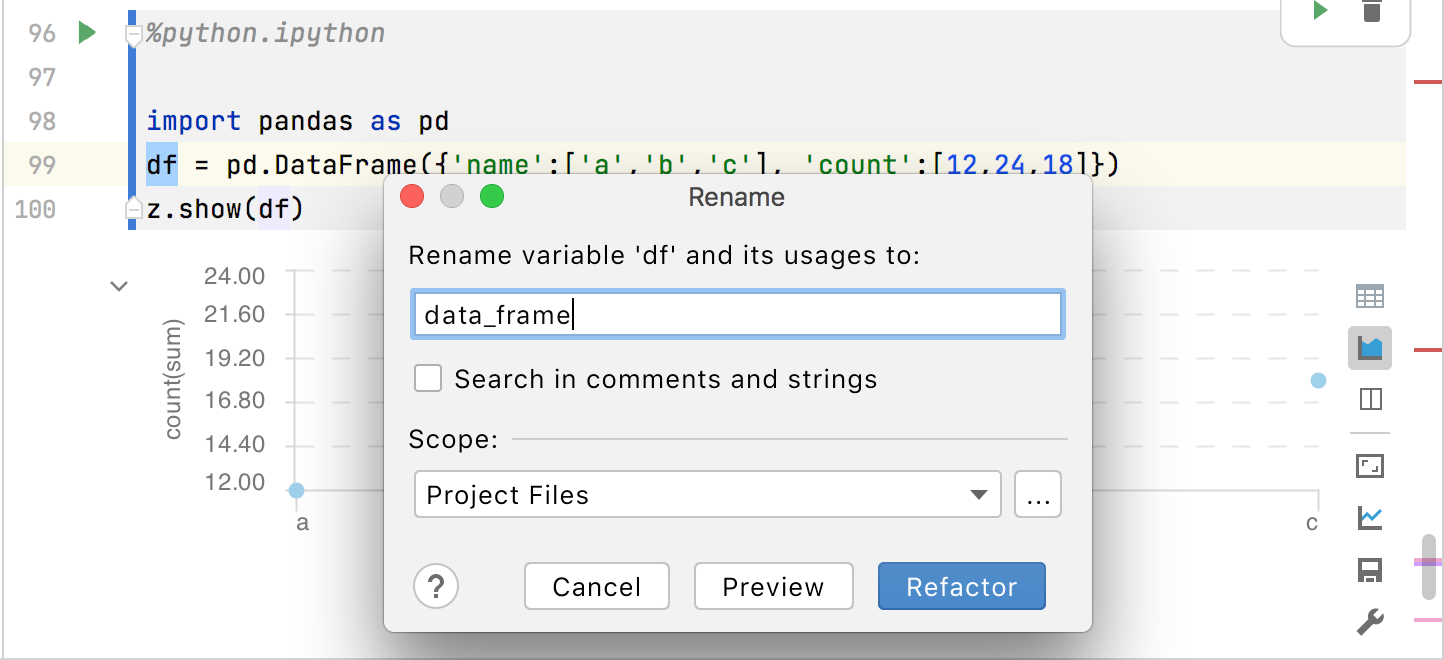
Renaming (Shift+F6) local variables or private methods can be done easily inline since only the limited scope is affected. Renaming classes or public methods could potentially impact a lot of files. Preview potential changes before you refactor.
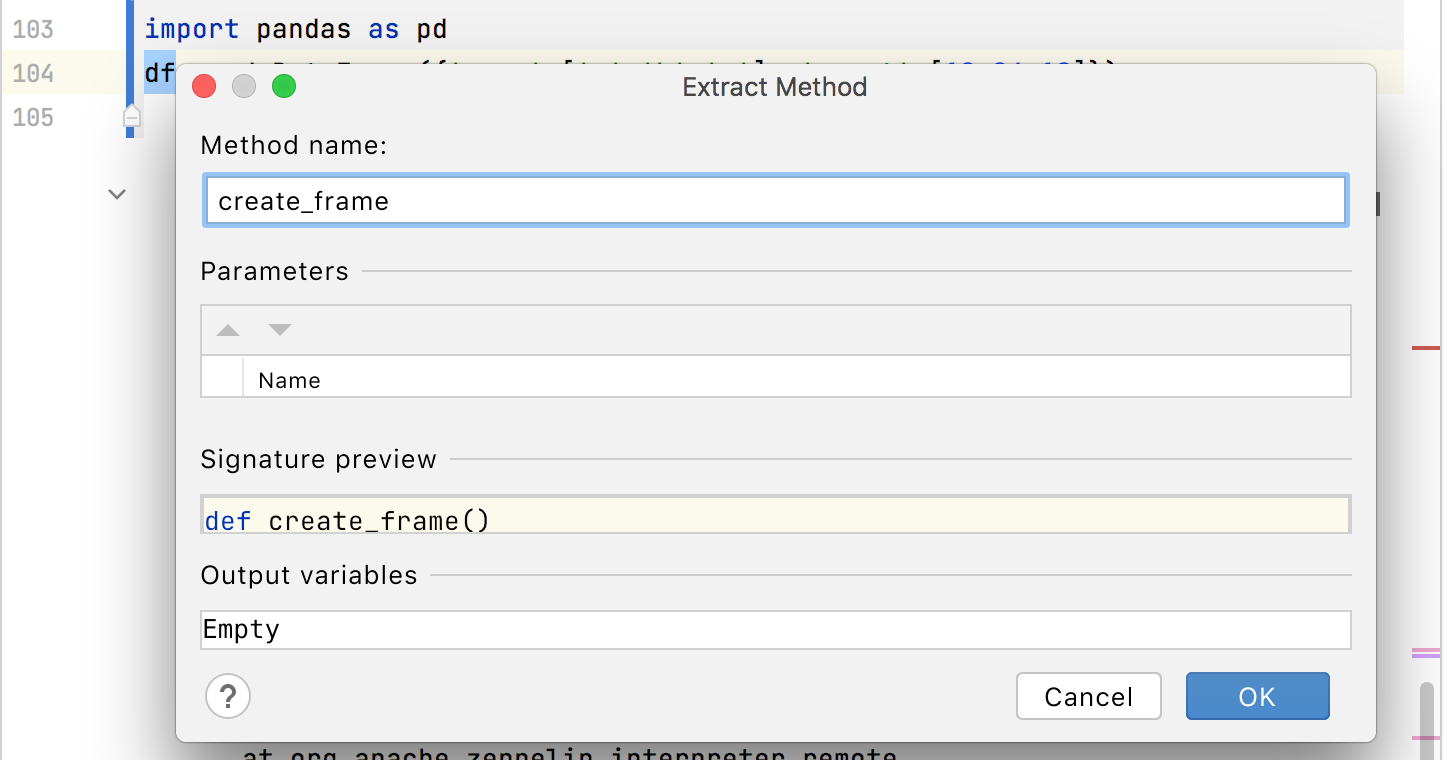
The Extract Method (Ctrl+Alt+M) refactoring lets you take a code fragment that can be grouped together, move it into a separated method and replace the old code with a call to the method.
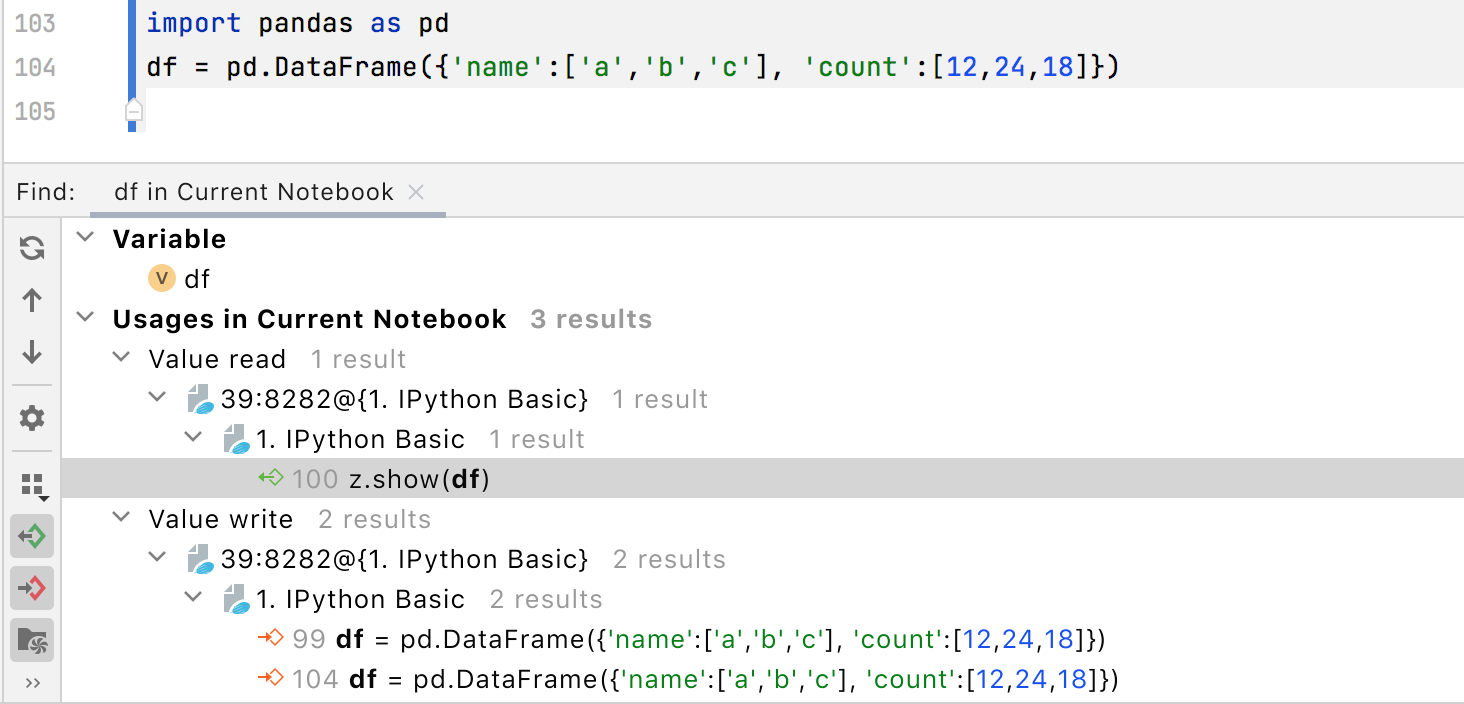
The Find Usages action (Alt+F7) allows you to search for the references of your code element throughout the entire notebook.
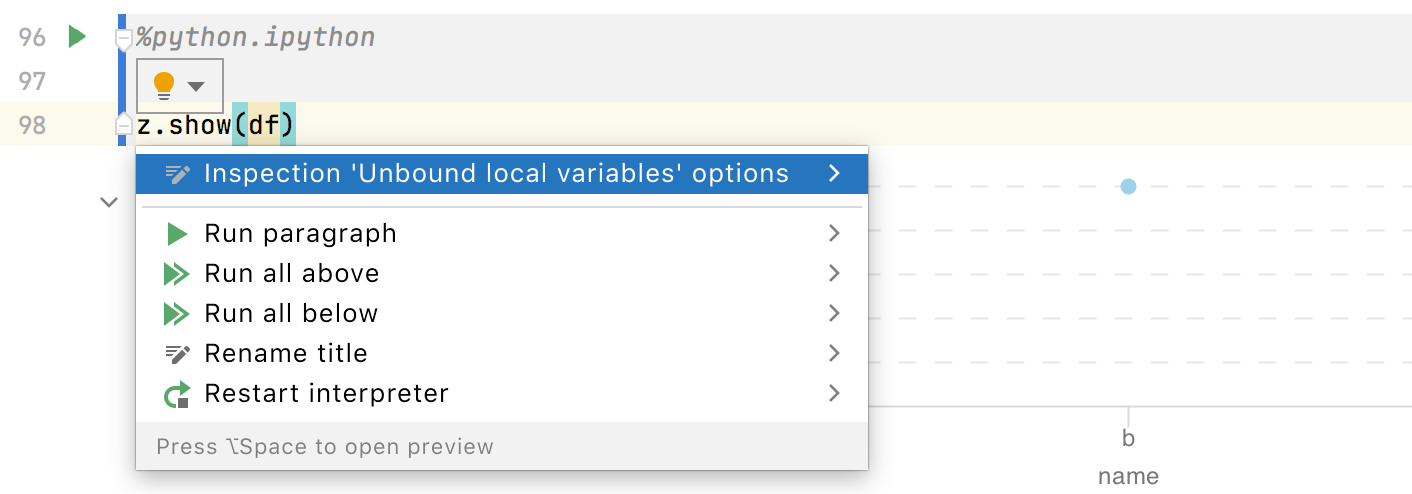
With code inspections, DataSpell analyzes your code, searches for ways to optimize it, and detects potential and actual problems. You can always press Alt+Enter to show intention actions and select an available fix.
You can navigate to the initial declaration of a symbol and symbol's type from its usage. Select a variable and press Ctrl+B.

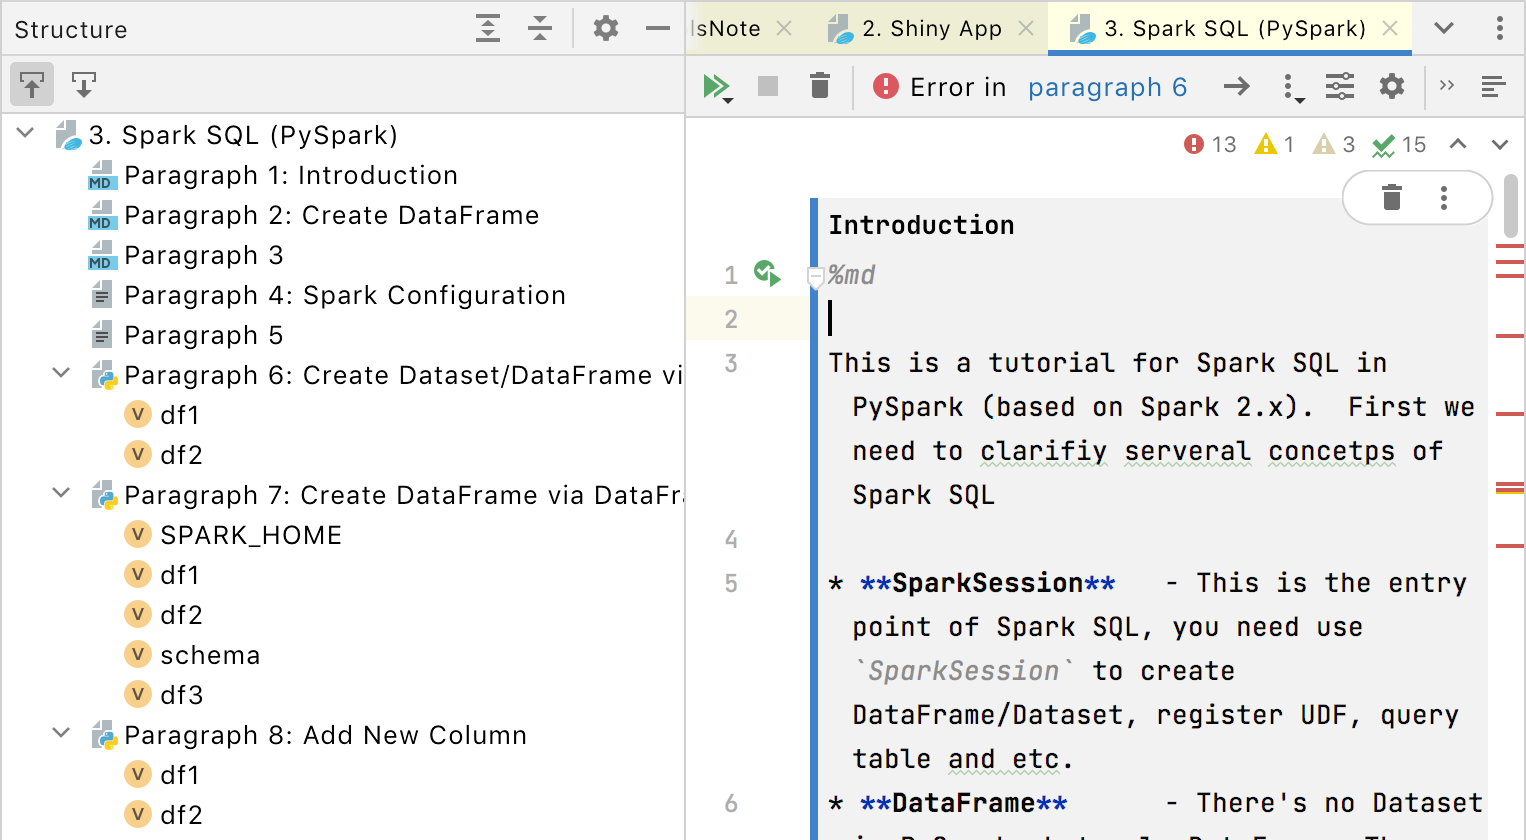
For quick navigation between the notebook paragraphs and code constructs, use the Structure tool window. Press Alt+7 to toggle its visibility.
Any time you need to clone, move, or delete the current paragraph, just right-click
to open a menu and select the required action.

Note, that you don't need to save your edits. Auto-saving is triggered by various events, for example, closing a notebook or quitting the IDE. Nevertheless, you can import local notebooks and save remote notebooks on your machine.
Export and import notebooks
To import a notebook, right-click any directory, note, or Zeppelin connection node in the Big Data Tools window and select from the context menu. Specify a path to the target .json or .zpln file.
To export a notebook, right-click any notebook on a Zeppelin server in the Big Data Tools window and select from the context menu. Specify a path to the directory where you want to save the exported notebook.
Preview notebooks in a browser
To preview your notebook in the external browser, click
on the notebook editor toolbar and select the corresponding option.

If needed, you can copy the link to the notebook to the clipboard.
Export notebook content into HTML
To export your notebook into an HTML file, click
on the notebook toolbar and select .

Specify the filename and its location in your file system, then confirm the action.
Manage interpreter bindings
Once you have added code to your notebook, you're ready to execute it and analyze the data. However, you can customize the interpreters used to execute paragraphs by the target server.
On the notebook editor toolbar, click
.
In the Interpreter Bindings dialog, use the arrow buttons to alter the priority of an interpreter.

You can also deselect an interpreter and explicitly disable it or restart any interpreter when, for example, the corresponding session got expired.