Manage Git branches
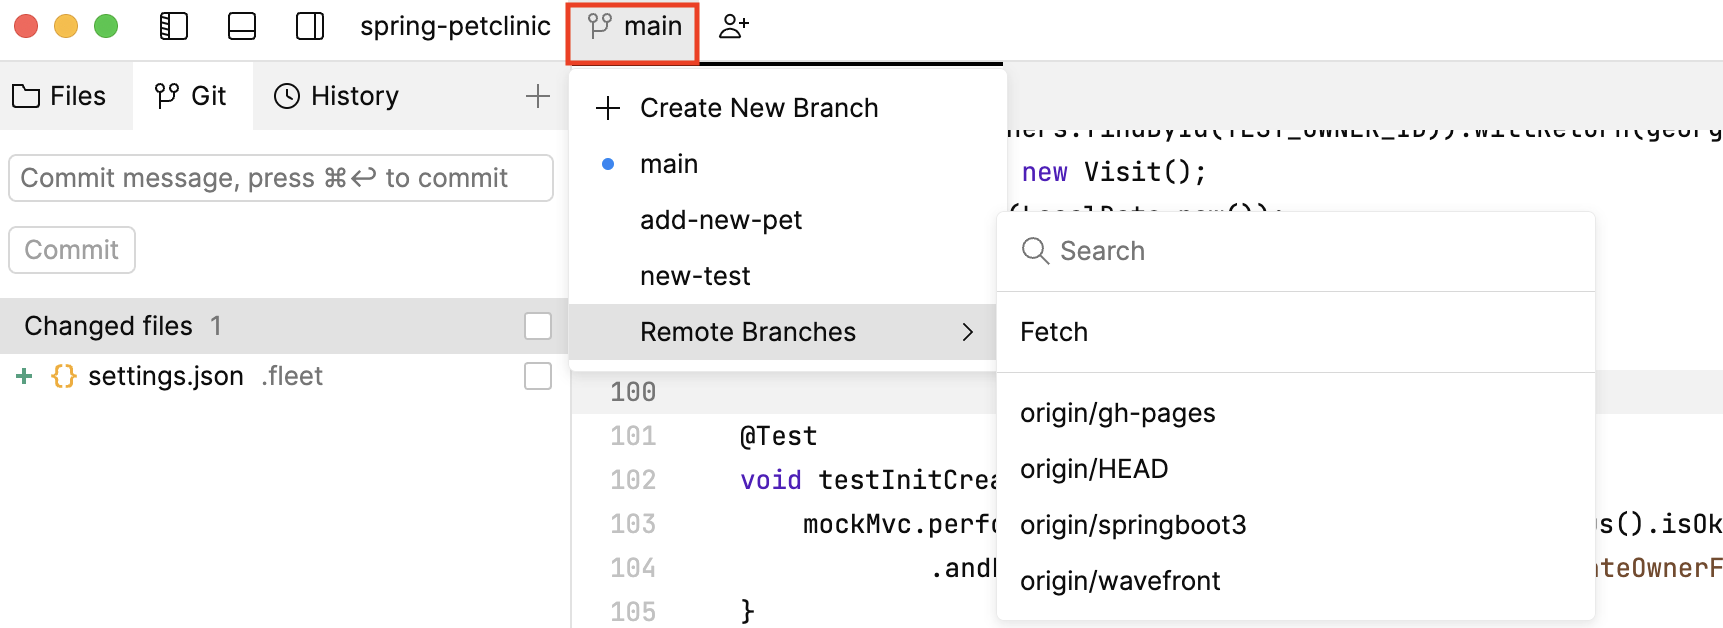
In Fleet, all operations with branches are performed in the Branches menu:

It shows the name of the branch that is currently checked out.
Create new branch
Create a new branch from current branch
In the Branches menu, click Create New Branch next to the plus icon.
In the dialog that opens, specify the branch name.
Fleet then automatically checks out the newly created branch. A blue circle next to the branch name indicates that this branch is currently checked out.
Check out branches (git-checkout)
Check out a local branch
To check out one of the local branches:
Open the Branches menu.
Select the branch you want to check out and click it.
If the branch is not on the list, in the Branches menu, choose More Local Branches and then click the branch that you want to check out.
Now the Branches menu shows the name of the branch you just checked out.
Also, a blue circle next to the branch name in the list of local branches indicates that this branch is currently checked out.
Check out a remote branch as a new local branch
If you want to work on a branch created by someone else, you need to check it out to create a local copy of that branch.
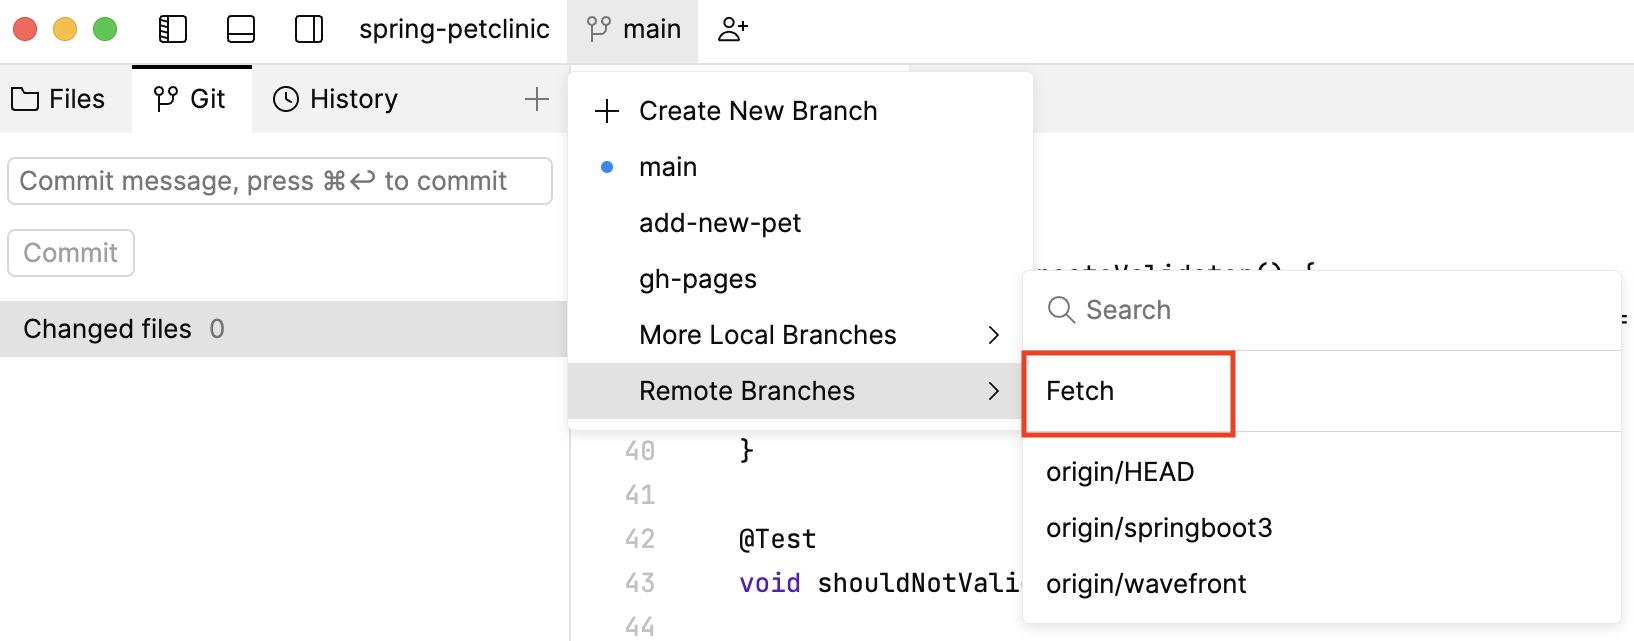
To make sure you have a full list of remote branches, in the Branches menu, choose Remote Branches | Fetch:

In the Branches menu, open the Remote Branches list.
Select a branch that you want to check out locally and click it.
The new local branch is now created. It is set to track the origin remote branch and has the same name.