Run GoLand for the first time
When you run GoLand for the first time, or after you have upgraded it from a previous version, some steps are required to complete the installation, customize your instance and start working with the IDE.
Import GoLand settings
In the Import GoLand Settings From dialog, select whether you want to import the IDE settings:
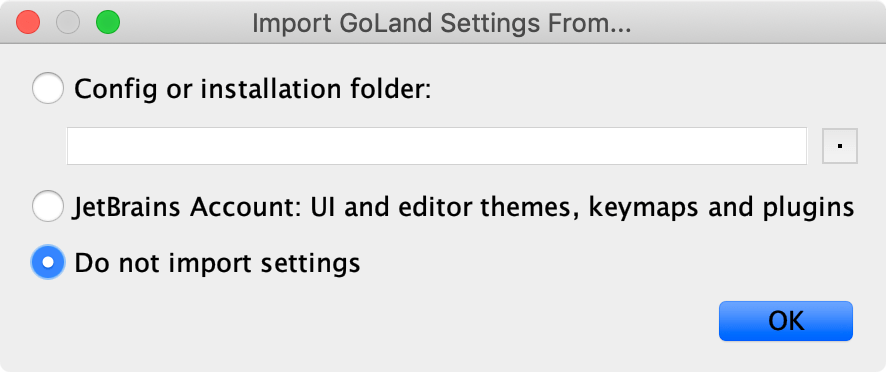
If this is your first instance of GoLand, choose the Do not import settings option.
Start a project in GoLand
On the Welcome screen, you can do the following:
Open an existing project
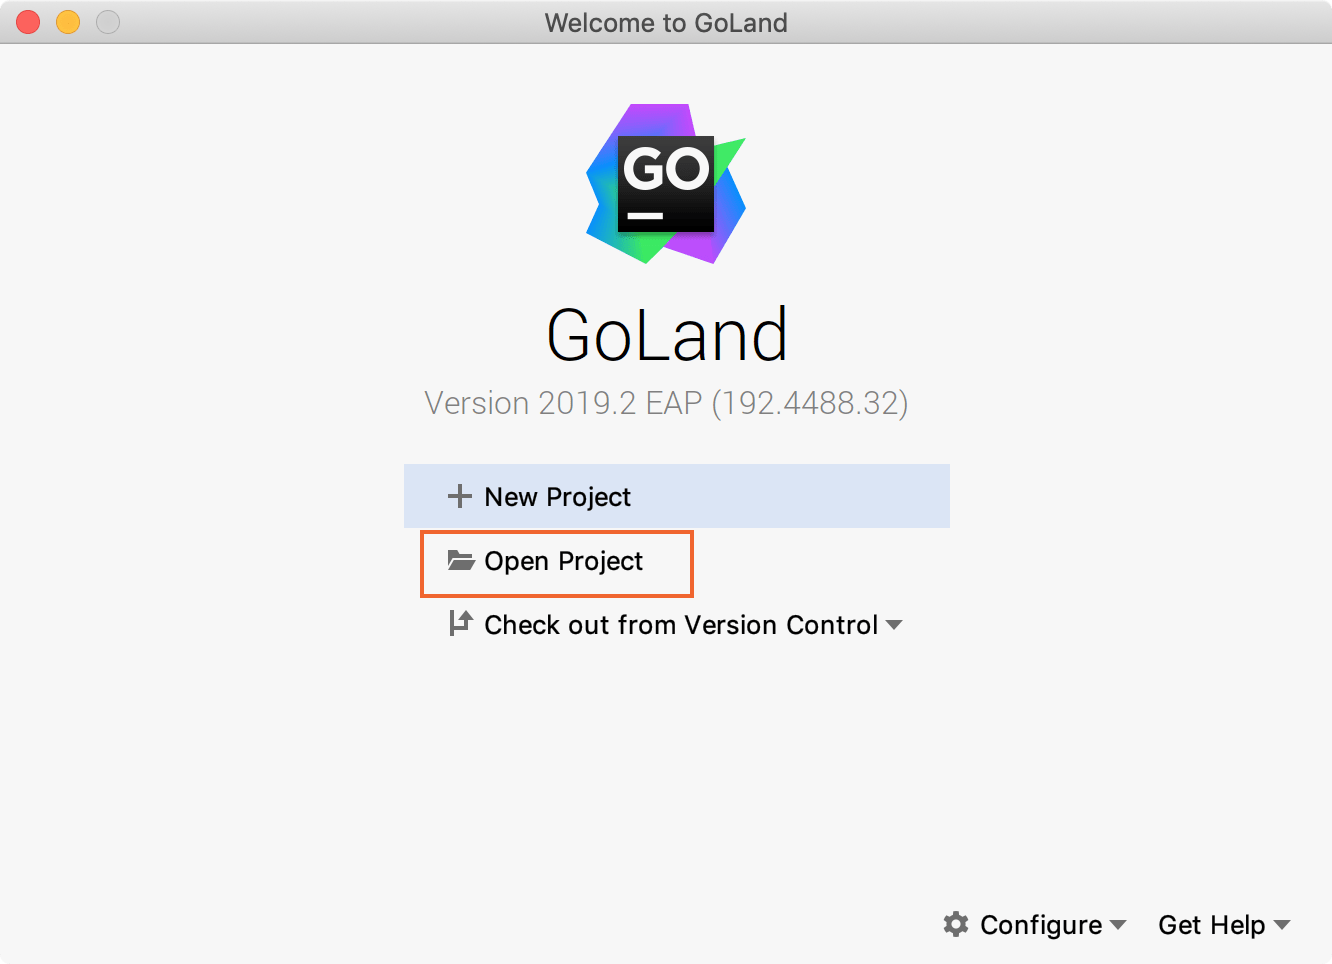
To open a project that you store on your computer, click Open Project. In the file browser, navigate to a folder with project files and click Open.
After you have opened your project, you need to specify the location of the Go SDK. You can specify a local path to the SDK or download it. To set the Go SDK, open settings Ctrl+Alt+S and navigate to . Click the Add SDK button (![]() ) near the GOROOT field and select between two options:
) near the GOROOT field and select between two options:
Local: use a local SDK copy. In the file browser, navigate to the SDK version that is on your hard drive.
Download: download the SDK. In the Target directory field, specify the path for the SDK. To use a file browser, click the Browse icon
 . Click OK.
Clone an existing project from a Version Control System
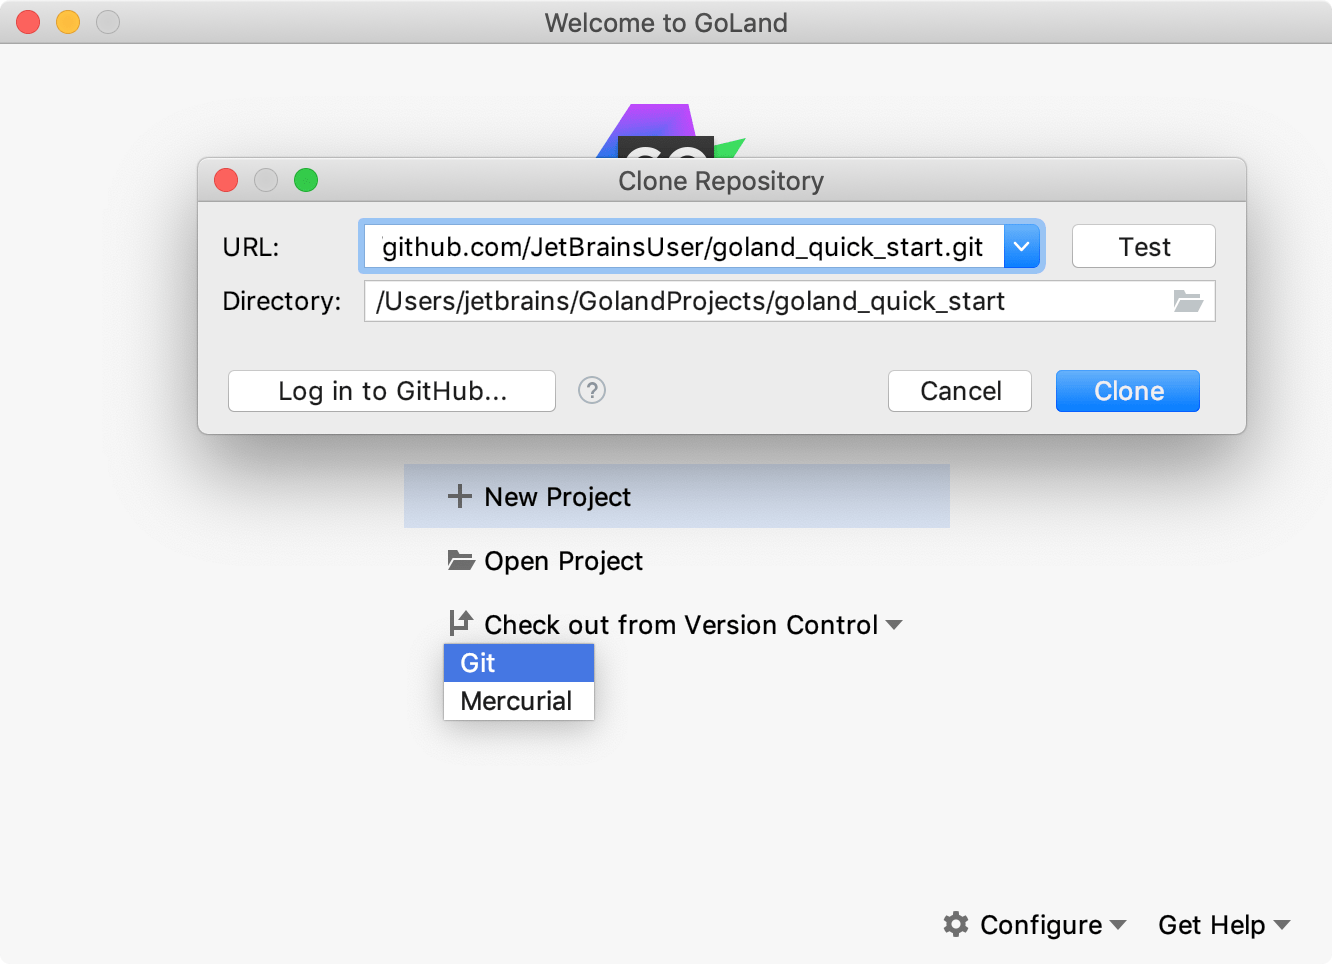
You can also download sources from a VCS storage or repository. Click Check out from Version Control and select between Git (GitHub) or Mercurial:
To сheck out files from GitHub, click Log in to GitHub to enter your credentials. Enter a path to the sources and clone the repository to your computer.
To сheck out files from Mercurial, install and configure Mercurial and restart GoLand. Enter a path to the sources and clone the repository to your computer.
After you have opened your project, you need to specify the location of the Go SDK. You can specify a local path to the SDK or download it. To set the Go SDK, open settings Ctrl+Alt+S and navigate to . Click the Add SDK button (![]() ) near the GOROOT field and select between two options:
) near the GOROOT field and select between two options:
Local: use a local SDK copy. In the file browser, navigate to the SDK version that is on your hard drive.
Download: download the SDK. In the Target directory field, specify the path for the SDK. To use a file browser, click the Browse icon
 . Click OK.
For more information about version control systems, see Version control.
Create a new project
To create a project, perform one of the following actions:
Select .
On the Welcome screen, click New Project.
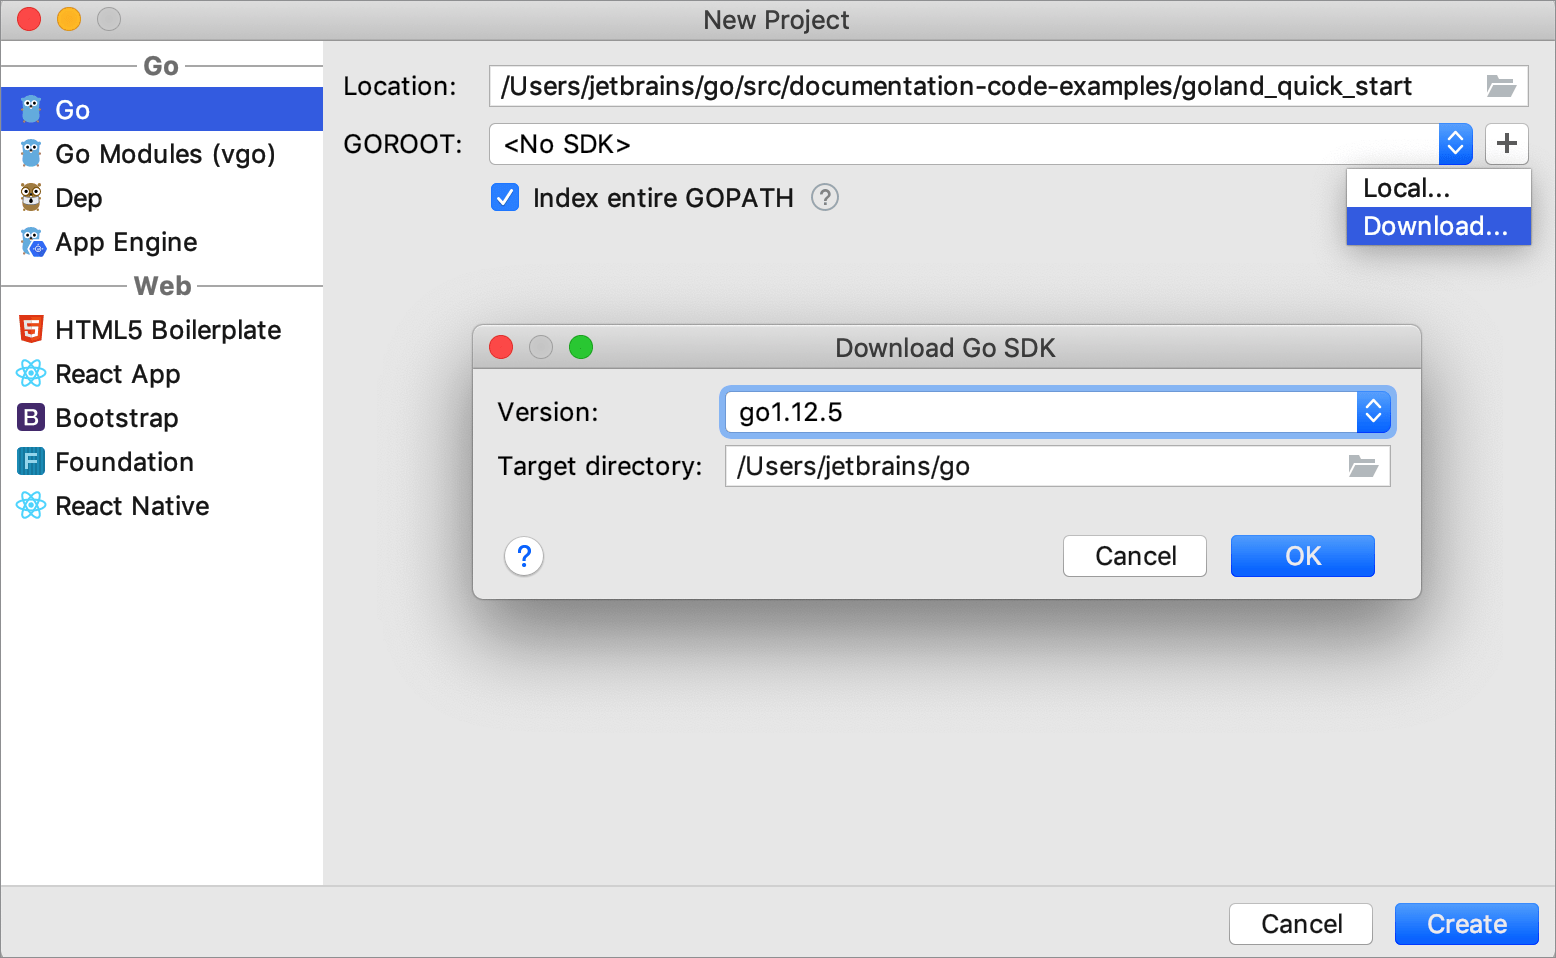
In the New Project dialog, select Go.
In the GOROOT field, specify the Go SDK. You can select a local copy of SDK or download it.
To select a local copy of the Go SDK, click the Add SDK icon (
 ) near the GOROOT field and select Local. In the file browser, navigate to the SDK version that is on your hard drive.
 To download the Go SDK, click the Add SDK icon (
 ) near the GOROOT field and select Download. From the Version list, select the SDK version. In the Target directory field, specify the path for the SDK. To use a file browser, click the Browse icon
  . Click OK.
Click Create.
Create a Go file
A new project has no Go files. To create a Go file, perform one of the following actions:
-
Right-click the parent folder of a project, and select .
-
Click the parent folder of a project, press Alt+Insert, and select Go File.
-
Click the parent folder of a project, navigate to .
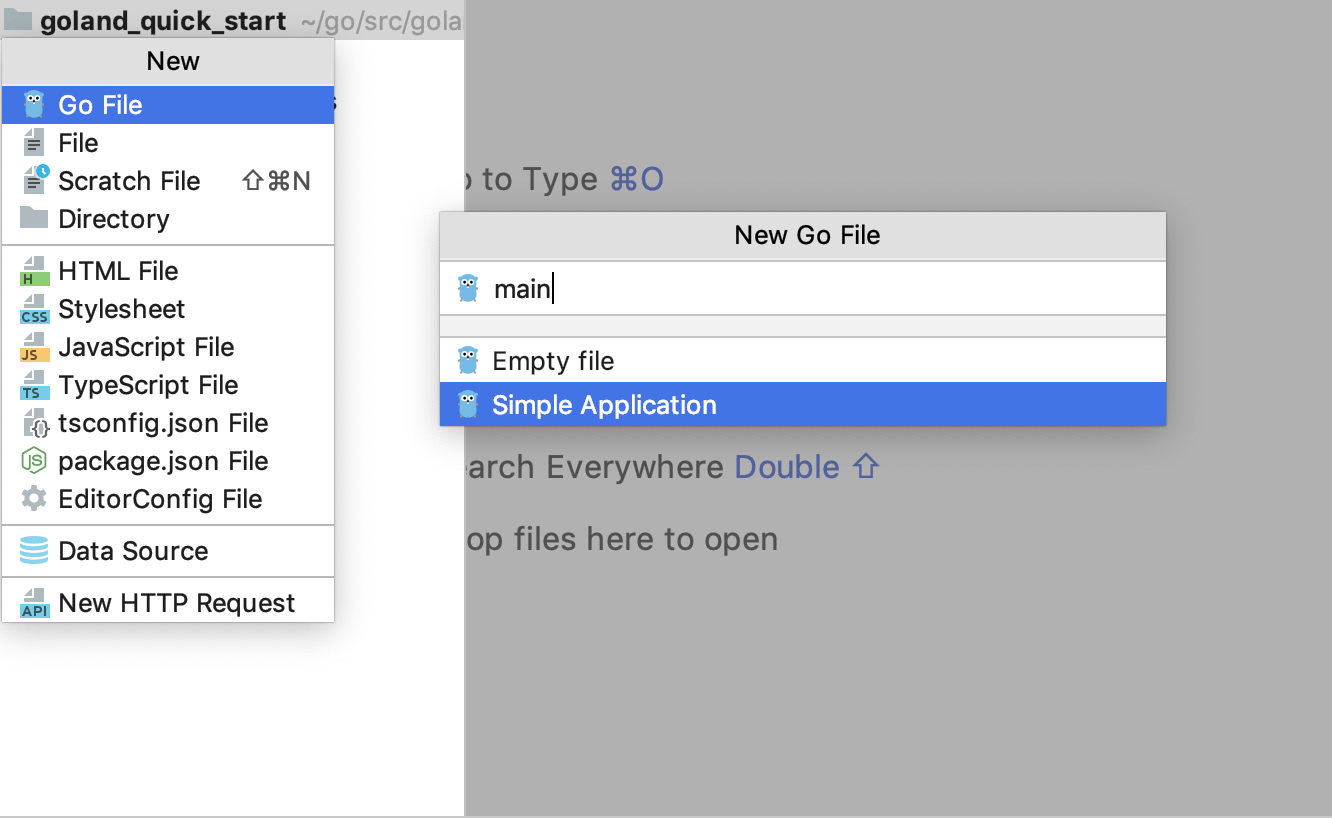
In the New Go File dialog, type a name of the file and select whether you want to create an empty Go file (Empty file) or a Go file with the defined main function (Simple Application).
