Configuring database connections
Remember password
You can select the following options for storing your password:
Never: password is prompted each time you establish a connection with a database.
Until restart: password is saved only for the current GoLand run. If you exit GoLand and open it again, you must provide the password again.
For session: password is saved only for the current connection session with a database (until you disconnect from it). You can terminate the connection by pressing the Disconnect icon (
 ) or Ctrl+F2.
Forever: password is saved in the GoLand storage. You do not need to provide the password next time you open GoLand.
Close a database connection
GoLand connects to databases automatically. The names of the data sources with open database connections are shown in the Database tool window in bold.
-
To close a database connection, select a data source and сlick the Disconnect button
 on the toolbar. Alternatively, select a data source and press Ctrl+F2.
Assign a color to a data source
To have better differentiation between production and test databases, you can assign a color to a data source.
In the Database tool window (), click the Data Source Properties icon
 .
. Select the data source for which you want to assign a color.
Click the Choose color icon (
 ) and select a color.
Click OK.

Using JDBC drivers
Create a connection to a database with a JDBC driver
If you cannot find a name of a database vendor in the list of data sources, download a JDBC driver for the database management system (DBMS), and create a connection in GoLand. With the JDBC driver, you can connect to DBMS and start working.
In the Database tool window (), click the Data Source Properties icon
. In the Data Sources and Drivers dialog, click the Add icon (
 ) and select Driver and Data Source.
Click the User Driver link.
In the Driver files pane, click the Add icon and select Custom JARs.
Navigate to the JAR file of the JDBC driver, select it, and click OK.
In the Class field, specify the value that you want to use for the driver.
Click Apply.
Return to the created data source connection.
-
Specify database connection details. Alternatively, paste the JDBC URL in the URL field.
To delete a password, right-click the Password field and select Set empty.
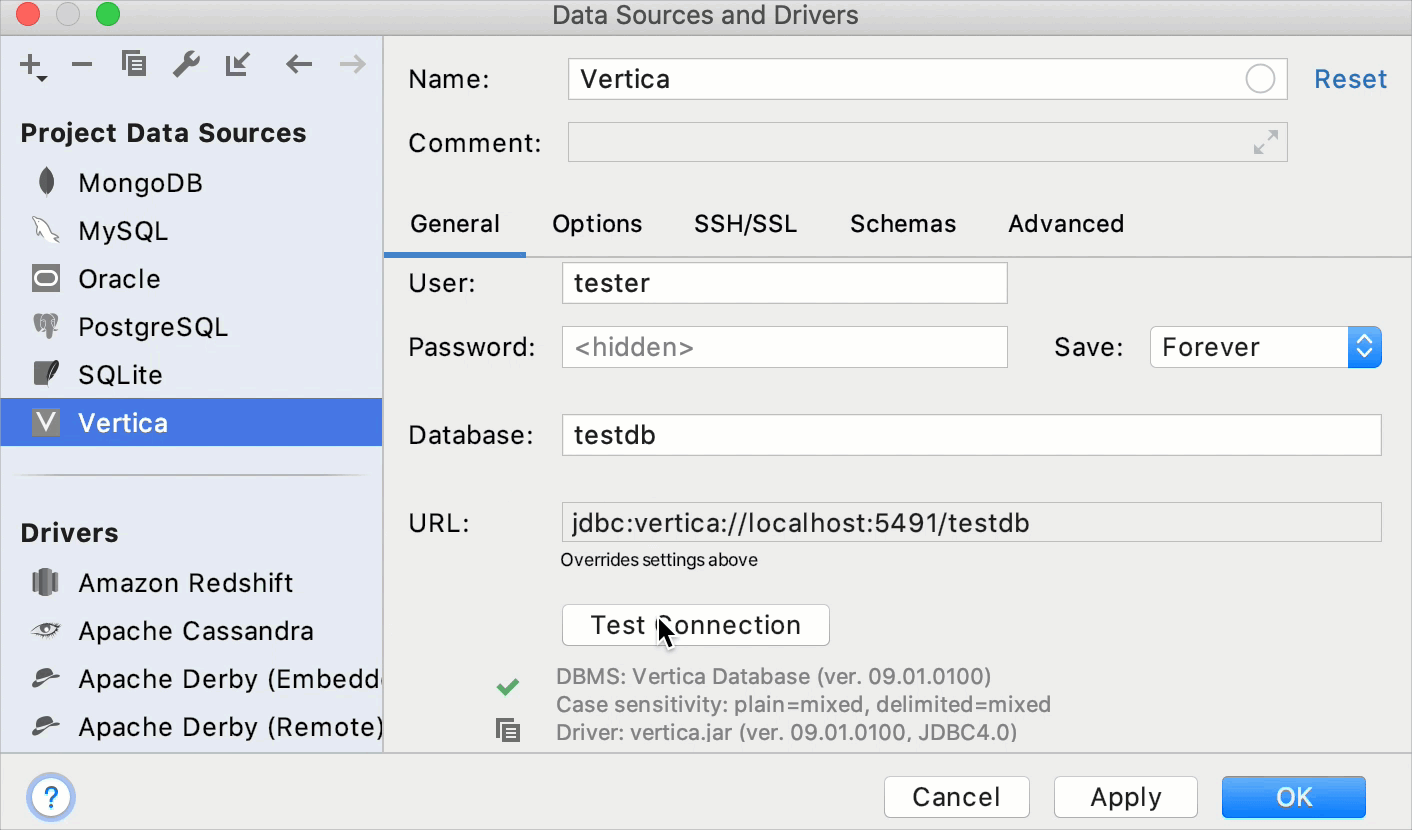
To ensure that the connection to the data source is successful, click Test Connection.

Add a JDBC driver to an existing connection
In the Database tool window (), click the Data Source Properties icon
. In the Data Sources and Drivers dialog, select a data source where you want to change a driver, and click the Driver link in data source settings.
Click the provided driver entry, and click Remove (
 ).
).To revert changes, click Reset that is in the upper-right part of the window. Alternatively, click the Add button (
 ) and select
 In the Driver files pane, click the Add icon (
) and select Custom JARs.Navigate to the JAR file of the JDBC driver, select it, and click OK.
In the Class field, specify the value that you want to use for the driver.
Click Apply.
Add an icon to a user driver
You can change the default icon of a user driver.
In the Database tool window (), click the Data Source Properties icon (
) and select the driver that you created. To create a user driver, see Add a JDBC driver to an existing connection.Click the Options tab, scroll down to the Other section.
From the Icon list, select an icon that you want to assign to the driver.
Click OK.
Configuring connection options
Enable single connection mode
Single connection mode means that the data source and all consoles use one and the same connection. This mode allows you to see the temporary objects in the database tree, or use the same transaction in different consoles. For more information about consoles, read Database Console.
When you apply single connection mode, you must close all existing opened connections. GoLand displays a notification if you have opened connections. To close opened connections for the selected data source, click Yes. To close opened connections for all modified data sources, click Yes for all.
In the Database tool window (), click the Data Source Properties icon
. Select the data source where you want to enable single connection mode.
Click the Options tab.
Select Single connection mode.
Click Apply.

Enable single database mode
When you connect to a data source, GoLand can retrieve and display you all the databases that the data source has. But in some cases (for example, with certain settings of PgBouncer), you can or are allowed to work only with a certain database. With the Single database mode enabled, you see in the database tree view only the database that you specified in the connection settings, not all the databases that were received from the data source.
Consider using this setting, for PostgreSQL, Azure SQL Database, Greenplum, Amazon Redshift.
In the Database tool window (), click the Data Source Properties icon
. Select the data source where you want to enable the single connection mode.
Click the Options tab.
Select Single database mode.
Click Apply.

Enable read-only mode for a connection
Navigate to Shift+Enter.
In the Data Sources list, select the necessary data source.
Click the Options tab.
Select the Read-only checkbox.

Keep the connection alive
You can keep the connection to a database alive by running a keep-alive query after the specified period. You can define the custom query in the driver settings for unsupported databases.
In the Database tool window (), click the Data Source Properties icon
. Select a data source that you want to modify.
On the Options tab, select the Run keep-alive query each N seconds checkbox, where
Nis a number of seconds after which GoLand runs a keep-alive query again.
Disconnect from a database in a specified period
You can specify a period in seconds after which GoLand terminates the connection.
In the Database tool window (), click the Data Source Properties icon
. Select a data source that you want to modify and click the Options tab.
On the Options tab, select the Auto-disconnect after N seconds checkbox, where
Nis a number of seconds after which GoLand terminates the connection.
Set a time zone for a session
When you start interacting with a database, you begin a database session. You can assign a time zone in which this session will operate.
In the Database tool window (), click the Data Source Properties icon
. Select a data source that you want to modify and click the Options tab.
In the Time zone field, start typing the time zone that you want to use.
Apply settings and click OK.

Run a predefined SQL query as you establish a connection
You can run a predefined SQL query each time you establish a connection.
In the Database tool window (), click the Data Source Properties icon
. Select a data source that you want to modify.
On the Options tab, in the Startup script field, specify the SQL query that you plan to run on a connection to a database.

Fetch more fields for MongoDB introspection
You can observe collections and fields in the database explorer. GoLand fetches the first 10 documents from each collection to get information about the fields. You can customize this behavior by specifying the fetch_documents_for_metainfo JDBC parameter on the Advanced tab of the data source properties dialog.
In the Database tool window (), right-click MongoDB data source and select Properties.
Click the Advanced tab.
In the parameter table, scroll down till you see
fetch_documents_for_metainfo.Double-click the Value cell of the
fetch_documents_for_metainfoparameter.Specify the desired value.
Configuring SSH and SSL
The following procedure describes the SSL configuration that suits most databases. For some databases, you need to use another approach for a successful connection. You can see configuration examples for Cassandra and Heroku Postgres in the DataGrip documentation.
Connect to a database with SSL
In the Database tool window (), click the Data Source Properties icon
. -
Select a data source profile where you want to change connection settings.
-
Click the SSH/SSL tab and select the Use SSL checkbox.
-
In the CA file field, navigate to the CA certificate file (for example, ca.pem).
-
In the Client certificate file field, navigate to the client certificate file (for example, client-cert.pem).
-
In the Client key file field, navigate to the client key file (for example, client-key.pem).
-
To ensure that the connection to the data source is successful, click Test Connection.

Connect to a database with SSH
In the Database tool window (), click the Data Source Properties icon
. Select a data source profile where you want to change connection settings.
Click the SSH/SSL tab and select the Use SSH tunnel checkbox.
In Proxy host, Proxy user, Proxy password, and Port fields, specify connection details.
From the Auth type list, select an authentication method:
-
Password: to access the host with a password. Specify the password, and select the Save password checkbox to save the password in GoLand.
-
Key pair (OpenSSH or PuTTY): to use SSH authentication with a key pair. To apply this authentication method, you must have a private key on the client machine and a public key on the remote server. GoLand supports private keys that are generated with the OpenSSH utility.
Specify the path to the file where your private key is stored and type the passphrase (if any) in the corresponding fields. To have GoLand remember the passphrase, select the Save passphrase checkbox.
-
OpenSSH config and authentication agent: to use SSH keys that are managed by a credentials helper application (for example, Pageant on Windows or ssh-agent on Mac and Linux).
-
To ensure that the connection to the data source is successful, click Test Connection.

Create the SSH tunnel with PuTTY (Windows)
Download and run the latest version of the PuTTY SSH and Telnet client (download the client from https://www.putty.org/).
In the PuTTY Configuration dialog, navigate to .
In the Private key file for authentication field, specify the path to your private key file and click Open.
In the command line window, specify the username that you use for the SSH tunnel and press Enter. Do not close the command line window.
In the Database window (), click the Data Source Properties icon
on the toolbar. Select a data source profile where you want to change connection settings.
Click the SSH/SSL tab and select the Use SSH tunnel checkbox.
From the Auth type list, select OpenSSH config and authentication agent.
In Proxy host, Proxy user, and Port fields, specify connection details.
To ensure that the connection to the data source is successful, click Test Connection.
")
Create the SSH tunnel with Pageant (Windows)
Pageant is an SSH authentication agent for PuTTY, PSCP, PSFTP, and Plink. Pageant stores your private key, and as long as it is running, it provides the unlocked private key to PuTTY or other tools like GoLand. You can find the Pageant icon in the Windows taskbar.
Download the latest version of Pageant (download the client from https://www.putty.org/).
In the Windows taskbar, right-click the Pageant icon and select Add Key.
In the Select Private Key File dialog, navigate to the private key file (the PPK file) and click Open.
(Optional) Enter the private key passphrase and press Enter.
In the Database window (), click the Data Source Properties icon
on the toolbar. Select a data source profile where you want to change connection settings.
Click the SSH/SSL tab and select the Use SSH tunnel checkbox.
From the Auth type list, select OpenSSH config and authentication agent.
In Proxy host, Proxy user, and Port fields, specify connection details.
To ensure that the connection to the data source is successful, click Test Connection.
")
Create the SSH tunnel with the ssh-agent (macOS and Linux)
Run all commands for ssh-agent in the command line.
Ensure that ssh-agent is running.
ssh-agentAdd your key to the agent (in the following example, the key path is ~/.ssh/id_rsa).
ssh-add ~/.ssh/id_rsa-
(Optional) On macOS, you can add
-Koption to thessh-addcommand to store passphrases in your keychain. On macOS Sierra and later, you need to create the config file in ~/.ssh/ with the following text:Host * UseKeychain yes AddKeysToAgent yes IdentityFile ~/.ssh/id_rsaIf you have other private keys in the .ssh directory, add an
IdentityFileline for each key. For example, if the second key has the id_ed25519 name, addIdentityFile ~/.ssh/id_ed25519as an additional line for the second private key. List all added keys.
ssh-add -LIn the Database window (), click the Data Source Properties icon
on the toolbar. Select a data source profile where you want to change connection settings.
Click the SSH/SSL tab and select the Use SSH tunnel checkbox.
From the Auth type list, select OpenSSH config and authentication agent.
In Proxy host, Proxy user, and Port fields, specify connection details.
To ensure that the connection to the data source is successful, click Test Connection.
")