Manage data sources
Data source is a location of data for your application. In GoLand, you can define the following data sources:
Database data source: operational databases that contain data (see Database connection).
Data Definition Language (DDL) files: SQL files that contain data definition language statements.
Configure display options for data sources
You can group, assign a color, and filter objects in the Database tool window ().
Customize the view of objects in the Database tool window
To group, enable, or sort data sources, click the Show Options menu icon
 on the title bar of the Database tool window and select the necessary options.
 In the Database tool window (), the view of the data source changes instantly.

Group data sources
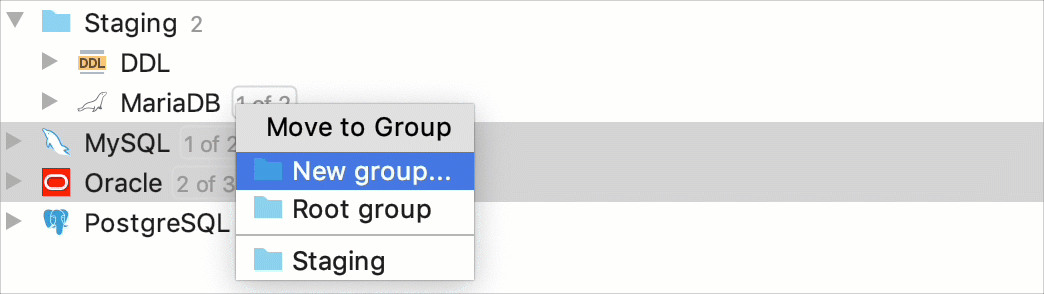
If you have a number of different databases, you can group their data sources in the Database tool window ().
To group data sources, select the necessary data source, press F6, or select Move to Group from the context menu.
To create a new group, drag one data source onto the other. If you want to place the data source into an existing group, drag it to the existing group node.
To remove a data source from the group, move the data source to the root list.
Assign a color to a data source
To have better differentiation between production and test databases, you can assign a color to a data source.
In the Database tool window (), click the Data Source Properties icon
 .
.Select the data source for which you want to assign a color.
Click the circle in the Name field to select a color.

Assign a color to query consoles and grids
The text data viewer can use the color of the data source. To set a color, right-click a data source and select Color Settings. In the Database Color Settings dialog, select the dialog and coloring options. To have the data source color applied for query consoles and grids, select the In console editors and grids checkbox.
Filter objects from the toolbar
To select the necessary objects, use the Filter icon on the toolbar
 .
. 
Share data sources
Data sources in GoLand are available at two levels: project and global. The project level means that you can access a data source only from the project where this data source was created initially. At the global level, a data source is available for other projects. By default, a data source is available at the project level.
To share a data source between different projects inside your IDE, you need to move the data source to the global level.
You can copy a data source if you need to use the same data source in another project, but have different requirements to it, such as its accessibility level (project or global), the user, database connection and schema settings, and so on.
Make a copy of a data source
In the Database tool window (), click the Data Source Properties button (
). In the Data sources and drivers window, select the data source that you want to copy.
Click the Duplicate icon (
 ), or press Ctrl+D.
Share data sources between projects
In the Database tool window (), click the Data Source Properties button (
). In the Data sources and drivers window, click the Make Global icon (
 ) to make the data source available at the global level.
Share data sources between different IDE instances
You can copy information about a data source to the clipboard in the XML format. The resulted XML does not include password information.
You can send the XML snippet to another IDE (in a messenger or by email) and import it.
In the Database tool window (), select data sources that you want to copy.
Right-click the selection.
Click Database tools and select Copy Data Sources to Clipboard.
On another workstation, click .
In the Database tool window, click the New icon
 , select Import from Clipboard.
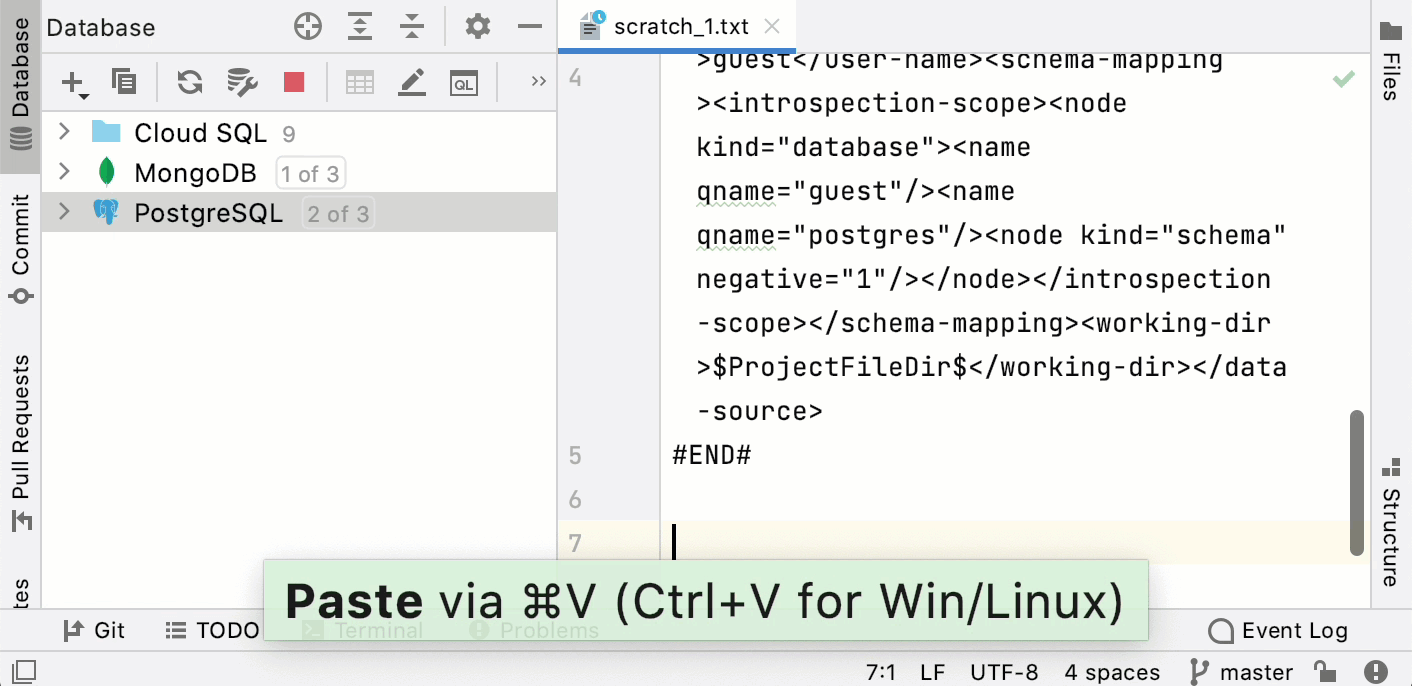
Sharing data source settings
You can export and import data source settings by using the settings.zip file. The settings.zip file includes only data sources that are available at the global level. For more information about how to change a level, see Change the project level to global.
Export data source settings
Click .
In the Export settings window, click Select None.
In the Export settings window, select Database: drivers, Database: settings, and Database: global sources. You must have at least one global data source to have Database: global sources in the export list.
In the Export settings to field, type a path to the folder where you want to store the settings.zip file.
Import data source settings
Click .
In the Import File Location window, locate the settings.zip file that you exported, and double-click it.
In the Select Components to Import window, select Database: drivers, Database: settings, and Database: global sources.
Click OK.
In the Restart Needed window, click OK to restart your IDE.
Open the Data sources and drivers window, enter necessary connection credentials in the data source properties. If the data source is on a local or network drive, ensure that the path to this data source is correct.
To ensure that the connection to the data source is successful, click Test Connection.