Manage IDE Services settings in JetBrains Account
Most of the settings you need to configure for your IDE Services instance are available through the IDE Services Web UI. However, some settings are only accessible from your JetBrains Account. These include:
You can access these settings on the IDE Services management page in your JetBrains Account.
Access the IDE Services management page in JetBrains Account
Follow the steps below to access the IDE Services management page.
Log in to your JetBrains Account with the organization or team administrator permissions.
In the menu on the left, click your organization's name.

In the menu under your company's name, select Teams.

In the team list, click on the name of the team where your IDE Services license is located.
If you're not sure which team your IDE Services instance is associated with, follow these instructions to find it.

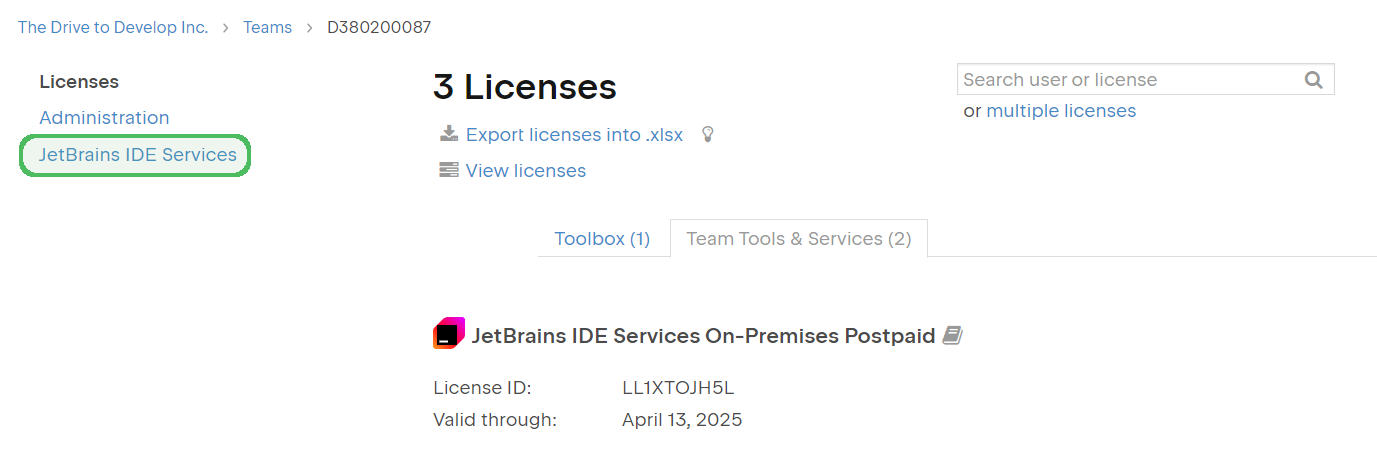
In the menu on the left, select JetBrains IDE Services to go to the% ides% management page.

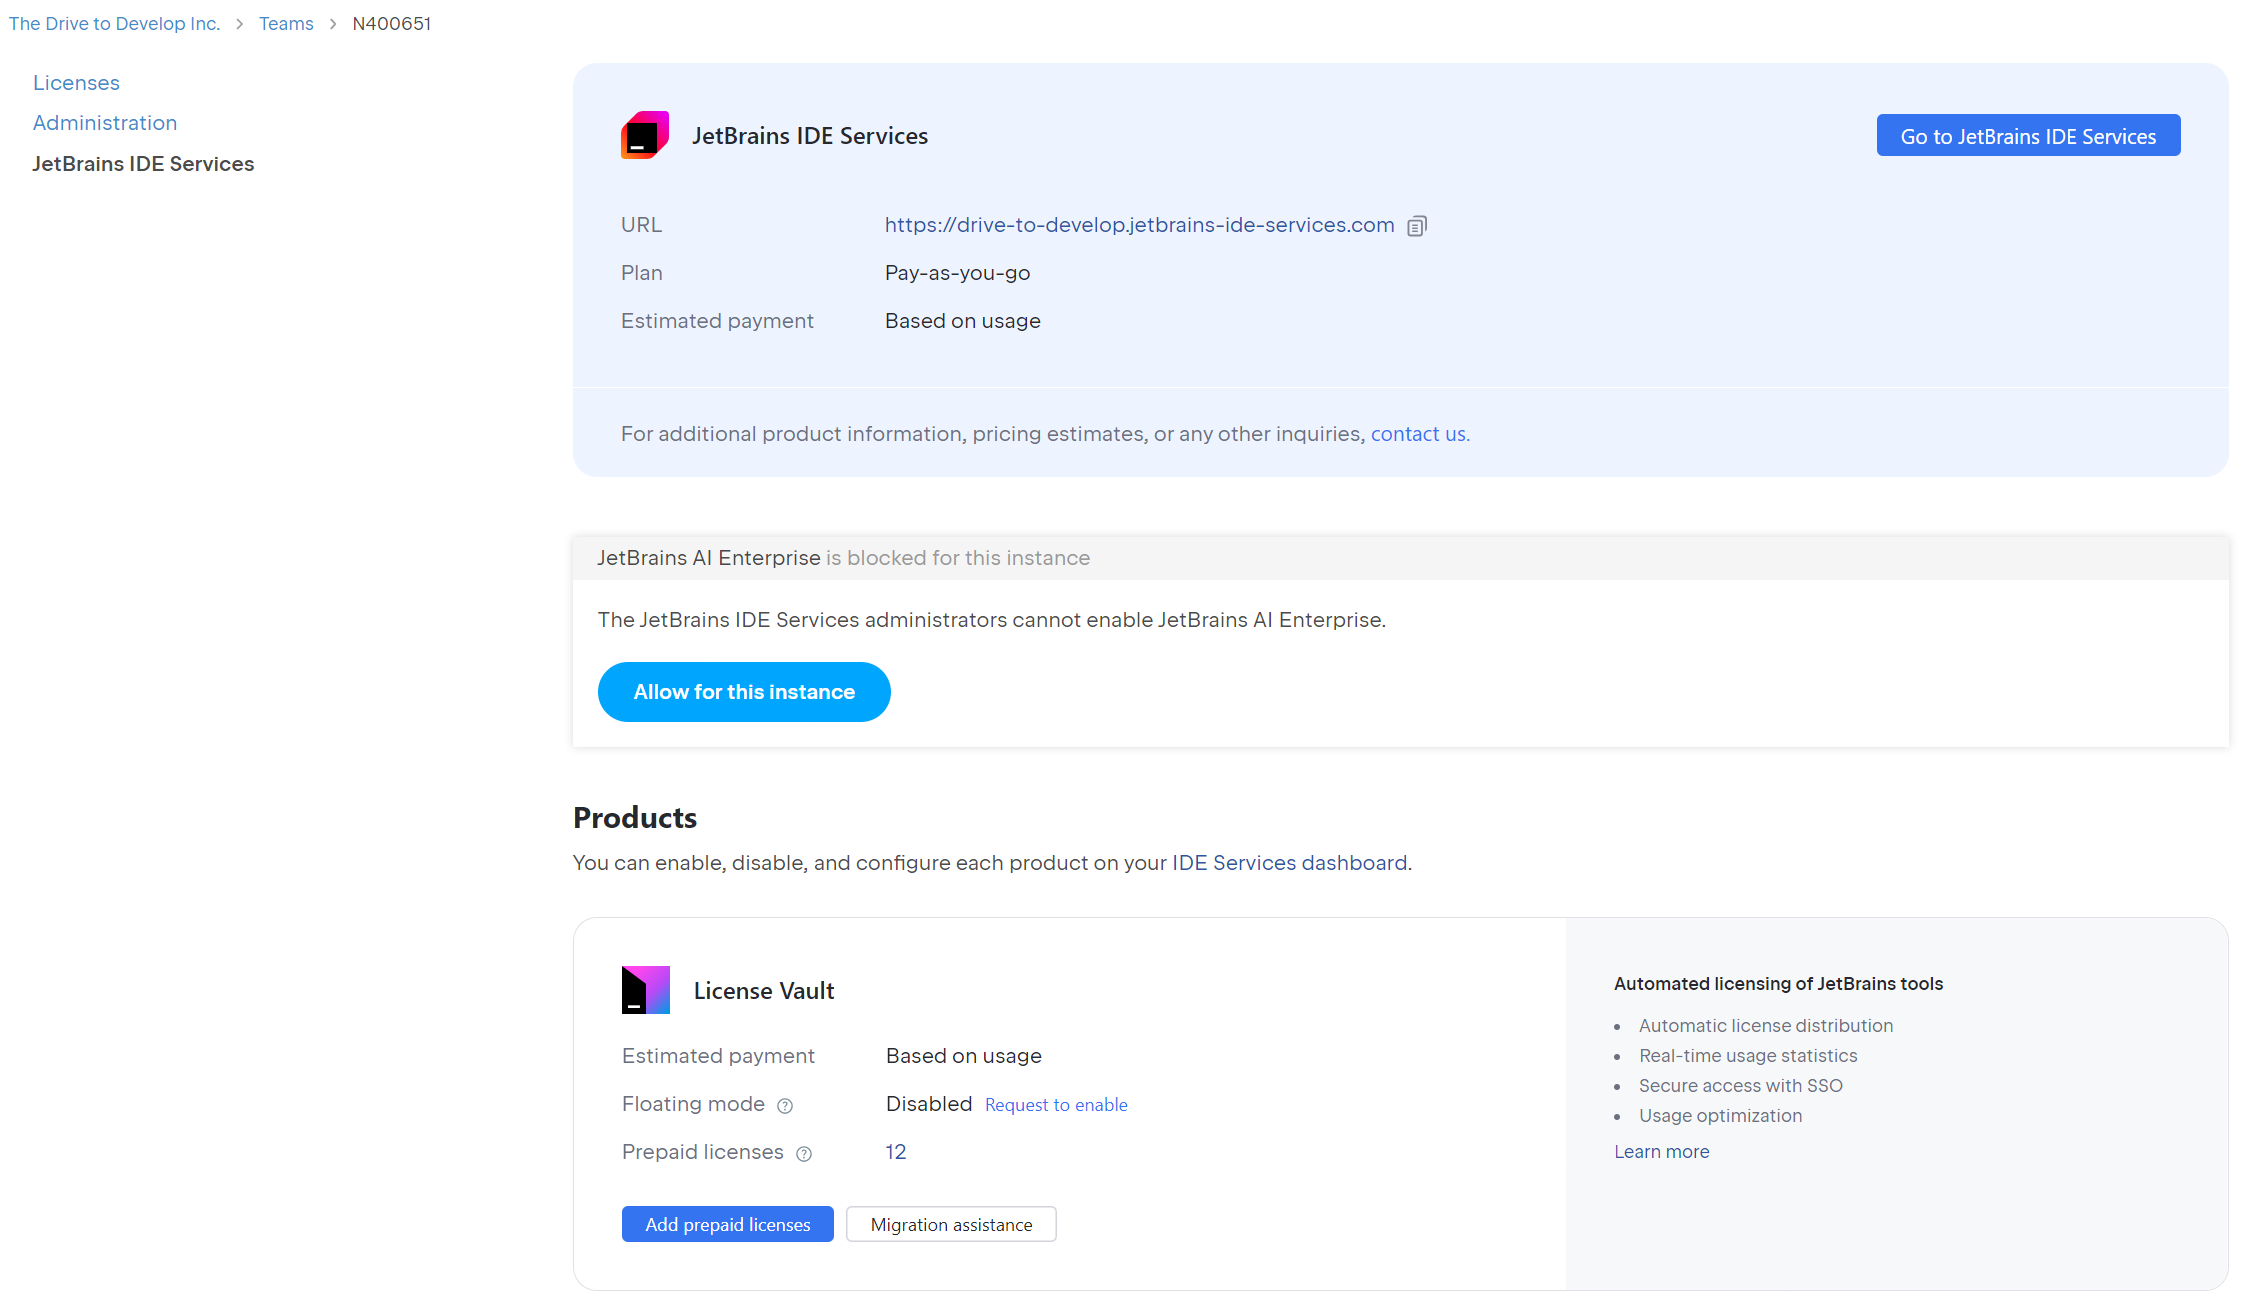
These instructions will take you to the IDE Services management page with the overview of your IDE Services subscription and the products included in it.

Allow AI Enterprise for your IDE Services
To use AI Enterprise via your IDE Services instance, first you need to allow it for your organization in your JetBrains Account. There are two options: enable JetBrains AI for your entire organization or for your IDE Services instance only.
Once you have chosen the suitable option and followed the steps to allow the usage of AI Enterprise, you can proceed to enable and configure it through the IDE Services Web UI.
Allow JetBrains AI for your entire organization
To allow JetBrains AI for your entire organization, follow the steps outlined in this article.
Allow AI Enterprise for your IDE Services instance only
Follow these steps to allow access to JetBrains AI on a team-by-team basis.
Go to the IDE Services management page in your JetBrains Account.
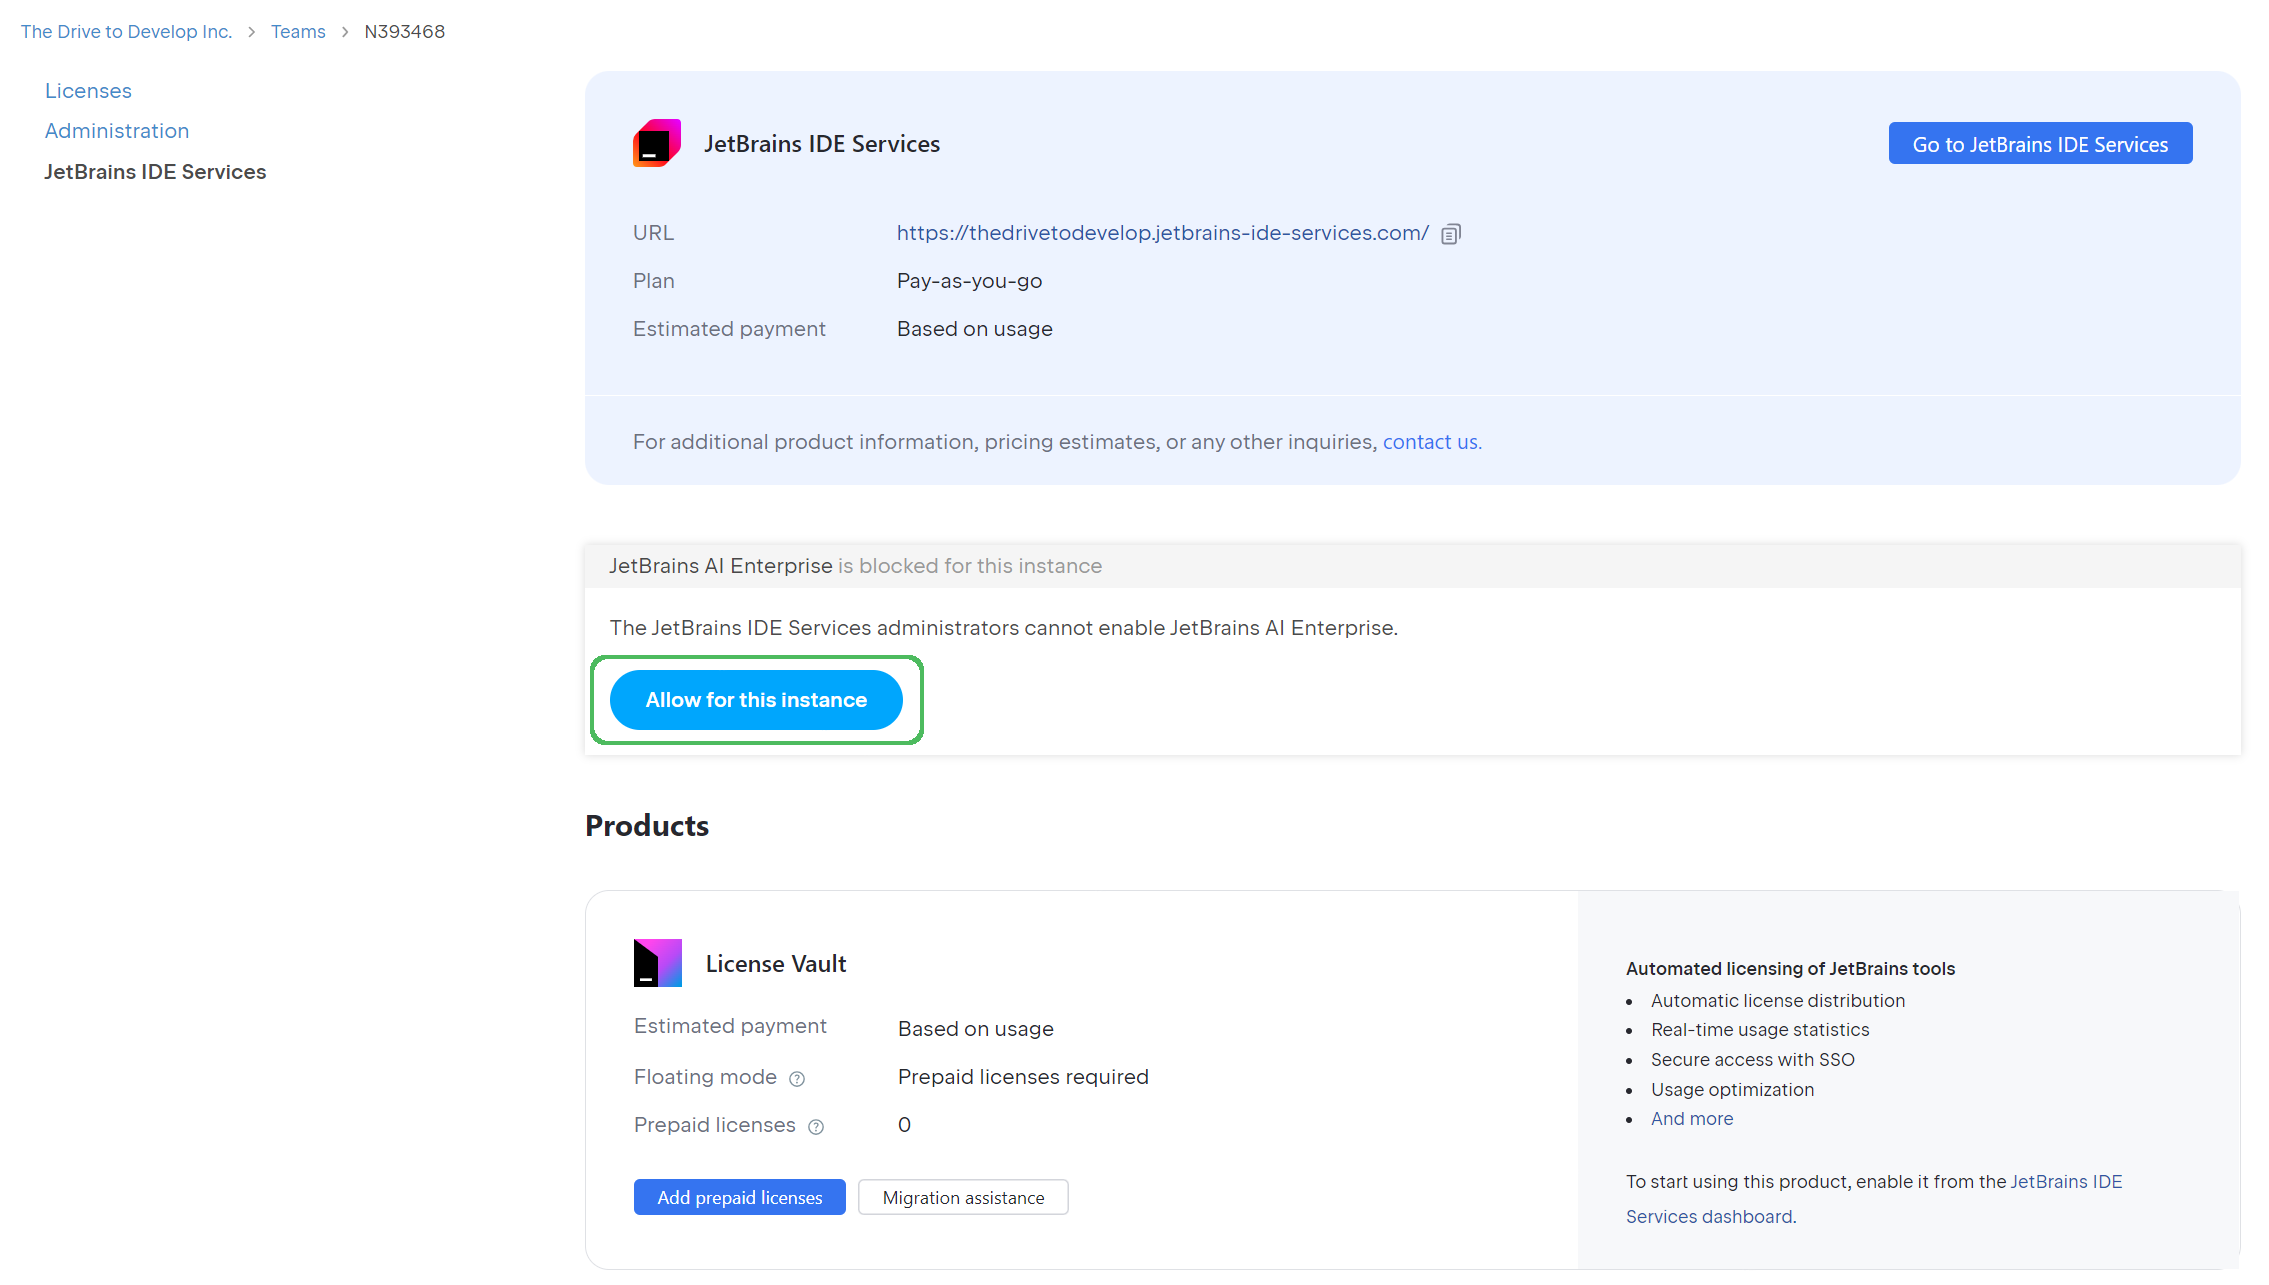
In the JetBrains AI Enterprise section, click Allow for this instance.

Locate the IDE Services team
If you're not sure which team your IDE Services instance is associated with, follow the instructions below to locate it.
Log in to your JetBrains Account with the organization or team administrator permissions.
In the menu on the left, click your organization's name.

At the top of the page, click .

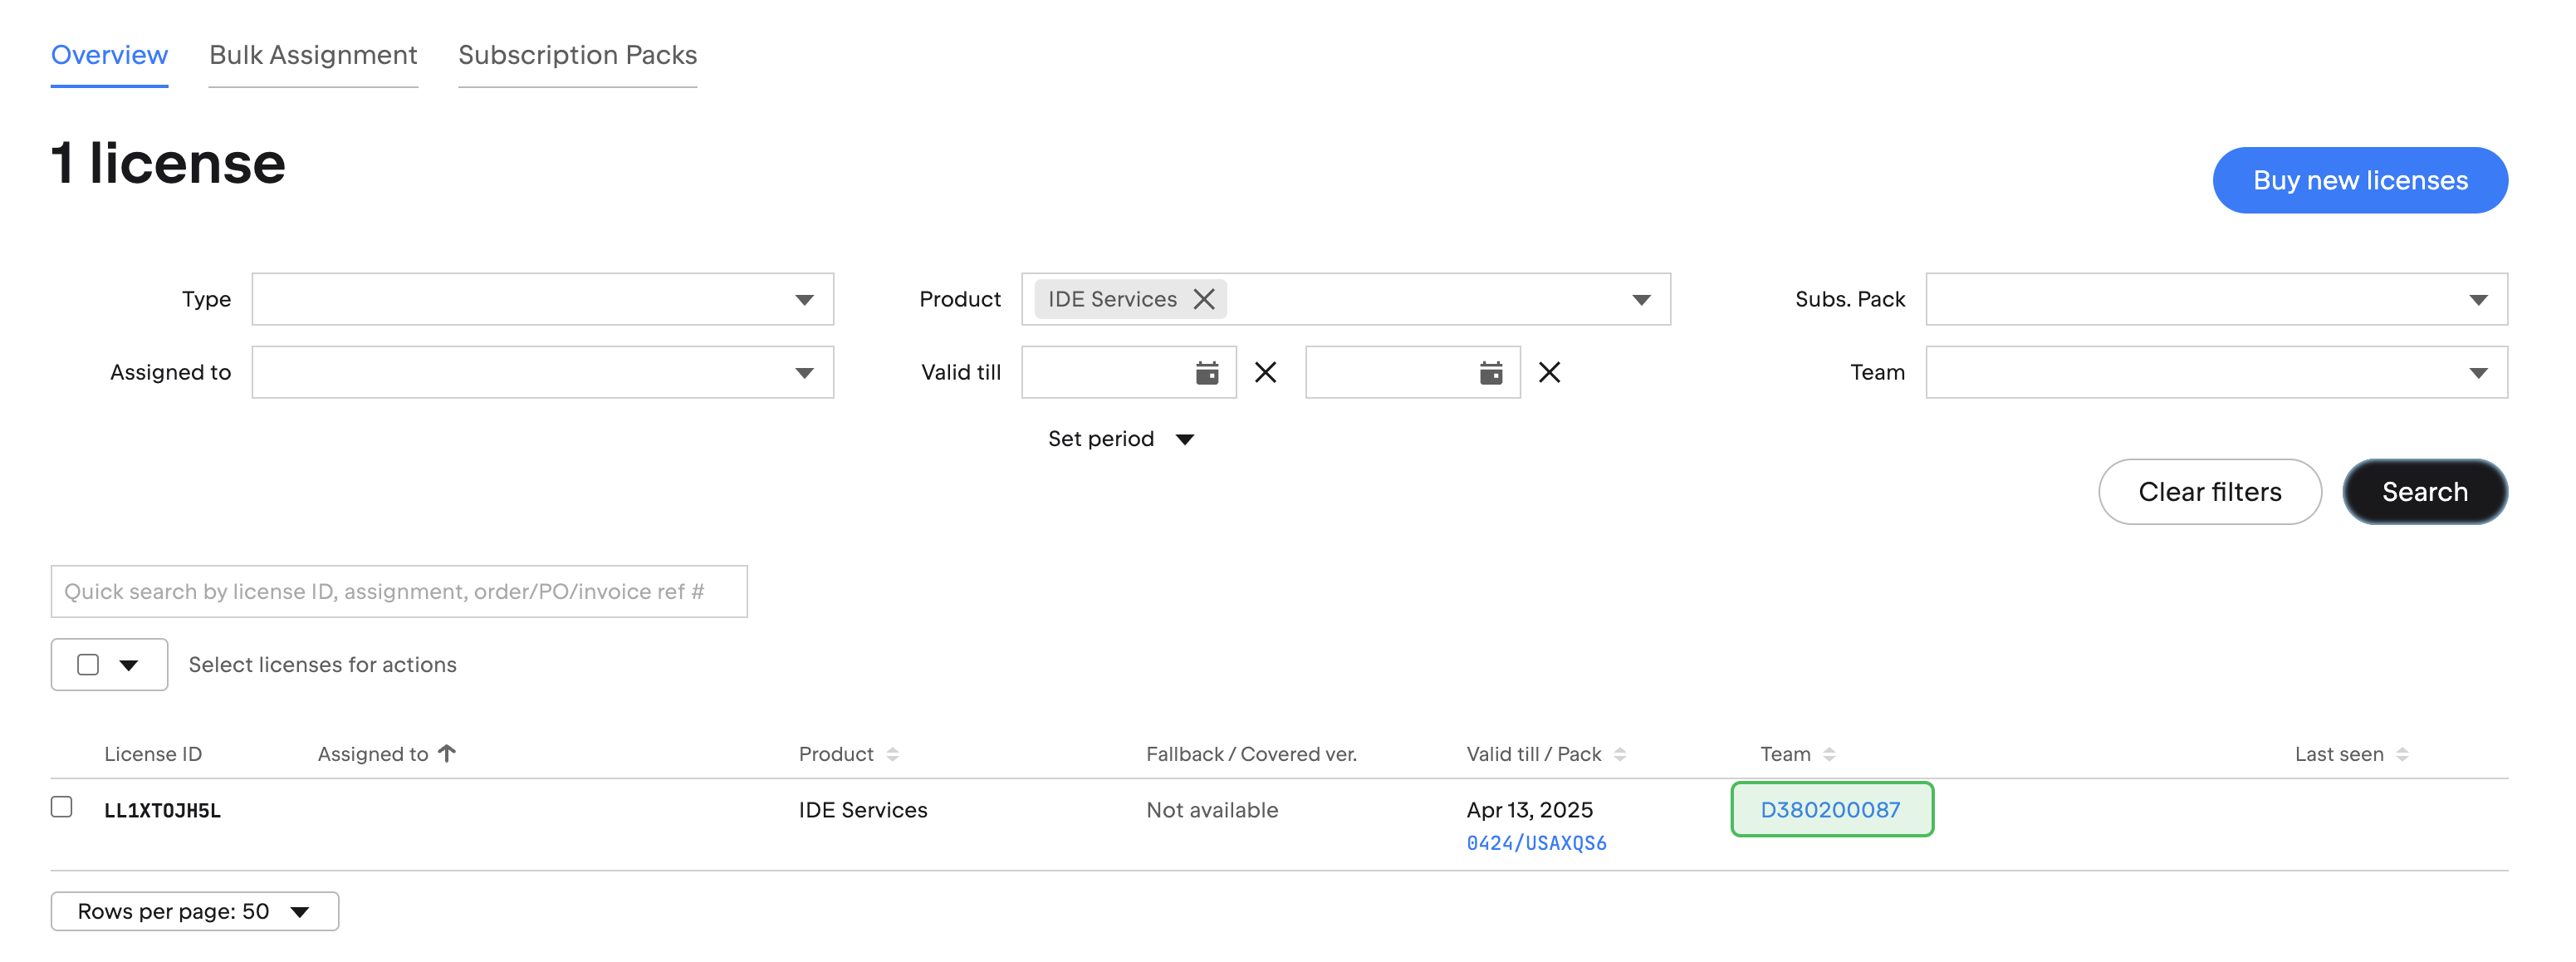
On the license overview page, find the IDE Services license. The easiest way to do it is to use the Product filter above the license list. Click on the filter, select IDE Services from the product list, and click Search.

Once you locate the IDE Services license in the license table, check the penultimate column of the table to find the name of the team to which the license belongs. That's your IDE Services team.
