Artifacts
An artifact is an assembly of your project assets that you put together to test, deploy, or distribute your software solution or its part. Examples are a collection of compiled Java classes or a Java application packaged in a Java archive, a Web application as a directory structure or a Web application archive, and so on.
An artifact can be an archive file or a directory structure that includes the following structural elements:
Compilation output for one or more of your modules
Libraries included in module dependencies
Collections of resources (web pages, images, descriptor files, and so on)
Other artifacts
Individual files, directories and archives
Artifact configurations
Artifacts are generated according to artifact configurations. You can manage artifact configurations in the Project Structure dialog.
Create an artifact configuration
In the main menu, go to File | Project Structure (Ctrl+Alt+Shift+S) and click Artifacts.
Click
 and select an artifact format.
On the page that opens in the right-hand part of the dialog, specify the artifact settings and contents.
Create an artifact configuration for the JAR
In the main menu, go to File | Project Structure (Ctrl+Alt+Shift+S) and select Artifacts from the Project Settings list.
Click
, point to JAR and select From modules with dependencies.To the right of the Main Class field, click
 . Select HelloWorld (com.example.helloworld) in the dialog that opens and click OK.
Click OK in the Project Settings dialog.
IntelliJ IDEA creates the artifact configuration and shows its settings in the right part of the Project Structure dialog.
Apply the changes and close the dialog.
In the Project tool window, you can now see the MANIFEST.MF file. This file has metadata about your JAR, such as the main class to run.

Build artifacts
You can build an artifact manually, or you can automate this action by configuring it in the corresponding run/debug configuration.
By default, artifacts are placed to the out/artifacts/<artifact_dir> folder.
Build an artifact manually
In the main menu, go to .
Point to the necessary artifact and select Build.
In this popup, the following options are also available:
Build: build the whole artifact. After that the artifact will be built incrementally: the IDE will build only the changes that were made since the last build.
Rebuild: build the whole artifact as if for the first time. Technically, this is Clean followed by Build.
Clean: delete all the contents of the artifact output directory.
Edit: edit the artifact configuration.

Build an artifact while executing a run configuration
Including the Build artifact task in a run/debug configuration makes sense when the run configuration somehow uses the corresponding artifact. For example, if it starts the application packaged in a JAR artifact or deploys a WAR or EAR artifact to an application server.
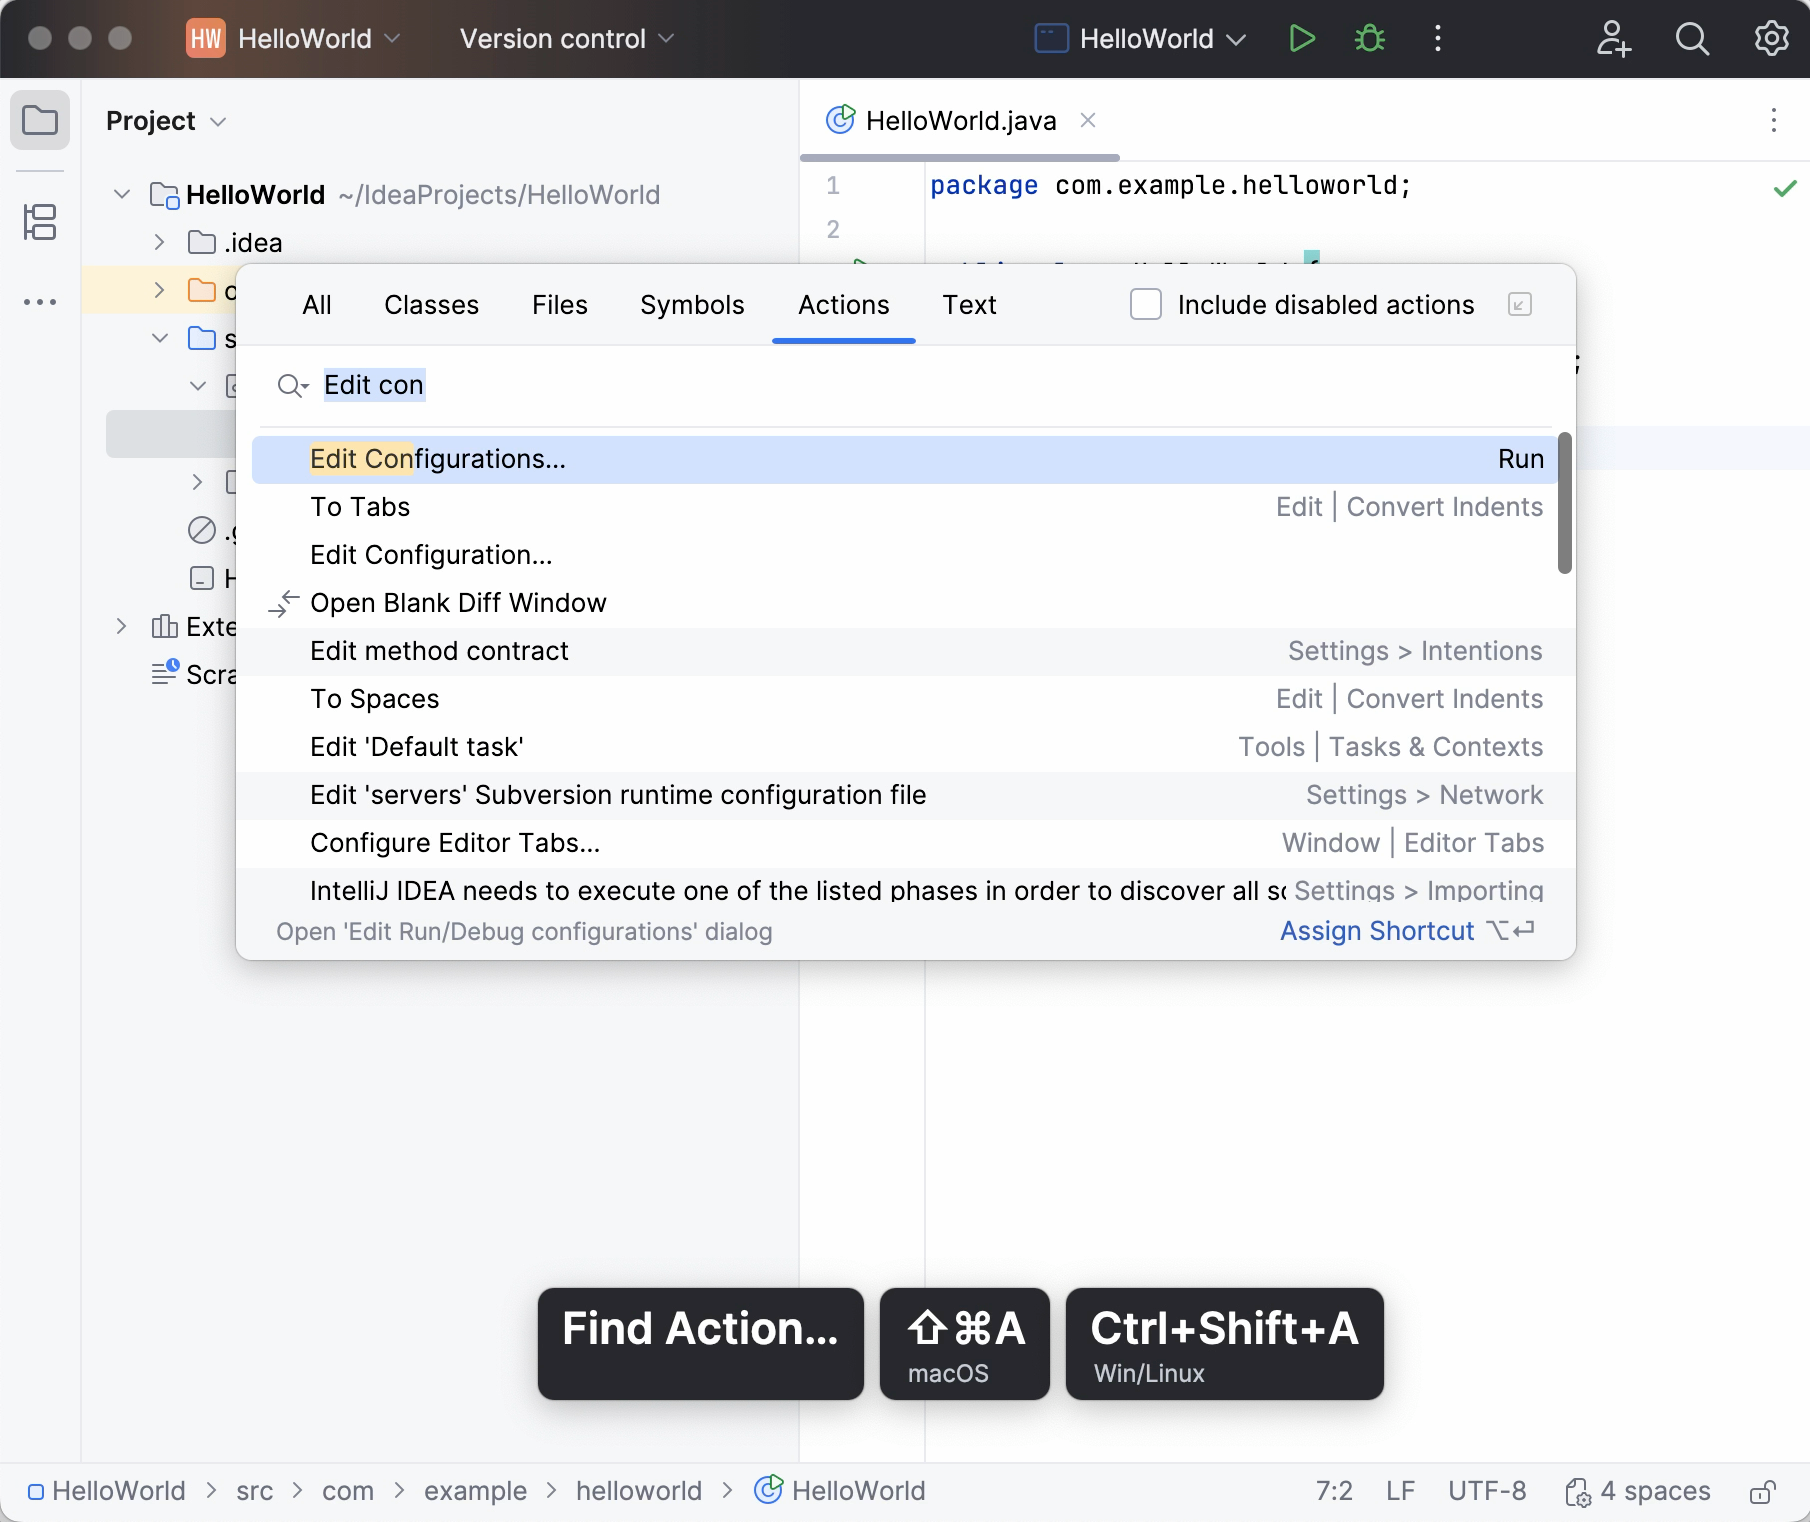
Press Ctrl+Shift+A, find and run the Edit Configurations action.
In the Run/Debug Configurations dialog, select the necessary configuration or click
to create a new one.Scroll down the dialog and under Before launch, click
, select Build Artifacts. Select the necessary artifact.The selected artifact will be built automatically every time you execute this run configuration.
Run JAR artifacts
To run Java applications packaged in Java archives (JARs), IntelliJ IDEA provides the JAR Application run configurations. To create such a run configuration:
Create a run configuration
Press Ctrl+Shift+A, find and run the Edit Configurations action.
In the Run/Debug Configurations dialog, click
and select JAR Application.Name the new configuration.
Execute the run configuration
On the toolbar, select the configuration you want to run and click
 to the right of the run configuration selector. Alternatively, press Shift+F10.
The Run tool window opens and shows you the application output.
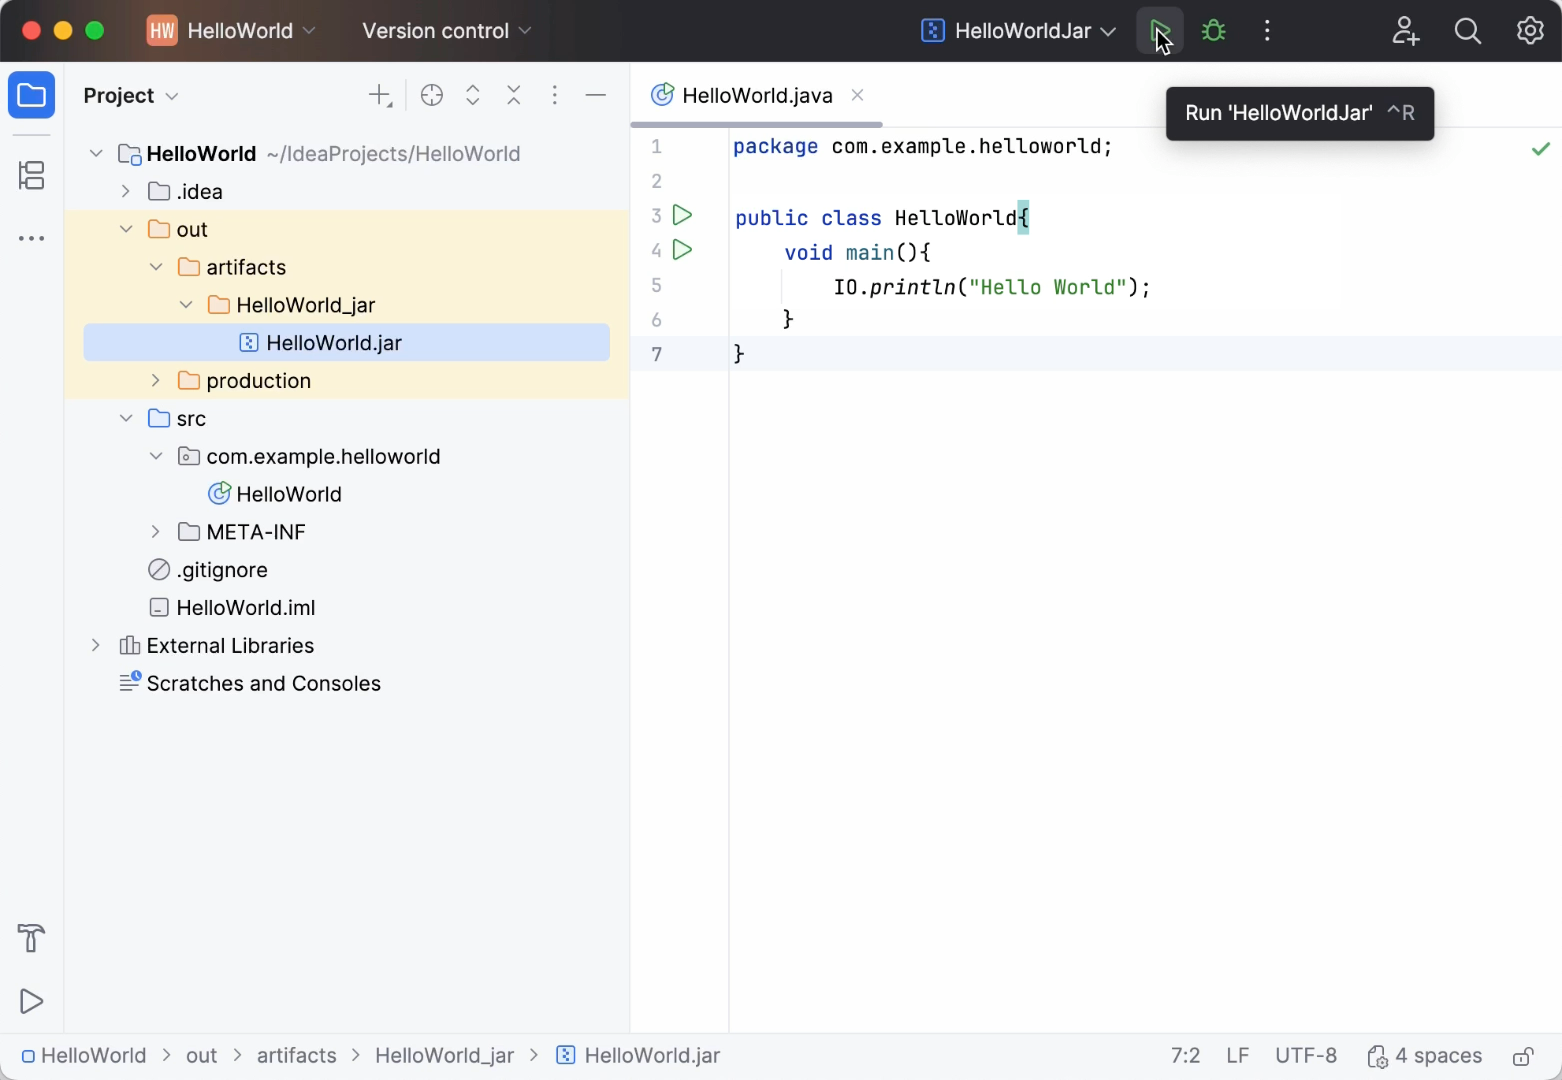
The process has exited successfully, which means that the application is packaged correctly.
Deploy artifacts to application servers and cloud platforms
Many of the artifact formats (for example, WAR, Exploded WAR, EAR, Exploded EAR) are suitable for deployment to application servers and cloud platforms. Here is how you deploy such artifacts:
In a server or cloud run/debug configuration, specify the artifact to be deployed. (Use the Deployment tab or field.)
Execute the run/debug configuration or use the Deploy option
 in the Application Servers, Run or Debug tool window.
Examples
Examples of the procedures discussed on this page can be found in the following tutorials: