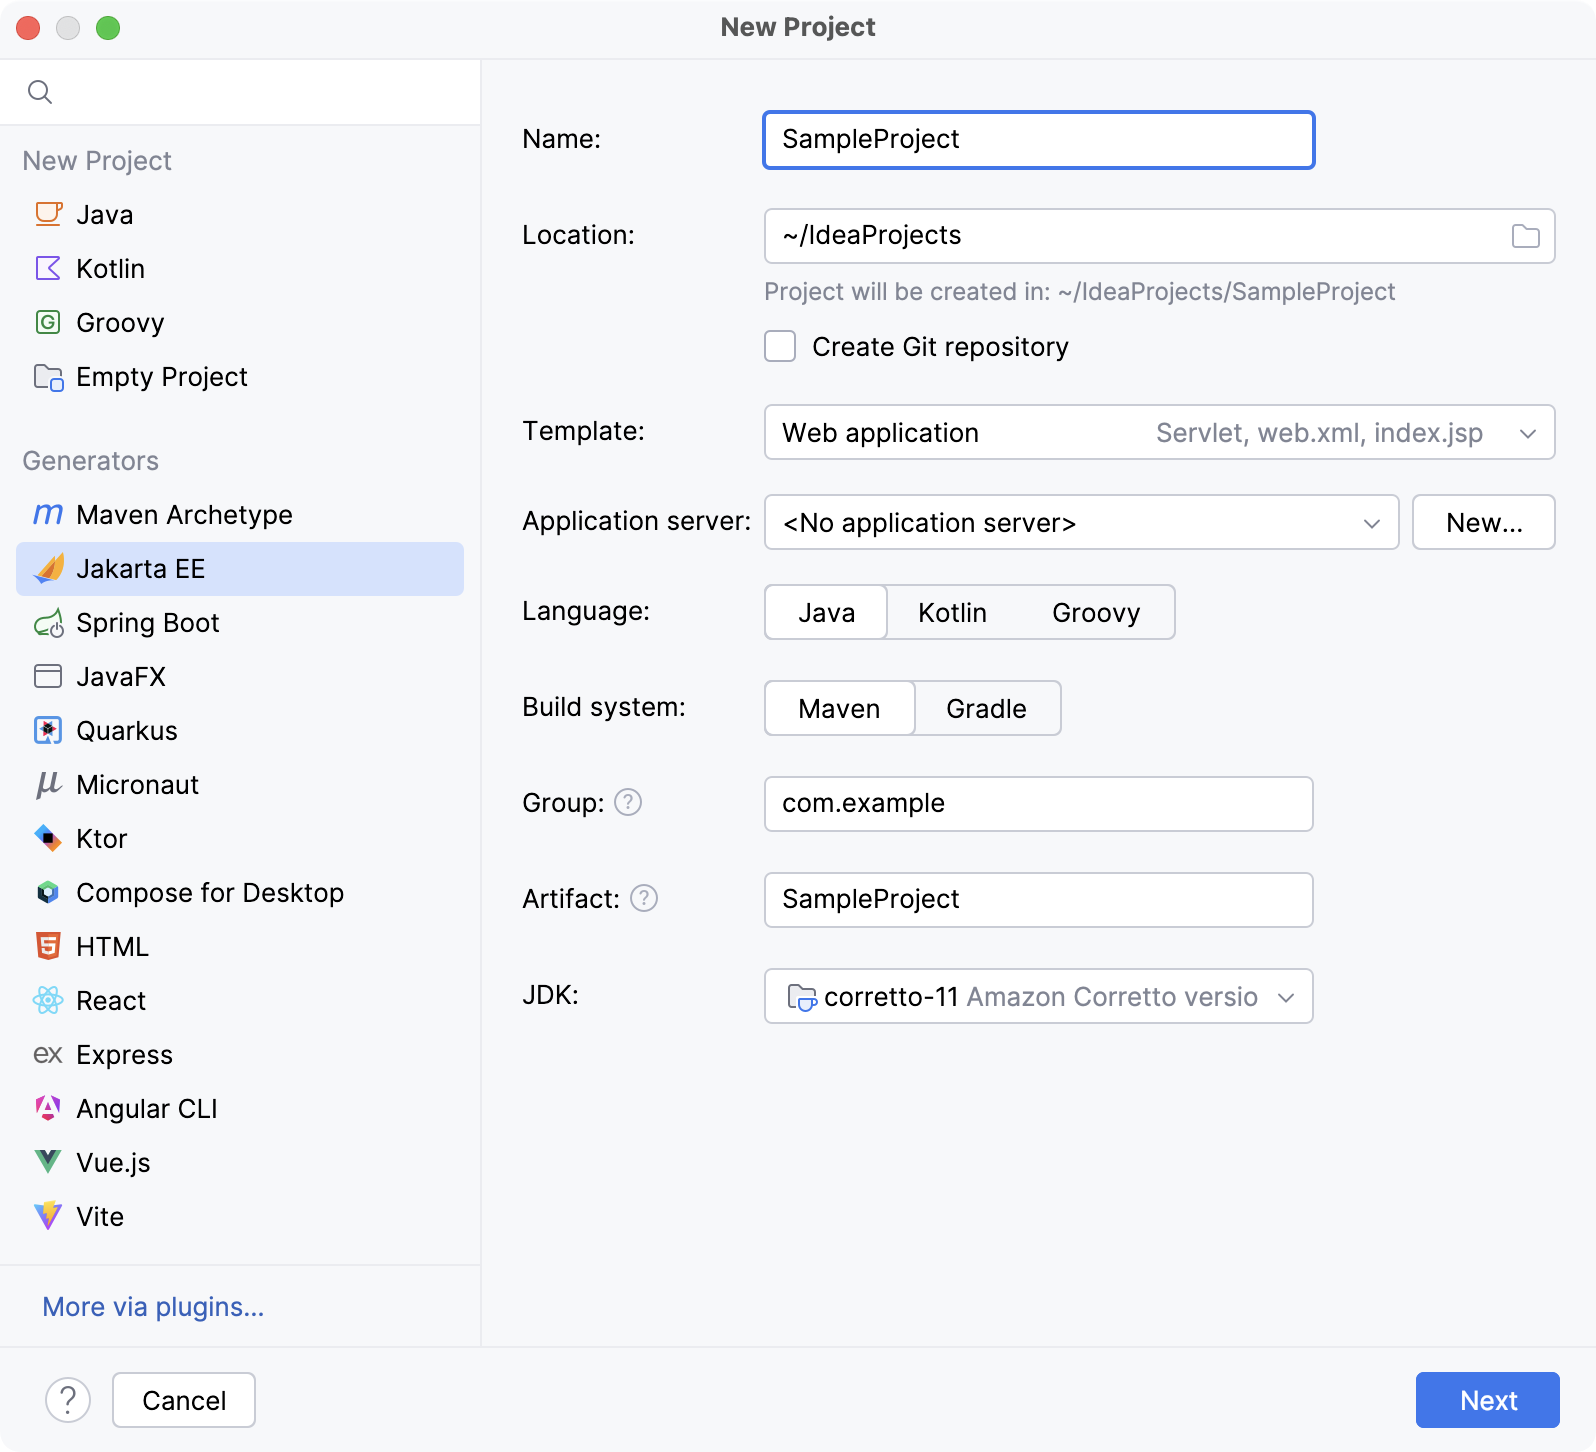
Enable Web application support
When you enable Web Application support in IntelliJ IDEA, it can do the following:
Create a web resource directory web with index.jsp intended as a starting page of your app and, optionally, a web app deployment descriptor WEB-INF/web.xml.
Create a Web facet that lets you manage your deployment descriptors, web resource directories, and your Java web source roots.
Provide access to the Web tool window.
If you enable Web Application support when creating a project or module and specify an application server, IntelliJ IDEA also creates a run/debug configuration for that server.
Create a new web application
Click New Project on the Welcome screen or select .
From the Generators list, select Jakarta EE.
Name the new project, select a build tool, a language you want to use, and select the Web application project template.
Select the Create Git repository option to place the new project under version control.
From the JDK list, select the JDK that you want to use in your project.
If the JDK is installed on your computer, but not defined in the IDE, select Add JDK and specify the path to the JDK home directory.
If you don't have the necessary JDK on your computer, select Download JDK.

On the next step of the wizard, select the Jakarta EE version to be supported.
From the Dependencies list, select Servlet.
Click Create.
Add web application support to existing module
In the Project tool window Alt+1, select the necessary module.
Press Ctrl+Shift+A and type
Add Framework Support.Once the action is found, click it to open the Add Framework Support dialog.
In the dialog that opens, select Web Application and select a version of the Servlet specification.
If you want the deployment descriptor web.xml file to be created, select the Create web.xml checkbox.
Click OK.

Manage web application settings
You can manage your web app deployment descriptors, web resource directories, and Java web source roots in the Project Structure dialog.
In the main menu, go to or press Ctrl+Alt+Shift+S.
In the left pane, select Modules or Facets.
Select the Web facet.
Configure the following:
- Deployment Descriptors
List of deployment descriptors for your app
- Web Resource Directories
Directories that contain your web app resources, such as web pages and images
- Source Roots
Source roots contain your web application Java classes, such as servlets, filters, and managed beans.
For more information, refer to Web facet page.
Manage application artifacts
To manage your artifact configurations, use the Project Structure dialog ().
To deploy your application to a server, you need an application artifact. For Java web applications, IntelliJ IDEA provides the following artifact formats:
Web Application: Exploded. This is a decompressed Web application archive (WAR), a directory structure that is ready for deployment onto a web server.
Web Application: Archive. This is a WAR file.
For more information, refer to Artifacts.