SDKs
A Software Development Kit, or an SDK, is a collection of tools that you need to develop an application for a specific software framework. For example, to develop applications in Java, you need a Java SDK (JDK). SDKs contain binaries, source code for the binaries, and documentation for the source code. JDK builds also contain annotations.
Generally, SDKs are global. It means that one SDK can be used in multiple projects and modules. After you create a new project and define an SDK for it, you can configure modules in this project to inherit its SDK. You can also specify an SDK for each module individually. For more information, refer to Change module SDK.
Supported SDKs
Configure SDKs
To define an SDK means to let IntelliJ IDEA know in which folder on your computer the necessary SDK version is installed. This folder is called an SDK home directory.
Add a global SDK
In the main menu, go to .
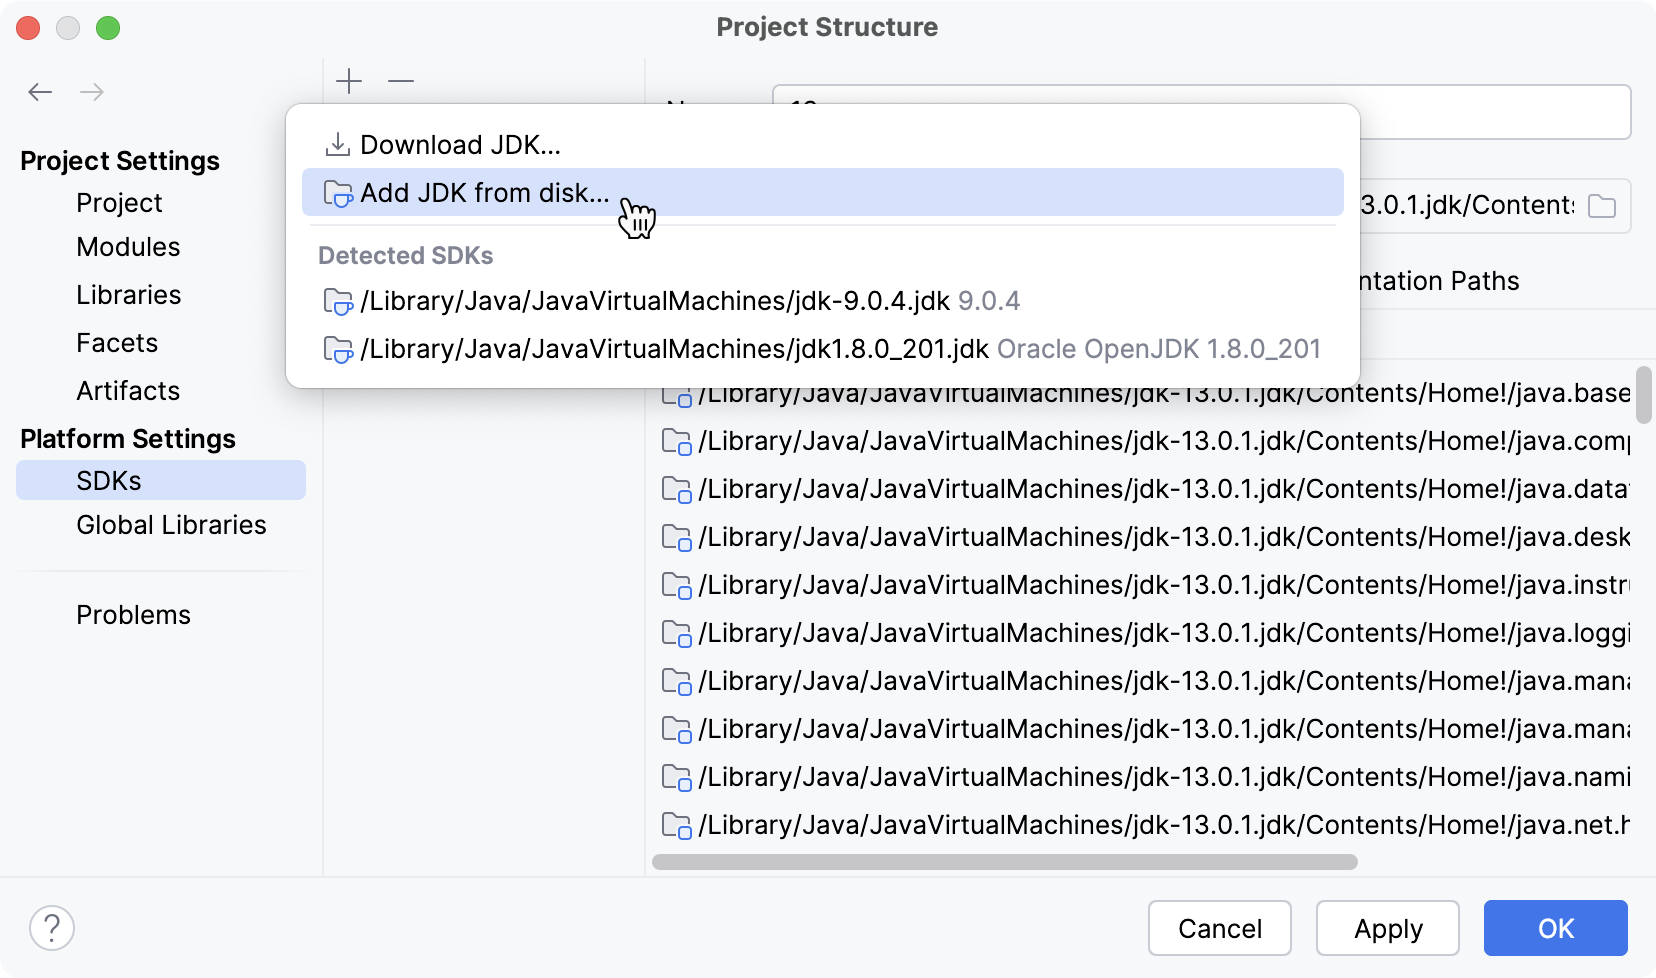
Click
and select the necessary option from the list of SDKs detected on your computer.
Only for JDKs: if the IDE cannot find the necessary JDK on your computer automatically, click Add JDK from disk and specify its home directory in the dialog that opens.
If you don't have the necessary JDK on your computer, select Download JDK. In the next dialog, specify the JDK vendor, version, change the installation path if required, and click Download.
Remove an SDK
You can remove unnecessary SDKs from your IDE.
In the main menu, go to .
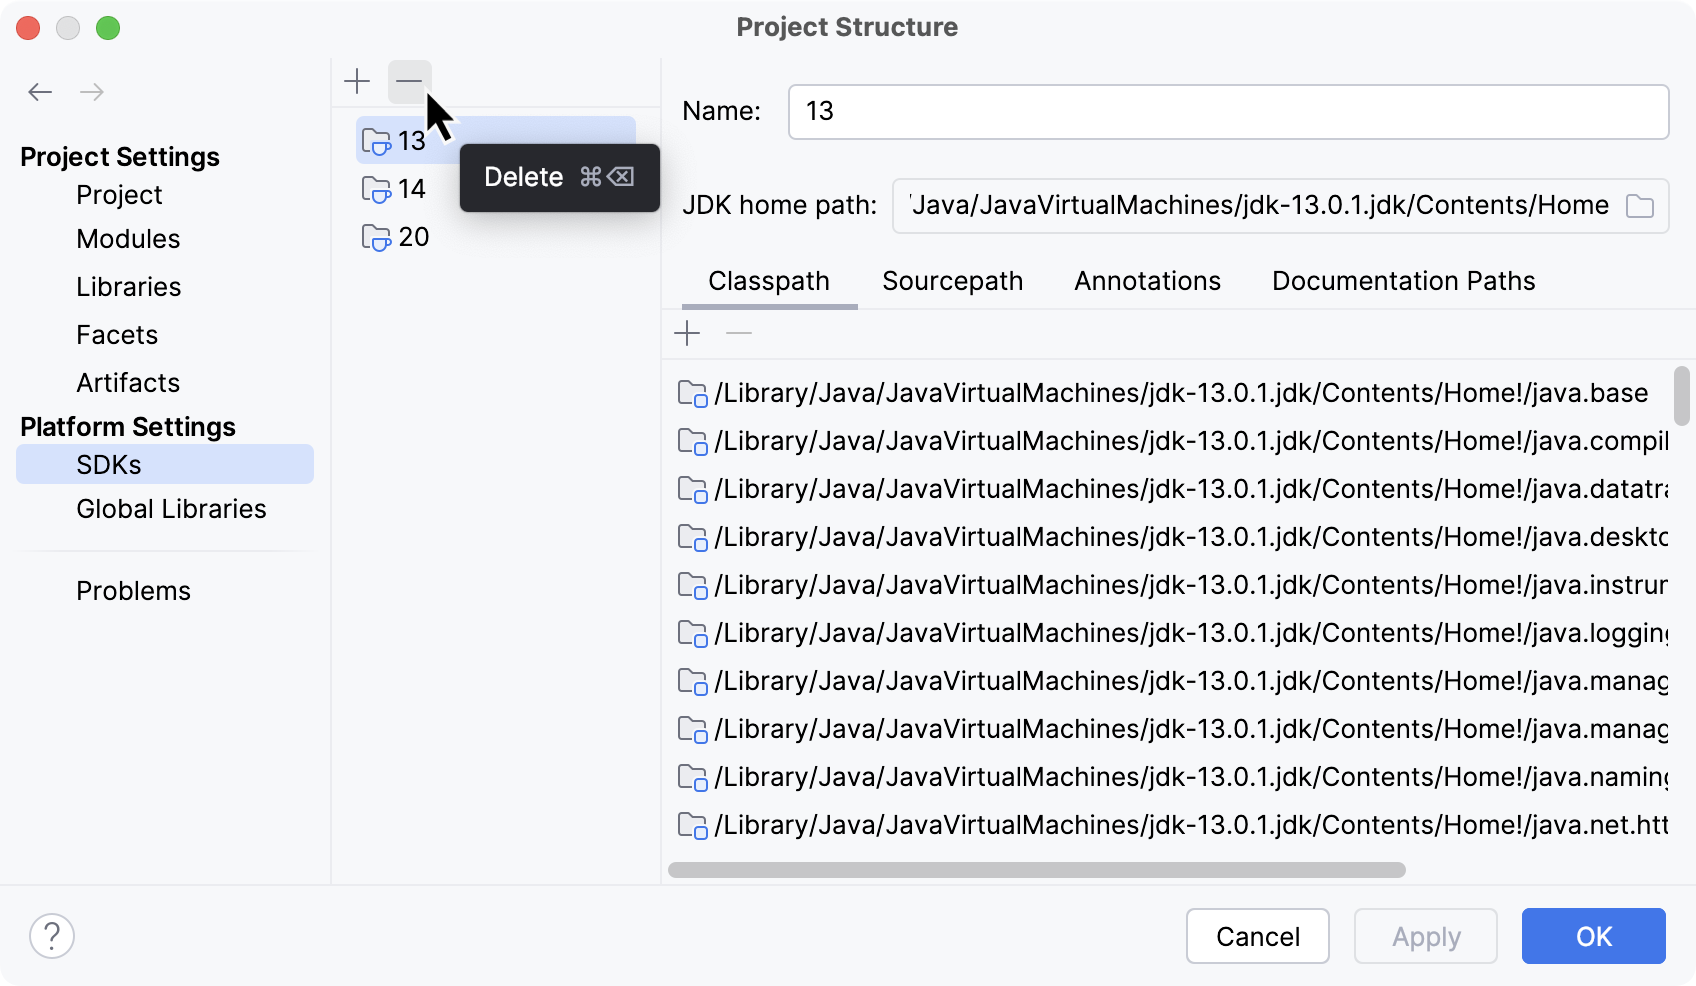
Select the SDK you want to remove and click
.
Apply the changes and close the dialog.
Add a project SDK
In the main menu, go to .
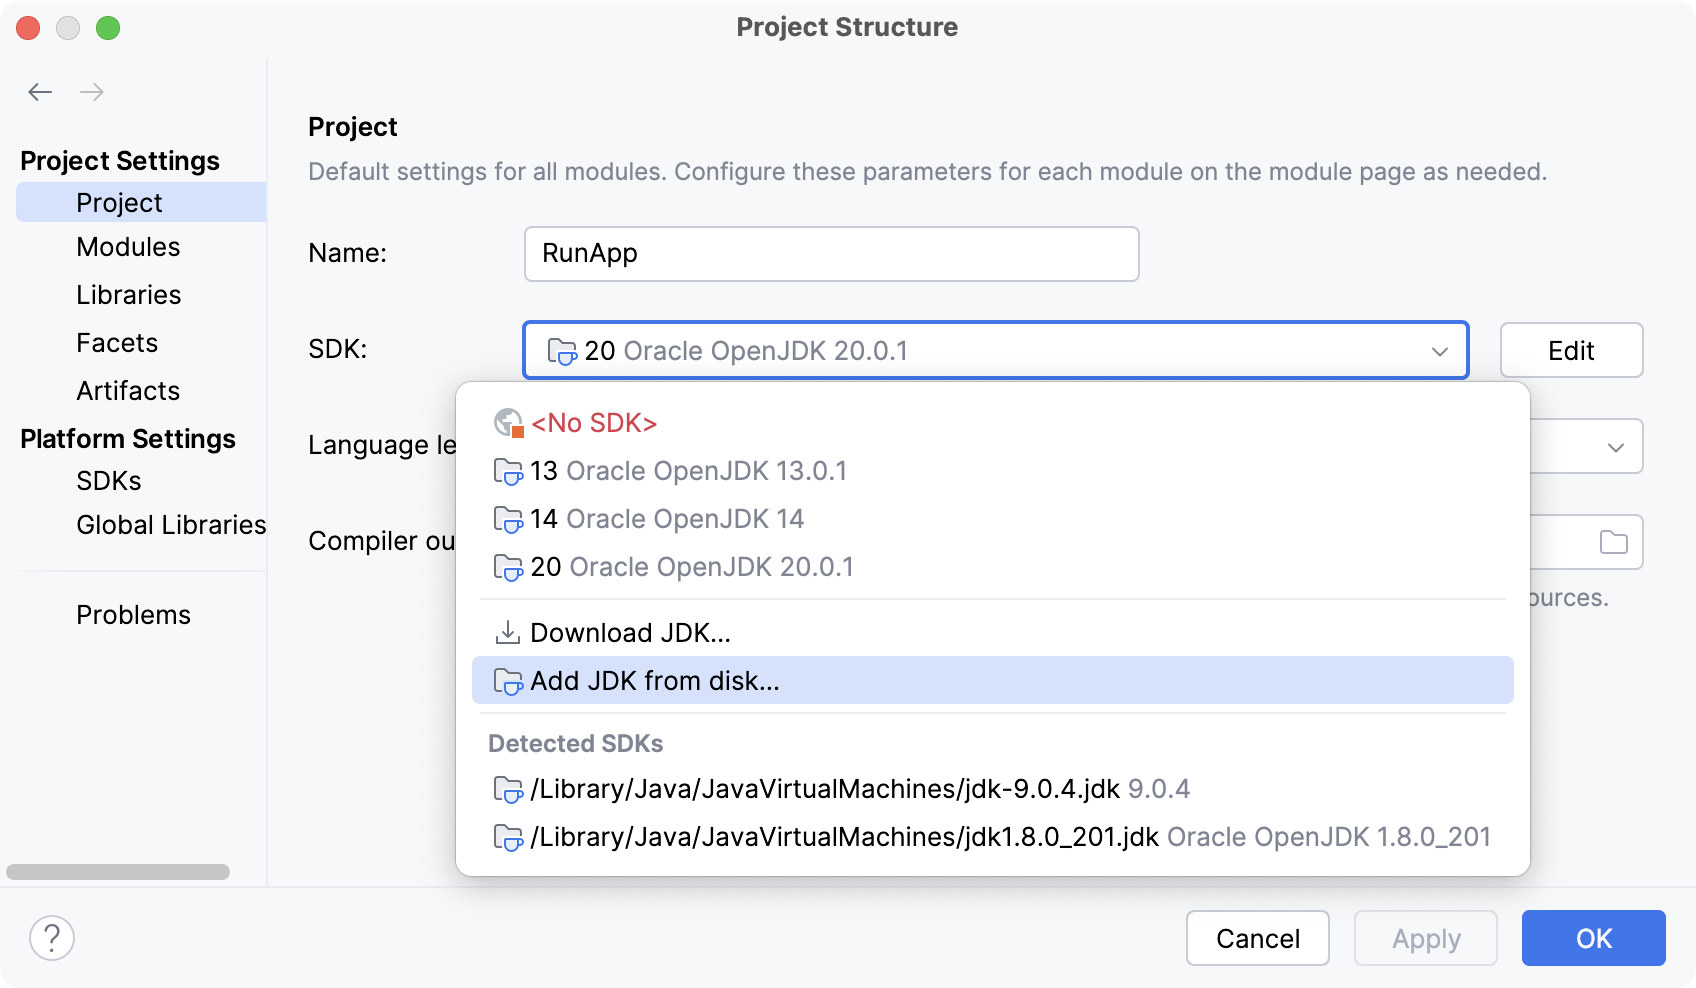
If the necessary SDK is already defined in IntelliJ IDEA, select it from the Detected SDKs list.
Only for JDKs: if the IDE cannot find the necessary JDK on your computer automatically, click Add JDK from disk and specify its home directory in the dialog that opens.
If you don't have the necessary JDK on your computer, select Download JDK. In the next dialog, specify the JDK vendor, version, change the installation path if required, and click Download.
Add a module SDK
In the main menu, go to .
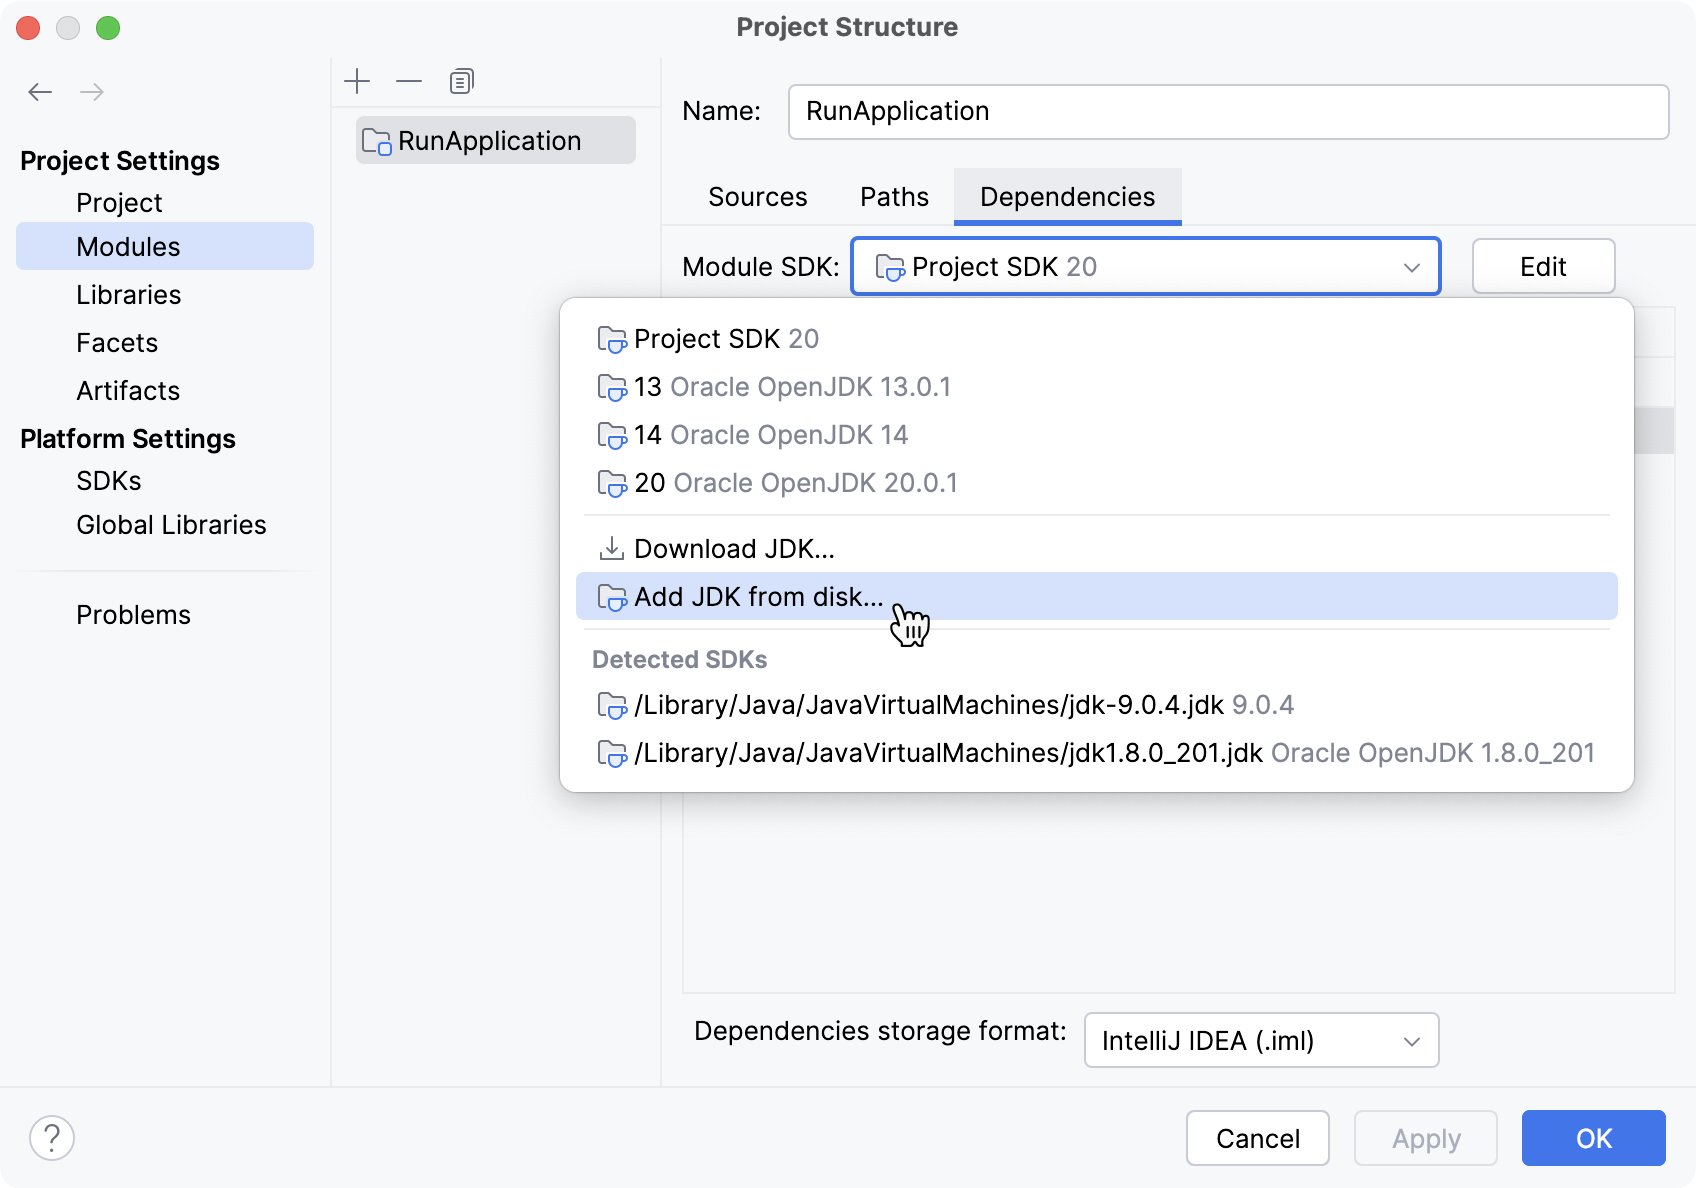
Select the module for which you want to set an SDK and click Dependencies.
If the necessary SDK is already defined in IntelliJ IDEA, select it from the Detected SDKs list.
Only for JDKs: if the IDE cannot find the necessary JDK on your computer automatically, click Add JDK from disk and specify its home directory in the dialog that opens.
If you don't have the necessary JDK on your computer, select Download JDK. In the next dialog, specify the JDK vendor, version, change the installation path if required, and click Download.
Java Development Kit (JDK)
To develop applications in IntelliJ IDEA, you need a Java SDK (JDK). A JDK is a software package that contains libraries, tools for developing and testing Java applications (development tools), and tools for running applications on the Java platform (Java Runtime Environment – JRE).
The JRE can be obtained separately from the JDK, but it is not suitable for application development, as it doesn't have essential components such as compilers and debuggers.
In IntelliJ IDEA, you can download a JDK package right from the IDE, or you can manually download the necessary JDK distribution and define it in the IDE.
For a manual download, use any available distribution that you like, for example:
Set up the project JDK
In the main menu, go to .
If the necessary JDK is already defined in IntelliJ IDEA, select it from the SDK list.
If the JDK is installed on your computer but not defined in the IDE, select Add SDK from disk and specify the path to the JDK home directory (for example, /Library/Java/JavaVirtualMachines/jdk-12.0.1.jdk).

If you don't have the necessary JDK on your computer, select Download JDK. In the next dialog, specify the JDK vendor, version, change the installation path if required, and click Download.
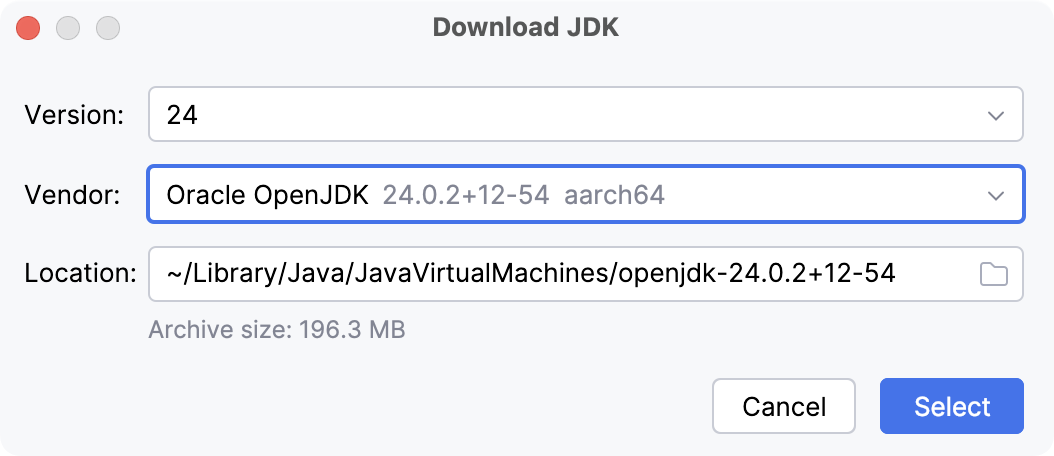
Apply the changes and close the dialog.
Configure JDKs using a version manager
When you use command-line tools like SDKMAN! or asdf to install, manage, and switch between different JDK versions in your IntelliJ IDEA, you can use inlay hints to make version management more convenient.
For example, if your .sdkmanrc or .tool-versions file specifies a JDK version that is not yet installed, an inlay hint will appear, allowing you to download it directly.
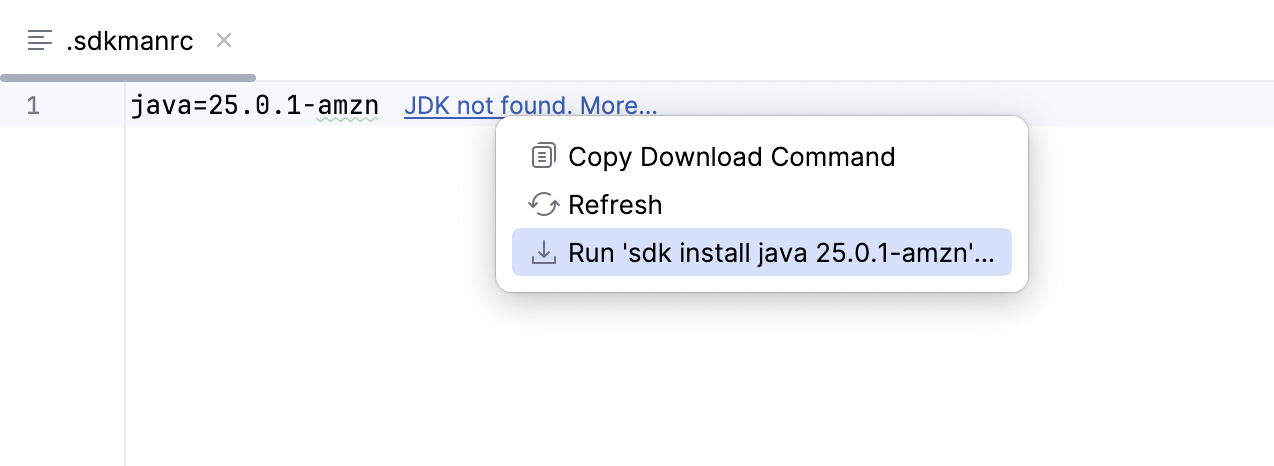
If the required JDK version is already installed but not configured for the project, the hint will let you quickly set it as the project JDK.

You can find the settings for this inlay hint in . Learn more about other available inlay hints and how to use them from Inlay hints.
Disable automatic configuration from version manager files
When you open a project that uses a version manager, the IDE automatically configures the JDK defined in the corresponding configuration file (for example, .sdkmanrc or .tool-versions). You can change this behavior in settings.
Press Ctrl+Alt+S to open settings and then select .
Disable option Start listening for changes in configuration files ('.sdkman', '.tool-versions', …) on project opening and apply the changes.
Kotlin SDK
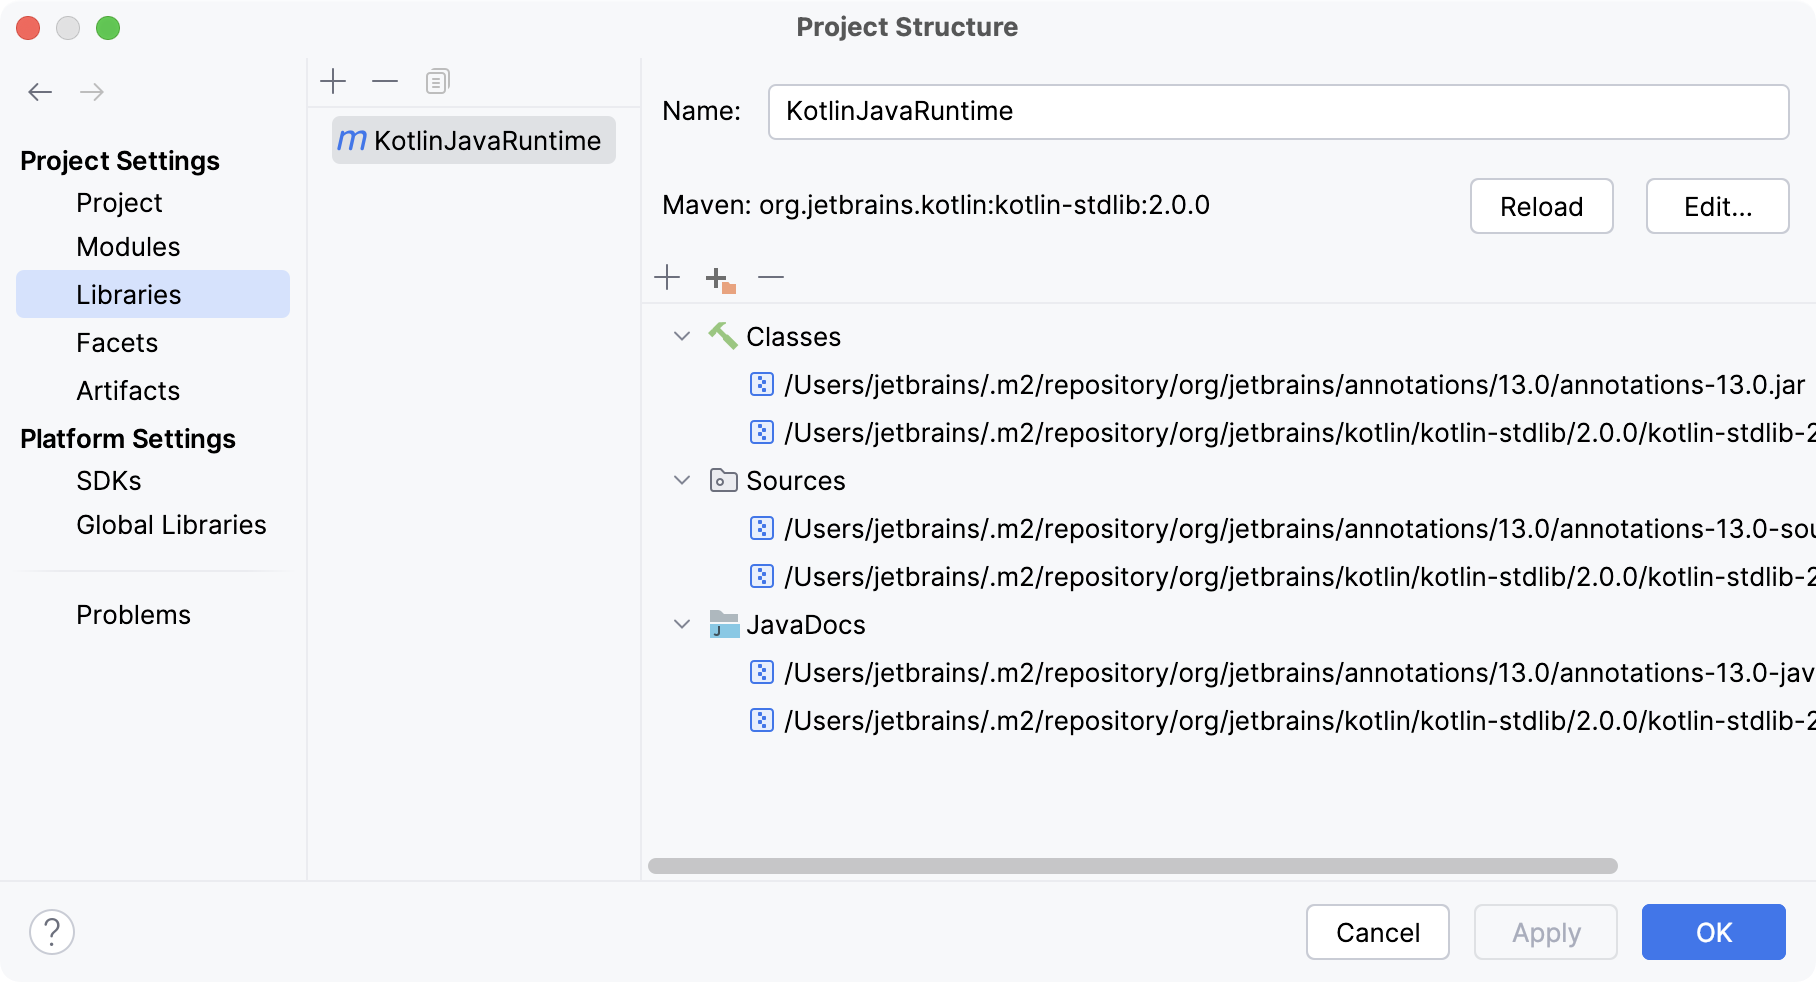
Kotlin SDK is distributed differently from JDKs. It is added to your project as a regular library dependency and resides in the .m2 folder. The IDE downloads it for you when you create a new Kotlin project or sync an existing project. You can also add Kotlin to an existing JVM project.
Learn more about Kotlin from the Kotlin documentation.