Libraries
A library is a collection of compiled code that you can add to your project. In IntelliJ IDEA, libraries can be defined at three levels: global (available for many projects), project (available for all modules within a project), and module (available for one module).
A Java library can include class files, archives and directories with class files as well as directories with native libraries .dll, .so, or .jnilib.
Define a library
After you define a library and add it to module dependencies, the IDE will be supplying its contents to you as you write your code. IntelliJ IDEA will also use the code from the libraries to build and deploy your application.
Define a global library
In the main menu, go to Ctrl+Alt+Shift+S.
Under Platform Settings, select Global Libraries.
Click
and select one of the following:
Select Java or Kotlin/JS to add a library from the files located on your computer.
Select From Maven to download a library from Maven.

In this dialog, you can also:
add classes to an existing library,
specify an external documentation URL,
exclude items from a library, or
remove a library.
References to global libraries are stored in the IDE configuration directory in options | applicationLibraries.xml.
Define a project library
In the main menu, go to Ctrl+Alt+Shift+S.
Under Project Settings, select Libraries.
Click
and select one of the following:
Select Java or Kotlin/JS to add a library from the files located on your computer.
Select From Maven to download a library from Maven.
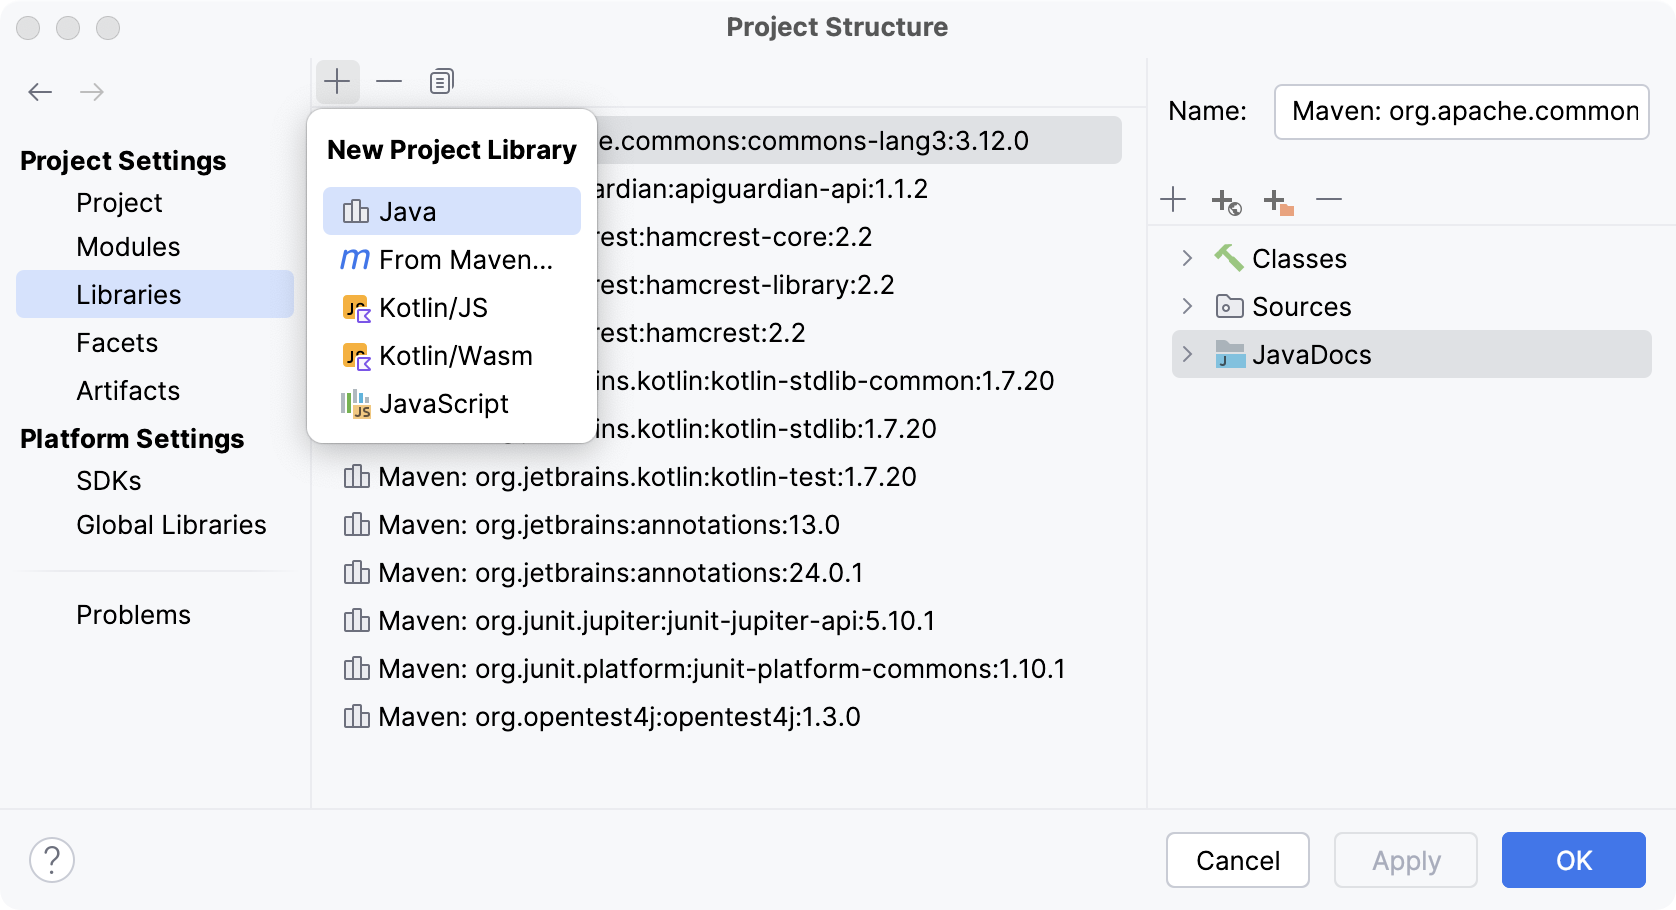
Select the module or modules to which you want to add the new library.
In this dialog, you can also: add classes to an existing library,
specify an external documentation URL,
exclude items from a library, or
remove a library.
References to project libraries are stored together with the project in the .idea folder in libraries.
Add a library to module dependencies
Global and project libraries are not available until you add them to module dependencies.
In the main menu, go to .
Select the module for which you want to add a library and click Dependencies.
Click the
button and select Library.
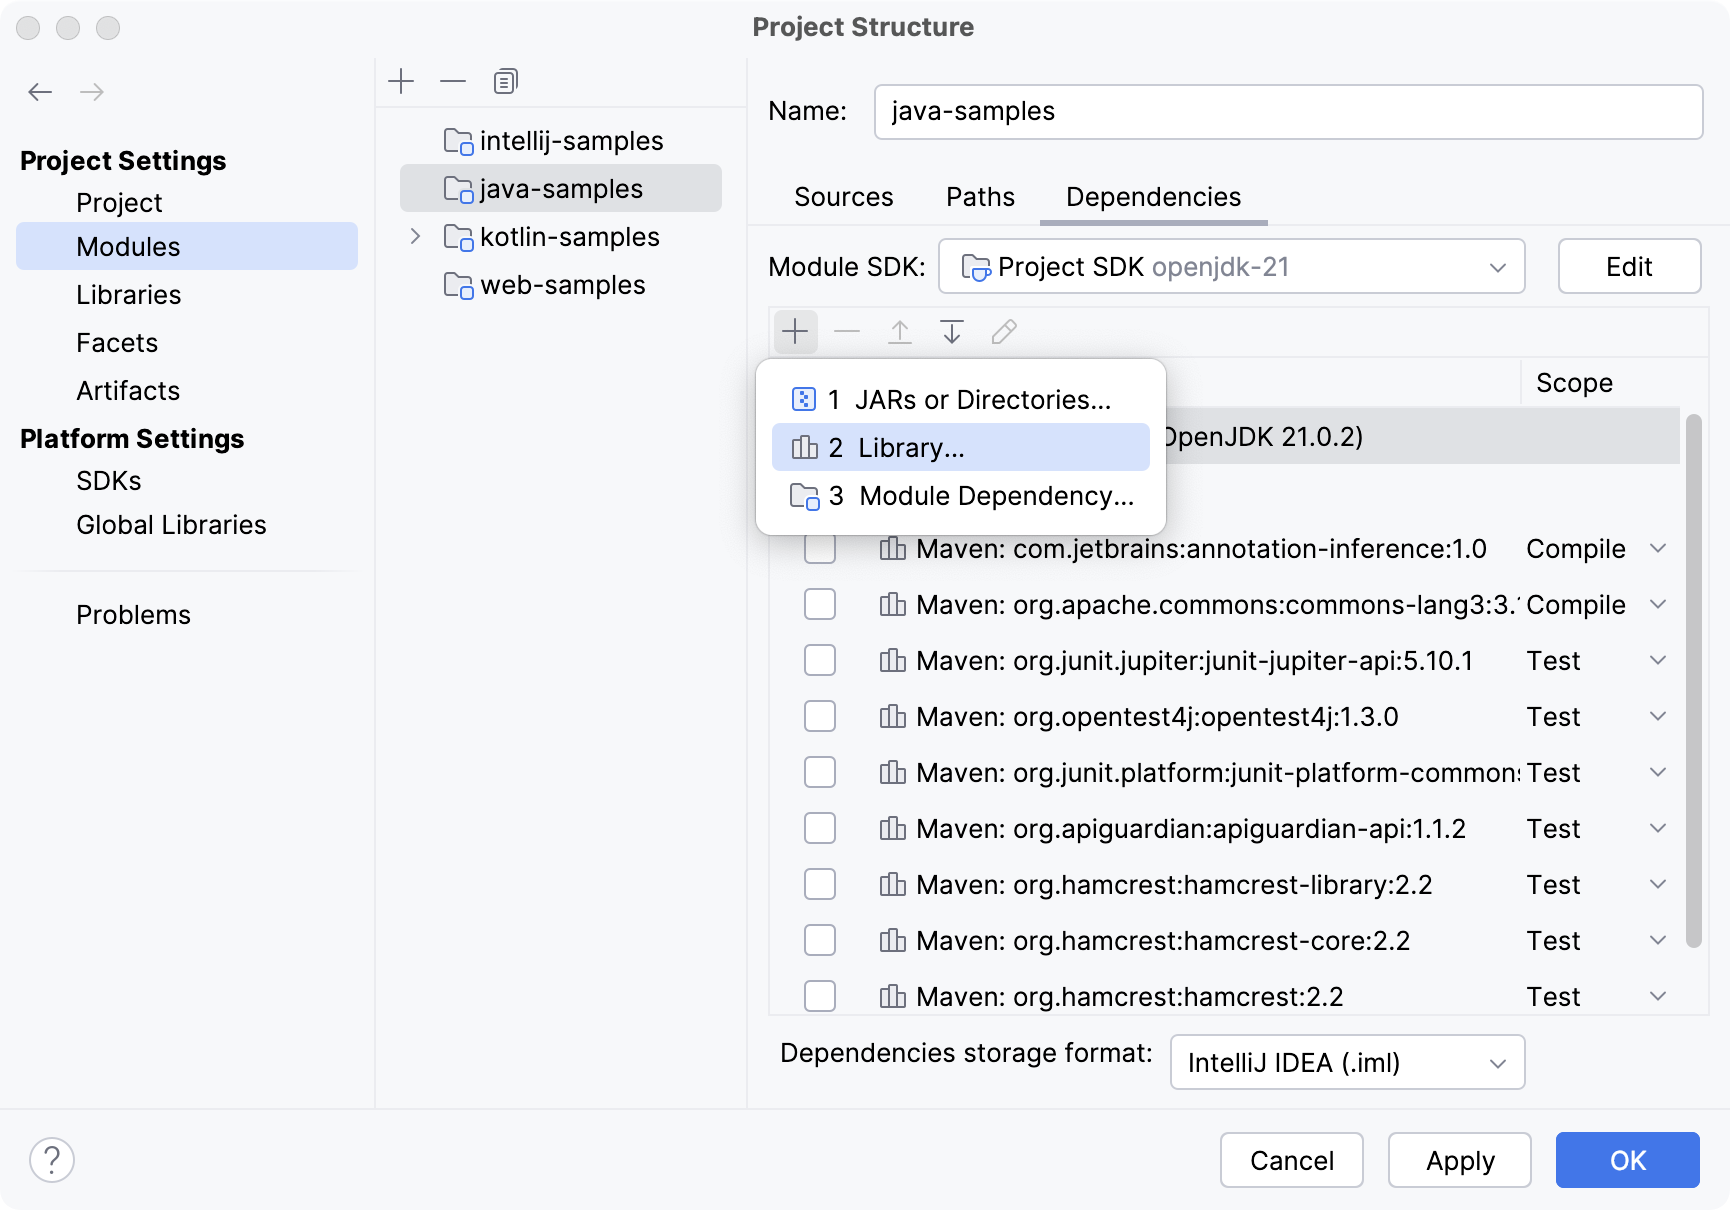
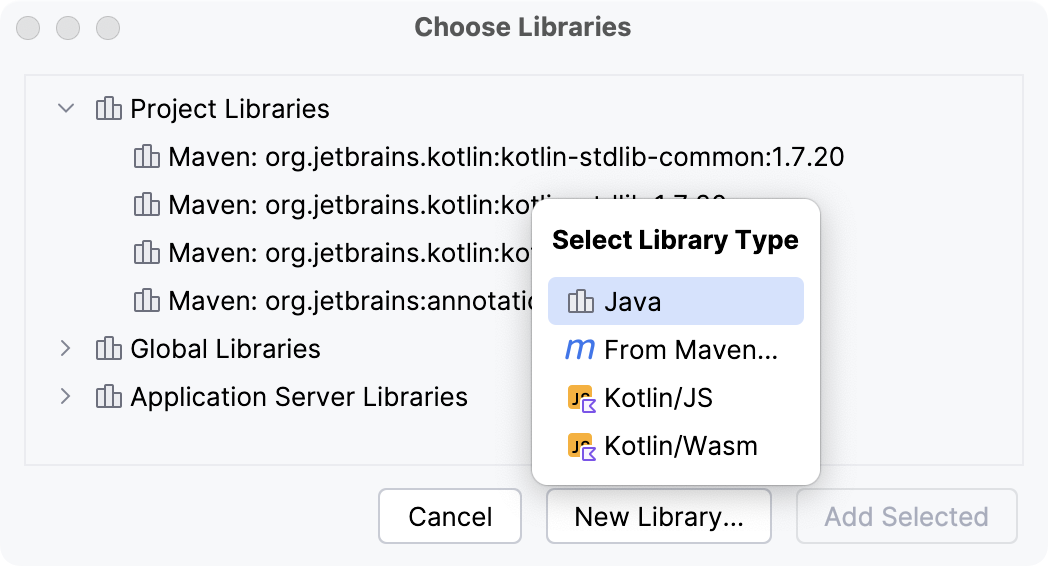
In the dialog that opens, select a project or a global library that you want to add to the module.
Alternatively, click New Library and select the required option: you can add a Java and Kotlin libraries from files on your computer, or download a library from Maven.
References to module libraries are stored in the module .iml file. This file is used for keeping module configuration. For more information about module files, refer to Modules.
Download a library from Maven
In the main menu, go to Ctrl+Alt+Shift+S and click Libraries to add a project library or Global Libraries to add a global library.
Click
and select From Maven.
In the next dialog, specify the library artifact. If you don't know its exact name, enter the keywords and click
.
You can also specify another library location, and select whether you want to download transitive dependencies, source files, Javadoc files, or annotations.

IntelliJ IDEA will download the library from Maven or Nexus public repositories. You can also configure a custom remote repository.
Add classes to a library
Once the library is added, you can add more classes to it:
In the main menu, go to . Then click Global Libraries to modify a global library or Libraries to modify a project library.
To modify a module library, select from the main menu and go to . Select the library that you want to modify and click
.
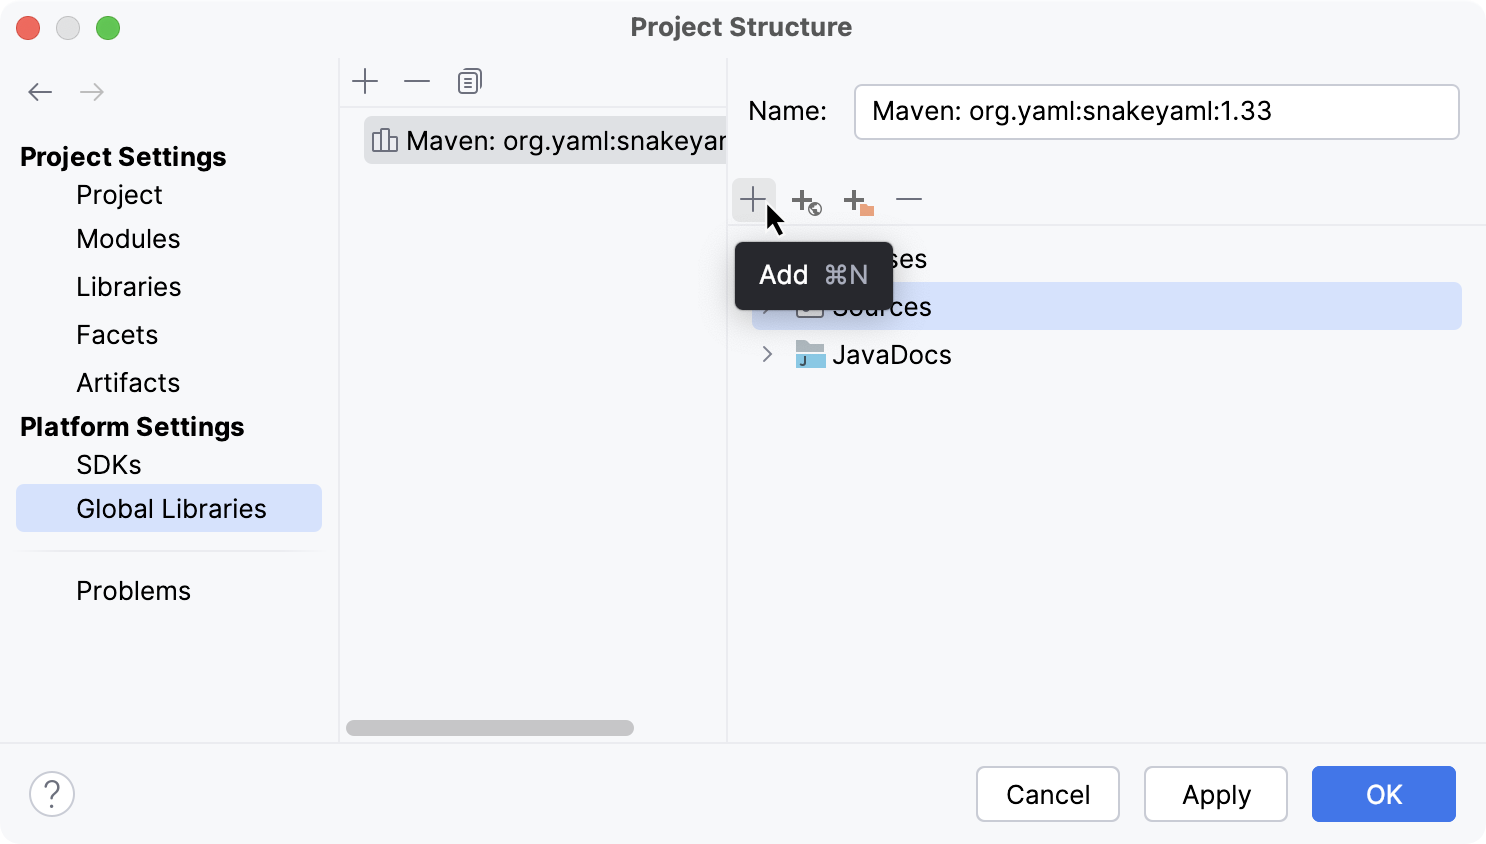
Click
and select the classes you want to add in the dialog that opens.
For a Java library, these may be individual class and java files, directories and archives jar and zip containing such files,or directories with Java native libraries .dll, .so or .jnilib.
IntelliJ IDEA will analyze the selected files and folders, and automatically assign their contents to the appropriate library categories (Classes, Sources, Documentation, Native Library Locations, and so on).
When IntelliJ IDEA cannot guess the category (for example, when you select an empty folder), a dialog will be shown, in which you will be able to specify the category yourself.
Include specific transitive dependencies
If you want to include only specific transitive dependencies, you can use the library properties editor.
In the main menu, go to Ctrl+Alt+Shift+S, and go to .
Select the necessary Maven library and click
.
In the next dialog, click Edit, and then click Configure next to the Include transitive dependencies option.
Select the dependencies you want to include in the library and click OK.
Change the library level
Move a library to a higher level
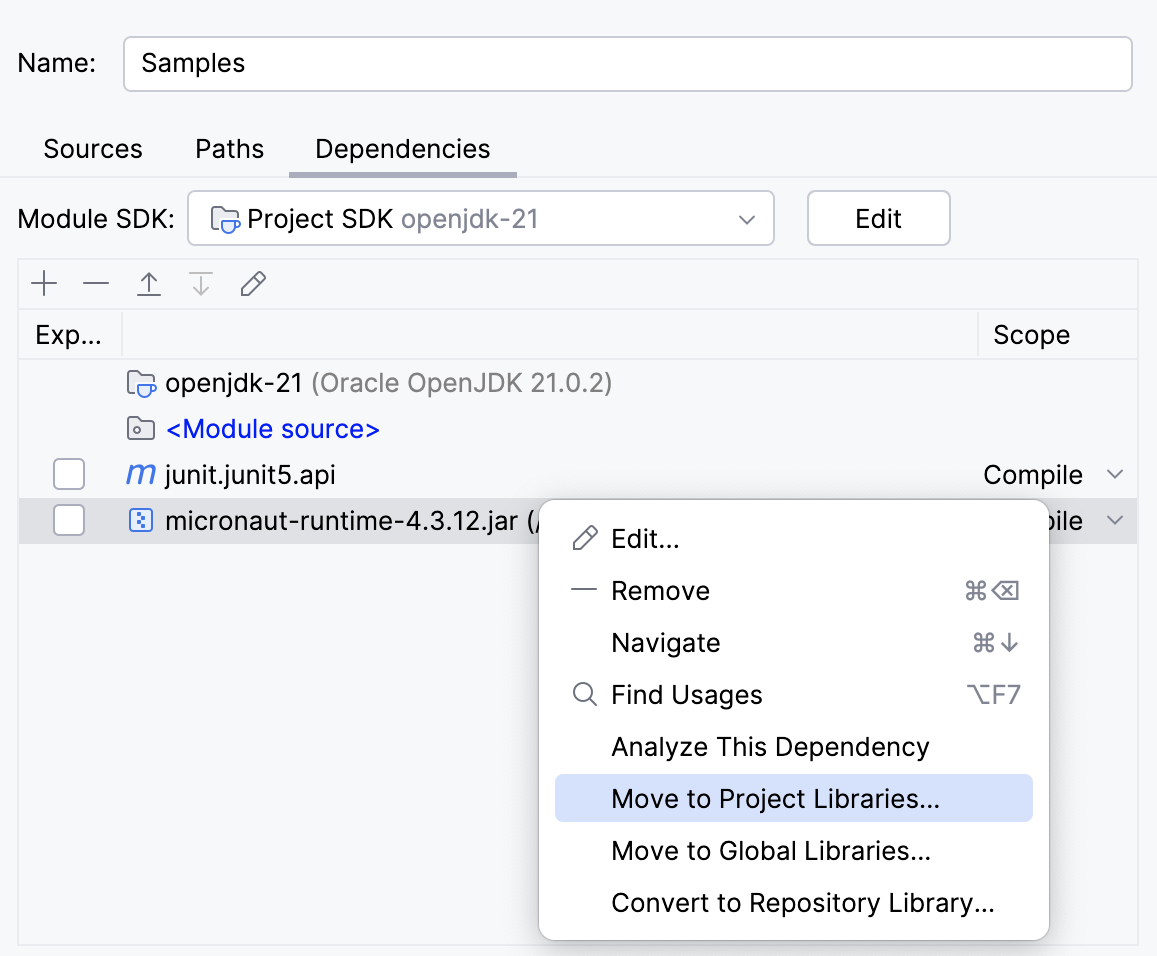
In IntelliJ IDEA, you can move a project or a module library to a higher level. This is helpful if you want to extend its scope of usage. For example, use this procedure if you want to use a module library across the project or the entire IDE.
In the main menu, go to Ctrl+Alt+Shift+S and locate the library that you want to change.
Right-click the necessary library and select Move to Project Libraries or Move to Global Libraries.
Copy a library to a lower level
You can create a copy of a library on a lower level. For example, use this procedure if you want to add more classes to a project library, but you want to use them in one module only.
In the main menu, go to Ctrl+Alt+Shift+S and locate the library that you want to change.
Right-click the necessary library and select Copy to Project Libraries or Add to Modules.

Exclude library items
IntelliJ IDEA allows you to temporarily exclude library items in order to increase IDE performance. You can exclude folders, archives (for example, JARs) and folders within archives.
Classes from excluded packages won't be shown in code completion suggestion lists, references to such classes will be shown in the editor as unresolved, and so on. However, when you compile or run your code, a library will still be used as a whole, irrespective of whether there are excluded items in that library or not.
Exclude items from a project or a global library
In the main menu, go to Ctrl+Alt+Shift+S and click Libraries.
Click
and select the library items that you want to exclude.
Exclude items from a module library
In the main menu, go to Ctrl+Alt+Shift+S and select .
Select the library that you want to modify and click
.
Click
and select the library items that you want to exclude.
Excluded items will be marked with the icon. To return library items to their original state, remove the excluded items.
Configure a custom remote repository
You can view the full list of remote repositories and add a custom repository in the settings. Note that IntelliJ IDEA can load libraries from Maven even if you don't use Maven as a build tool for your project.
In the Settings dialog Ctrl+Alt+S, go to .
Click Add in the corresponding dialog section, and specify the repository URL.
Configure library documentation
You can add library documentation to IntelliJ IDEA so that you can get information about symbols and method signatures right from the editor in the Quick Documentation popup.
You can also configure external documentation by specifying the path to the reference information online. External documentation opens the necessary information in a browser so that you can navigate to related symbols and keep the information for further reference at the same time.
Specify library documentation paths
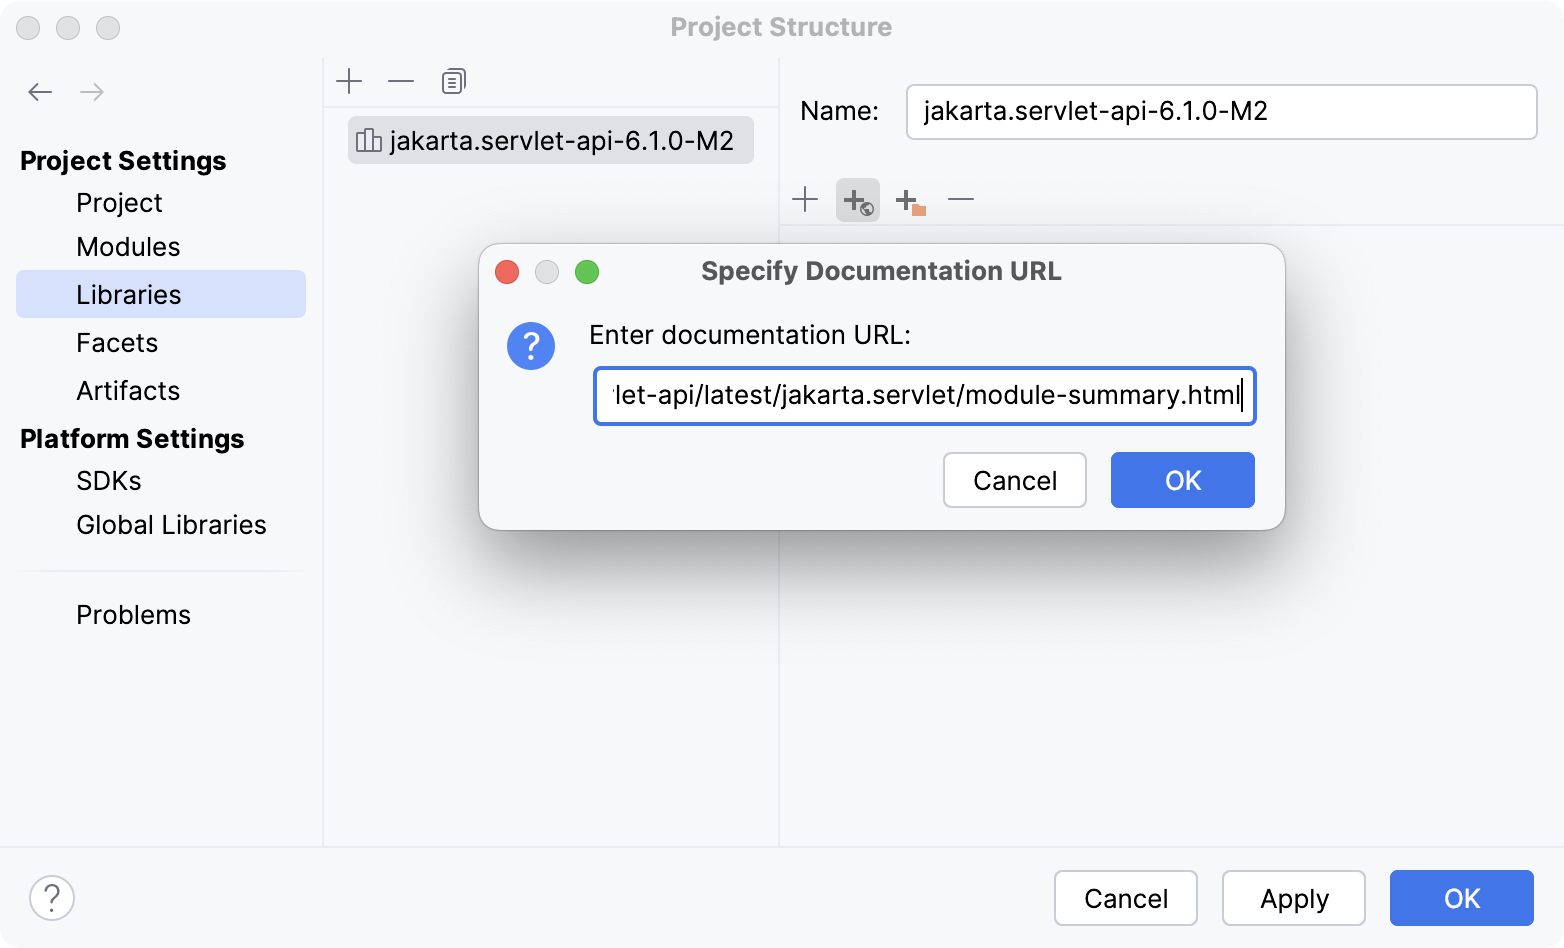
To view external library documentation, configure the documentation URL first.
Open the Project Structure dialog (Ctrl+Alt+Shift+S) and go to Libraries.
Select a library from the list and click
Specify Documentation URL in the right section of the dialog.
In the dialog that opens, enter the documentation URL and click OK.
Apply the changes and close the dialog.
Add library documentation to your project
You can add downloaded documentation to your project to be able to access it offline.
Open the Project Structure dialog (Ctrl+Alt+Shift+S) and go to Libraries.
Select a library from the list and click
Add in the right section of the dialog.
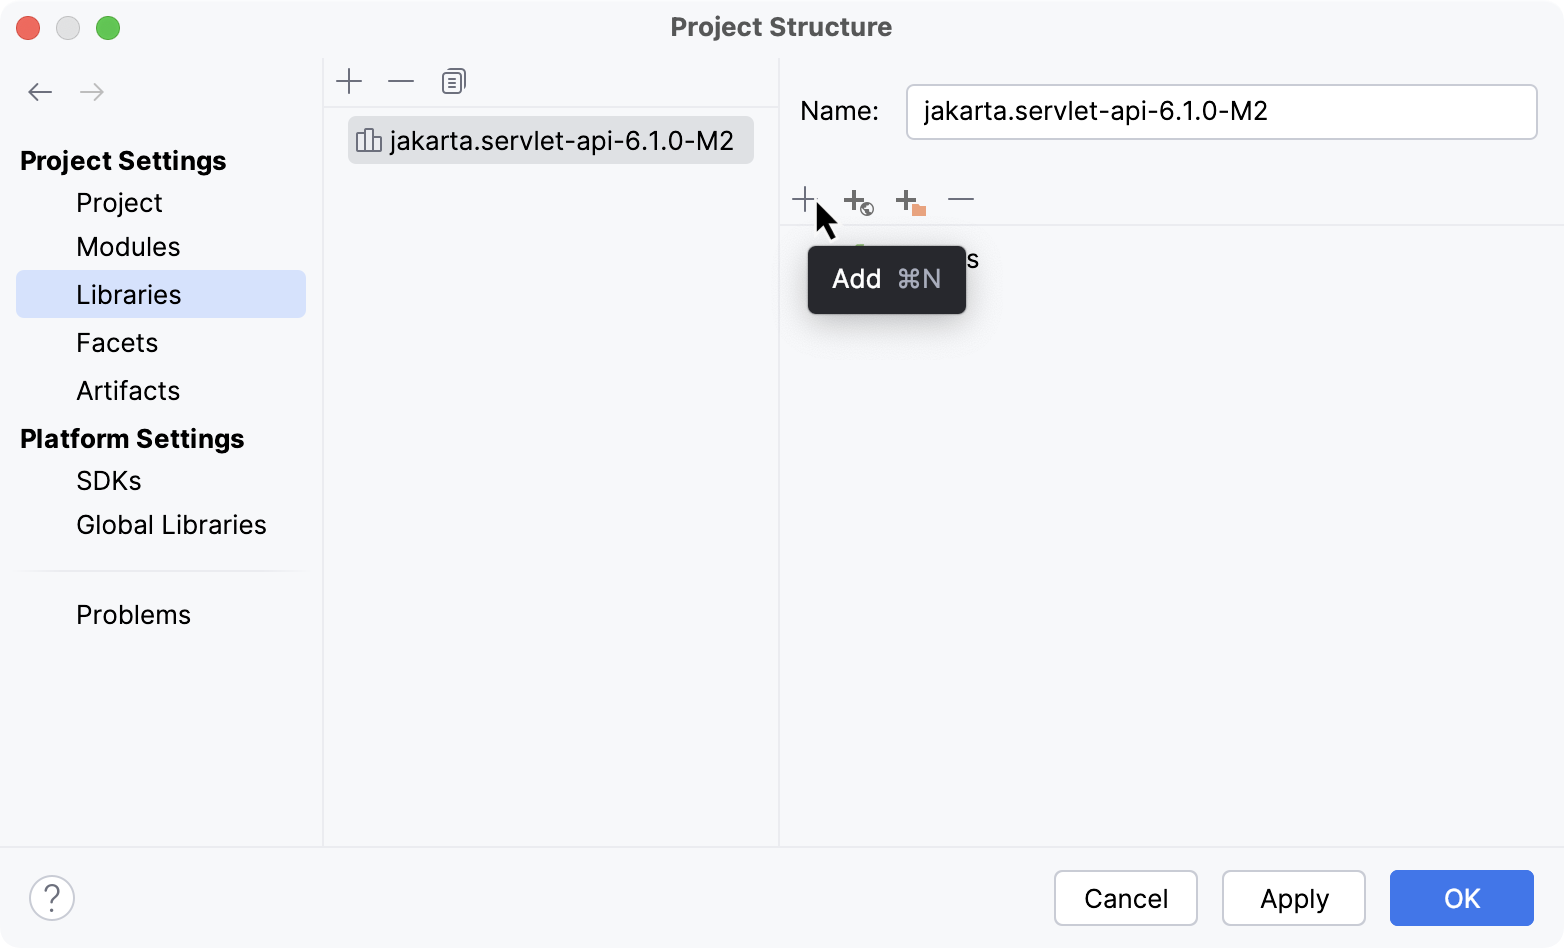
In the dialog that opens, select the JAR file that includes the documentation and click Open.
Apply the changes and close the dialog.
When the documentation is configured, you can open it in the editor.