Docker
You can add Docker support to IntelliJ IDEA by installing the Docker integration plugin.
- Docker
Prerequisites
Make sure that the following prerequisites are met:
- Docker is installed, as described on the page Docker Docs.
You can install Docker on the various platforms:
- Windows
- Mac OS X
- Linux (Ubuntu, other distributions-related instructions are available as well);
- Cloud platforms (e.g. here are tutorials on installing Docker on Amazon EC2, Google Cloud Platform, and Microsoft Azure.)
- Plugin Docker integration is installed.
The plugin is not bundled with IntelliJ IDEA, but it can be installed from the JetBrains plugin repository as described in Installing, Updating and Uninstalling Repository Plugins and Enabling and Disabling Plugins.
Overview of Docker support
The Docker integration plugin adds the following to IntelliJ IDEA:
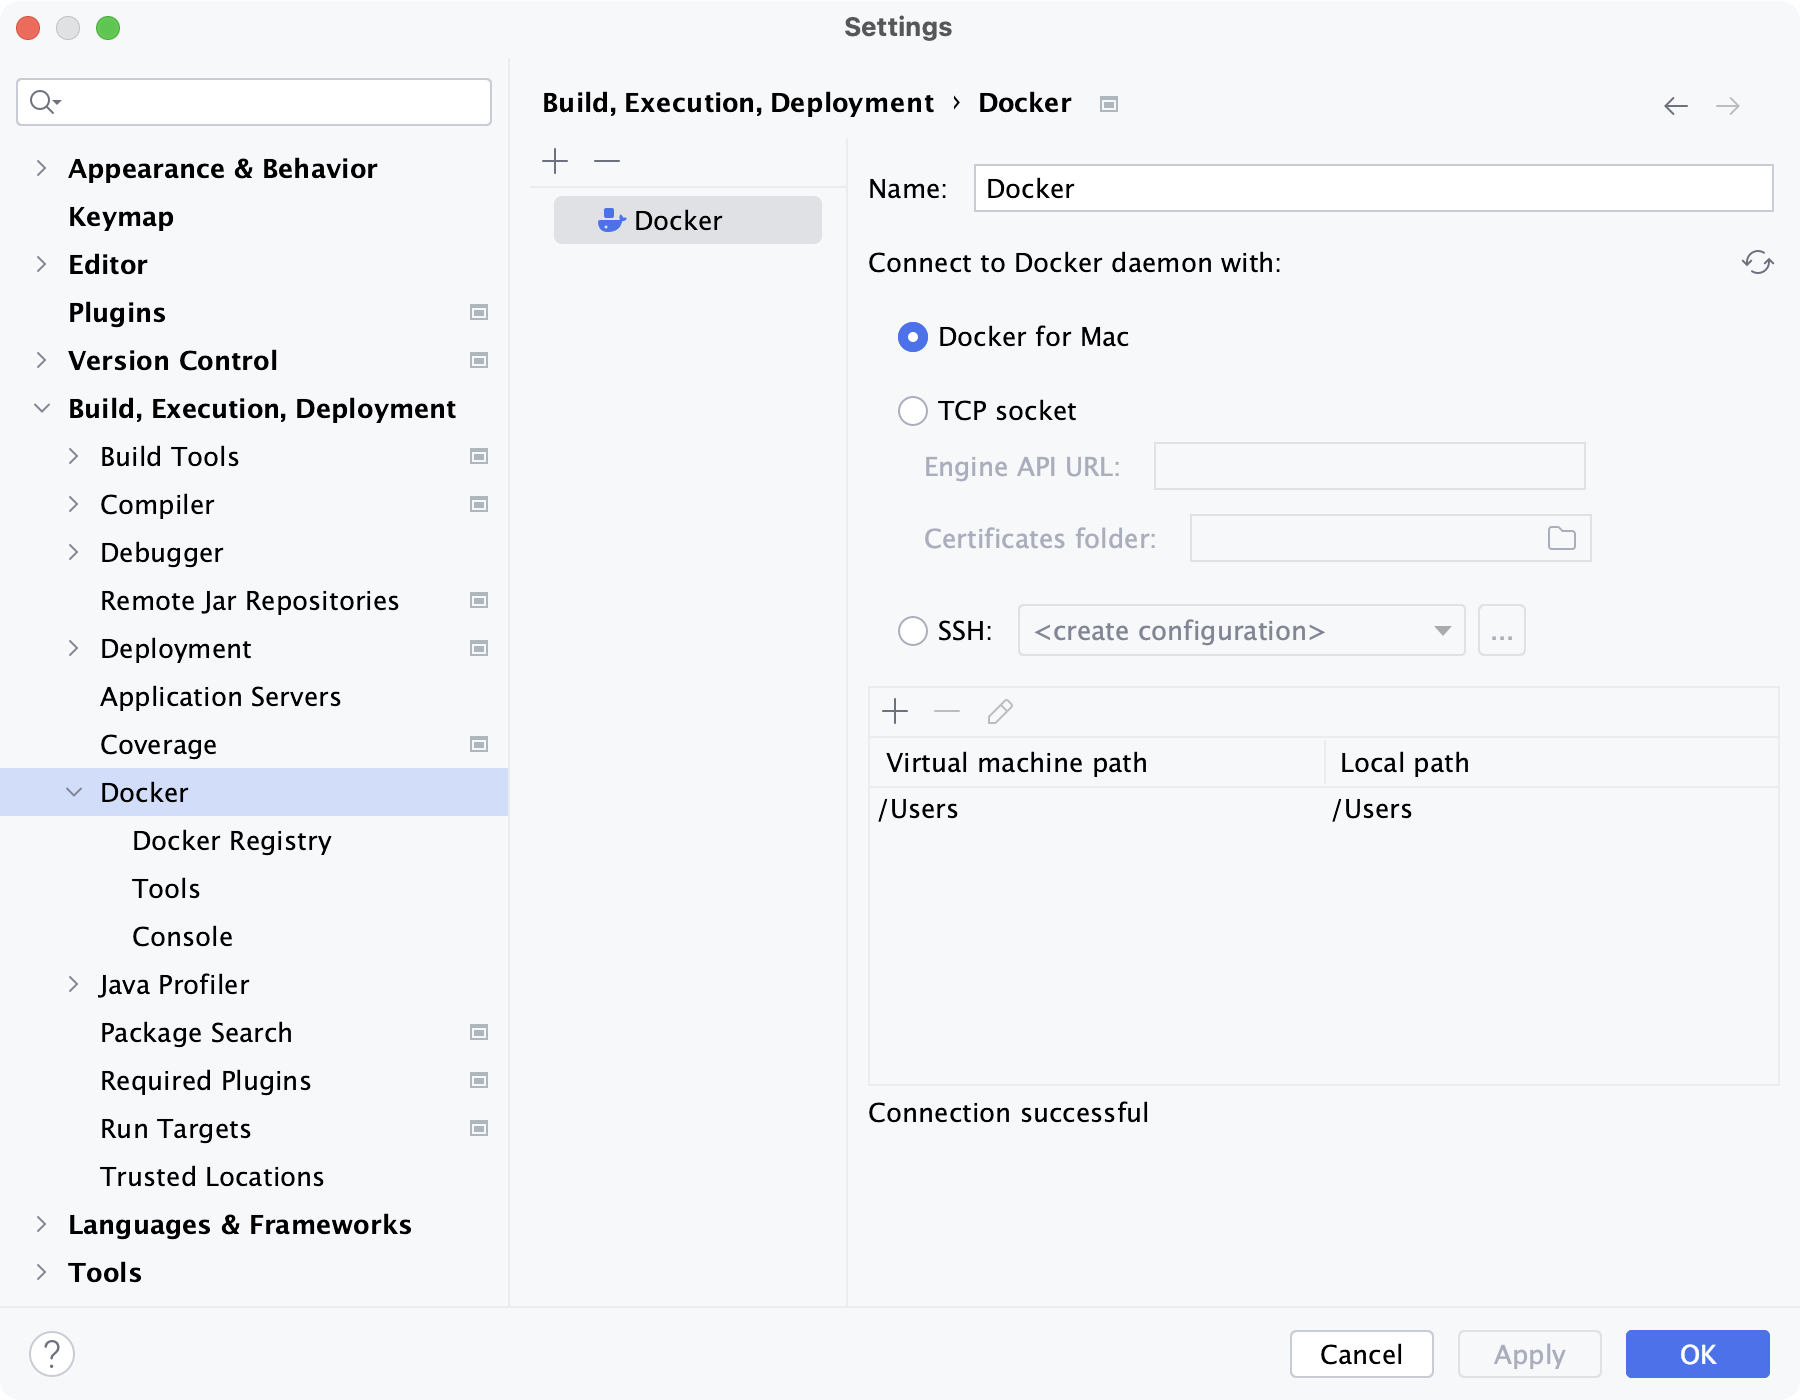
- Docker configurations. These are named sets of settings for accessing the Docker Remote API.
- Docker Deployment run/debug configurations. They let you download and build Docker images, create and start Docker containers, and deploy your application artifacts into the containers. Application debugging is supported only for Java.
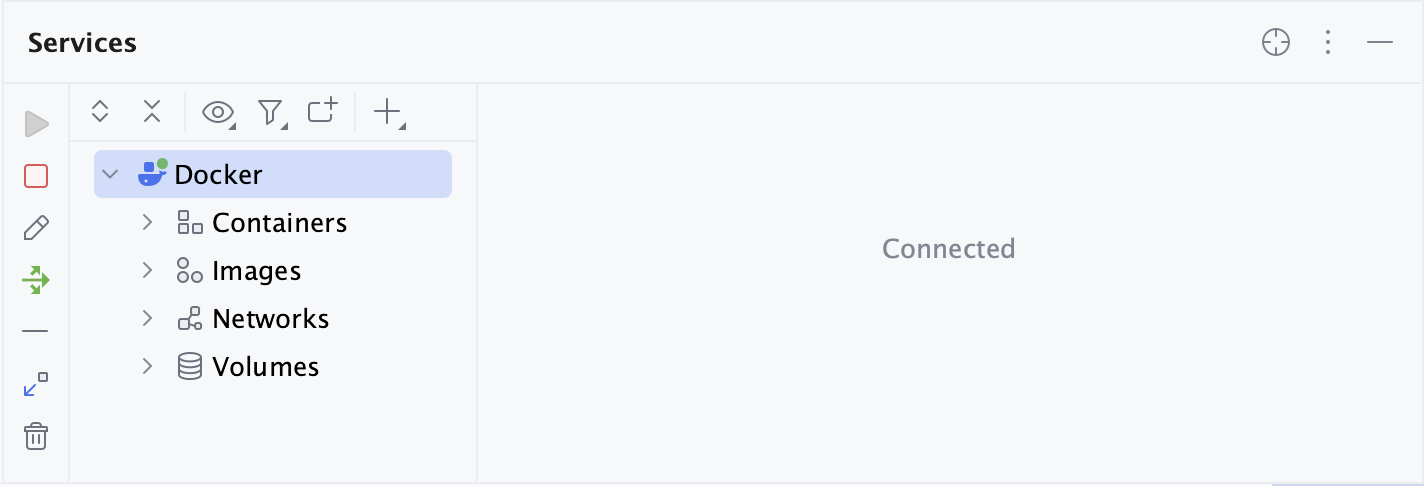
- Docker tool window that lets you manage your Docker images and containers.
- Docker Registry configurations that represent your Docker image repository user accounts.
Working with Docker: Process overview
- Install Docker and start the Docker daemon (on Windows and OS X - along with the Docker VM in which it runs). For corresponding instructions, see Get Started with Docker.
-
Install the Docker integration plugin. For instructions, see Installing, Updating and Uninstalling Repository Plugins.
Note: For the plugin to work properly, IntelliJ IDEA should be started using Java 7 or a later version.
- Create a Docker configuration. You can do that:
- Separately, in the Settings / Preferences dialog:
Ctrl+Alt+S
.
- When creating a Docker Deployment run configuration:
, etc.
See the settings for a Docker configuration.
- Separately, in the Settings / Preferences dialog:
Ctrl+Alt+S
- If you are going to deploy your application into a container, create an artifact configuration for your application and build the artifact (e.g. ).
- Create a Docker Deployment run configuration.
- Execute the run configuration.
- Use the Docker tool window to manage your Docker images, containers and deployed applications.
Example: Deploying a web app into the Wildfly Docker container
Once you have installed Docker and the Docker integration plugin, you can try out some of the Docker integration features.
In this example, we'll use the Wildfly app server Docker image to create a container and deploy a one-page JSP application into that container.
-
Create a project for developing a Java web application
( , etc.).
-
When the project is created,
add text (e.g.
Hello World!
) toindex.jsp
, see e.g. Developing source code. -
Create a Docker configuration and specify Docker API settings:
- Open the Clouds page of the Settings / Preferences dialog: on Windows and Linux, or on OS X.
-
Click
and select Docker.
The default settings provided by IntelliJ IDEA should be OK:
- API URL:
https://192.168.99.100:2376
- Certificates folder:
<your_home_directory>\.docker\machine\machines\default
The rest of the settings, at the moment, don't matter.
- API URL:
- Click OK in the Settings / Preferences dialog.
-
In the project root directory, create a new directory (e.g.
docker-dir
): , etc.We'll use this directory to store our
Dockerfile
, a.war
application artifact and a container settings file - just to keep all the files for working with Docker in one place. -
Create a file
Dockerfile
in thedocker-dir
directory. -
Add the following to your Dockerfile:
FROM jboss/wildfly ADD <artifact-name>.war /opt/jboss/wildfly/standalone/deployments/
Use the actual artifact name in place of <artifact-name>. On the following picture, the name of the artifact is
HelloDocker
.(This Dockerfile sets
jboss/wildfly
as the base image and copies the local file<artifact-name>.war
located in the same directory as the Dockerfile to the container directory/opt/jboss/wildfly/standalone/deployments/
.) -
Create an artifact configuration for your <artifact-name>.war:
- Open the Project Structure dialog (e.g. Ctrl+Shift+Alt+S) and select Artifacts.
-
Click
, select Web Application: Archive and select For '<project-name>:war exploded'.
-
Change the artifact name (in the Name field).
The name should be the same as in your
Dockerfile
(<artifact-name>
) but without.war
at the end. -
Select the
docker-dir
directory as the artifact output directory (the Output directory field). - Click OK in the Project Structure dialog.
-
Create a Docker Deployment run/debug configuration and specify its settings:
-
.
- Name. Specify the run configuration name, e.g. Docker.
- Server. Select your Docker configuration.
- Deployment.
Select docker-dir/Dockerfile.
This means that the application deployment will be controlled by
the corresponding
Dockerfile
. - Before launch.
Click
, select Build Artifacts, and select your
<artifact-name>
artifact. - Select the Container tab.
-
JSON file.
Generate a sample container settings
.json
file and save it indocker-dir
: click, select
docker-dir
and click OK.The rest of the settings are optional.
- Click OK in the Run/Debug Configurations dialog.
-
-
Open
container-settings.json
in the editor. Note this fragment:"HostConfig": { "PortBindings":{ "8080/tcp": [{ "HostIp": "0.0.0.0", "HostPort": "18080" }] } }
This means that the TCP port 8080 inside the container will be available to the outside world as the port 18080.
-
Execute the run/debug configuration, e.g. by clicking
to the right of the run configuration selector.
Wait while IntelliJ IDEA downloads and builds the Wildfly image, deploys the application artifact, and creates and starts the container. (The Docker tool window opens and corresponding info is output there.)
-
When the container is finally started,
open a web browser and go to
http://192.168.99.100:18080/<artifact-name>/
to see the application output. -
To get an impression of what other functionality is available,
look at context menu commands for various items in the Docker tool window.
Note that you can also run Bash
docker
commands. On OS X and Linux you can use the IntelliJ IDEA Terminal tool window for that. On Windows you should use the Bash command-line interpreter available in the Docker Toolbox.
Example: Using Docker Compose
The project created in the previous example is used for illustrating the workflow.
To use Docker Compose, you should:
-
Make sure that the Docker Compose executable setting
in your Docker configuration is correct.
-
On Windows or Linux: .
On OS X: . -
If there is more than one configuration on the Clouds page,
select the Docker configuration of interest under
and
.
-
The default setting
docker-compose
for Docker Compose executable is fine if:-
The actual name of the executable file is
docker-compose
. -
The path to the directory where the file is located
is included in the environment variable
Path
.
If necessary, you can specify an actual path to the executable file: click
and select the file in the dialog that opens.
-
The actual name of the executable file is
- Click OK in the Settings / Preferences dialog.
-
On Windows or Linux: .
-
Create a Docker Compose YAML file and
define your services.
-
Create the file
docker-compose.yml
in thedocker-dir
directory. -
Copy the following service definitions into the file:
version: '2' services: web: build: . ports: - "18080:8080" links: - db db: image: postgres
(This file defines two services:
web
anddb
. The container for theweb
service is built according to theDockerfile
located in the same directory. The container port8080
is mapped to the host port18080
. The service is linked to a container in thedb
service. The container for thedb
service is built using thepostgres
image.)
-
Create the file
-
Create a Docker Deployment run configuration.
In that configuration,
specify that the YAML file should be used to deploy your multi-container application.
-
.
- Name. Specify the run configuration name, e.g. DockerCompose.
- Server. Select your Docker configuration.
- Deployment.
Select docker-dir/docker-compose.yml.
This means that the application deployment will be controlled by
the corresponding Docker Compose YAML file.
The rest of the settings are optional.
- Click OK in the Run/Debug Configurations dialog.
-
-
Execute the run configuration (
).
The result in the Docker tool window will finally look something like this: