Bundling Gems
This feature is supported in the Ultimate edition only.
In this section:
- Basics
- Managing gem dependencies with the Bundler version 0.9 or higher
- Managing gem dependencies using the legacy Bundler versions
Basics
The procedure of bundling gems in IntelliJ IDEA depends on the bundler version you are working with.
In any case, the Bundler displays its output in Run tool window, and creates the necessary infrastructure under the vendor directory.
Managing gem dependencies with the Bundler version 0.9 or higher
To manage gem dependencies using the Bundler version 0.9 or higher, follow these steps:
- On the main menu, point to .
- In the Bundle Install dialog box, specify the installation options if any, and click OK.
Note the following:
- IntelliJ IDEA understands the gems bundled inside projects.
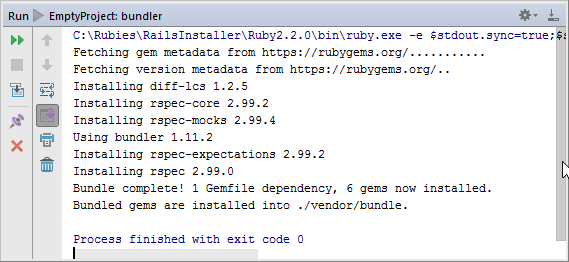
If the path is specified in the Bundler - Install command
--path vendor/bundlethe output looks as follows:

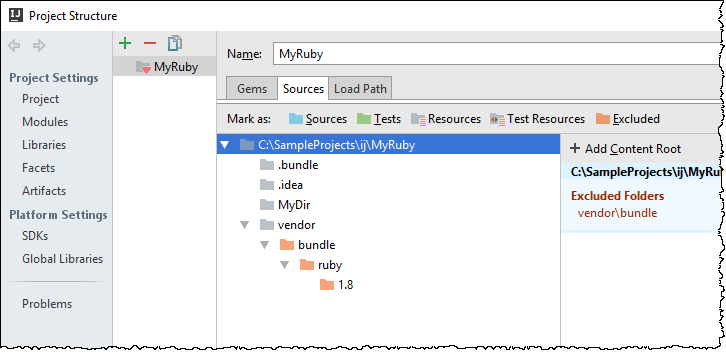
- IntelliJ IDEA adds the directory
.bundleto the project root.This directory is automatically included in the project structure to make the gems parsed.
- The directory
vendor/bundleis excluded from the project scope to avoid searching inside the gems (unless you specifically ask for it).
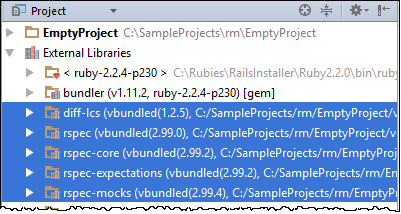
- The local gems are added to the node External Libraries:

Managing gem dependencies using the legacy Bundler versions
To manage gem dependencies using the legacy Bundler versions:
See Also
Concepts:
Web Resources:
Last modified: 18 July 2017