IntelliJ IDEA 2017.1 Help

Docker

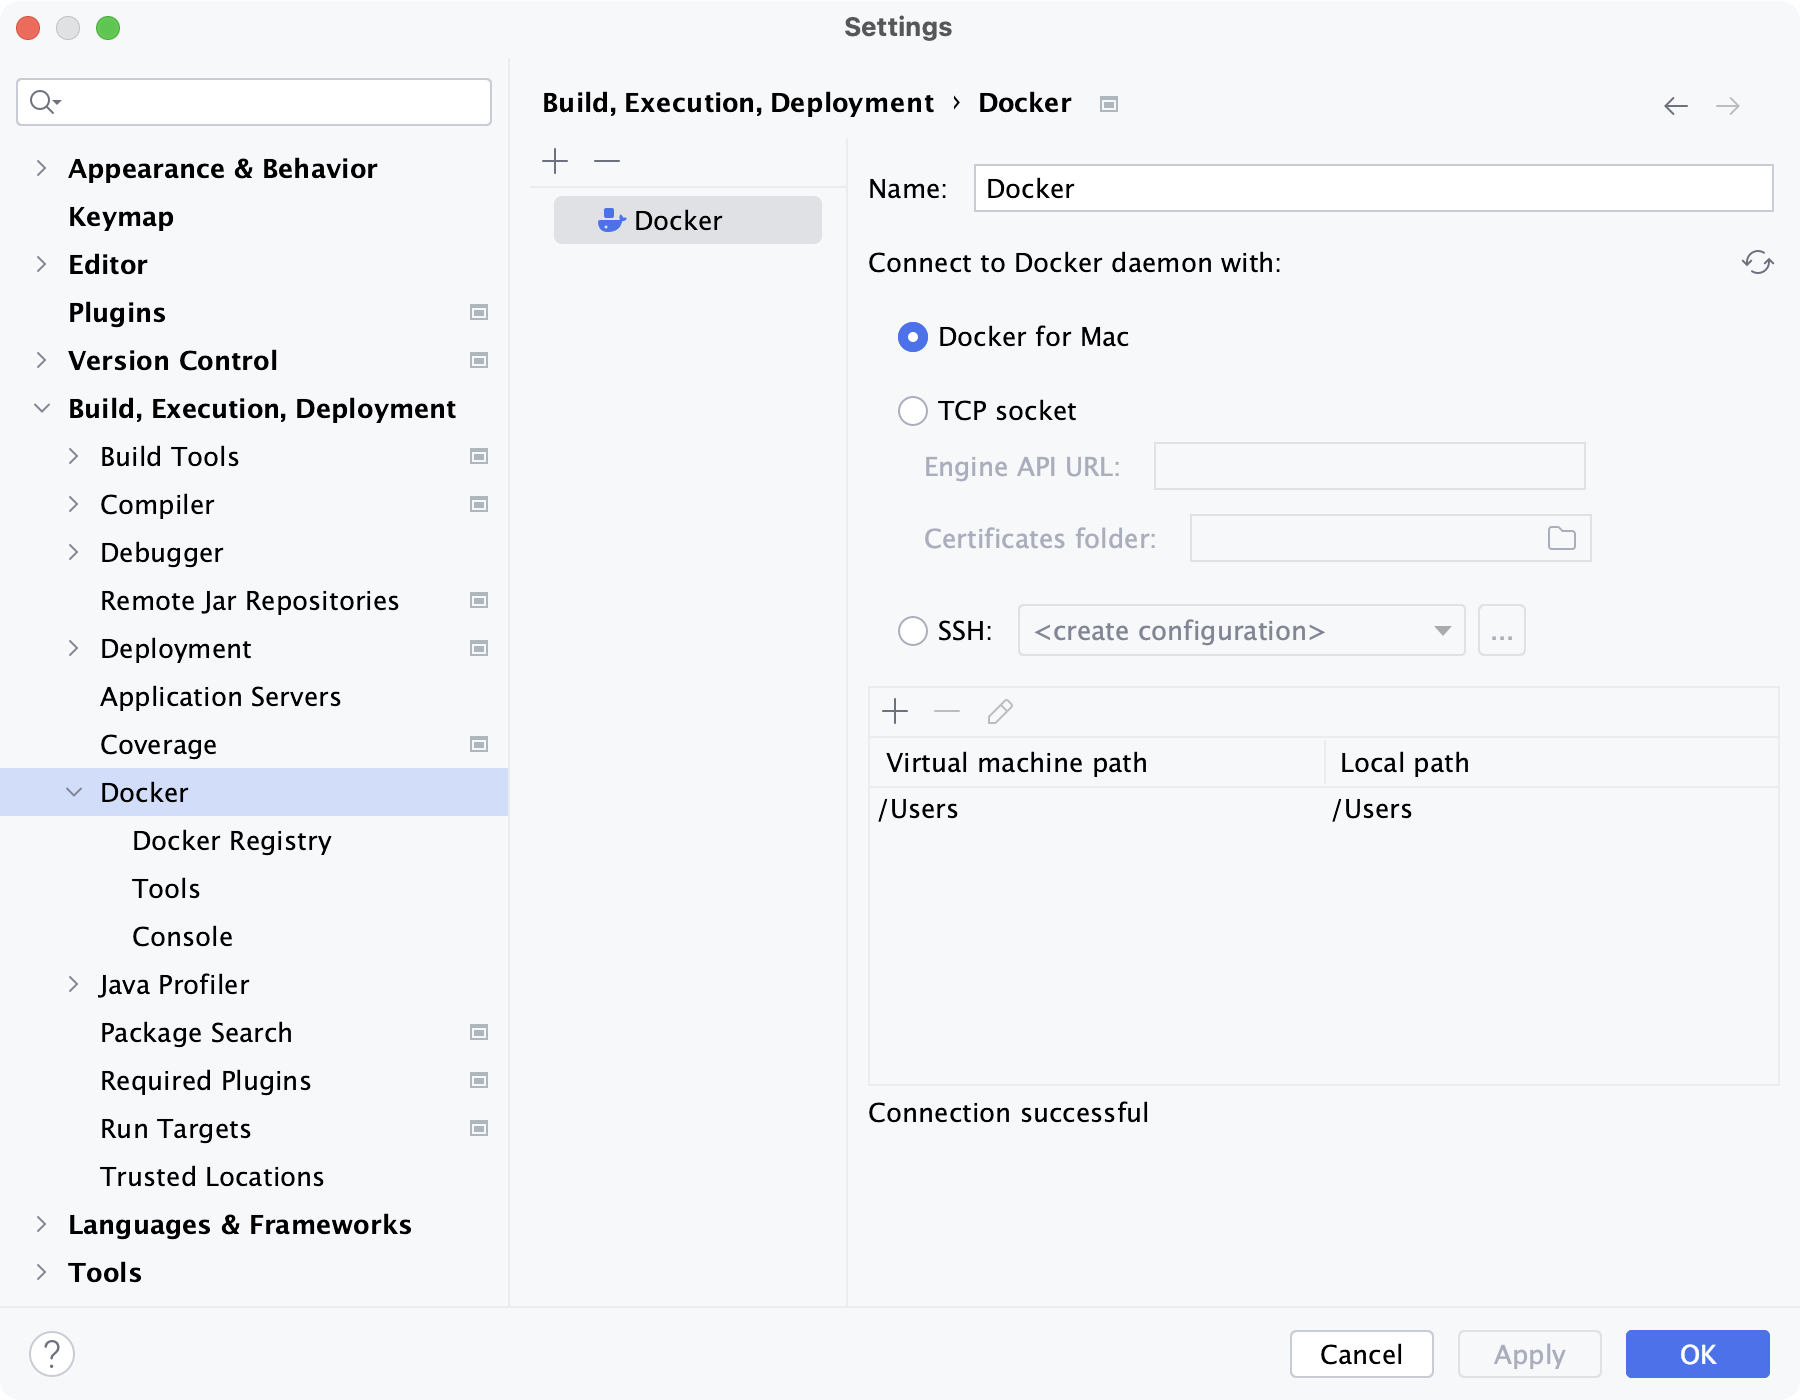
Preparing to use Docker

1. Download, install and start Docker

To download Docker and find out how to install and start it, see Install Docker.

2. Specify Docker connection settings

  1. Open the Settings / Preferences dialog (e.g. Ctrl+Alt+S) and go to the Clouds page (Build, Execution, Deployment | Clouds).
  2. Click /help/img/idea/2017.1/new.png and select Docker.
  3. Depending on your Docker version and operating system, specify:

    Docker for Windows:

    • API URL: tcp://localhost:2375
    • Certificates folder: This field must be empty.

    Docker for macOS or Linux:

    • API URL: unix:///var/run/docker.sock
    • Certificates folder: This field must be empty.

    Docker Toolbox for Windows (deprecated; the defaults provided by IntelliJ IDEA should be OK):

    • API URL: https://192.168.99.100:2376
    • Certificates folder: <your_home_directory>\.docker\machine\machines\default

    Docker Toolbox for macOS (deprecated):

    • API URL: https://192.168.99.100:2376
    • Certificates folder: usually, <your_home_directory>/.docker/ or its subdirectory.
    /help/img/idea/2017.1/03_DockerSettings.png
  4. If you are going to use Docker Compose, specify the location of your Docker Compose executable. The default setting docker-compose is fine if:
    • The actual name of the executable file is docker-compose.
    • The path to the directory where the file is located is included in the environment variable Path.

    To specify an actual path to the executable file, click /help/img/idea/2017.1/browseButton.png and select the file in the dialog that opens.

  5. Click OK in the Settings / Preferences dialog.

Example: Deploying a web app into the Wildfly Docker container

In this example, we'll use the Wildfly app server Docker image to create a container and deploy a one-page JSP application into that container.

  1. Create a project for developing a Java web application (File | New | Project | Java | Web Application, etc.).
    /help/img/idea/2017.1/01_DockerNewProject.png
  2. When the project is created, add text (e.g. Hello World!) to index.jsp, see e.g. Developing source code.
    /help/img/idea/2017.1/02_DockerIndexJsp.png
  3. In the project root directory, create a new directory (e.g. docker-dir): File | New | Directory, etc.

    We'll use this directory to store our Dockerfile, a .war application artifact and a container settings file - just to keep all the files for working with Docker in one place.

  4. Create a file Dockerfile in the docker-dir directory.
  5. Add the following to your Dockerfile:
    FROM jboss/wildfly ADD <artifact-name>.war /opt/jboss/wildfly/standalone/deployments/

    Use the actual artifact name in place of <artifact-name>. On the following picture, the name of the artifact is HelloDocker.

    /help/img/idea/2017.1/04_DockerDockerFile.png

    (This Dockerfile sets jboss/wildfly as the base image and copies the local file <artifact-name>.war located in the same directory as the Dockerfile to the container directory /opt/jboss/wildfly/standalone/deployments/.)

  6. Create an artifact configuration for your <artifact-name>.war:
    1. Open the Project Structure dialog (e.g. Ctrl+Shift+Alt+S) and select Artifacts.
    2. Click /help/img/idea/2017.1/new.png, select Web Application: Archive and select For '<project-name>:war exploded'.
    3. Change the artifact name (in the Name field). The name should be the same as in your Dockerfile (<artifact-name>) but without .war at the end.
    4. Select the docker-dir directory as the artifact output directory (the Output directory field).
      /help/img/idea/2017.1/05_DockerArtifact.png
    5. Click OK in the Project Structure dialog.
  7. Create a Docker Deployment run/debug configuration and specify its settings:
    1. Run | Edit Configurations | /help/img/idea/2017.1/new.png | Docker Deployment.
    2. Name. Specify the run configuration name, e.g. Docker.
    3. Server. Select your Docker configuration.
    4. Deployment. Select docker-dir/Dockerfile. This means that the application deployment will be controlled by the corresponding Dockerfile.
    5. Before launch. Click /help/img/idea/2017.1/new.png, select Build Artifacts, and select your <artifact-name> artifact.
      /help/img/idea/2017.1/06_DockerRunConfig.png
    6. Select the Container tab.
    7. JSON file. Generate a sample container settings .json file and save it in docker-dir: click /help/img/idea/2017.1/icon_importCopyrightProfile.png, select docker-dir and click OK.
      /help/img/idea/2017.1/06_DockerRunConfig_Container.png

      The rest of the settings are optional.

    8. Click OK in the Run/Debug Configurations dialog.
  8. Open container-settings.json in the editor. Note this fragment:
    "HostConfig": { "PortBindings":{ "8080/tcp": [{ "HostIp": "0.0.0.0", "HostPort": "18080" }] } }

    This means that the TCP port 8080 inside the container will be available to the outside world as the port 18080.

  9. Execute the run/debug configuration, e.g. by clicking /help/img/idea/2017.1/run.png to the right of the run configuration selector.
    /help/img/idea/2017.1/07_DockerRun.png

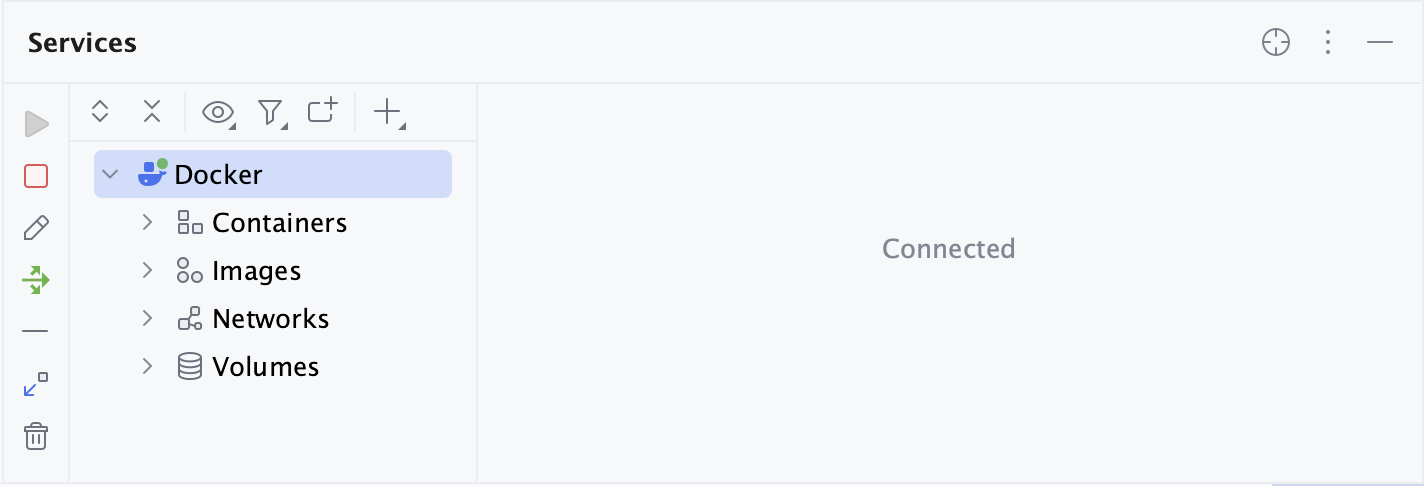
    Wait while IntelliJ IDEA downloads and builds the Wildfly image, deploys the application artifact, and creates and starts the container. (The corresponding info is output to the Docker tool window.)

    /help/img/idea/2017.1/08_DockerAppServers.png
  10. When the container is finally started, to see the application output, open a web browser and go to:

    If you are using Docker for Windows, macOS or Linux: http://localhost:18080/<artifact-name>/

    If you are using the Docker Toolbox for Windows or macOS (deprecated): http://192.168.99.100:18080/<artifact-name>/

    /help/img/idea/2017.1/09_DockerAppInBrowser.png
  11. To get an impression of what other functionality is available, look at context menu commands for various items in the Docker tool window.
    /help/img/idea/2017.1/10_DockerAppServersContextMenu.png

Example: Using Docker Compose

The project created in the previous example is used for illustrating the workflow. If your Wildfly container is still running, stop it: select the container in the Docker tool window and click /help/img/idea/2017.1/stop.gif.

  1. Create a Docker Compose YAML file and define your services.
    1. Create the file docker-compose.yml in the docker-dir directory.
    2. Copy the following service definitions into the file:
      version: '2' services: web: build: . ports: - "18080:8080" links: - db db: image: postgres

      (This file defines two services: web and db. The container for the web service is built according to the Dockerfile located in the same directory. The container port 8080 is mapped to the host port 18080. The service is linked to a container in the db service. The container for the db service is built using the postgres image.)

      /help/img/idea/2017.1/11_DockerComposeYmlInEditor.png
  2. Create a Docker Deployment run configuration. In that configuration, specify that the YAML file should be used to deploy your multi-container application.
    1. Run | Edit Configurations | /help/img/idea/2017.1/new.png | Docker Deployment.
    2. Name. Specify the run configuration name, e.g. DockerCompose.
    3. Server. Select your Docker configuration.
    4. Deployment. Select docker-dir/docker-compose.yml. This means that the application deployment will be controlled by the corresponding Docker Compose YAML file.
      /help/img/idea/2017.1/13_DockerDeploymentRunConfig.png

      The rest of the settings are optional.

    5. Click OK in the Run/Debug Configurations dialog.
  3. Execute the run configuration (/help/img/idea/2017.1/run.png).
    /help/img/idea/2017.1/14_DockerComposeRun.png

    The result in the Docker tool window will finally look something like this:

    /help/img/idea/2017.1/15_DockerToolWindowComposeResult.png

See Also

Last modified: 18 July 2017