IntelliJ IDEA 2017.2 Help

Deploying a web app into an app server container

1. Build a web app artifact

For web apps, IntelliJ IDEA provides deployment-ready WAR and Exploded (unzipped) WAR artifact formats. To build such artifacts:

  1. Enable web app development support:
    • When creating a project:
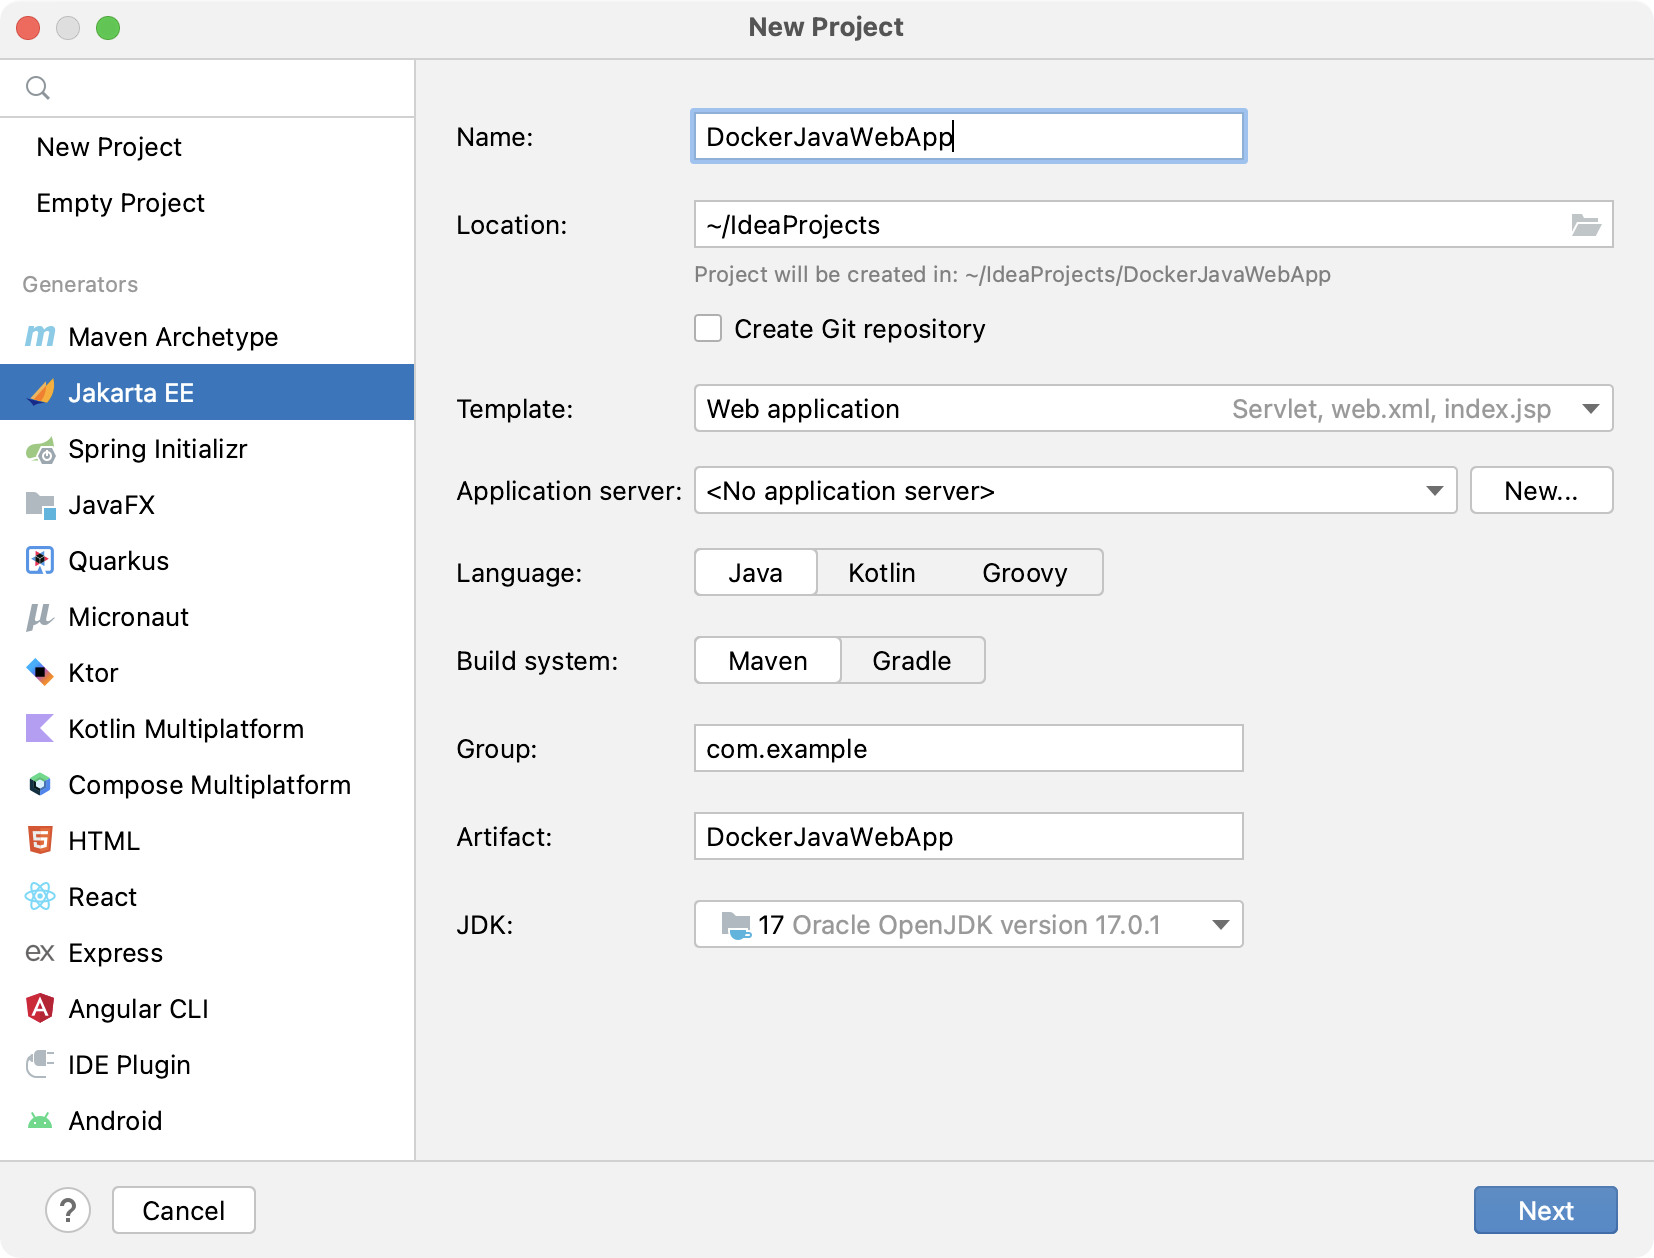
      File | New | Project | Java | Web Application or File | New | Project | Java Enterprise | Web Application, etc.
    • For an existing project:
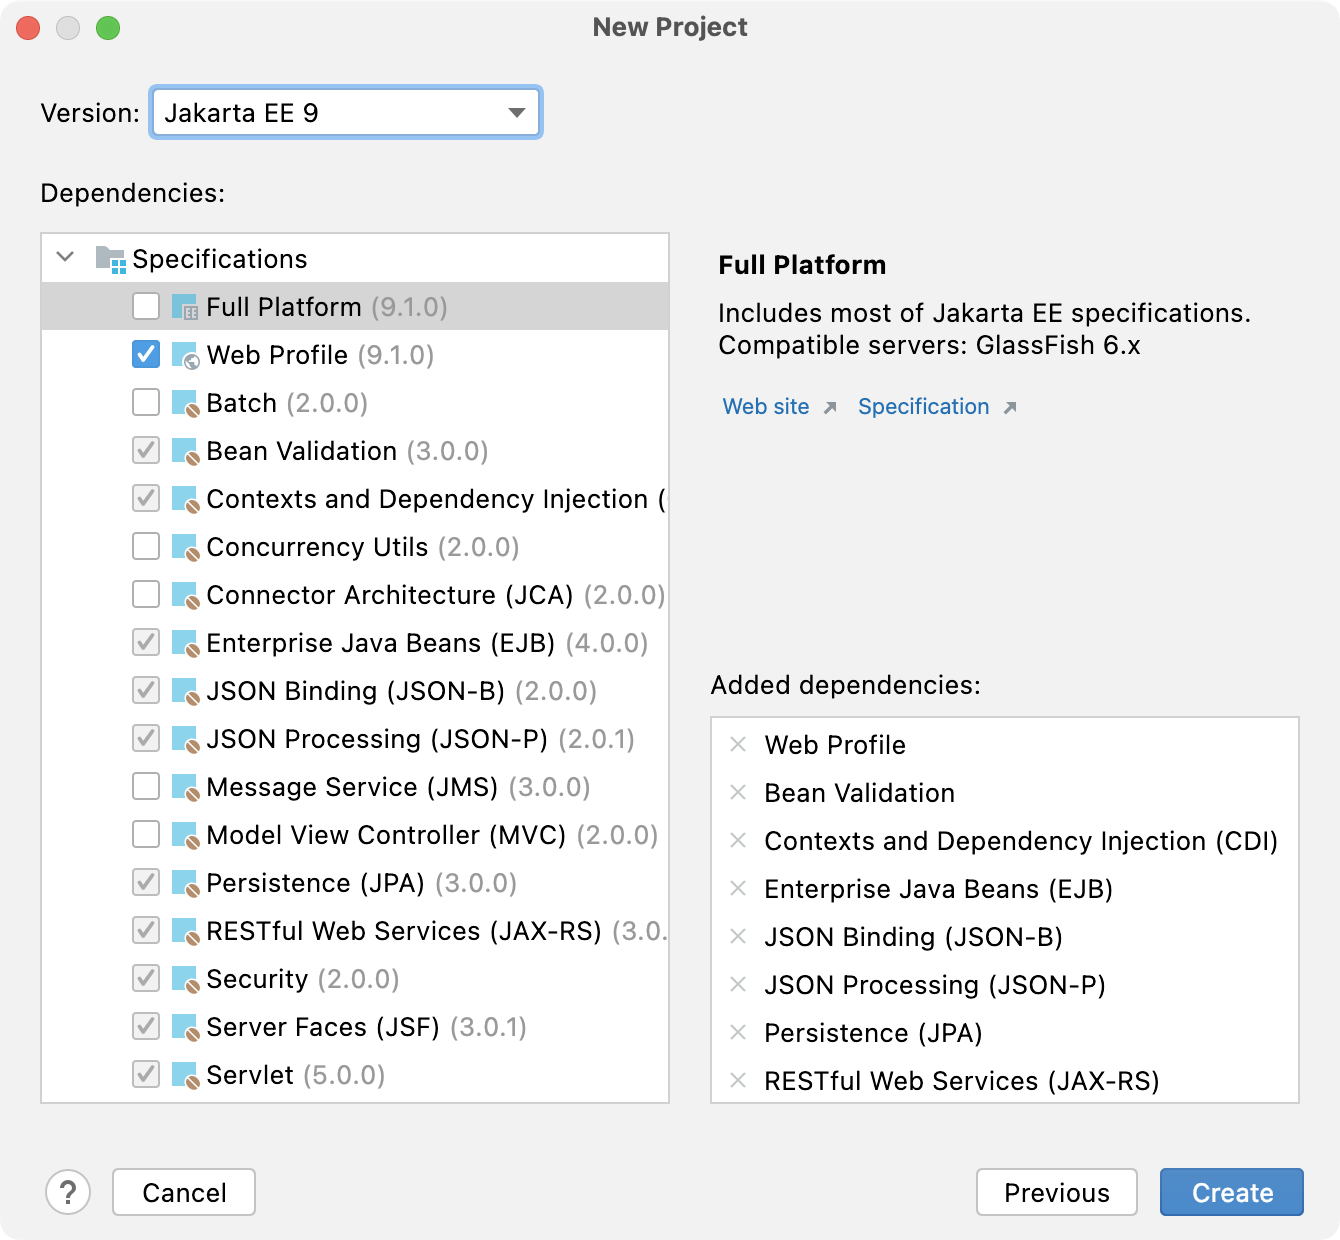
      In the Project tool window (View | Tool Windows | Project), right-click the corresponding module folder and select Add Framework Support. Then select the Web Application check box in the dialog that opens.
  2. Create artifact configurations for your app: File | Project Structure | Artifacts.
    • Web Application: Exploded artifact configuration was created automatically when you enabled web app development support.
    • Web Application: Archive (WAR) artifact configuration. To create such an artifact configuration:
      add | Web Application: Archive | For '... exploded'. Then click Create Manifest and accept the default location .../web for META-INF/MANIFEST.MF.
      05 DockerArtifact
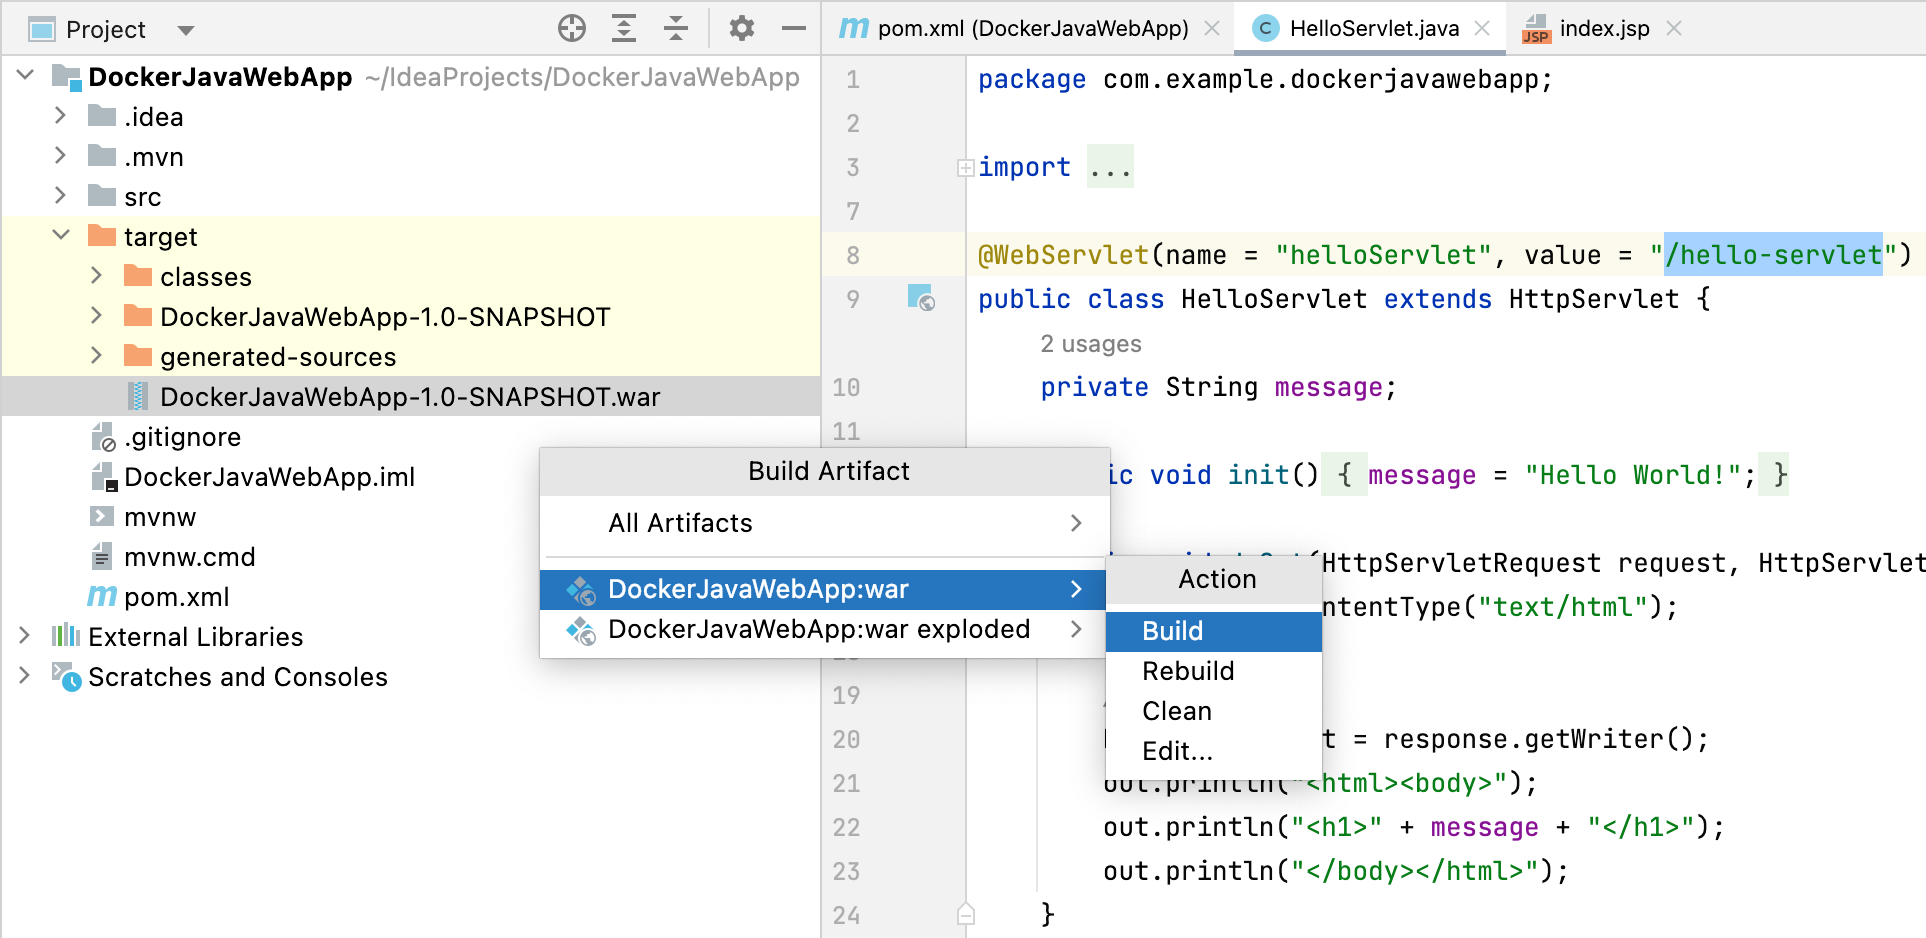
  3. Build the artifact: Build | Build Artifacts | <ArtifactName> | Build. Alternatively, you can include the Build artifact task in the Before launch task list in your Docker Deployment run configuration.

For more info on web application development and related artifacts, see the Developing a Java EE Application tutorial.

2. Run an app server image

You can choose to run the app server image from your Dockerfile, or you can pull and then run the image from the Docker tool window.

2a. Run the image from a Dockerfile

  1. Create a Dockerfile and open it in the editor.
  2. Type FROM <app_server_image_name>:<tag> e.g. FROM tomcat:latest.
  3. Click runTwoGreenArrows and select Run on 'Docker'.
91 DockerfileTomcatRun

As a result, a Docker Deployment run configuration is created, your image runs, and the corresponding container appears in the Docker tool window.

At a later time, you may want to make adjustments to your run configuration. In such a case, click runTwoGreenArrows and select Edit '<Configuration Name>'.

92 DockerfileTomcatEdit

2b. Pull and then run the image from the Docker tool window

  1. In the Docker tool window (View | Tool Windows | Docker), right-click the Docker node and select Pull image.
  2. To pull an image from Docker Hub (registry.hub.docker.com), specify the image name in the Repository field, e.g. tomcat, and the image tag, e.g. latest.

    If pulling an image assumes user authentication, click New to create a Docker Registry configuration and specify your Docker image repository user account info.

  3. When the image is downloaded, select it, and then click iconCreateContainerDocker or select Create container from the context menu.
  4. In the Create container popup, click Create.
  5. In the dialog that opens, on the Deployment tab, if necessary, specify the name for the container that will be created.
  6. Click Run.

3. Deploy the app

You can deploy your web app by mapping the artifact folder to the app server deployment folder. You can as well deploy your app by copying the artifact to the deployment folder.

3a. Deploy the app by mapping the artifact output folder to the deployment folder

  1. In the Docker tool window, select your app server container, and then select the Volume Bindings tab.
  2. Click add to create a new binding.
  3. In the dialog that opens, specify:
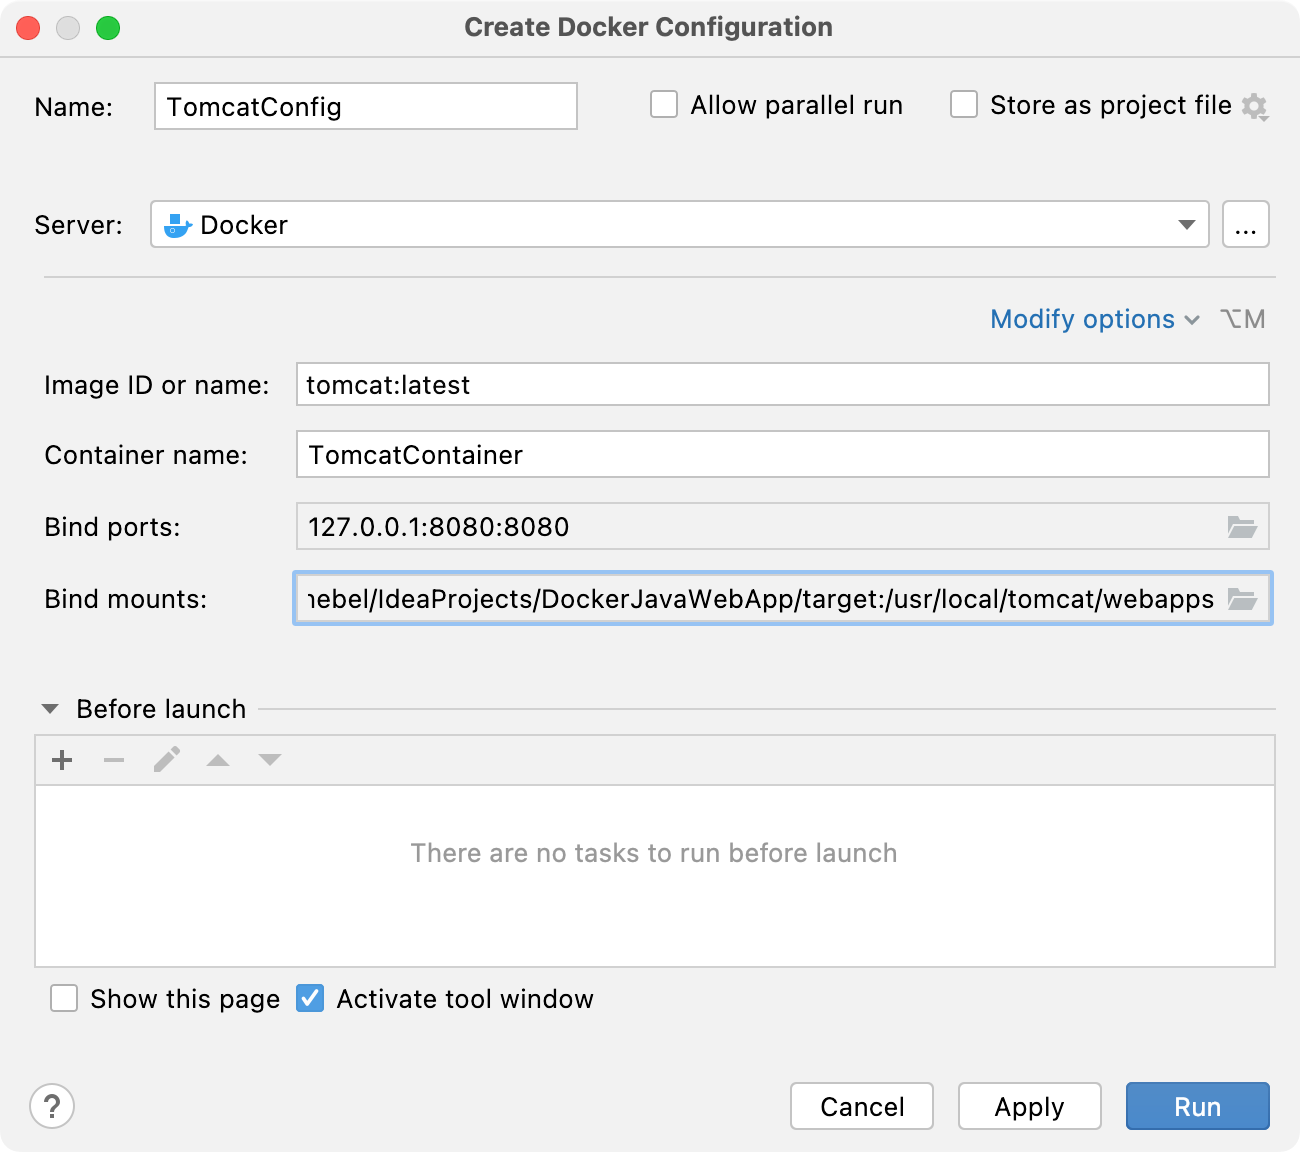
    • Container path. The path to server deployment folder, e.g. /usr/local/tomcat/webapps for Tomcat.
    • Host path. For a WAR artifact, the path to the artifact output directory; for an exploded WAR artifact, the path to the directory that contains the artifact output directory.
    69 DockerVolumeBindingsTomcat
  4. To apply the changes, click Save.
  5. To check the mapping, run the Inspect command for the container and search the inspection result (Ctrl+F) for HostConfig. You'll find the mapping of interest next to "Binds".

3b. Deploy the app by copying the artifact to the server deployment folder

  1. Make sure that your artifact is in the same directory as your Dockerfile.
  2. In your Dockerfile, on the line that follows FROM <app_server_image_name>:<tag>, e.g. FROM tomcat:latest, add:
    • For an exploded artifact:
      COPY . </server/deployment/path>, e.g. COPY . /usr/local/tomcat/webapps for Tomcat.
    • For a WAR artifact:
      COPY <artifactname>.war </server/deployment/path>
  3. Click runTwoGreenArrows and select Run '<ConfigurationName>'.
    93 DockerfileTomcatEditRun

4. Map the container http port onto a host port

  1. Though the http server port is usually 8080, make sure that this is the case:
    In the Docker tool window, right-click your app server container and select Inspect. Search the inspection result (Ctrl+F) for ExposedPorts to see which port is being used.
  2. Make the container http port available on the host:
    Select the Port Bindings tab. You can choose to specify the host port yourself, or let Docker decide which port should be used. So, do one of the following:
    • Click add and specify the mapping. To make the port accessible only from your localhost, for Host IP, specify localhost or 127.0.0.1. To make the port accessible from other computers on your network as well, specify 0.0.0.0. To apply the changes, click Save.
    • Select the Publish all ports check box and click Save.
      Now, you need to find out which host port is mapped to the container http port. To do that, run the Inspect command for the container. Then search the inspection result (Ctrl+F) for NetworkSettings. The "Ports" subsection will include the info about your http host port.
      94 DockerTomcatPort

5. Check the application output in a web browser

To see the application output, open a web browser and go to:

  • http://localhost:<host-port>/<artifact-name>/ if you are using Docker for Windows, macOS or Linux.
  • http://192.168.99.100:<host-port>/<artifact-name>/ if you are using Docker Toolbox for Windows or macOS (deprecated).

<host-port> is the host port mapped onto the container's http port.
<artifact-name>, by default, is the name of the .war file if you deployed your app as a WAR, or the name of the app root directory if you deployed you app as a directory structure.

Last modified: 29 November 2017

See Also

Languages, Frameworks and Technologies: