Getting Started with Gradle
In this tutorial, we'll create a Gradle project, will run and test it, and run the executable JAR file using Gradle.
The project used in this tutorial can be found on GitHub. Note that the package name has changed from com.gradle.tutorial to org.mytest. Additionally, the versions of Gradle, JDK, and JUnit are different.
Step 1. Create a project
Let's create a Gradle project with Java.
Create a new Gradle Project with IntelliJ IDEA
On the welcome screen, click New Project.
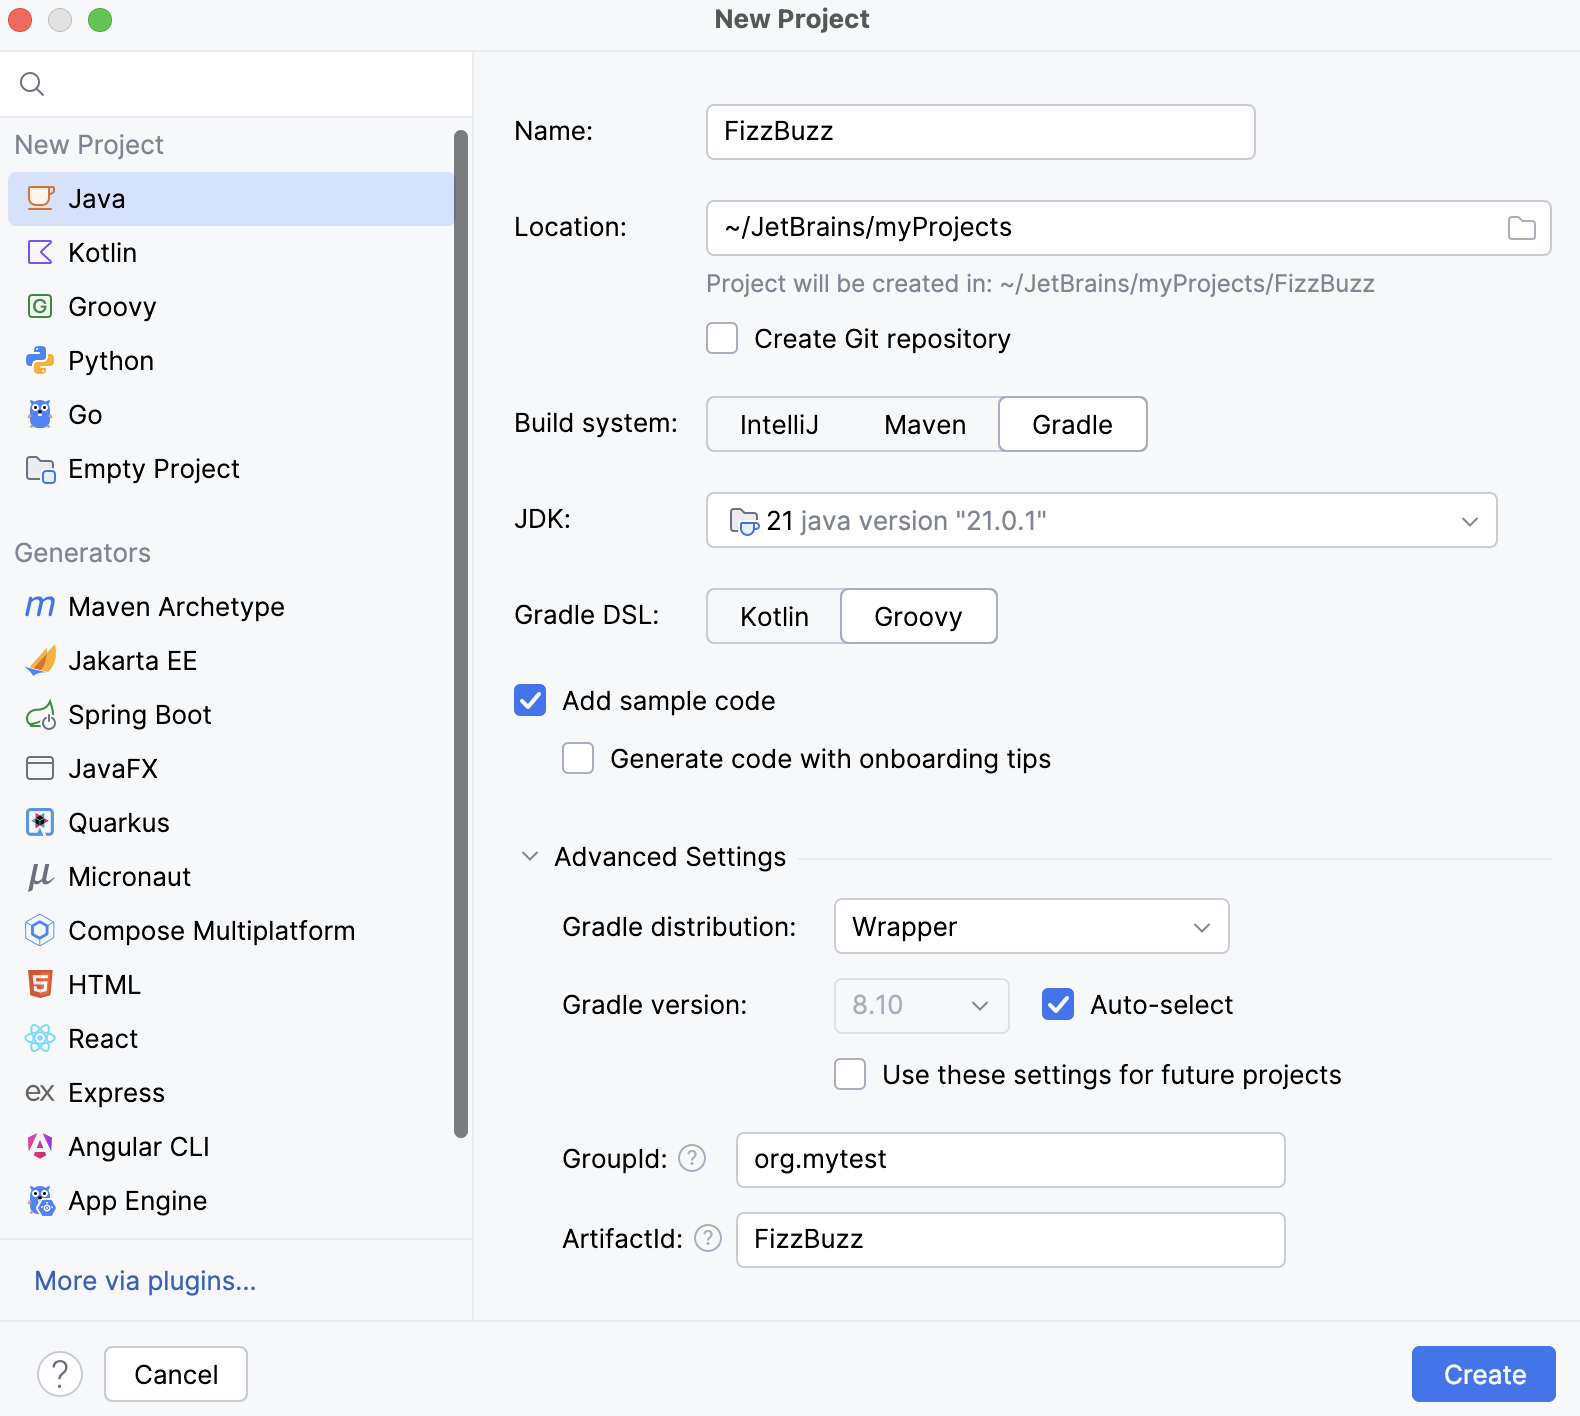
On the page that opens, let's specify our project's name (FizzBuzz) and the location.
Let's select the Java option, which is what we need for our project and Gradle since we are creating a Gradle project.
IntelliJ IDEA automatically adds a project SDK (JDK) in the JDK field. In our tutorial, we use the open JDK 14 version.
You can change the selected JDK, IntelliJ IDEA will download the appropriate Gradle version. The only thing you need to have is the internet connection.
Let's leave the default Groovy for Gradle DSL and unselect the Add sample code option since we're going to add our own code from scratch.
We can use the default information for ArtifactId which basically is the name of our project and leave the default information in the GroupId field.
Click Create.
After we've created our project, and it finished indexing, let's see what is inside:
IntelliJ IDEA creates a project with the build.gradle file including the following code:
plugins { id 'java' } group 'org.example' version '1.0-SNAPSHOT' repositories { mavenCentral() } dependencies { testImplementation 'org.junit.jupiter:junit-jupiter-api:5.10.0' testImplementation 'org.junit.jupiter:junit-jupiter' } test { useJUnitPlatform() }As you can see, IntelliJ IDEA conveniently adds a test dependency. IntelliJ IDEA supports code completion inside the build.gradle file. So, if we decide to add more dependencies, IntelliJ IDEA will quickly locate their names and versions.
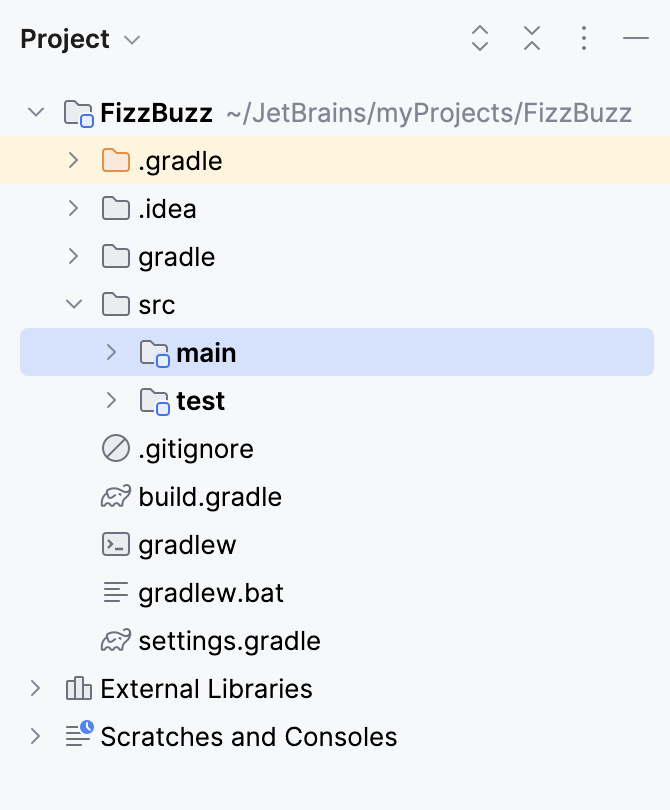
IntelliJ IDEA also creates the src folder with main and test subdirectories in the Project tool window.
IntelliJ IDEA enables the dedicated Gradle tool window with a liked project and its default tasks. We will use this window to run our tasks.
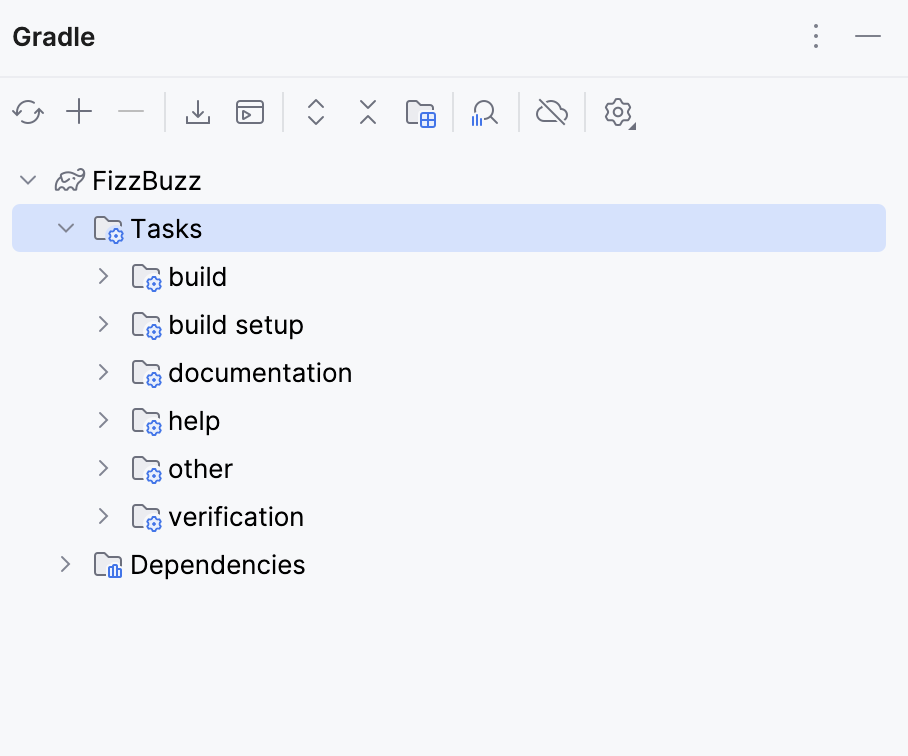
If you closed this window, you can always access it from the main menu by selecting .
The Gradle settings in our project are used to store the information about the linked projects, Gradle JVM, and build actions. You can quickly access them from the Gradle tool window (click
on the toolbar).
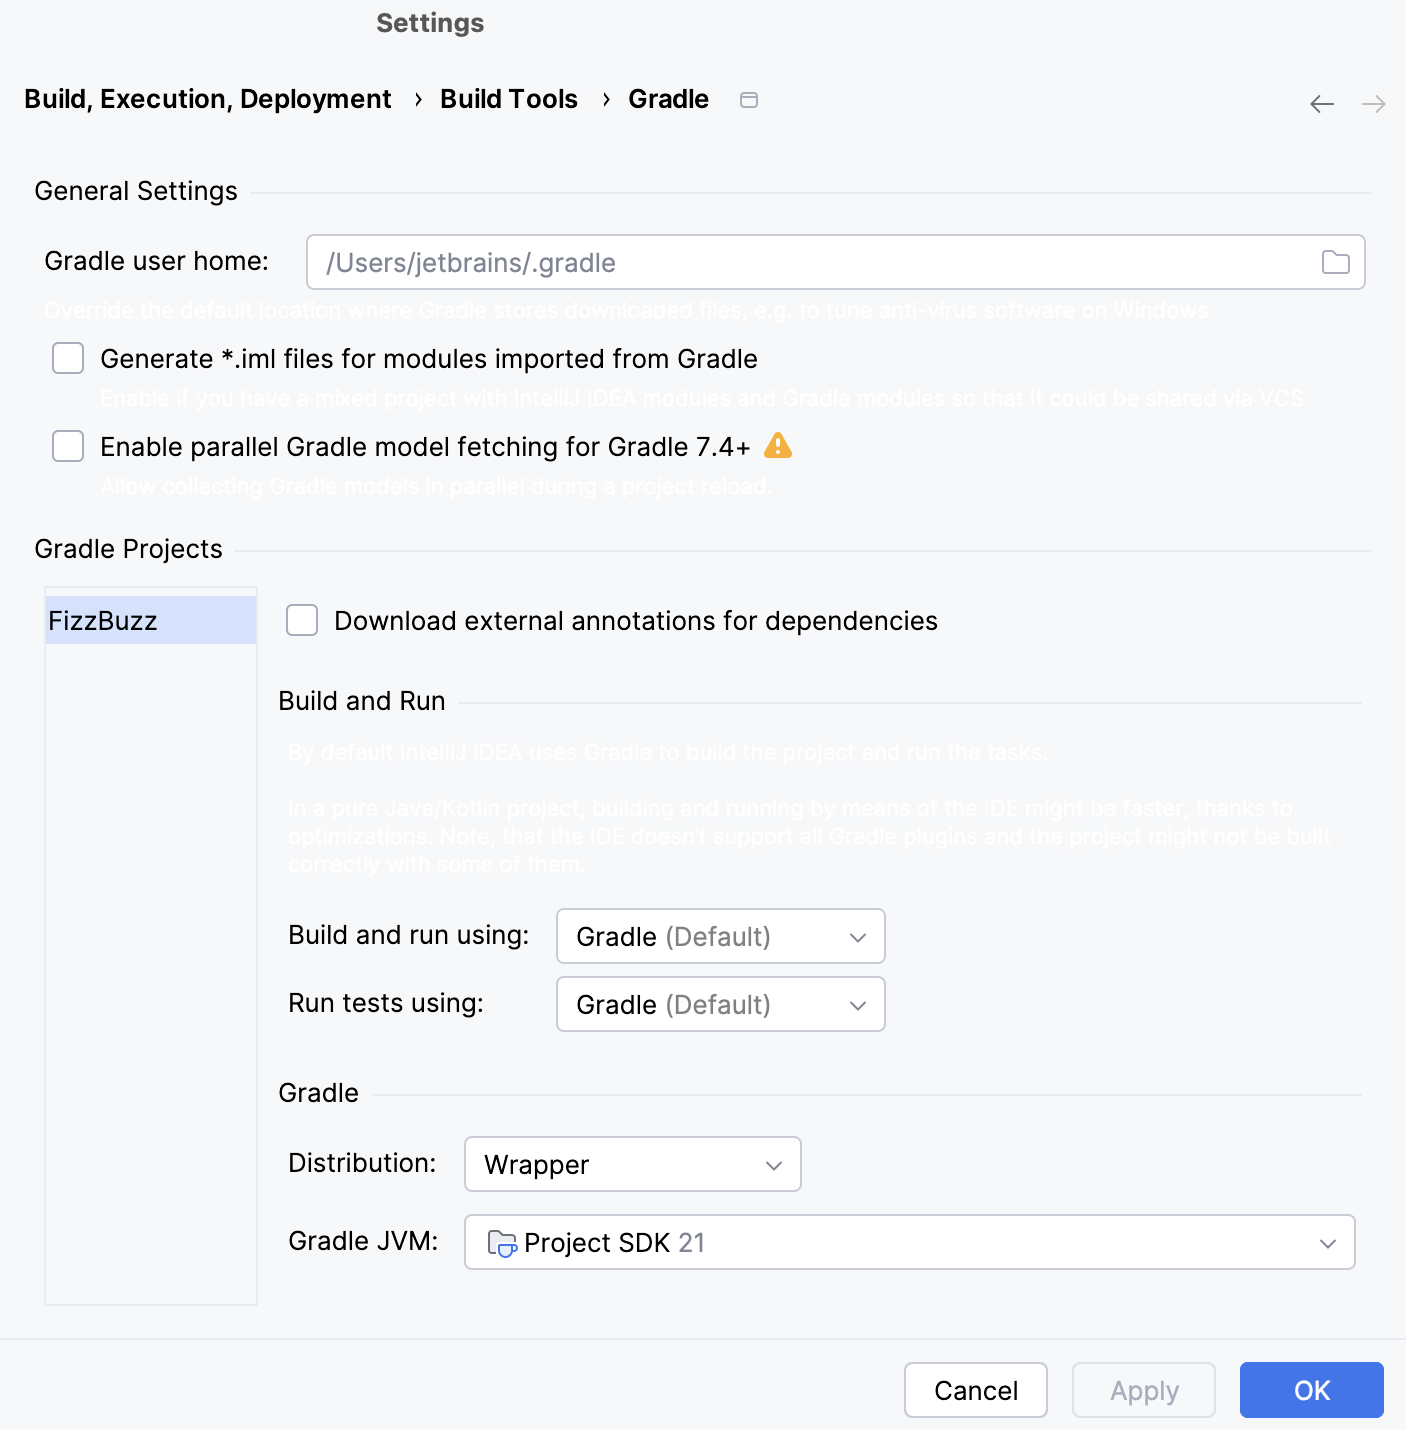
As you can see, the build and test actions are delegated to Gradle. Also, the Gradle wrapper was used to determine Gradle for our project.
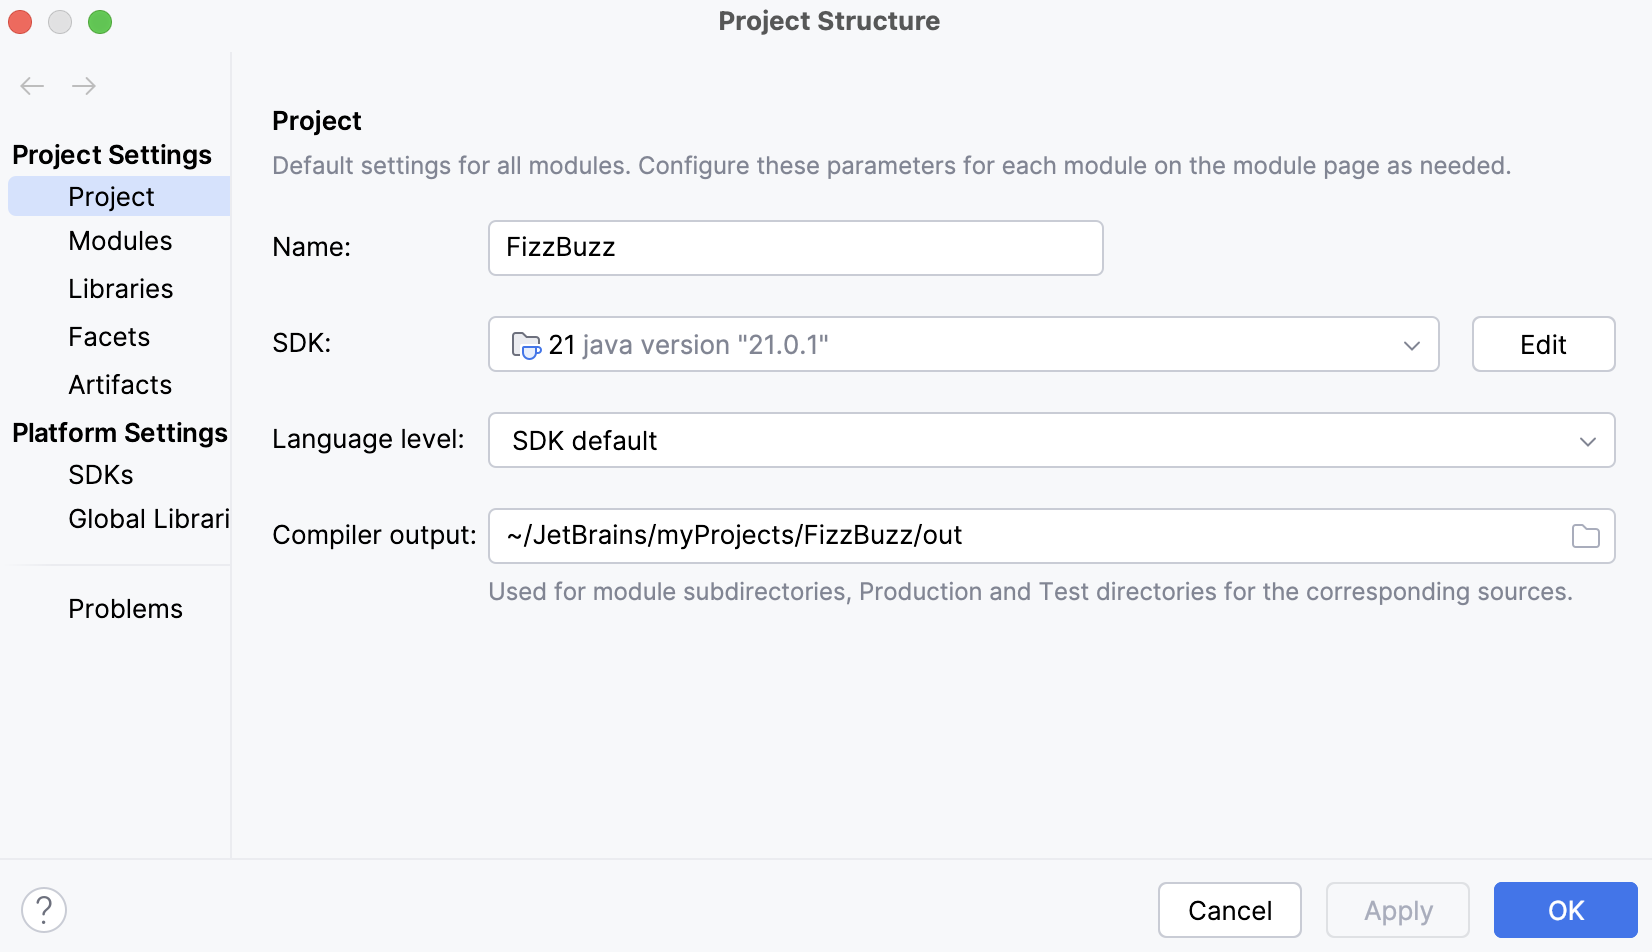
The project structure (Ctrl+Alt+Shift+S) contains information about the project's JDK and a language level used in the project.
Step 2. Add Java code
Now let's create a Java application that outputs the first 100 FizzBuzz numbers.
Add a Java class to the Gradle project
In the Project tool window open the src folder.
Click the main directory then right-click the java subdirectory and from the list select .
In the New Package dialog, let's enter a name of our package which is com.gradle.tutorial.
Now right-click the package and select .
In the New Java Class dialog, specify a name of your Java class and click OK. In our case it is
FizzBuzzProcessor.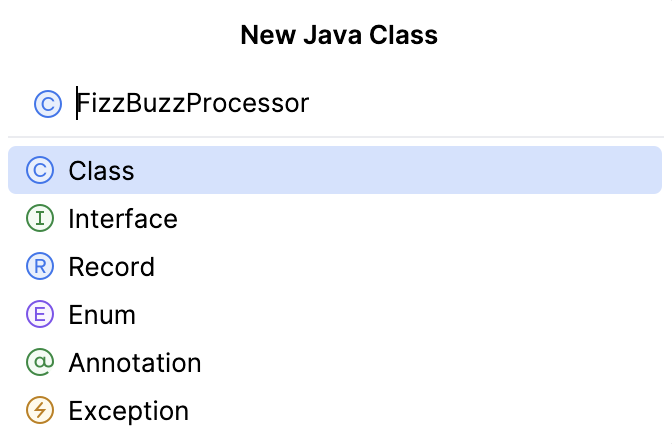
Add the following code to the main
FizzBuzzProcessorclass:package org.mytest; public class FizzBuzzProcessor { public static void main(String[] args) { for (int i = 1; i <= 100; i++) { System.out.println(convert(i)); } } public static String convert(int fizzBuzz) { if (fizzBuzz % 15 == 0) { return "FizzBuzz"; } if (fizzBuzz % 3 == 0) { return "Fizz"; } if (fizzBuzz % 5 == 0) { return "Buzz"; } return String.valueOf(fizzBuzz); } }
Our application is ready. Now, let's create the necessary tests for it.
Create a test class
Open the main class
FizzBuzzProcessorin the editor, place the caret at the class name and press Ctrl+Shift+T.In the dialog that opens, let's make sure that our testing library is
JUnit5and the destination package iscom.gradle.tutorial. We add the name FizzBuzzTest and leave the rest of the default options as is and click OK.Now open the created test class and add the following code:
package org.mytest; import org.junit.jupiter.api.Assertions; import org.junit.jupiter.api.Test; import static org.junit.jupiter.api.Assertions.*; public class FizzBuzzTest { @Test public void FizzBuzzNormalNumbers() { FizzBuzzProcessor fb = new FizzBuzzProcessor(); Assertions.assertEquals("1", fb.convert(1)); Assertions.assertEquals("2", fb.convert(2)); } @Test public void FizzBuzzThreeNumbers() { FizzBuzzProcessor fb = new FizzBuzzProcessor(); Assertions.assertEquals("Fizz", fb.convert(3)); } @Test public void FizzBuzzFiveNumbers() { FizzBuzzProcessor fb = new FizzBuzzProcessor(); Assertions.assertEquals("Buzz", fb.convert(5)); } @Test public void FizzBuzzThreeAndFiveNumbers() { FizzBuzzProcessor fb = new FizzBuzzProcessor(); Assertions.assertEquals("FizzBuzz", fb.convert(15)); } }
Step 3. Run the application with Gradle
Let's quickly run the application to see if it works.
Run main class from the editor
Open the main class
FizzBuzzProcessorin the editor.In the gutter, click
and select Run 'FizzBuzzProcessor.main()'.
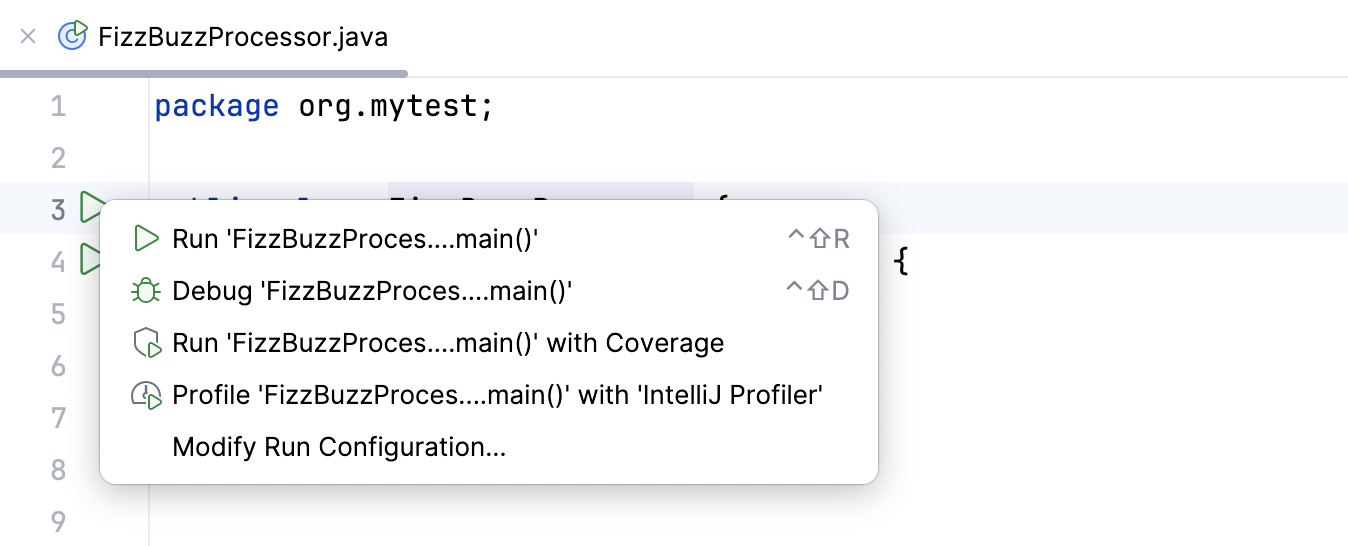
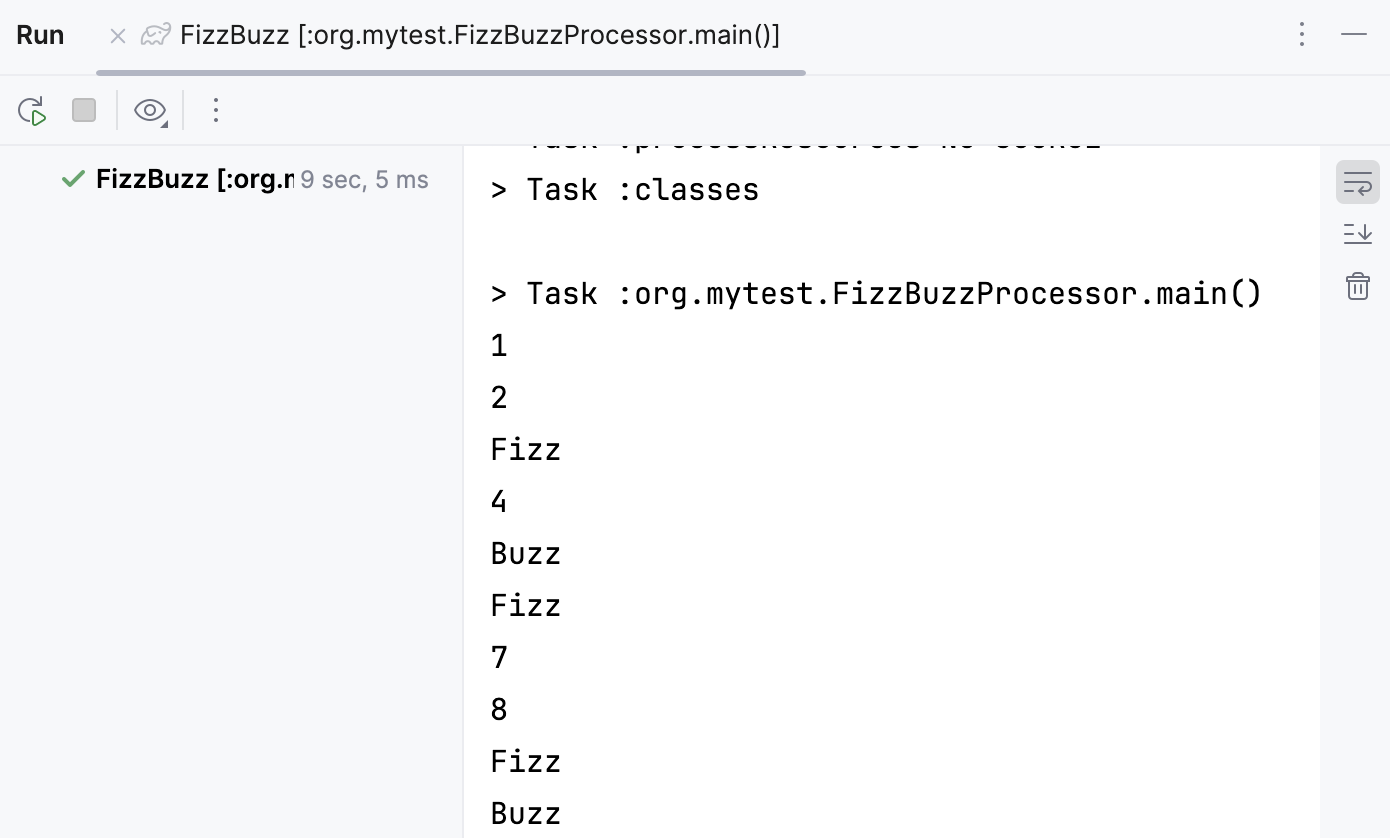
Check the result in the Run tool window.
Step 4. Run tests
Now, let's run the test we've created.
Run tests in a Gradle project
We can run our test from the editor or from the Gradle tool window using the test task. We will use the editor.
Click
in the gutter of the editor.
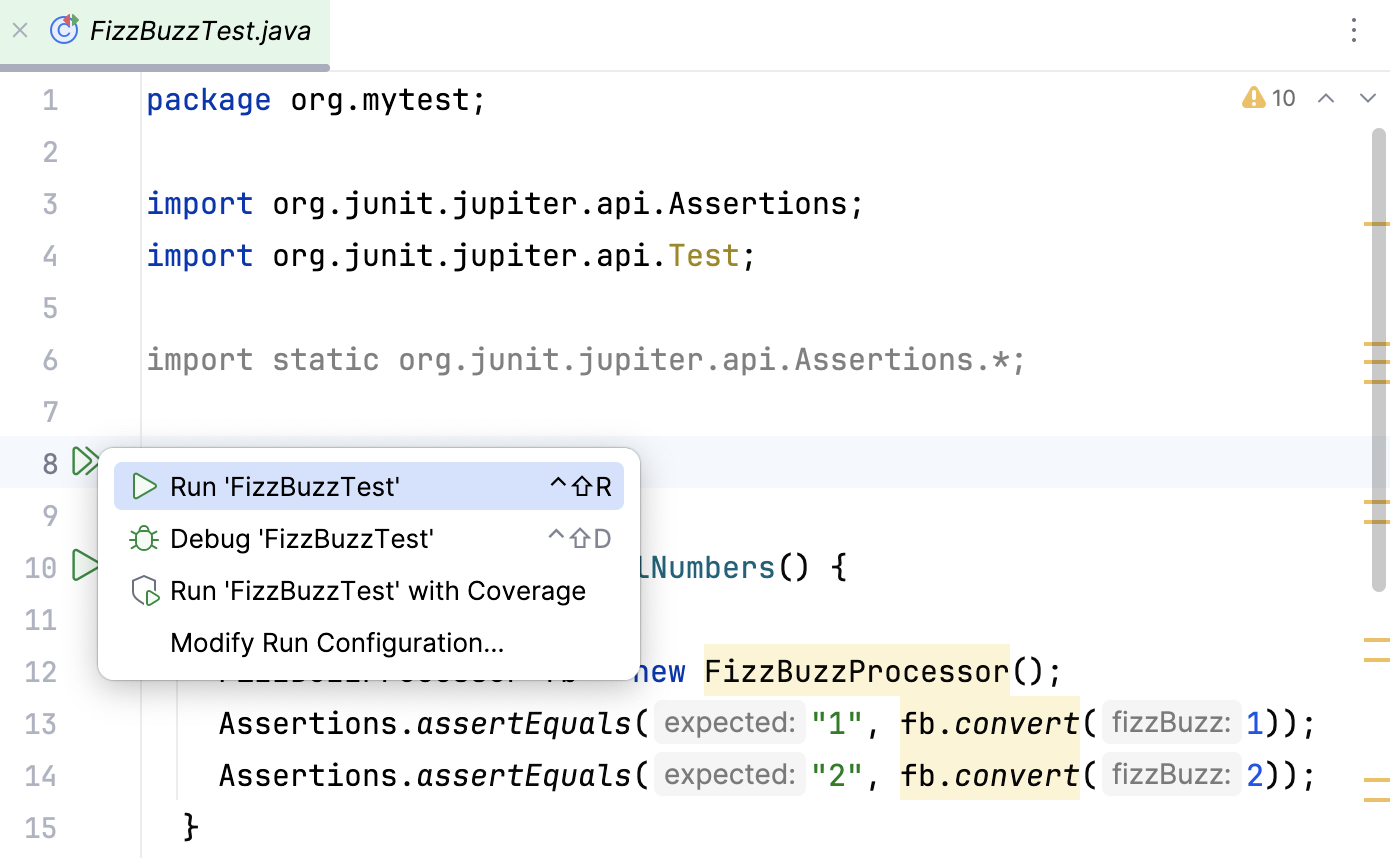
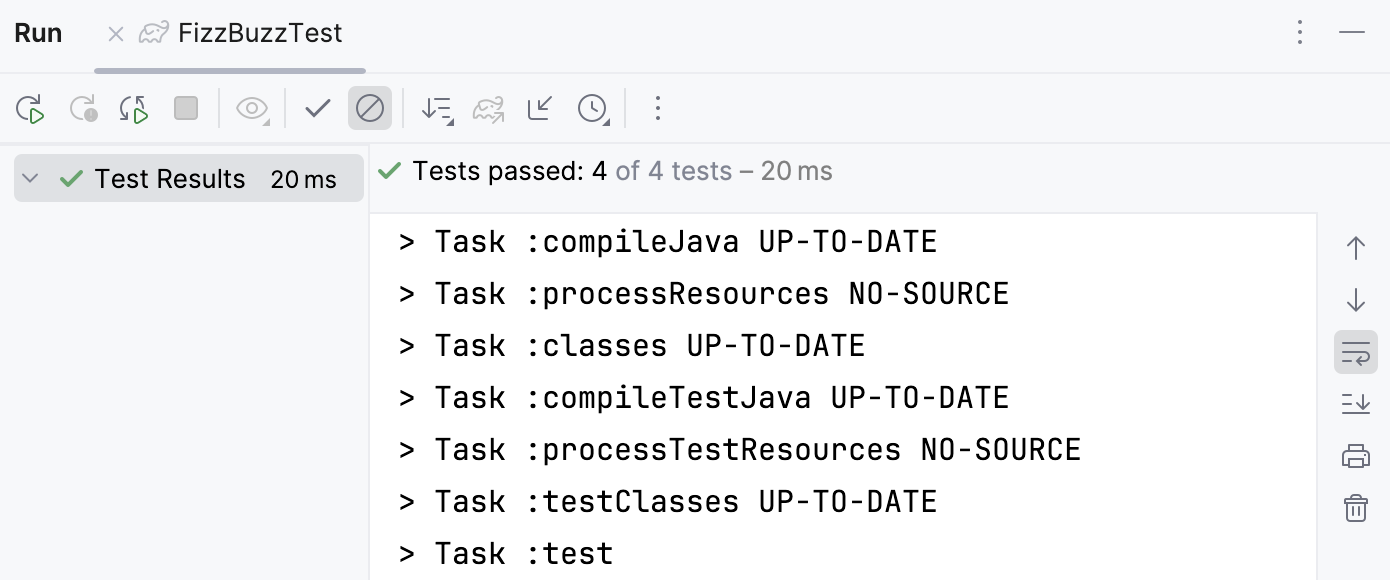
The result of the test will be displayed in the Run tool window.
If we change the default number in one of the tests, it will fail.
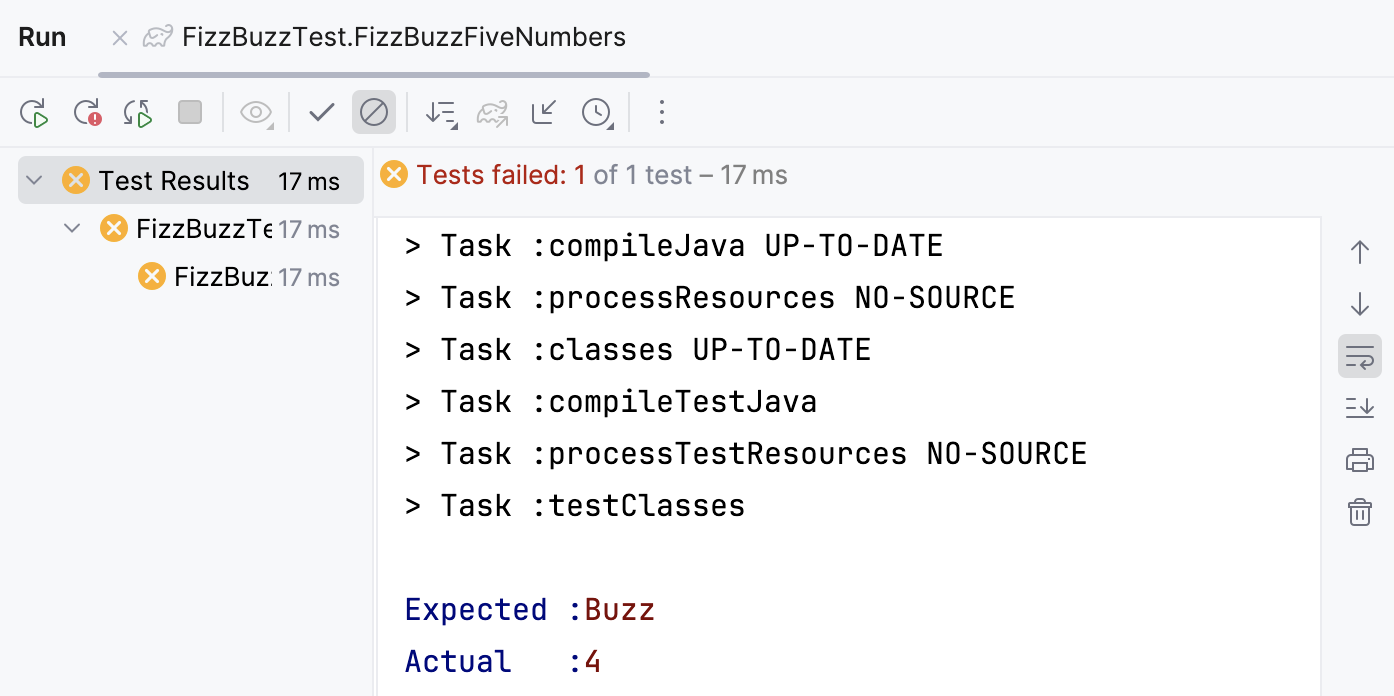
As you can see, the Run tool window displays information obout the failed test including the specific line of the code where the error occurred.
Step 5. Create an executable JAR file
Now let's build our application to create an executable JAR file.
In the Project tool window, double-click the build.gradle file to open it in the editor.
Add the following code:
jar { manifest { attributes "Main-Class": "org.mytest.FizzBuzzProcessor" } from { configurations.runtimeClasspath.collect { it.isDirectory() ? it : zipTree(it) } } }Click
in the editor to synchronize the changes to your project.
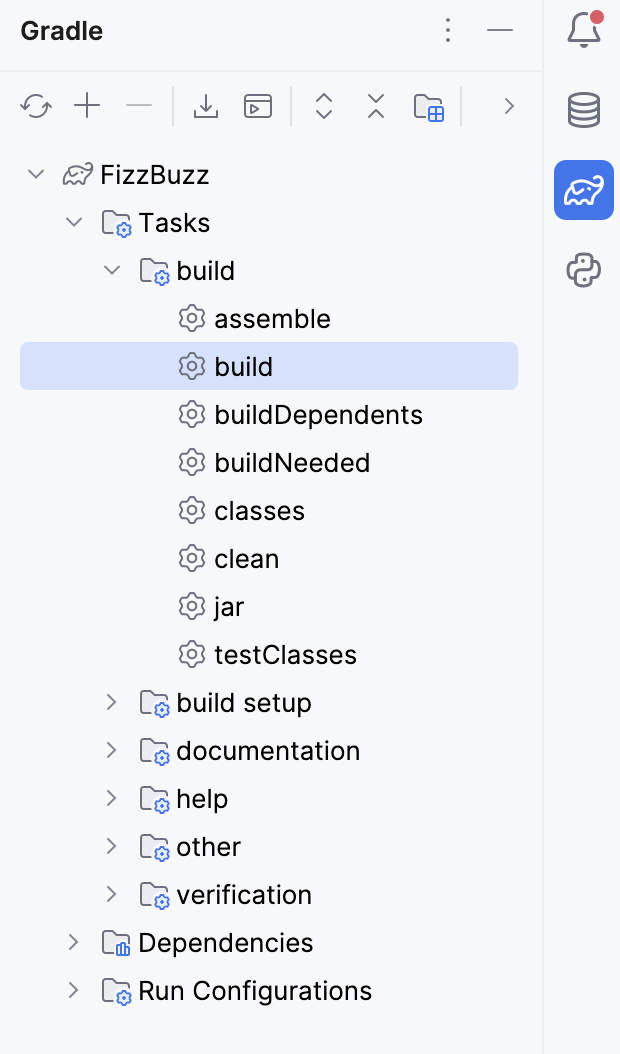
In the Gradle tool window, open the project's node, then the Tasks node and double-click the build task to run it.
IntelliJ IDEA creates the build directory that contains our JAR file.
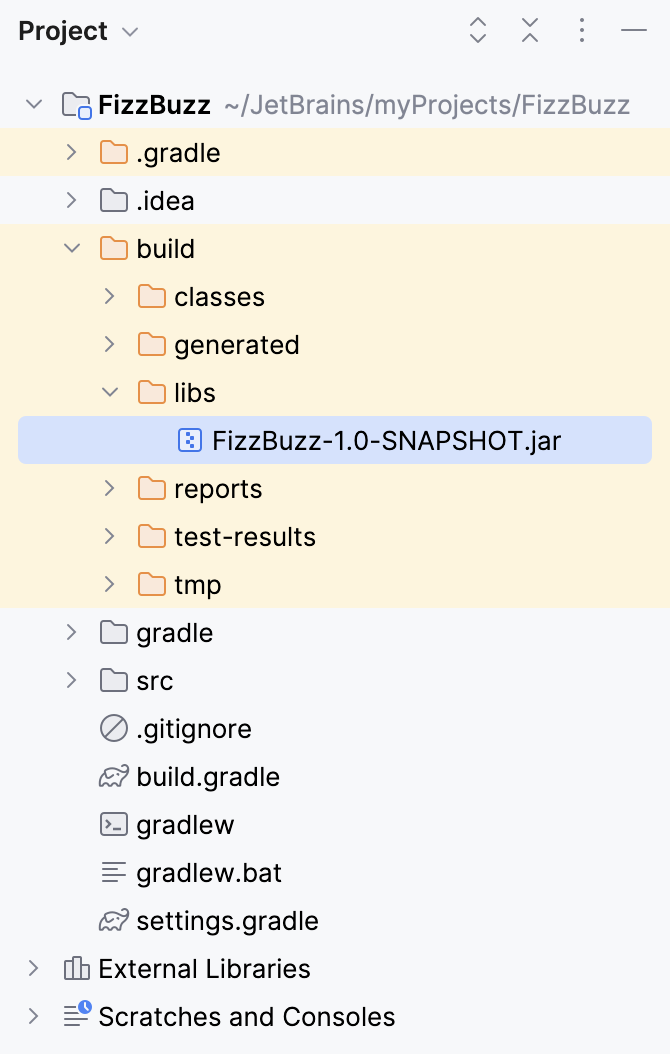
You can run the created JAR file in the command line with
java -jarcommand.Check the Run tool window for the results.
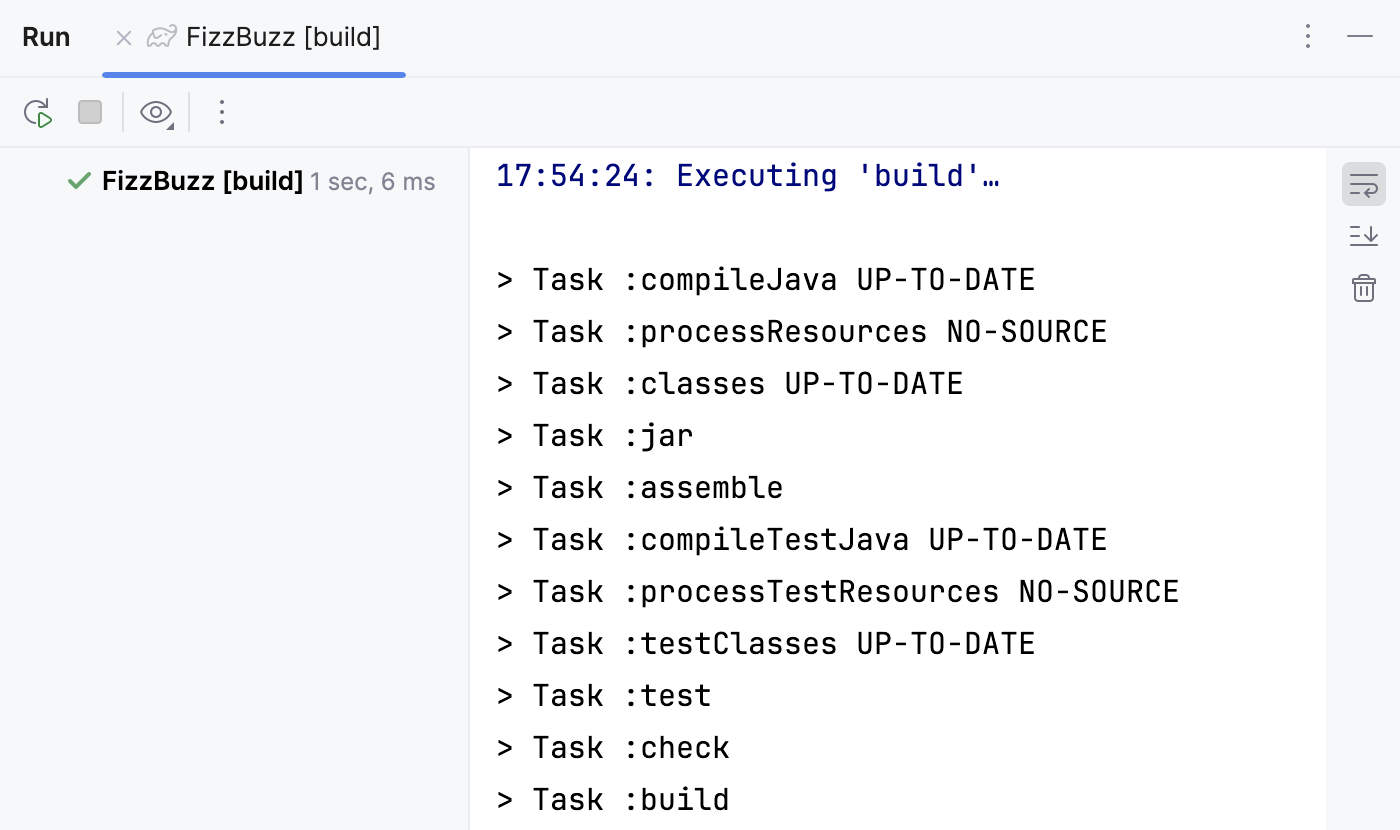
Note that the build task includes the test task that Gradle executes. So, if we make a mistake in one of our tests, the test task will fail and the build task will fail as well.

Step 6. Run the JAR file with Gradle
Now let's tweak the build.gradle file a little bit more, so we can execute our JAR file in the Run anything window.
Run the JAR file
In the Project tool window, double-click the build.gradle file to open it in the editor.
Let's add
id 'application'to thepluginssection and the following code:application { mainClassName = 'org.mytest.FizzBuzzProcessor' }Click
in the editor to load the changes to your project.
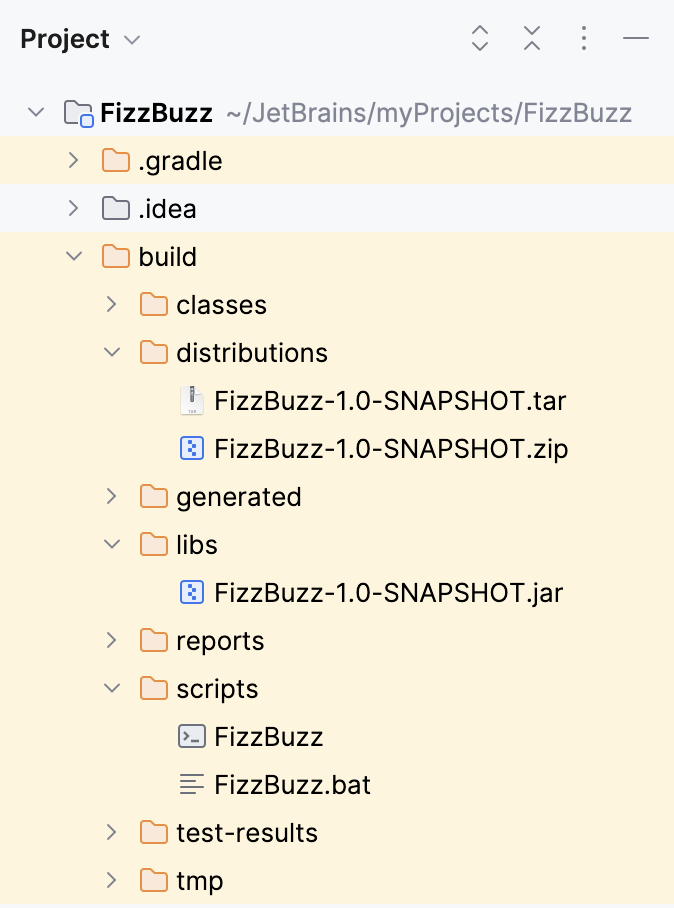
In the Gradle tool window, open the project's node, then the Tasks node. We can see that Gradle added the distribution node. Open the node and double-click the assembleDist task to run it.
If we check the build directory now, we'll see that IntelliJ IDEA created additional directories.
In the Gradle tool window, click
on the toolbar.
In the window that opens, enter the
gradlew runcommand.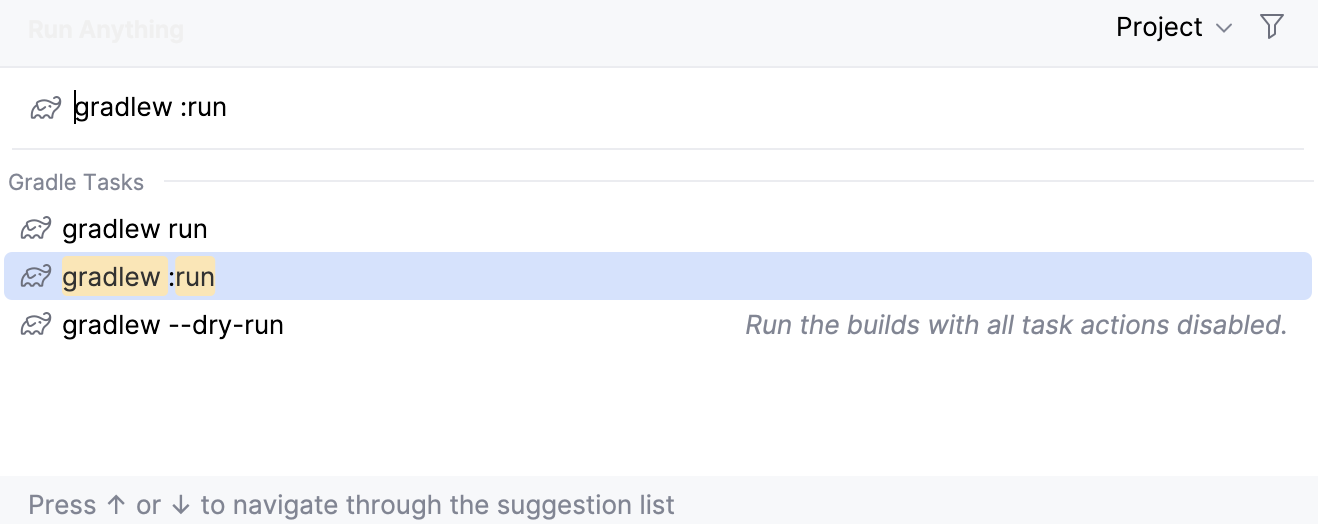
We should have the same result as when we ran the application in the IntelliJ IDEA editor.
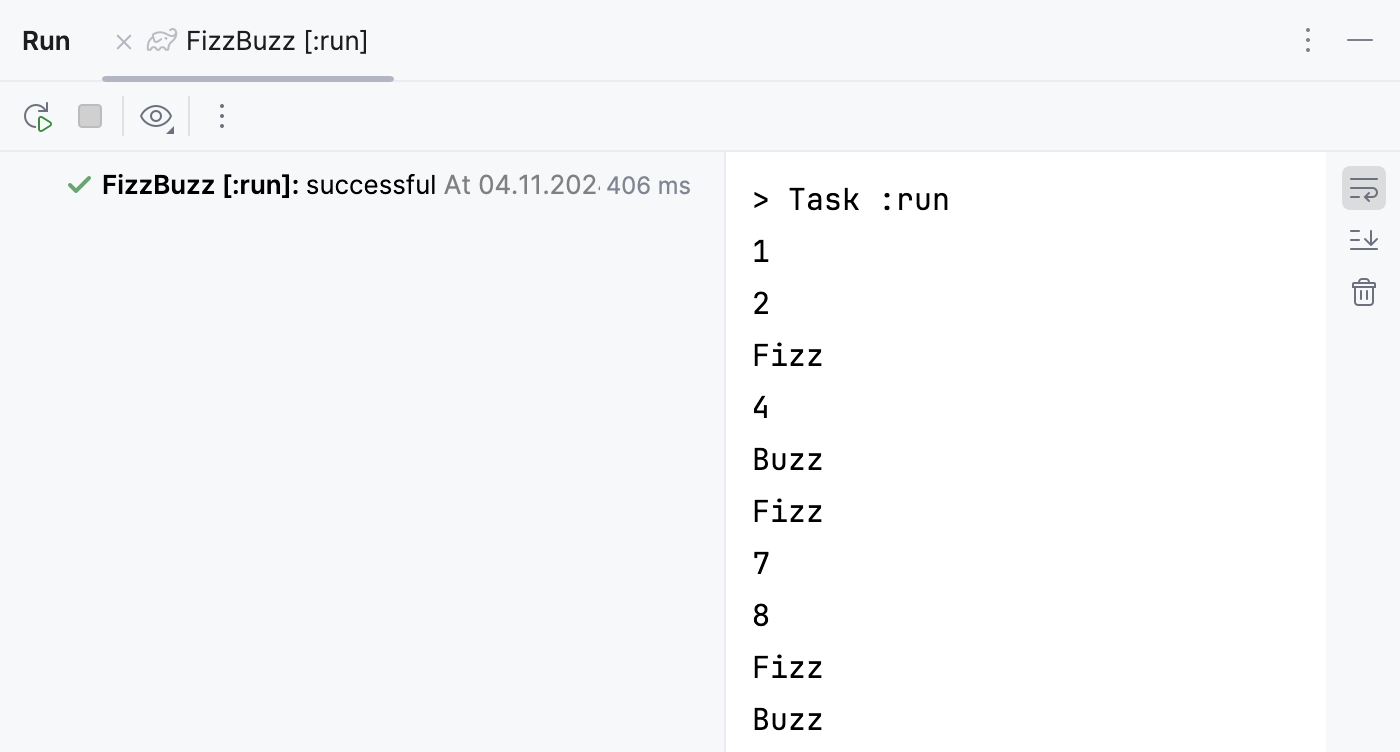
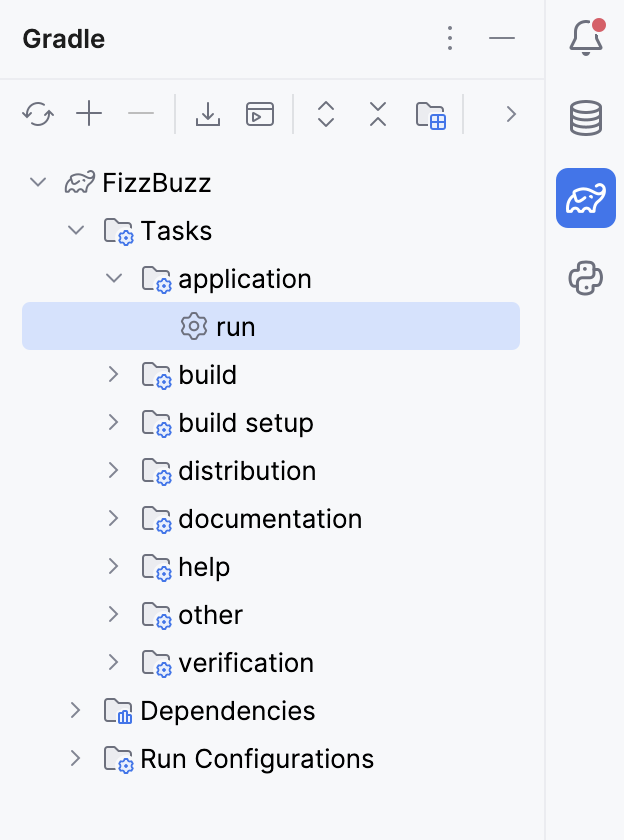
Alternatively, you can execute the run task under the application node.
