Language and reference injections
Language injections let you work with pieces of code in a programming language different from the main language of your file.
When you inject a language (such as HTML, CSS, XML, RegExp, and so on) into a string literal, you get comprehensive coding assistance for the injected code even though it is not the main language of your project.
In addition to language injections, the IDE also supports reference injections, which treat string literals as references to other entities, such as classes or files.
Add language injections
Add a temporary language injection
Place the caret inside the string literal, tag, or attribute, in which you want to inject a language and press Alt+Enter (or use the intention action icon
).
Select Inject language or reference and choose the language you want to inject.
Add a persistent language injection
Use language injection comments (annotations) to add persistent fragments of injected languages.
Add a blank line before the target string literal, and type the following comment:
// language=<language_ID>
For comments, use the syntax of the language you want to inject. Language IDs are generally intuitive, for example, SQL, RegExp, XML, HTML.
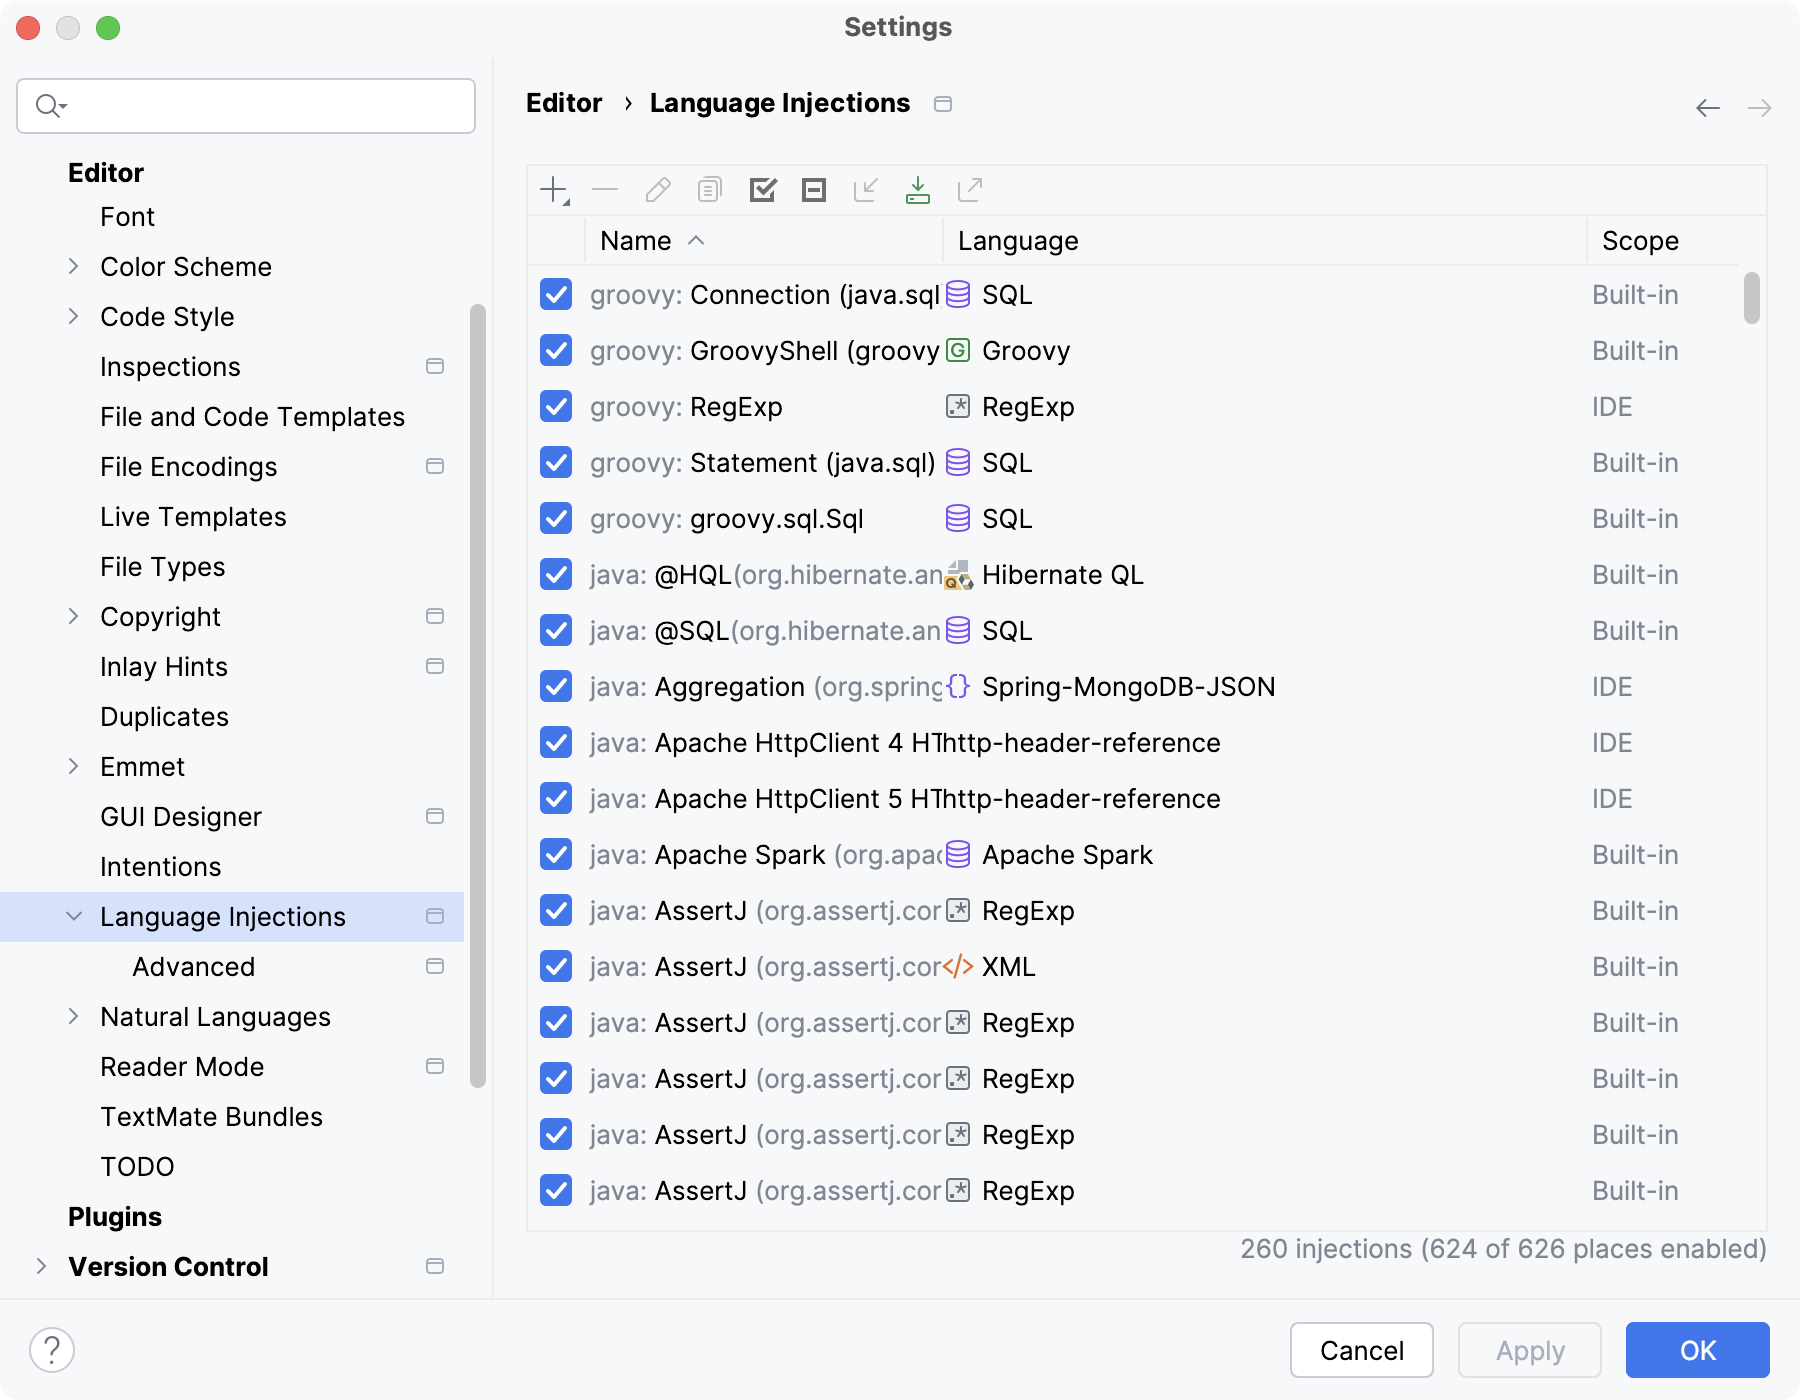
You can also learn language IDs in settings. Press Ctrl+Alt+S to open settings and then select . Double-click an injection rule for a language; the language ID is specified in the ID field.
(Optional) Include a prefix or a suffix in your comment.
// language=<language_ID> prefix=<prefix> suffix=<suffix>This is required if:
The string is an incomplete/partial SQL statement
The string is not used directly in one of our supported calls (such as
select /where)
Annotating language injections
You can annotate code elements, such as members and parameters, as language injections using the @Language annotation from the JetBrains Annotations library. This gives you correct highlighting, navigation, and search in the IDE.
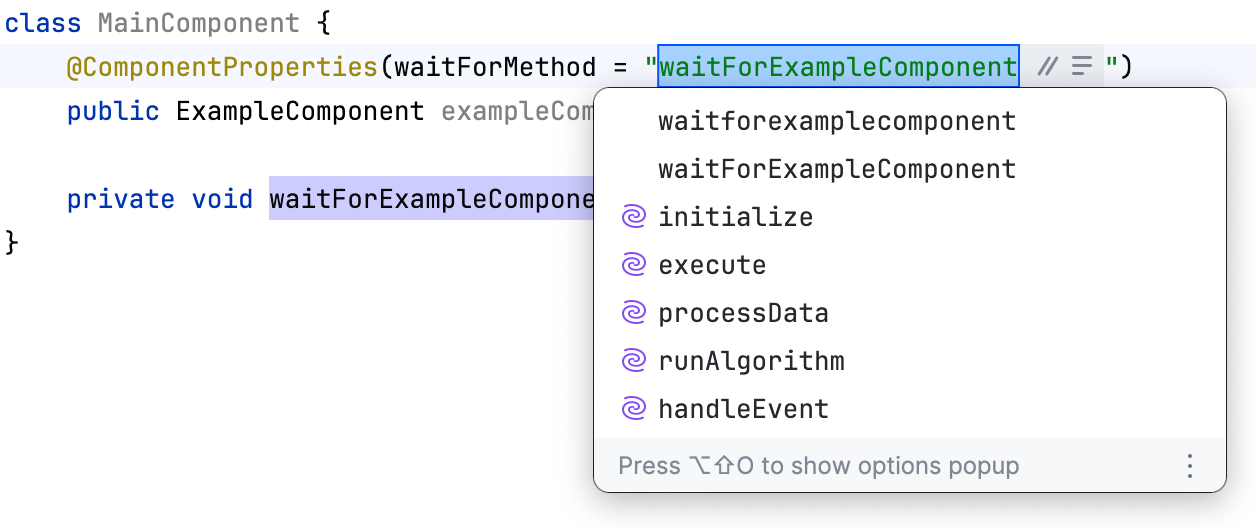
For example, you can mark an annotation parameter as referencing a Java method:
IntelliJ IDEA then recognizes the annotated string as a method name and lets you use the Rename refactoring and other features on the annotated element.

Edit injected language fragments
IntelliJ IDEA allows you to edit injected language fragment in a dedicated editor.
Open the fragment editor
Place the caret within the injected code piece and press Alt+Enter (or use the intention action icon
).
Select Edit <language ID> Fragment.
IntelliJ IDEA will open a dedicated editor section for editing the code with the injected language. This editor provides full coding assistance, including code completion, inspections, intention actions, and code style actions.

Inject a reference
Reference injections interpret string literals as links to other entities, such as classes, methods, fields, or files.
For example, a string like com.example.MyClass can be resolved as a reference to a Java class, and resources/config.json can be treated as a reference to a file.
Add a temporary reference injection
Place the caret inside the string literal in which you want to inject a reference and press Alt+Enter (or use the intention action icon
).
Select Inject language or reference and select an option, for example:
File Reference: adds a reference to the specified file.
JVM class name: adds a reference to the specified class.
JVM field name: adds a reference to a field.
JVM method name: adds a reference to a method.
Depending on the plugins you have installed, other reference options might be available. For example, you might be able to inject an HTTP method, header, or URL reference.

Add a persistent reference injection
Use comments to add persistent reference injections.
Add a blank line before the target string literal and type the
// language=comment with the necessary value.// language=file-referenceadds a reference to a file.// language=jvm-class-nameadds a reference to a class.// language=jvm-filed-nameadds a reference to a field.// language=jvm-method-nameadds a reference to a method.
Examples:
public class FileReference { public static void main(String[] args) { // language=file-reference printFilePath("src/main/resources/config.properties"); } }or
public class ClassReference { public static void main(String[] args) { //language=jvm-class-name String className = "java.util.ArrayList"; } }
Cancel injections
Cancel a persistent language injection
To cancel a language injection, delete the comment (annotation) you used to introduce it.
Cancel a temporary language injection
Place the caret at the code fragment and press Alt+Enter (or use the intention action icon
).
Select Uninject language or reference.
Disable the intention action bulb icon
Do the following to hide the intention action icon in the editor:
Press Ctrl+Alt+S to open settings and then select .
Clear the Show intention bulb checkbox.
Apply the changes and close the dialog.
Configure rules for automatic injections
In IntelliJ IDEA, there is a set of predefined rules according to which the IDE automatically injects languages in certain places in your code.
You can configure language injection rules on the Editor | Language Injections settings page Ctrl+Alt+S.

All pre-defined injection rules are configured for the Built-in scope. In other words, they are global (and therefore available in all IntelliJ IDEA projects). Custom rules can be configured for the IDE or for one project only. To change the scope of custom injections, use the .
To share a custom rule through VCS, move it to the Project scope using the corresponding option on the toolbar. By doing so, you will create a new file in the .idea directory named IntelliLang.xml with your custom rules that you can place under version control.
If you don’t use a VCS, you can share your rules by exporting them to XML files (click on the toolbar) and then importing them to another project.
To configure custom injection rules, click to add a new rule, or copy a predefined rule and change its settings.