Editing UI Layout Using Text Editor
Now when you are familiar with the basic UI layout editing options using the built-in designer, let's add more elements to the main view of the application by editing its layout manually.
1. Switch to Text view
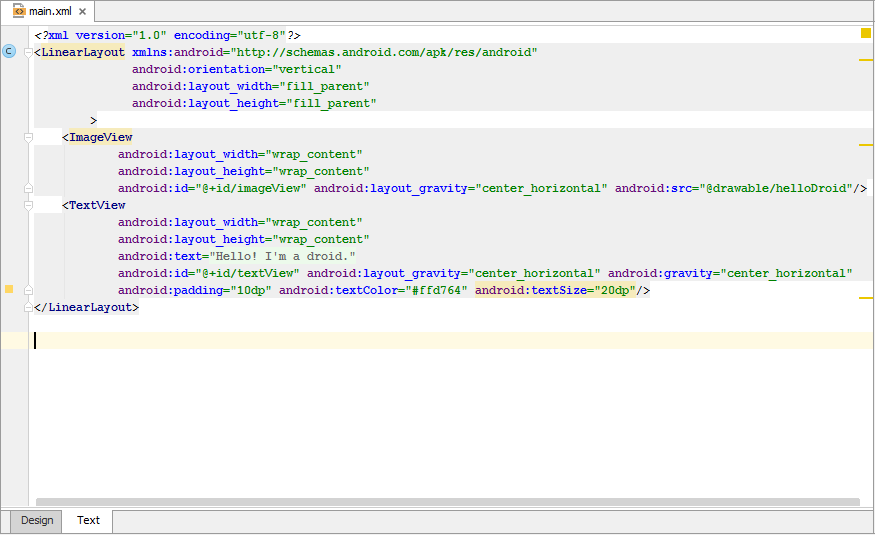
Switch to the Text tab at the bottom of the editor. IntelliJ IDEA will display the XML source code of the currently selected layout file:

2. Add a horizontal ruler
Let's add some markup that inserts a separator. The easiest way to add a horizontal dividing line is adding the following to your source code:
<View android:layout_width="fill_parent"
android:layout_height="5dp"
android:layout_marginTop="60dp"
android:background="#00ff00" />
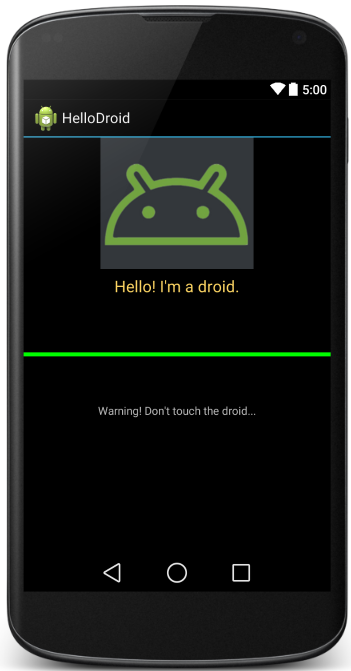
The separator is 5 units thick, painted with a green background and placed below the nearest element.
3. Add a TextView element
To add another TextView element, add the following to your source code:
<TextView android:layout_width="wrap_content"
          android:layout_height="wrap_content"
          android:layout_marginTop="60dp"
          android:text="Warning! Don't touch the droid..."
          android:id="@+id/message"
          android:layout_gravity="center_horizontal" />
The new element will be placed 60 units below the separator; it is centered horizontally and uses the default font color. The text string associated with the element is declared explicitly.
Unlike the separator, though, the TextView element also has the id property. Its syntax indicates that what follows the "/" symbol, is a string that must be treated as an ID resource, and will be used to reference the view element. The Android runtime processes this information appropriately and makes it possible for you to write Java code that interacts with the TextView component.
The Preview pane on the right displays the result of your changes:
