Configuring Local Ruby Interpreter
To configure a local Ruby interpreter, follow these steps:
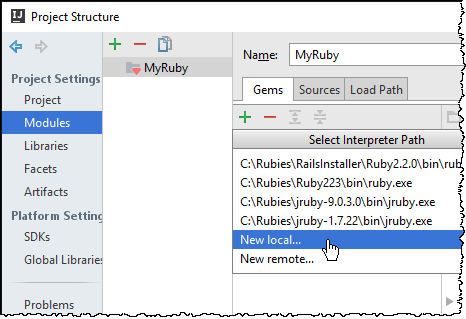
Open the Project Structure dialog (e.g. Ctrl+Shift+Alt+S).
In the Project Structure dialog, click the node Modules.
In the Gems tab, click
 , and from the popup menu, choose New local...:
In the Select Ruby Interpreter Path dialog box, click the desired Ruby executable.
Last modified: 20 November 2018