Creating Custom Inspections
In IntelliJ IDEA, you can create new inspections using the Structural Search Inspection. To create a custom inspection, you have to configure a search template and set a severity level. The IDE will search for code that matches the template and will highlight it in the editor according to the specified severity.
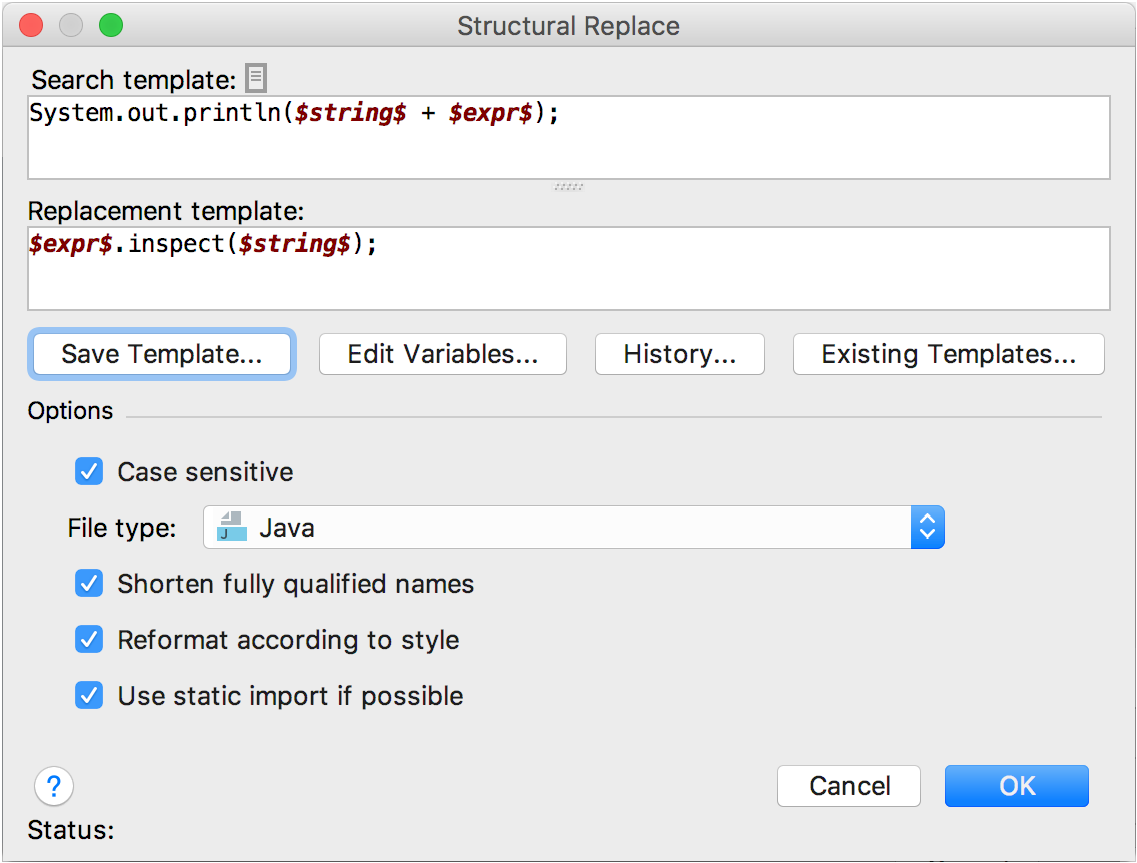
If you want your inspection to suggest fixes, you have to configure the replace template.
In the Settings/Preferences dialog (Ctrl+Alt+S), go to .
Select the profile in which you want to create a new inspection.
Locate the Structural Search Inspection in the list, and select its checkbox to enable it (the inspection is disabled by default).
Click
 and select Add Search Template if you want you inspection to highlight code only, or Add Replace Template if you want your inspection to highlight code strings and suggest fixes.
-
Configure the templates.
You can use a sample template and configure it according to your needs. To do so, click Existing Templates and the select the suitable one.
For more information on how to configure search and replace templates, refer to Creating and Editing Search Templates.

When finished, click Save Template and name the new template.
Select inspection severity and scope. If an inspection is not associated with a scope, it applies to all the sources of the current project.
Apply the changes and close the dialog.