Managing JRuby Facet in a Java Module
Basics
IntelliJ IDEA makes it possible to attach a JRuby facet to a Java module. This can be required for working with Ruby code, having resolve and code completion.
Suppose, you've created a project that contains a Java module, and you want to attach a facet to it. You must install JRuby on your computer.
By the way, if you create a module of, say, Ruby type, you may attach any available Ruby SDK.
Adding a JRuby facet
Having installed JRuby (for example, rvm install jruby), follow these steps:
Open the Project Structure Dialog dialog.
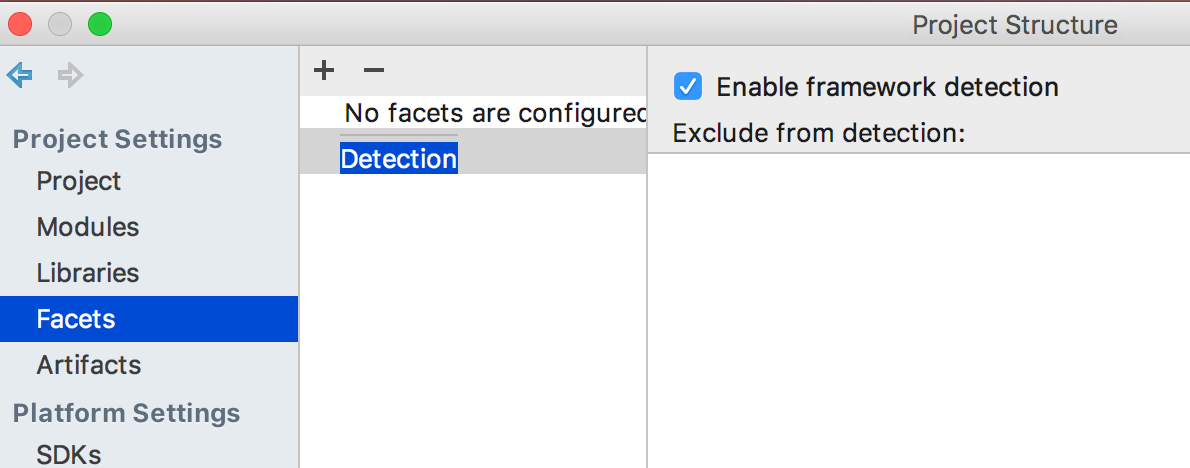
In this dialog, select the Facets page.
Click
 :
: 
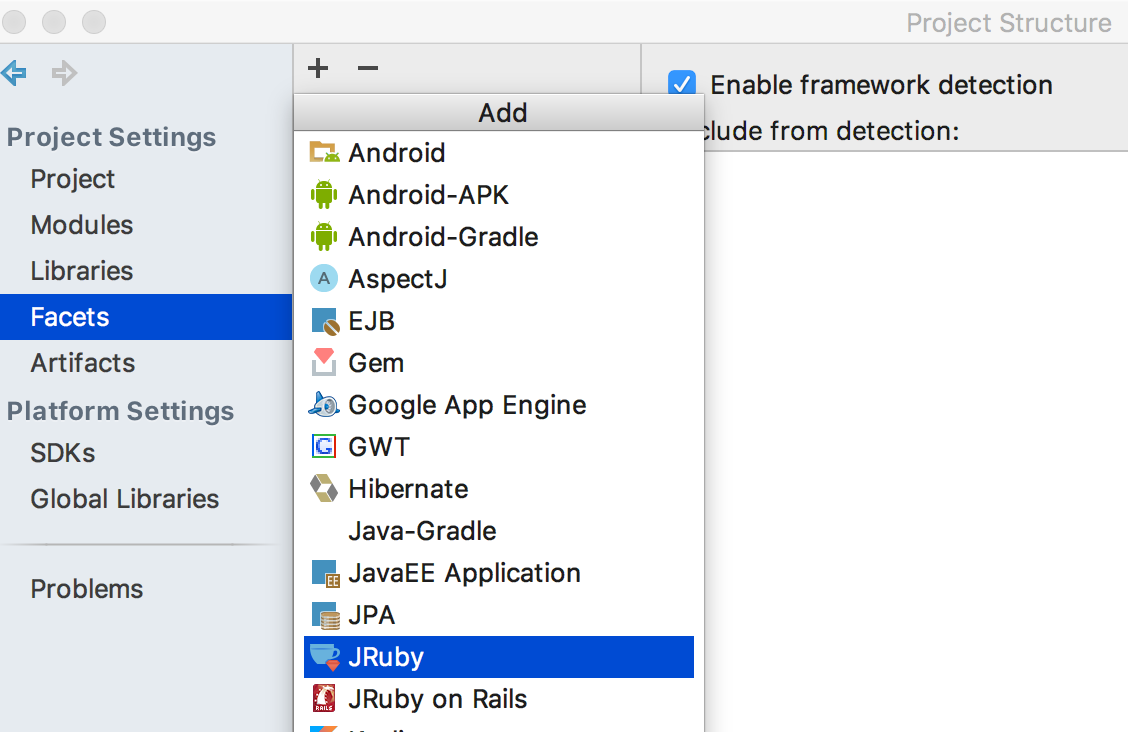
From the pop-up menu of the possible facets that appears, choose JRuby facet:

- If JRuby has been installed previously, IntelliJ IDEA recognizes it and suggests to choose a Java module to which the facet should be added:

Select the desired module.
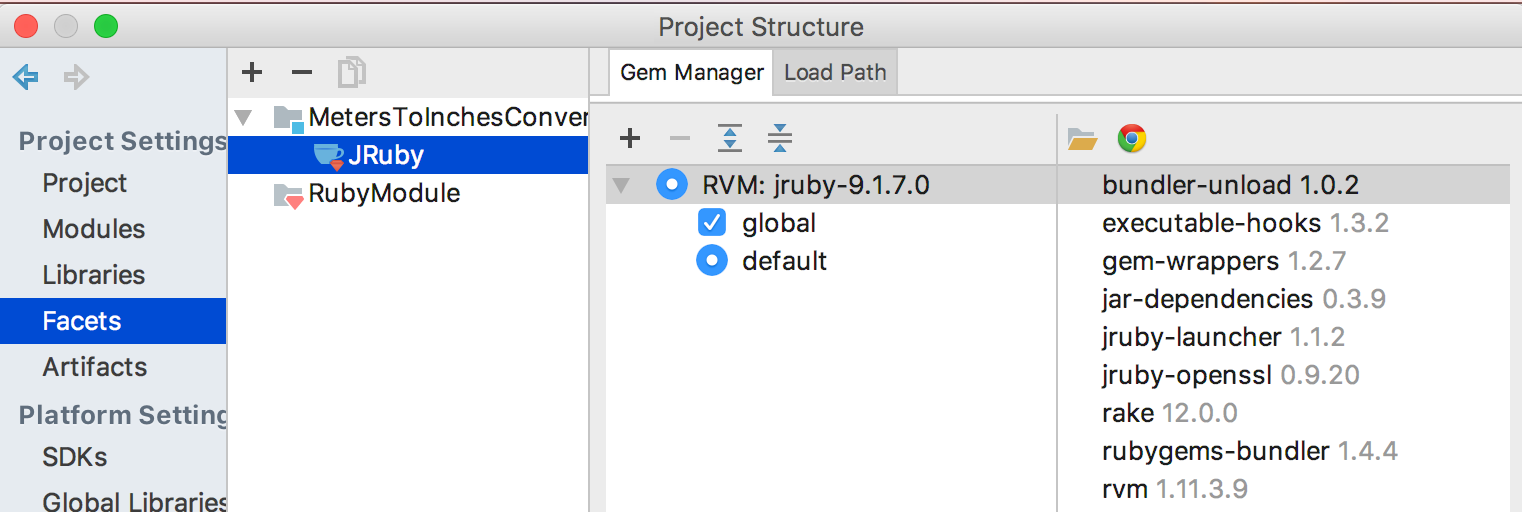
After that, JRuby facet appears under the module name:

Deleting a JRuby facet
To delete a JRuby facet, follow these steps:
Open the Project Structure Dialog dialog.
In this dialog, select the Facets page.
Click
 .
.