Setting up JNI development in Gradle project
IntelliJ IDEA supports JNI development in Gradle projects.
To add JNI support
Open the
build.gradlefile.Specify the C plugin and define a native library:
If you want to see the whole project, refer to the project's build.gradle file.apply plugin: 'c' model { components { hello(NativeLibrarySpec) } }
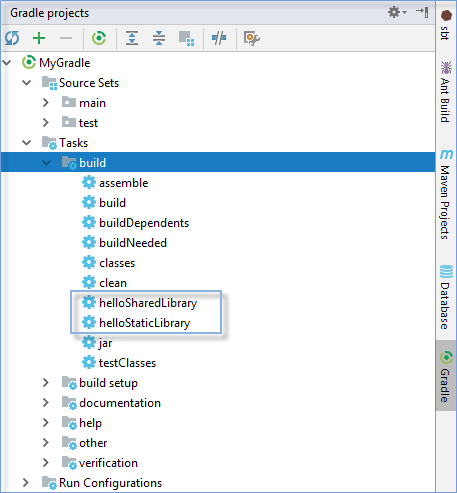
When you specified the native library, the shared and static library binaries are added to the Gradle projects tool window (build directory).
In the Project tool window, in the src | java directory create a Java class () that will use C code.
Open the created class in the editor and enter your code.
class HelloWorld {
public native void print();

static {
System.loadLibrary("hello");
}

}
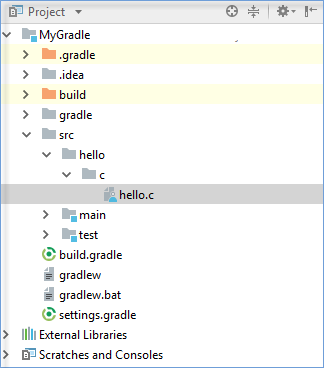
In the Project tool window, in the src directory, create the hello directory and the c subdirectory.
In the c subdirectory, create the hello.c file which is a file for your C programs.

Open the
hello.cfile in the editor and specify the following code:#include <jni.h> #include <stdio.h> JNIEXPORT void JNICALL Java_HelloWorld_print(JNIEnv *env, jobject obj) { printf("Hello World!\n"); return; }
At this point you can start developing your application further using native codes as needed.
Last modified: 20 November 2018