Getting Started with Groovy
IntelliJ IDEA lets you create and run Groovy applications.
Before you start working with Groovy, make sure that the Groovy plugin is enabled in IntelliJ IDEA.
Create Groovy project
Open Project Wizard, in the left-hand pane select Groovy.
- In the right-hand pane, specify the following settings:
Project SDK - specify your project SDK.
Groovy library - specify your Groovy SDK or click Create to choose one from the list that opens.
Additional libraries and frameworks - specify additional libraries and frameworks that Groovy supports.
Java EE version - select the appropriate Java EE version.
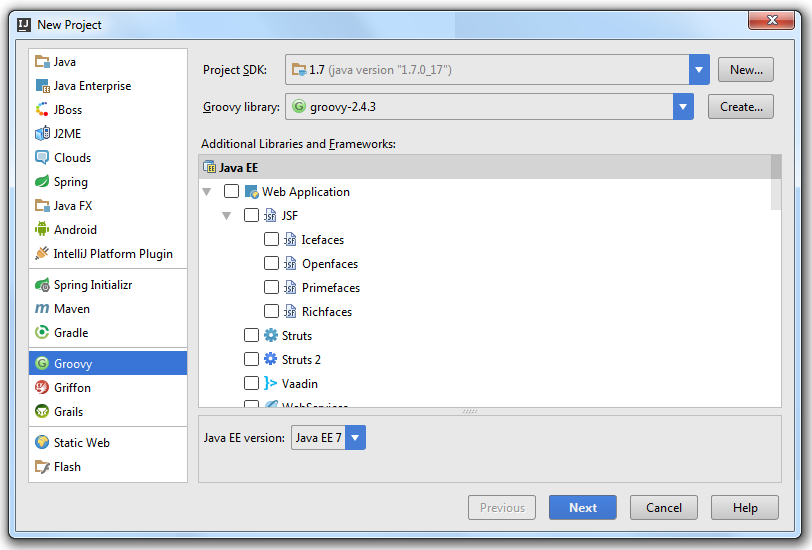
Click Next.
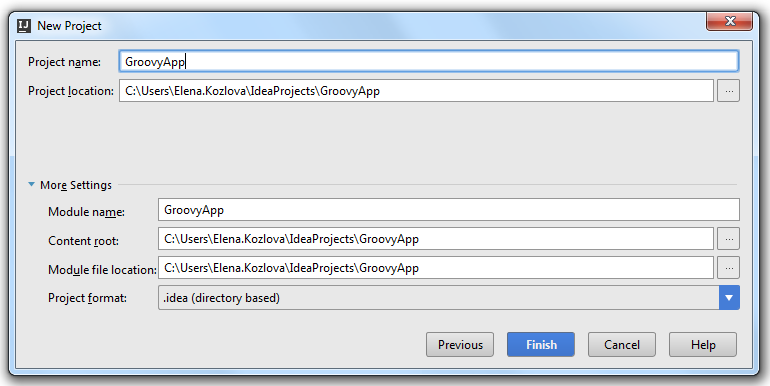
Specify your project information and click Finish.
Add Groovy support to the existing project
In the existing project, open the Project Structure dialog Ctrl+Shift+Alt+S.
From the list on the left, select Modules.
From the options on the right, select the Dependencies tab.
Click the Add (
 ) icon and select Library.
In the dialog that opens, click New Library and from the drop-down list, select the library type.
Download your library and it will appear in the list of module dependencies.
Alternatively, you can add a new Groovy module to your project (right-click your project in the Project tool window and select ). On the page that opens, from the left-hand side, select Groovy and follow the steps suggested in the wizard.
IntelliJ IDEA will add a simple module with the attached Groovy library.
Create Groovy class
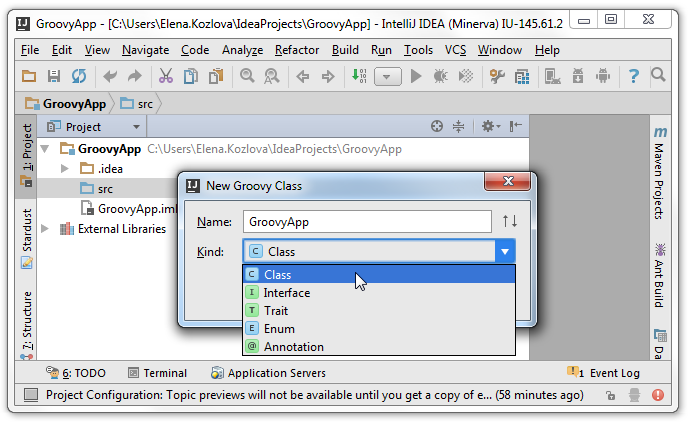
Press Ctrl+N or in the Project tool window right-click on the directory and select .
In the New Groovy Class dialog, in the Name field, specify a name of the class.
In the Kind field, choose between class, interface, trait, enum or annotation.
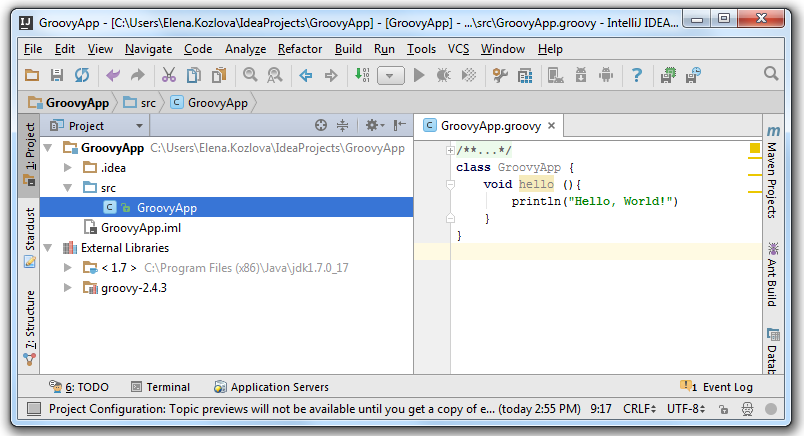
Enter your code.
Create Groovy script
Press Ctrl+N or in the Project tool window right-click on the directory and select .
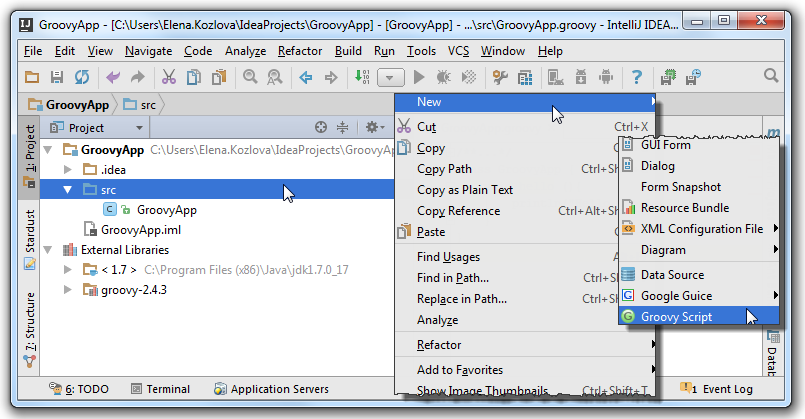
In the dialog that opens, in the Name field, enter the name of your Groovy script. In the Kind field, choose between Groovy script and GroovyDSL script.
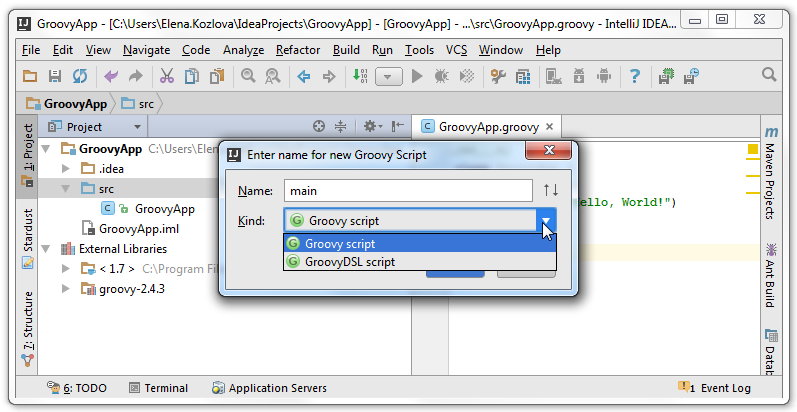
IntelliJ IDEA creates a file with the specified name and
groovyextension, and adds a node to the module tree view.
Run Groovy application
Create a Run configuration using or run the active script automatically by pressing Ctrl+Shift+F10.
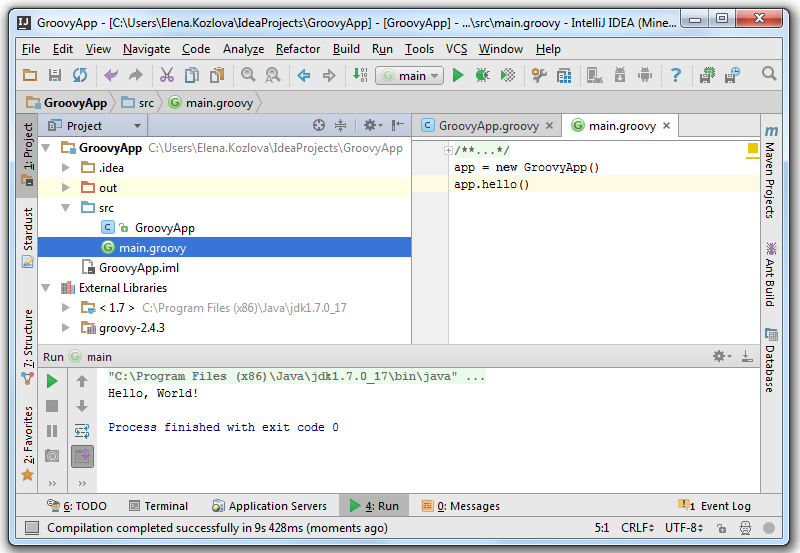
View the result in the Run tool window.