IntelliJ IDEA 2018.3 Help

Gradle

Creating a new Gradle project

  1. Launch the New Project wizard. If no project is currently opened in IntelliJ IDEA, click Create New Project on the welcome screen: Otherwise, select File | New | Project from the main menu.

  2. Select Gradle from the options on the left.

  3. Specify the project SDK and an additional framework or a library (IntelliJ IDEA adds the appropriate plugin to the build.gradle file). Click Next.

  4. On the next page of the wizard, specify the fields which resemble Maven naming conventions. These settings might be helpful if you decide to deploy your project to a Maven repository. The fields you specify are added to the build.gradle file.
    • GroupId - groupId of the new project. You can omit this field if you plan to deploy your project locally.

    • ArtifactId - artifactId that is added as a name of your new project.

    • Version - version of the new project. By default, this field is specified automatically.

    If a parent Gradle project is specified, the specified fields can be inherited (click Inherit) from the parent.
    Click Next.
  5. On the next page of the wizard, configure Auto-import, source-sets, and a Gradle version for your project.

    You can also specify how to group modules in your project. For example, if you want to sort out your modules and group them by their qualified names, use the using qualified names option. In this case when module groups are generated using Gradle group, the prefixes in module names are also accounted for.
    For more information, refer to the Grouping modules section.

    Click Next.

  6. Specify the name and location settings. Click Finish.

Configuring a Gradle version for a project

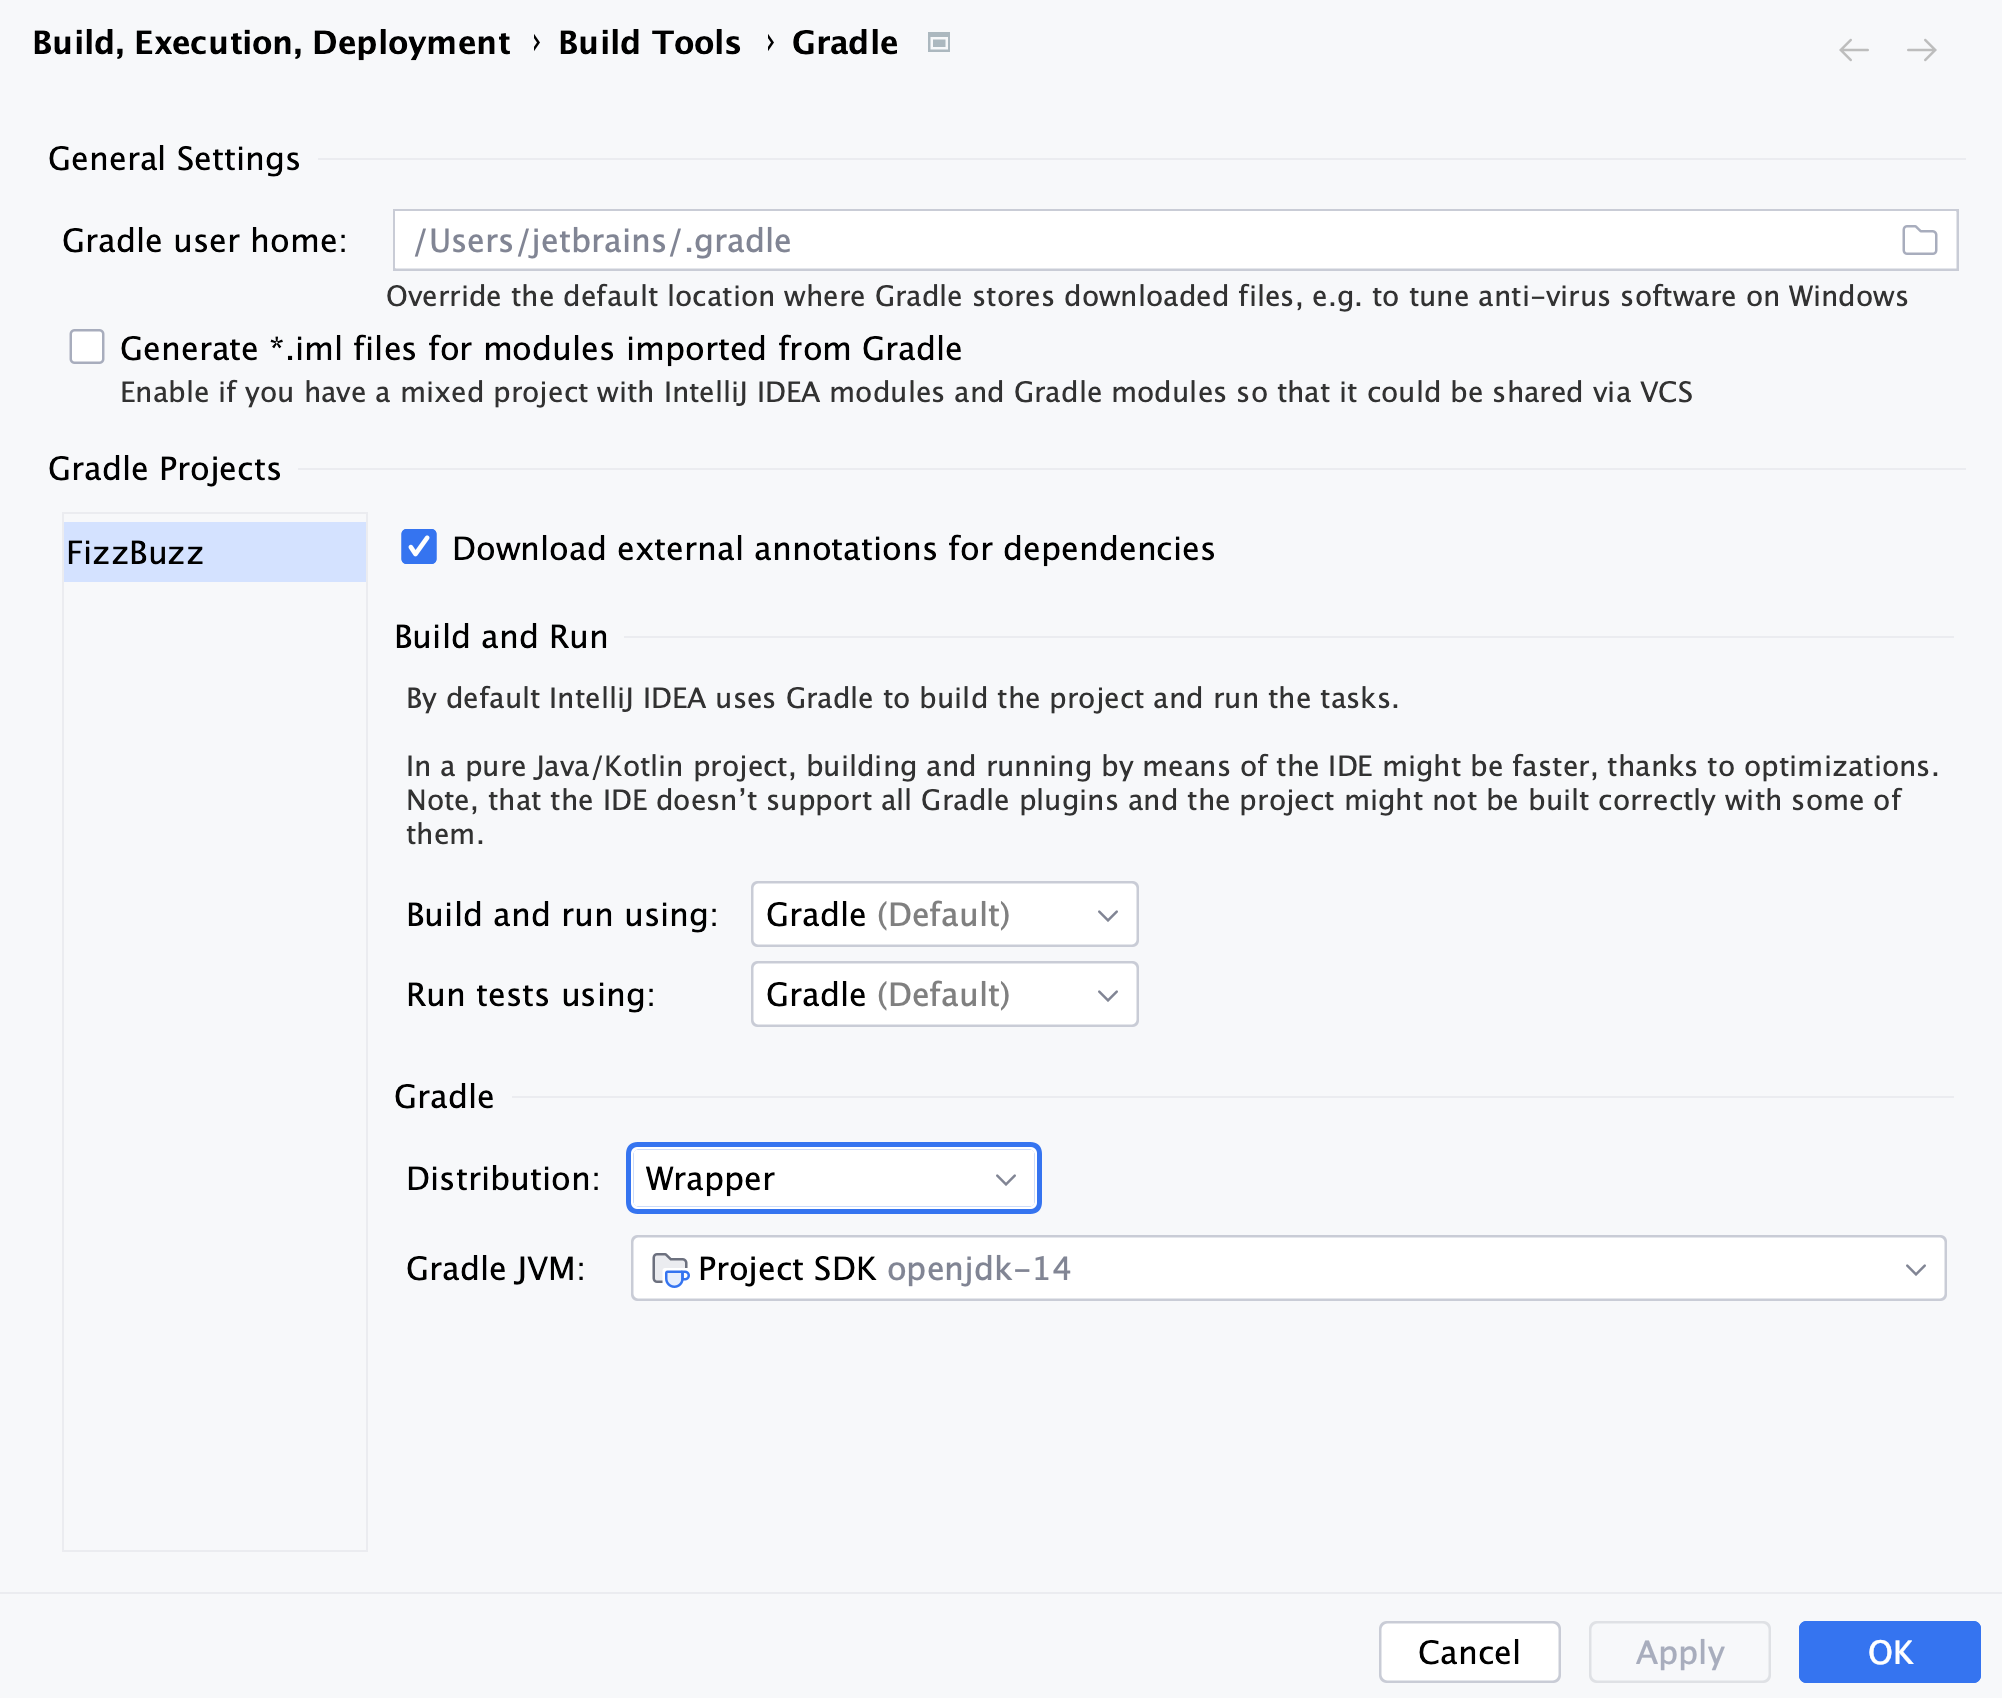
IntelliJ IDEA lets you use different options to configure a Gradle version when you create or import your Gradle project. You can use the default Gradle wrapper, use a Gradle wrapper as a task, or configure a local Gradle distribution.

  1. On the Gradle settings page when you create or import a Gradle project, choose one of the following options:
    • Use default gradle wrapper (recommended) - select this option to use Gradle wrapper. In this case you delegate the update of Gradle versions to Gradle and get an automatic Gradle download for the build. It also lets you build with a precise Gradle version. The Gradle version is saved in the gradle-wrapper.properties file in the Gradle directory of your project. We recommend that you use this option to eliminate any Gradle version problems in your project.

    • Use gradle task configuration - select this option to configure a Gradle wrapper according to the wrapper task configuration. It might be convenient if you don't want to work with the gradle-wrapper.properties file for some reason or you want to control which Gradle version you want your project to use. Note that if you initially used the default Gradle wrapper option and then decided to use the Gradle wrapper task configuration when you change anything in the task such as changing the Gradle version, you don't need to run the wrapper task manually, since the gradle-wrapper.properties file update is done implicitly by IntelliJ IDEA during importing.

      Also, note that if, for example, you use VCS in your project and each team member syncs the project via gradle, the gradle/wrapper/gradle-wrapper.properties file will be updated and might have inconsistencies if you use this type of wrapper configuration.

    • Use Gradle local distribution - select this option if you want to manually download and use a specific Gradle version. Specify the location of your Gradle installation and JVM under which IntelliJ IDEA will run Gradle when you import the specified Gradle project and when you execute its tasks.

  2. Press OK (in the wizard, press Next).

Adding a new Gradle module to an existing project

You can add a Gradle module to a project in which you are already working.

  1. In a project, on the main menu, select File| New | Module to open the New Module wizard.

  2. If the existing project is not the Gradle project then the process of adding a module is the same as Creating a new Gradle project.
    If the existing project is a Gradle project then the process of adding a new module is shorter. You need to specify the name of your module in the ArtifactId field. The rest of the information is added automatically and you can use either the default settings or change them according to your preferences.
    Also, note that Add as module to field, by default, displays the name of your project to which you are trying to add a module. You can click moduleFolder to select a different name if you have other linked Gradle projects.

Importing a project from a Gradle model

  1. Launch the New Project wizard. If no project is currently opened in IntelliJ IDEA, click Import Project on the welcome screen. Otherwise, select File | New | Project from Existing Sources from the main menu.

    Note that you can also select File | Open from the main menu and choose the build.gradle file or a directory containing the build.gradle file. IntelliJ IDEA will import a Gradle project even if the project was not opened or imported before.

  2. In the dialog that opens, select the directory that contains the project you want to import or a file that contains a Gradle project description (build.gradle). Click OK.

  3. On the first page of the Import Project wizard, in Import Project from External model, select Gradle and click Next.

    (This page is not displayed if IntelliJ IDEA has guessed what you are importing.)

  4. On the next page of the Import Project wizard, specify Gradle project settings that are the same as when you create a Gradle project.
    Also, specify the following global Gradle settings:
    • Offline work - use this checkbox to work with Gradle in the offline mode. In this case Gradle will use dependencies from the cache. Gradle will not attempt to access the network to perform dependency resolution. If the required dependencies are not present in the cache, build execution will fail.

    • Service directory path - use this field to override the default Gradle home location directory.

    • Gradle VM options - use this field to specify VM options for your Gradle project.

    Click Finish.

Importing a Gradle module

  1. You can start your module's import in one of the following ways:
    • From the main menu, select File | New | Module from Existing Sources.

    • In the Project Structure dialog, on the Module page, click icons general add icon and select Import Module.

    • In the Gradle projects tool window, on the toolbar, click gradle data to import icon icon.

  2. In the dialog that opens, select a module you want to import and click OK.

  3. If necessary, perform the steps described in the Importing a Gradle project section and click Finish.

  4. If you have a multi-module project the Select Project Data to Import dialog opens.
    In the Select Project Data to Import dialog, select the modules or data you want to include in your project and click OK.

Working with Gradle projects

IntelliJ IDEA lets you manage Gradle projects. You can link, ignore projects and synchronize changes in Gradle and IntelliJ IDEA projects. Also, you can configure a Gradle composite build.

When a project is created by importing from Gradle model, the link of the project is established automatically and the Gradle Projects tool window is enabled.

If an IntelliJ IDEA project is not linked to a Gradle project, then the Gradle tool window is disabled.
In this case, IntelliJ IDEA displays a message with a link that quickly lets you import your Gradle project and enable the Gradle Projects tool window.
If the Gradle Projects tool window is active, then you have at least one Gradle project linked.

  1. Open the Gradle Projects tool window.

  2. In the Gradle Projects tool window, click icons general add svg to attach a gradle project.

  3. In the dialog that opens, select the desired build.gradle file, and click OK.

  4. In the Import Module from Gradle window, specify options for the Gradle project that you are trying to link and click OK.

    The project is linked. The Gradle Projects tool window shows the toolbar and a tree view of Gradle entities.

Alternatively, you can link your Gradle project if you import your project as a Gradle module from existing sources. In this case, you can link your Gradle project even if the Gradle Projects tool window is not available.

  1. In the Gradle projects tool window, right-click a linked project.

  2. From the context menu, select gradle.

    IntelliJ IDEA navigates to the appropriate Gradle configuration file and the related build.gradle file opens in the editor.

Detaching or ignoring a linked Gradle project

  1. In the Gradle projects tool window, right-click a linked project.

  2. From the context menu, select icons general remove svg (Delete ). Alternatively, you can select the linked project and click icons general remove svg on the Gradle toolbar.

  3. In the Import Gradle Projects pop-up window, clear the checkbox against the modules if you don't want to delete the project from the IntelliJ IDEA Project tool window.

  4. Click OK.

    The Gradle project is detached from the IntelliJ IDEA project and is not synchronized anymore.

You can also de-activate a Gradle project using the Ignore Gradle Project option.

  1. In the Gradle Projects tool window, right-click the project that you want to ignore.

  2. On the context menu, select Ignore Gradle Project.

  3. In the window that opens, select projects and modules that you want to de-activate and click OK.

    In this case IntelliJ IDEA removes the selected projects and modules from the IntelliJ IDEA Project tool window and will not import them anymore. However, you would still be able to see the list of ignored Gradle modules and projects in the Gradle Projects tool window.

    If you want to activate your Gradle projects or modules, select Unignore Gradle Projects from the context menu.

Refreshing a linked Gradle project

  1. In the Gradle projects tool window, right-click a linked project.

  2. From the context menu, select icons actions refresh svg.

    On clicking this icon, IntelliJ IDEA parses the project structure in the Gradle projects tool window.

    IntelliJ IDEA cannot refresh just a part of your project, it refreshes the whole project including modules and dependencies.

    If you configure a dependency through the Project Structure dialog (click projectStructure on the main menu), the dependency will only appear in the IntelliJ IDEA Project tool window, not in the Gradle projects tool window. Note that the next time you refresh your project, IntelliJ IDEA will remove the added dependency since IntelliJ IDEA considers the Gradle configuration as a single source of truth.

If you selected Use auto-import when you created or imported a Gradle project, then the re-import of the project is done automatically every time you make changes to the project.

Configuring Gradle Composite Build

Before you start configuring your composite build, make sure you have the Gradle version 3.1 or higher configured for your project.

Also, note that there are some restrictions on using a Gradle composite build.

You can use the settings.gradle file to include Gradle builds for your Gradle composite build.

  1. Open the settings.gradle file in the editor.

  2. Using the includeBuild command, specify the location of the builds you want to add as dependencies to your project.

You can also use the Gradle projects tool window to configure your composite build.

  1. Open a Gradle project.

  2. Link other Gradle projects that you want to use for the composite build.

  3. In the Gradle projects tool window, right-click your main project and from the context menu select Composite Build Configuration.

  4. In the Gradle Project Build Composite dialog, select projects that you want to include in your Gradle composite build.

  5. Refresh your main Gradle project.

    IntelliJ IDEA finds the included Gradle projects and treats them as IntelliJ IDEA modules.

Using Gradle source sets

IntelliJ IDEA lets you use Gradle source sets in resolving Gradle projects. The source set is treated as a module in an IntelliJ IDEA project. You can declare a custom source set and IntelliJ IDEA adds it as a module to the project.

  1. Select use separate module per source set when you create or import a Gradle project. Alternatively, click icons general settings svg in the Gradle projects tool window and on the Gradle settings page, select the same option.

  2. IntelliJ IDEA creates a main Source Sets directory that contains two source sets - main and test. For compiling the test sources there is a dependency to the main source set.

    gradle main source set

You can add a custom source set.

  1. Open the gradle.build file in the editor.

  2. Declare a custom source set. (In our example, it's api)

    gradle source sets editor
    (This source set contains interfaces without implementations. The implementations for the interfaces are in the default main source set.)

  3. Open the Gradle projects tool window to see that IntelliJ IDEA added the api source set.

    gradle source sets tool window
    The test source set contains the appropriate dependencies.
    gradle api dependency
    Note that the default main source set has the compile dependency on the output of the api source set. Gradle will invoke the apiClasses task automatically if you compile the sources in the main source set.
    gradle source sets main tool window

  4. Open project structure (projectStructure). Notice that all source sets are represented as separate modules that are grouped into a single module.

    gradle source sets project structure
    If you click on the test module and select the Dependencies tab, you will see a list of dependencies for the source set.
    gradle source sets dependencies

You can also add custom tests and run them separately from the main ones using a source set feature.

  1. Declare a source set the same way as you would declare the custom source set. Besides the name of you source set, specify the output directory and the task that will run you test.

    gradle integration tests

  2. In the Gradle projects tool window, click Tasks | other.

  3. In the list that opens, double-click the integrationTest to run your integration tests.

    gradle run integration test

Using buildSrc

If you have a large Gradle script that includes several Java, Groovy, or Kotlin classes, you can move such classes to the buildSrc directory and refer to them from your main Gradle script. In this case you ensure the readability of the build.gradle file.

  1. If you don't have and existing buildSrc, add it as a Gradle module to your main project.

    gradle buildSrc dir

  2. Open your main build.gradle file in the editor and move the classes you need to the main subdirectory of the buildSrc directory.

    gradle groovy class

  3. Run your task from your project's build.gradle file.

    gradle main build file

Delegating build and run actions to Gradle

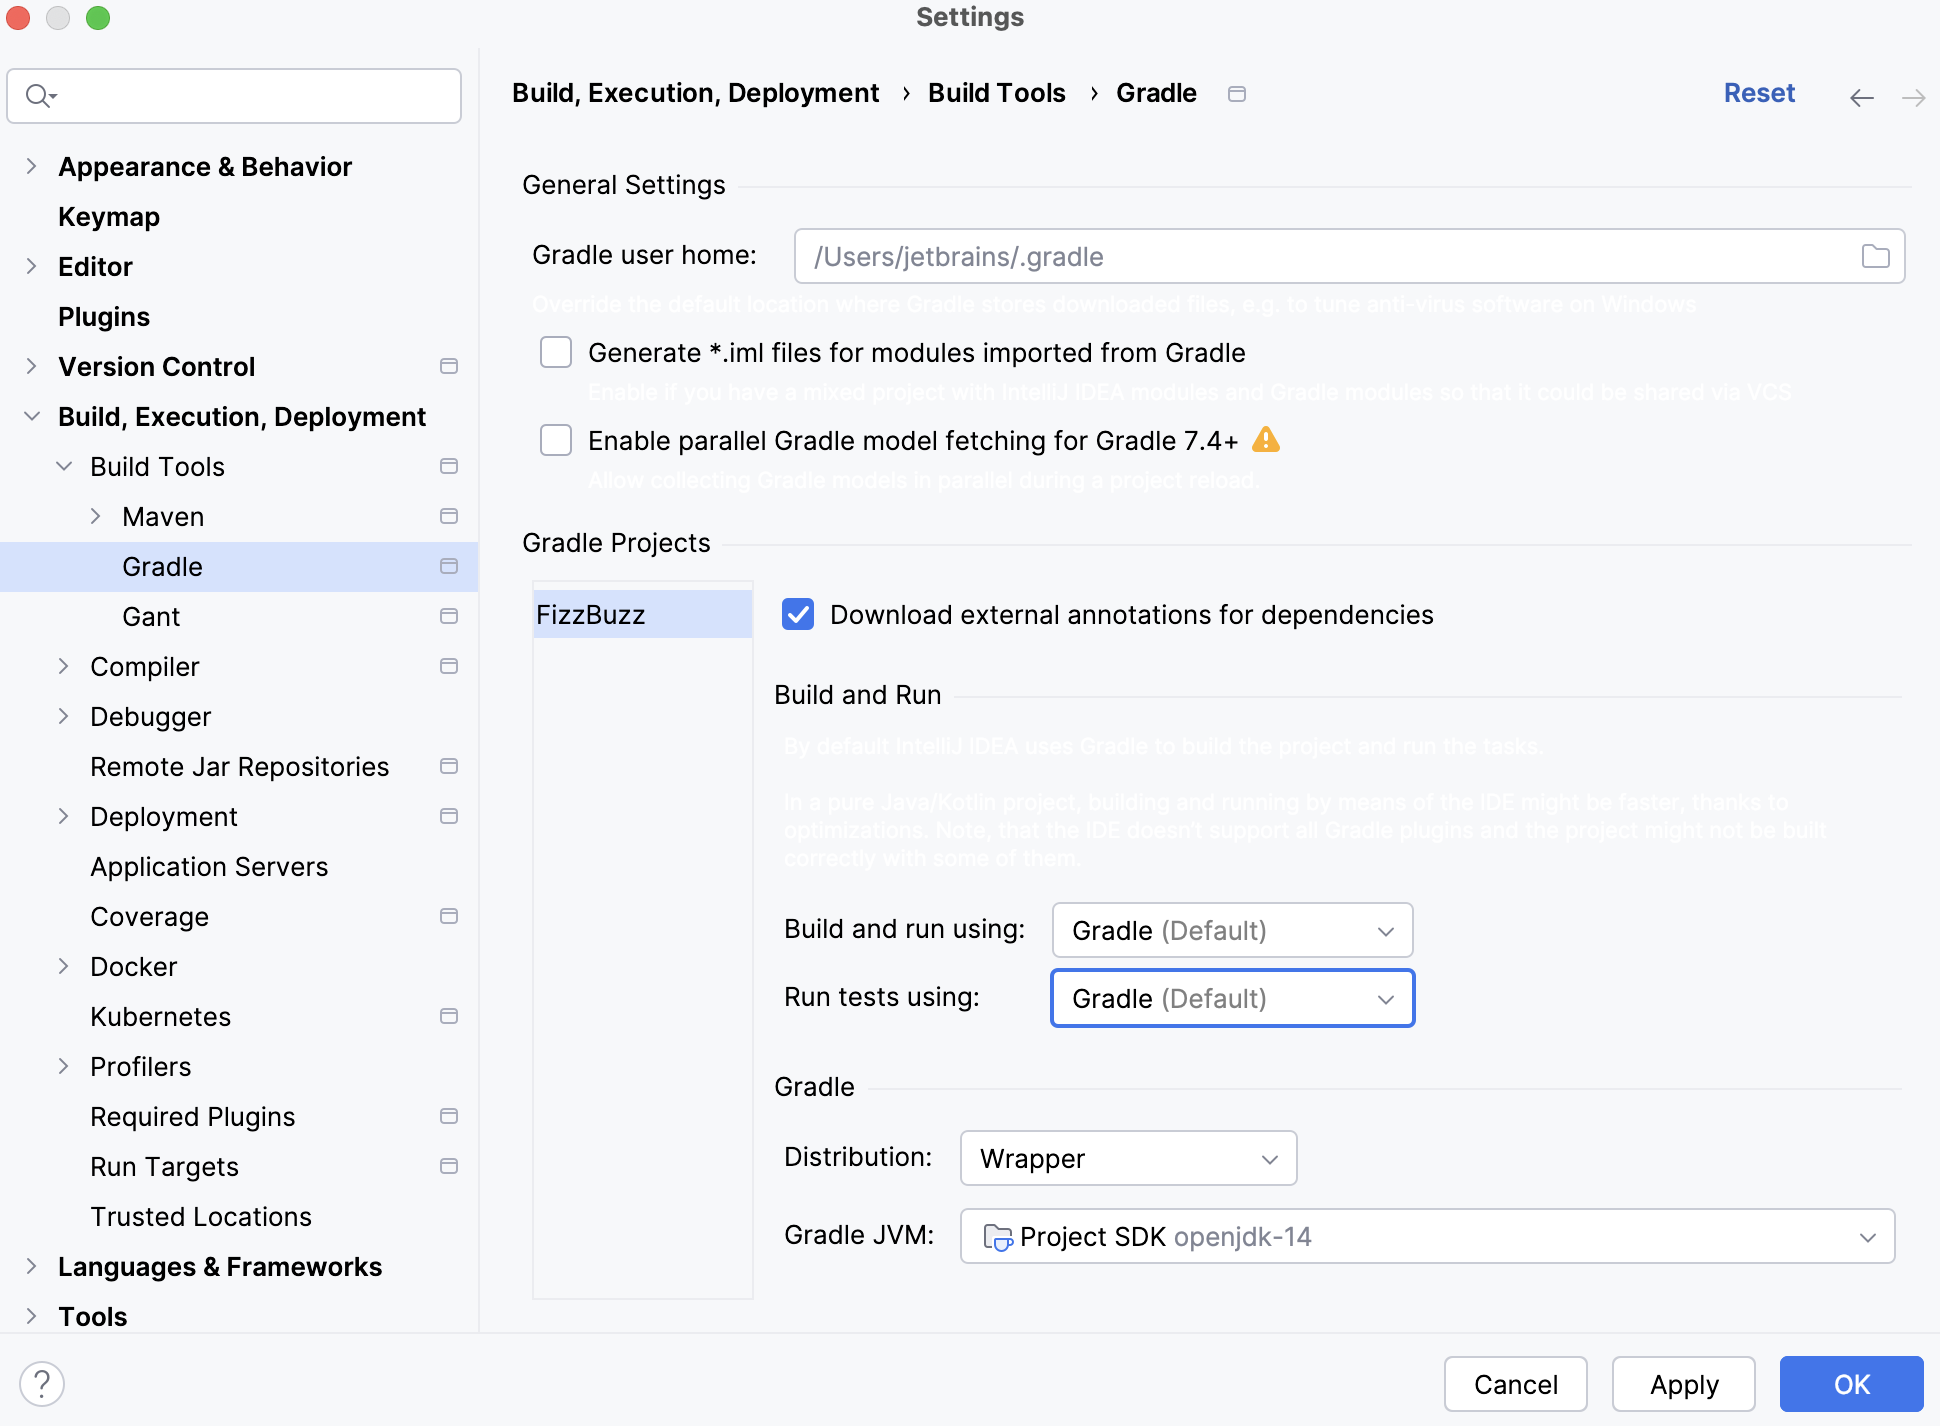
IntelliJ IDEA lets you delegate all your build and run actions to Gradle. When you build a project (Build | Build Project), IntelliJ IDEA invokes the correct tasks using Gradle. Also, the Run and Debug actions from the Run menu are executed with Gradle.

  1. Click icons general settings svg in the Gradle projects tool window. Alternatively, on the main menu select File | Settings | Build, Execution, Deployment |Build Tools |Gradle.

  2. Click Gradle and from the drop-down list, select Runner.

  3. On the Runner page, select Delegate IDE build/run actions to Gradle.

    gradle delegate ide run to gradle
    Note that the Run test using option stays active and you can select how you want to run your tests even if you delegated all build and run actions to Gradle.

  4. Click OK.

  5. Open any Java project with the build.gradle file.

  6. Invoke the Build Project action (Ctrl+F9). Gradle compiles the code and displays it in the Run tool window.

    gradle build

  7. Run your main method (Ctrl+Shift+F10). You can see that IntelliJ IDEA uses the Gradle JavaExec task to run the class.

    gradle running main method

IntelliJ IDEA also lets you build WAR or EAR artifacts using Gradle.

  1. Create a Gradle Web project. (For more instructions, see Creating a Gradle project.)

    gradle web project

  2. Create the Tomcat server run/debug configuration.

    gradle tomcat run debug config

  3. Click the Deployment tab and add an artifact for your deployment.

    gradle deployment artifact

  4. Click icons toolwindows toolWindowRun svg to start the Tomcat server configuration.
    In the Run tool window you can see that the artifact is built by Gradle and deployed by the IntelliJ IDEA Tomcat's integration.

    gradle web deployment

Configuring and using a Gradle test runner

IntelliJ IDEA lets you use different test runners to execute tests in a Gradle project. You can use JUnit to run your tests. In this case tests are run much faster due to the incremental compilation. You can delegate the testing process to Gradle. In this case when you run your tests, you will get the same results on the continuous integration (CI) server. Also, no matter how difficult your Gradle project is, tests that are run in command line will always work in IDE. You can also decide which test runner to use specifically per each test.

  1. In the Gradle projects tool window, click icons general settings svg.

  2. In the Settings dialog, right-click Gradle and from the drop-down list, select Runner.

  3. On the page that opens, in the Run test using drop-down list, select an option that you want to use for your test run.

    gradle test runner
    (The default value is Platform Test Runner.)

  4. Click OK.

  5. In your Gradle project, in the editor, create or select a test that you want to run.

  6. From the context menu, select Run <test name>.
    Alternatively, click the icons toolwindows toolWindowRun svg icon in the left gutter.

    gradle run test gutter

  7. Depending on what you chose as your test runner, IntelliJ IDEA runs your tests in one of the following ways:
    • If you selected Platform Test Runner, IntelliJ IDEA runs tests using a JUnit test runner and displays the output in the Run JUnit tool window.

      platform test runner output

    • If you selected Gradle Test Runner, IntelliJ IDEA runs tests using a Gradle test runner and displays the output in the Run Gradle tool window.

      gradle test runner output
      You can also select Run 'name()' with coverage to see the code coverage for your test.
      gradle test coverage
      It works for the platform test runner as well as for the Gradle test runner.

    • If you selected Let me choose per test, IntelliJ IDEA lets you choose between JUnit or Gradle to run your test.

      gradle choose per test
      Once you have selected the test runner, IntelliJ IDEA will remember your selection and automatically will run your test using the option you've chosen.

    You can change your selection, in the Runner settings page.

If the Let me choose per test option is selected and you decide to debug your test (select Debug 'test name' from the context menu in the gutter), IntelliJ IDEA clears the Enable Gradle script debugging option located inside the Run/debug configuration and disables the breakpoints in Gradle scripts.

Enable Gradle script debugging
This is done to speed up your debugging process. You can manually enable or disable breakpoints in the Gradle scripts by selecting or clearing the Enable Gradle script debugging option.

Running internal Gradle test suits

Sometimes, in the multi-module projects you might want to see information about Gradle internal tests suites.

For example, when tests are run in parallel, you can make IntelliJ IDEA display the information about the tests processes. IntelliJ IDEA also displays how many of those processes are working simultaneously.

Run tool window
  1. In the Run tool window, click the Settings icon and select Show internal Gradle test suits.

  2. Rerun the tests to see the test results that include the Gradle internal ones.

Working with Gradle tasks

IntelliJ IDEA lets you create, debug and manage Gradle tasks in your project.

Running Gradle tasks

IntelliJ IDEA lets you run Gradle tasks using several different ways such as using a toolbar in the Gradle tool window, using a run configuration, using a context menu, and even run several tasks using one run configuration.

Moreover, when you work in the distraction-free mode (without toolbars and tool windows), you can run Gradle tasks or commands from the Run Anything window. Press Ctrl twice to open it, type your command and press Enter.

Run Anything

You can check the Mastering shortcuts section for more information.

Running a Gradle task from the Gradle toolbar

  1. In the Gradle projects tool window, on the toolbar, click gradle icon.

  2. In the Run Gradle Task dialog, in the Command line field, start entering the name of your task. You can see that IntelliJ IDEA displays the list of Gradle tasks from which you can select the appropriate one. Click OK.

    gradle run task from toolbar

  3. IntelliJ IDEA runs the selected task and displays the result in the Run tool window.

    gradle task run result
    IntelliJ IDEA also saves the task in Gradle projects under the Run Configurations node.
    gradle run config task save

Running a Gradle task via Run Configurations

  1. Open the Gradle projects tool window.

  2. Right-click the task for which you want to create the Run configuration.

  3. From the context menu select Create 'task name'.

    gradle run config create

  4. In Create Run/Debug Configuration: 'task name', specify the task settings and click OK.

    run debug gradle task
    IntelliJ IDEA displays the task under the Run Configurations node.
    gradle run config task display

  5. Double-click the task to run it or right-click the task and from the context menu select Run.

    gradle config task run

Running a Gradle task from the context menu

  1. Open the Gradle projects tool window.

  2. Right-click a task that you want to run.

  3. From the context menu select Run 'task name'.

    gradle task run from menu

Running several Gradle tasks with one Run/Debug configuration

  1. Select Run | Edit Configurations (Shift+Alt+F10).
    The Run/Debug Configurations dialog opens.

  2. In the Run/Debug Configurations dialog, click Add icon and select Gradle to add a new configuration.

    gradle run debug config add

  3. On the right side of the Run/Debug Configurations dialog, in the Name field, enter the name of your configuration.
    As an example, specify the following settings:
    • Gradle project - click gradle registered projects button and select the registered Gradle project.

      gradle select registered project

    • Tasks - specify tasks you want to execute with this configuration. You can run more than one task.
      For example, specify clean and build.

    • VM options - you can customize VM options. For example, specify -Xmx3g.

    • Arguments - you can specify Gradle command line parameters. For example, specify --debug.

    gradle run debug config settings
  4. Click OK.
    The created configuration is added to the Run Configurations node in the Gradle Projects tool window and is treated as a Gradle task.

  5. Double-click the configuration to run the task or right-click the configuration and select Run.

    gradle run configuration

Debugging Gradle tasks and scripts

You can debug Gradle tasks and scripts the same way you debug your regular applications.

You can start the debug session from the editor or from the Gradle projects tool window.

Debug a Gradle script task

  1. Open your build.gradle in the editor.

  2. Set your breakpoints and in the left gutter right-click the Run ( artwork studio icons shell toolbar run dark) icon. From the context menu, select Debug <name>.

    gradle debug script

  3. IntelliJ IDEA starts the debugging session and you can check the results in the Debug tool window.

    gradle debug tool win

Use the Gradle projects tool window to debug Gradle tasks that implement the org.gradle.process.JavaForkOptions interface, for example, test or run.

Debug a Gradle task

  1. In the Gradle projects tool window, in the Tasks area, double-click a Gradle project.

    The list of tasks opens.

  2. In the list of tasks, select the task which you want to debug, right-click it and from the context menu select Debug.

    The debugging process is started and the task is added to the list of the recent tasks located under the Run Configurations node.

Assigning a shortcut to a Gradle task

IntelliJ IDEA lets you assign shortcuts to Gradle tasks that can be run in several ways and execute those tasks with a single key-stroke. You can also assign a shortcut to the Gradle run/debug configuration that can contain more than one task.

  1. In the Gradle projects tool window, right-click the desired task.

  2. From the context menu, choose Assign Shortcut.

    gradle assign shorcut
    The Keymap dialog opens.

  3. In the Keymap dialog, under the Gradle node navigate to your task.

    gradle task in keymap dialog

  4. Right-click the task and from the list that opens, select a type of the shortcut you want to assign.

    gradle add shorcut options

  5. In the dialog that opens, depending on the shortcut's type, configure your shortcut and click OK.
    In our case let's add a keyboard shortcut.

    gradle keyboard shortcut
    You can see that the shortcut is displayed against your task in the Gradle projects tool window.
    gradle shortcut displayed

While in the Keymap dialog, you can add a new task to which you want to assign a shortcut.

  1. In the Keymap dialog, under the Gradle node, click Choose a task to assign a shortcut.

    gradle choose task while in keymap dialog

  2. In the dialog that opens, select a task you need and click OK.

    gradle select task keymap
    The task is added to the list under the Gradle node. Now you can configure the shortcut.

Configuring running triggers for Gradle tasks

IntelliJ IDEA lets you run Gradle tasks before your project's execution or set other conditions using the task activation configuration.

  1. In the Gradle projects tool window, right-click a Gradle project.

  2. On the context menu, select Task Activation.

  3. In the Task Activation dialog, click Add icon.

  4. On the Choose activation phase menu, choose when to run your task, for example, Before Build, After Sync, etc.

  5. On the Choose task menu, select the actual task.

    The task and activation phase will be added to the list in the Task Activation dialog. You can also see the activation phase name against the selected task in the Gradle projects tool window.

Alternatively, you can select the activation phase name from the context menu when you right-click the task you want to execute in the Gradle projects tool window.

You can also create a run/debug configuration that would depend on a Gradle task.

  1. On the main menu, select Run | Edit Configurations to open the run/debug configuration for your project.

  2. In the Run/Debug Configurations dialog, in the Before Launch section, click the icons general add icon.

  3. In the list that opens, select Run Gradle task.

  4. In the Select Gradle Task dialog, specify the project and the task that you want to execute before launching the project. You can specify a Gradle linked project or any other Gradle project. Note that if your Gradle project is not linked then IntelliJ IDEA will use the default configurations (for example, a bundled Gradle version) to run the task.

  5. Click OK.

Last modified: 1 February 2019

See Also

Language and Framework-Specific Guidelines:

External Links: