Getting Started with Heroku
IntelliJ IDEA provides the ability to deploy your application to Heroku without using a command-line interface. You can deploy, redeploy and remove cloud applications right inside the IDE.
Prerequisites
The following prerequisites should be met before working with Heroku in IntelliJ IDEA:
The Heroku user account is created.
The Heroku integration plugin is installed. See Managing plugins to learn how to do this.
Add the Heroku user account to IntelliJ IDEA
First of all, you need to add the existing Heroku account to IntelliJ IDEA:
-
Open the Settings/Preferences dialog (Ctrl+Alt+S) and select .
-
Click the
 button and select Heroku.
 -
Specify the credentials for your Heroku account:
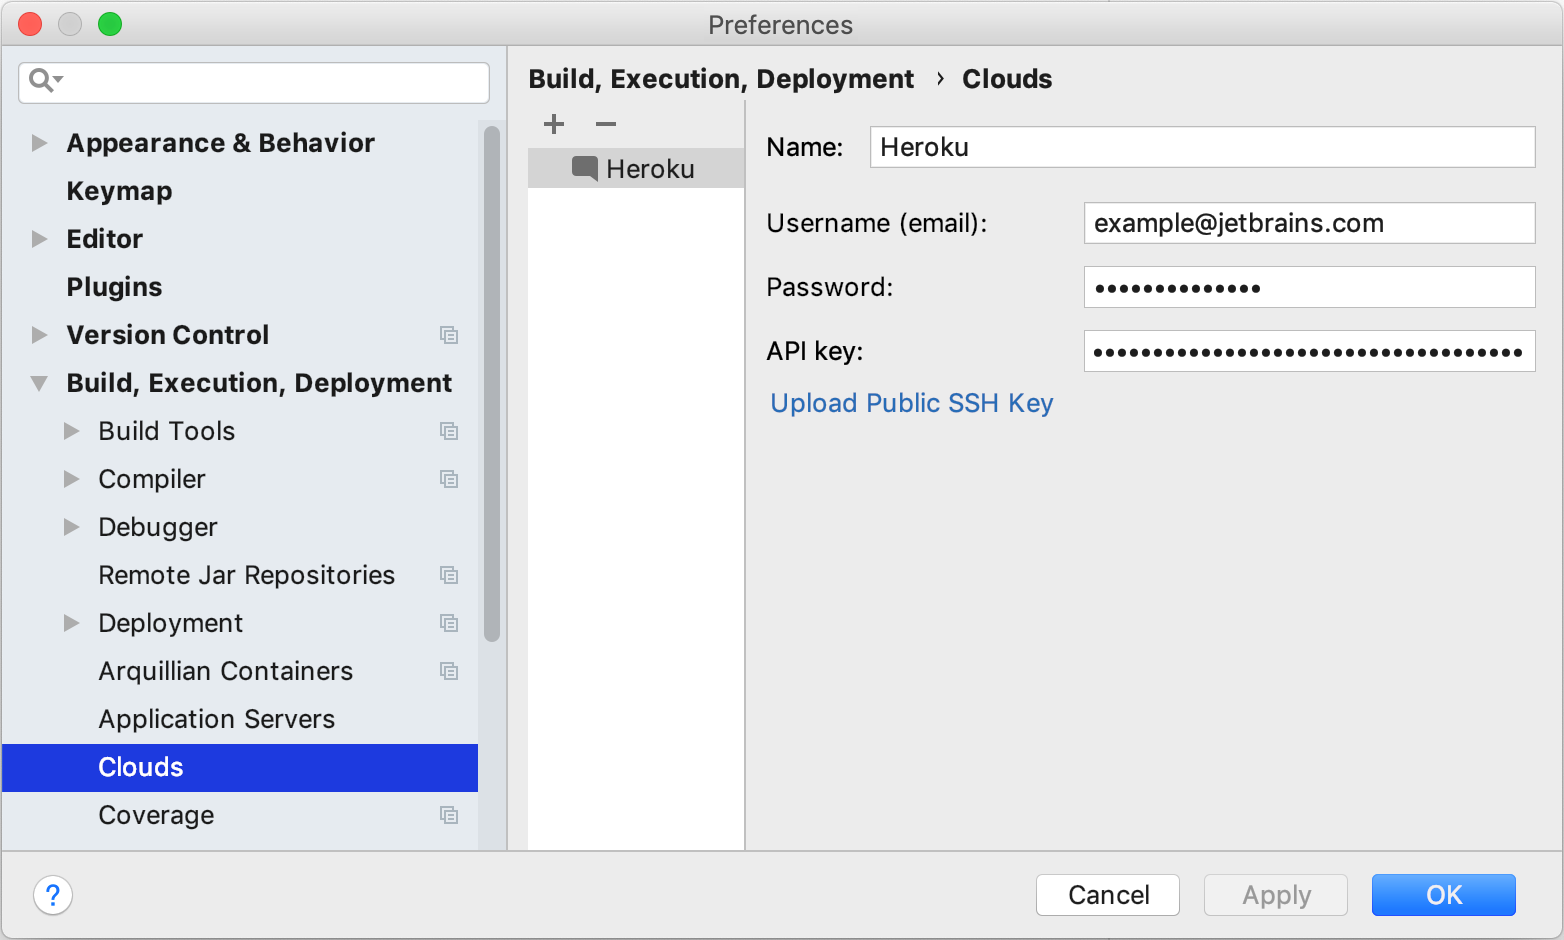
Name - Specify the server name. This name will be used later to create the Heroku deployment configuration.
Username (email) - Specify the e-mail address.
Password - Specify the account password.
API key - Specify the API key generated for your account.
-
Make sure that the Connection successful message is displayed. Then, click OK.
Create the Heroku deployment configuration
Before deploying your application to Heroku, you need to create the Heroku deployment configuration:
-
Select from the main menu.
-
Click the
 button (Alt+Insert) and select Heroku Deployment from the popup.
 -
Specify deployment settings:
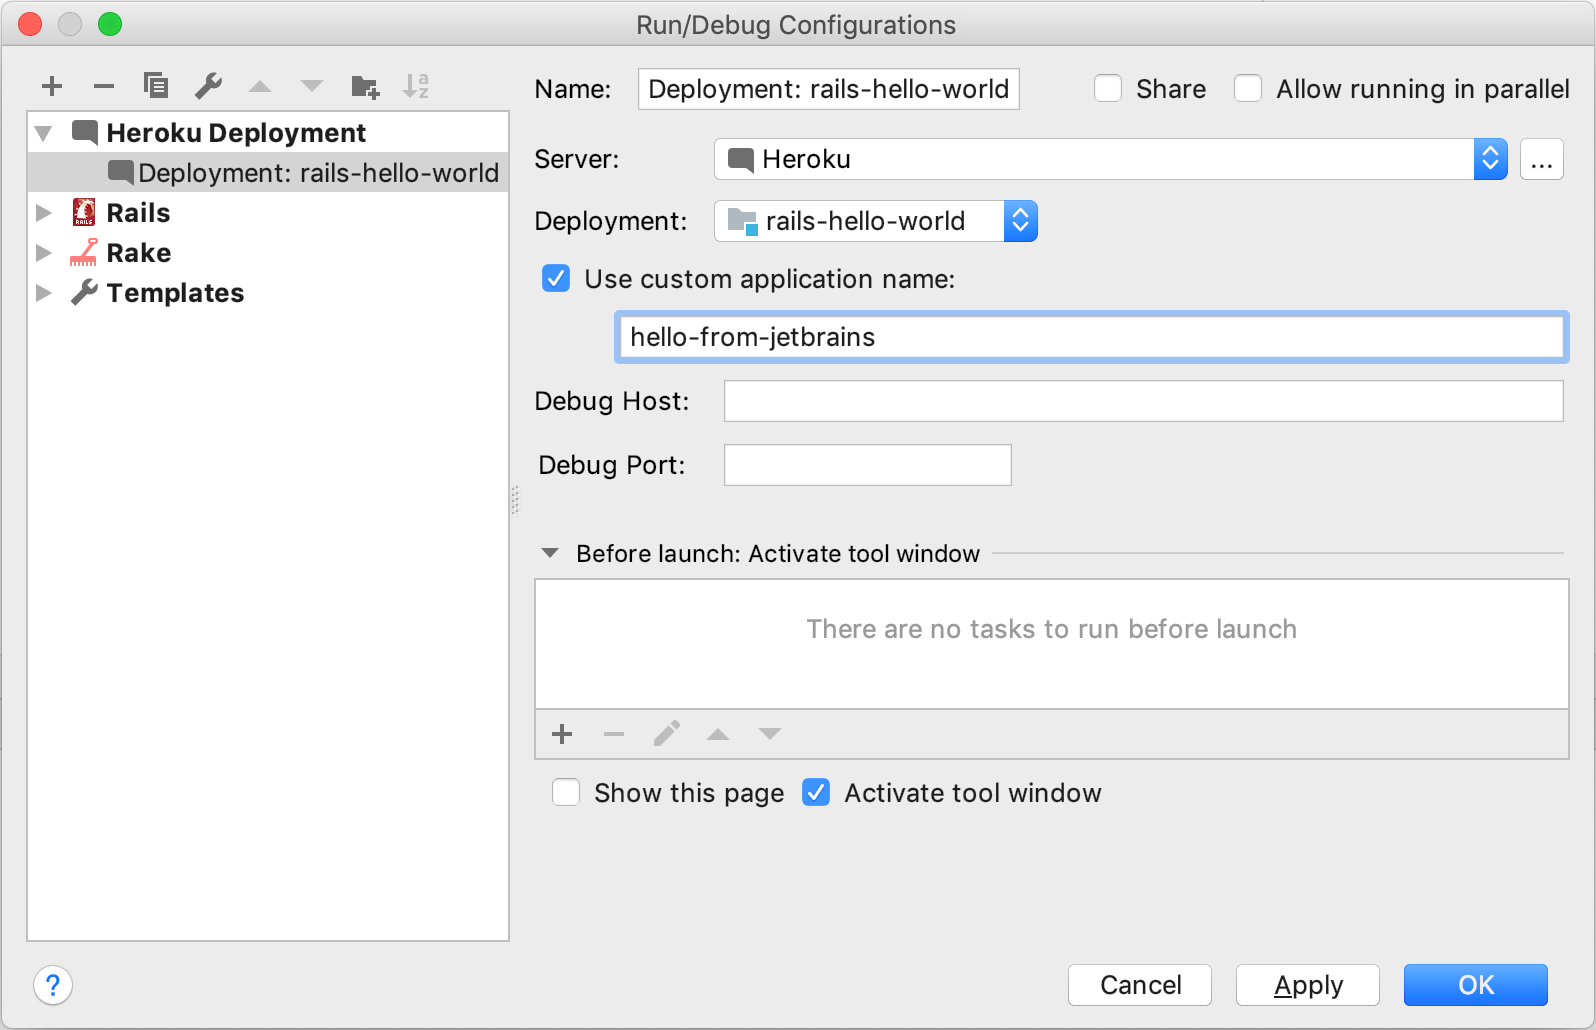
Name - Specify the deployment configuration name.
Server - Make sure that the server created in the previous paragraph is selected.
Deployment - Select the project to be deployed.
Use custom application name - Specify the name used to access the application.
-
After you have specified all the required settings, click OK.
Deploy the application
After creating the deployment configuration, we are ready to deploy the application:
-
Press Ctrl twice and start typing the deployment configuration name.
-
Select the configuration from the list and press Enter.

-
In the Commit and Push dialog, write the commit message and click Push without Commit.
-
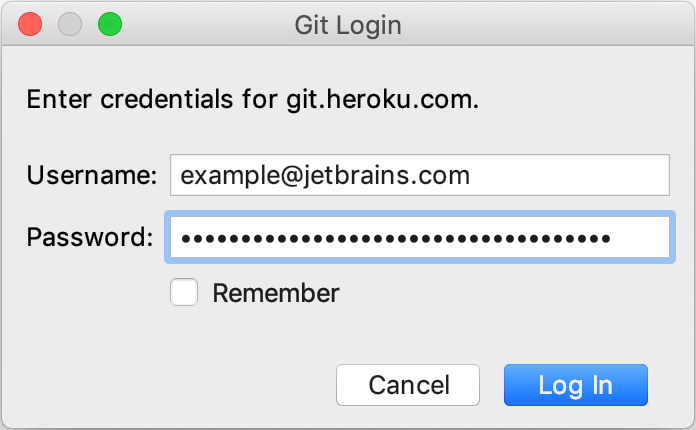
In the Git Login dialog, specify any Username. Copy and paste your Heroku API key to the Password field. Click Log In.
-
Wait until the application is deployed. You can watch the process in the Application Servers window.

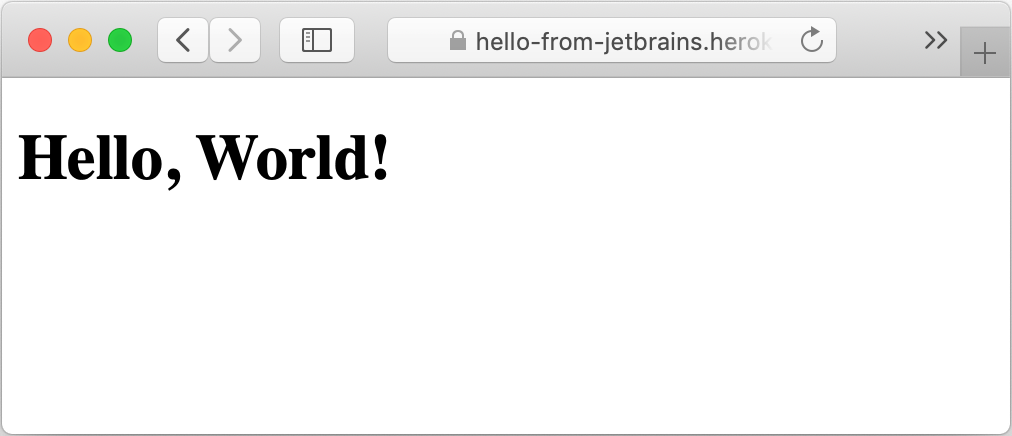
After deploying the application, click the link to open it in a browser.
Redeploy the application
To publish the changed version of your application:
-
In the Application Servers window, right-click your application and select Redeploy.

-
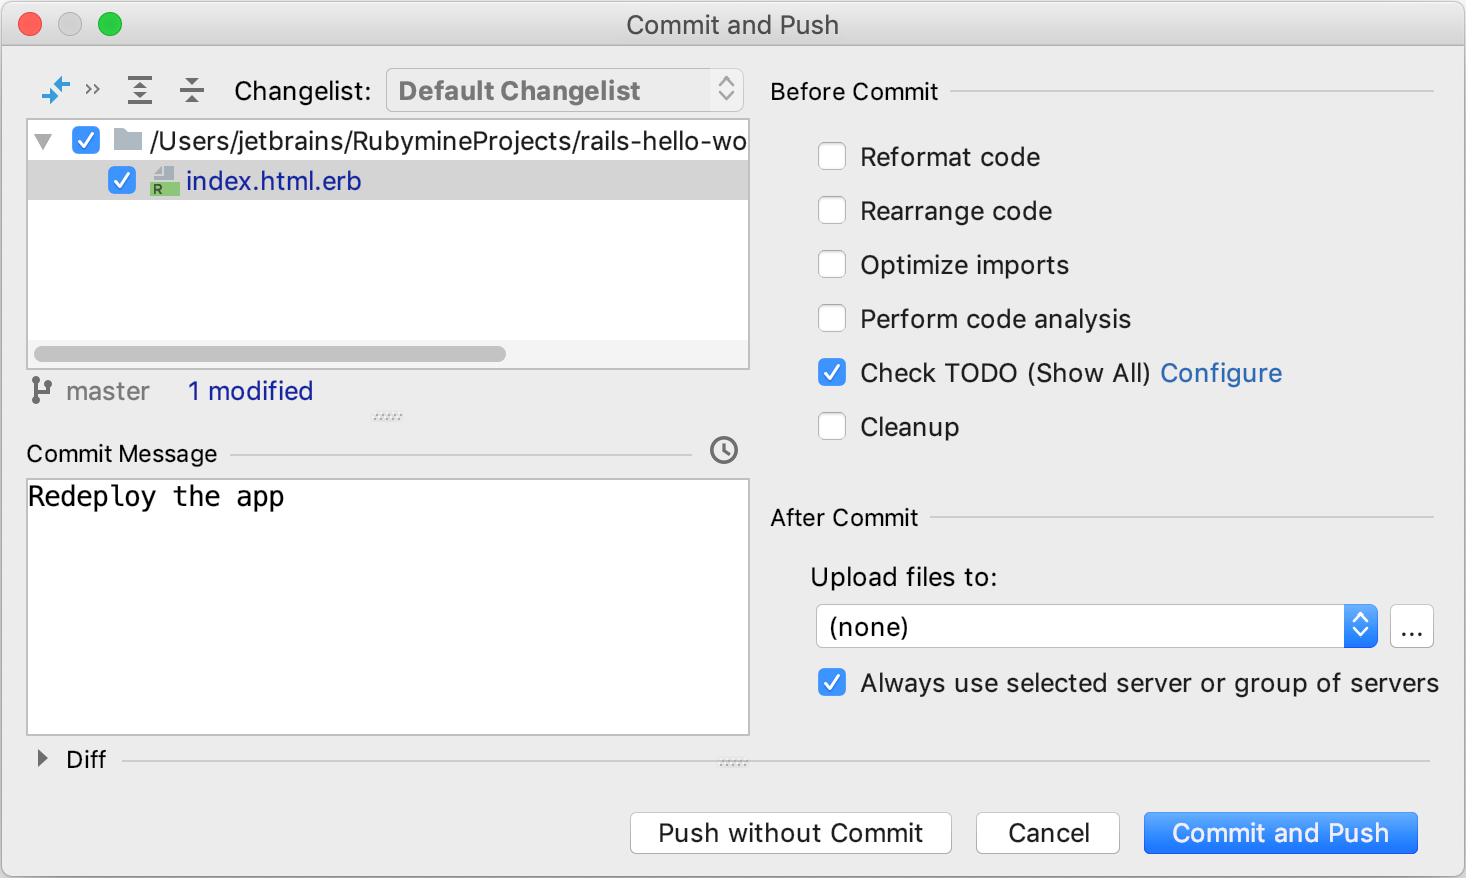
In the Commit and Push dialog, write the commit message and click Commit and Push.
-
(Optional) In the Git Login dialog, specify any Username. In the Password field, enter the Heroku API key. Click Log In.

-
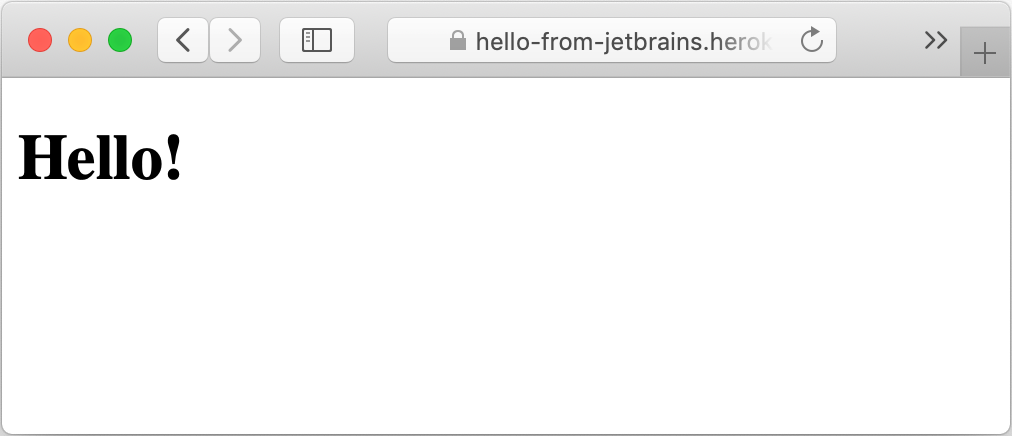
After deploying an application, switch to the web browser and reload the page to see the changes.
Delete the application
To delete your application along with its source code from Heroku, do the following:
In the Application Servers window, right-click your application and select Undeploy.
-
In the opened dialog, enter your Heroku password and click OK.

-
Open the web browser, refresh the application’s page and make sure that your application is unavailable.
