Cucumber.js
Cucumber.js is a test framework for behavior-driven JavaScript development. Cucumber.js tests are written in the human-readable Gherkin language and are stored in feature files that have the feature extension. IntelliJ IDEA integrates with Cucumber.js and recognizes features written in Gherkin so you can run Cucumber.js test right from the IDE.
Before you start
Download and install Node.js.
Install the Cucumber.js and Gherkin repository plugins on the Plugins page as described in Managing plugins.
Installing Cucumber.js
-
In the embedded Terminal (Alt+F12), type one of the following commands:
-
npm install cucumberfor local installation in your project. -
npm install -g cucumberfor global installation. -
npm install --save-dev cucumberto install Cucumber.js as a development dependency.
See also Cucumber.js demo on the Cucumber.js official website.
-
Creating test definitions
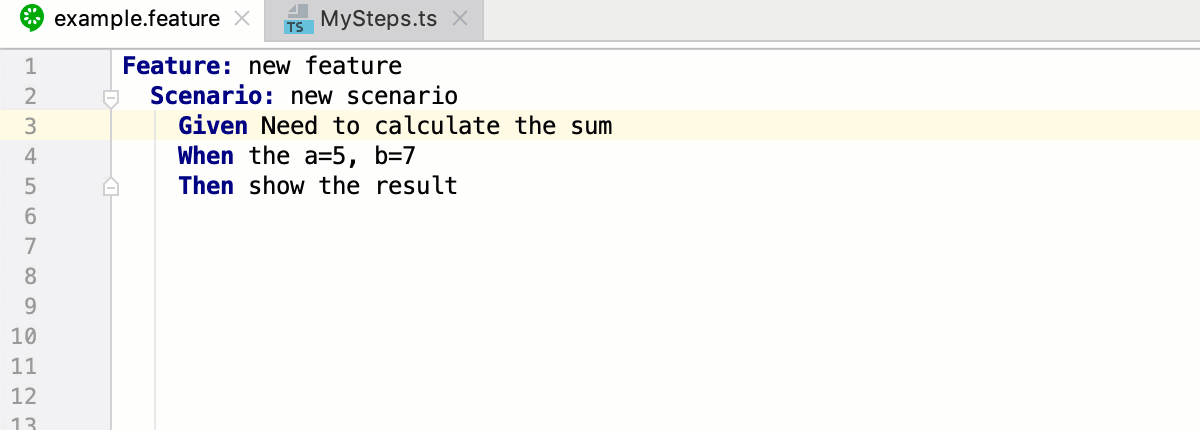
With IntelliJ IDEA, you can write step definitions both in JavaScript and in TypeScript. IntelliJ IDEA detects and highlights the steps where definitions are missing and suggests a quick-fix to generate them.
-
Place the cursor at the step without a definition, press Alt+Enter, and select Create step definition or Create all step definitions.

Alternatively, hover the mouse over the step and use the links in the popup.

-
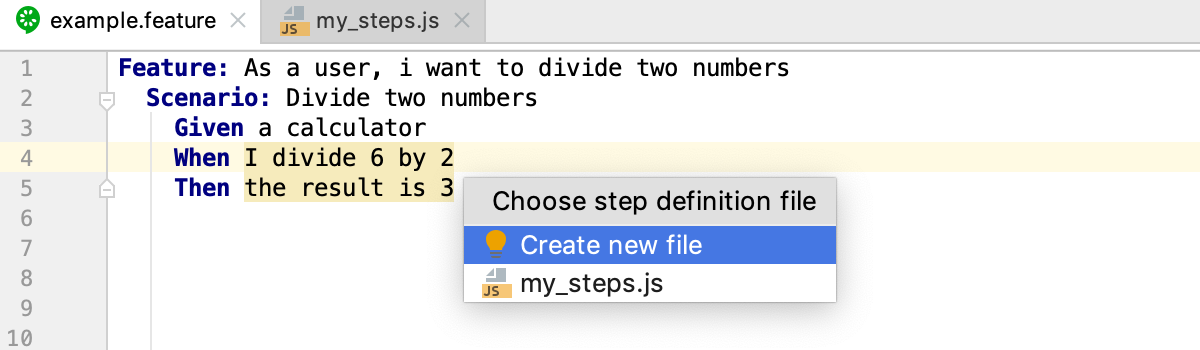
In the dialog that opens, specify the name for the new file, the language to write the definitions in, and the version of Cucumber.js.

If such file already exists, IntelliJ IDEA displays a popup where you have to select a file to add the definition to or choose to create a new file.
Running tests
Cucumber.js tests are launched only through a run/debug configuration.
Create a Cucumber.js run configuration
-
Open the Run/Debug Configuration dialog ( on the main menu), click
 in the left-hand pane, and select Cucumber.js from the list. The Run/Debug Configuration: Cucumber.js dialog opens.
 -
In the Feature file or directory field, specify the tests to run. Type the path to a specific .feature file or to a folder, if you want to run a bunch of features.
-
Specify the Node.js interpreter to use. This can be a local Node.js interpreter or a Node.js on Windows Subsystem for Linux.
-
In the Cucumber package field, specify the path to the folder where the cucumber package is stored.
-
Specify the working directory of the application. By default, the Working directory field shows the project root folder. To change this predefined setting, specify the path to the desired folder or choose a previously used folder from the list.
- Optionally:
In the Name Filter field, type the name of a specific scenario to run instead of all the scenarios from the feature file or directory.
Specify the command line arguments to be passed to the executable file, such as
-r(--require LIBRARY|DIR),-t(--tags TAG_EXPRESSION), or--coffee. For details, see native built-in help available through thecucumber-js --helpcommand.
Run tests via a run configuration
Select the Cucumber.js run/debug configuration from the list on the main toolbar and click
 to the right of the list.
 The test server starts automatically without any steps from your side. View and analyze messages from the test server in the Run tool window.
Monitor test execution in the Test Runner tab of the Run tool window.
Run and debug tests from a test file
-
To run or debug a single test, open the test file in the editor, place the cursor at the scenario to run or debug, and then select or from the context menu.
-
To run or debug all tests from a single test file, open the test file in the editor or select it in the Project tool window and choose or from the context menu.
In either case, IntelliJ IDEA creates a run/debug configuration which you can save and use later.
Running and debugging tests written in TypeScript
-
Create a Cucumber.js run/debug configuration as described above.
-
In the Before launch area, click
, select Compile TypeScript from the list, and then specify the tsconfig.json file to use. IntelliJ IDEA will run the TypeScript compiler with this tsconfig.json before running Cucumber.js. 
-
To debug tests written in TypeScript, open your tsconfig.json and set
"sourceMap": trueto enable source maps.
Navigation
With IntelliJ IDEA, you can jump between a file and the related test file or from a test result in the Test Runner Tab to the test.
Open the file in the editor and select or from the context menu, or just press Ctrl+Shift+T.
-
To jump from a step in a .feature file to the step definition, press and hold Ctrl (or Cmd for macOS), hover over the step, and click the step when it turns into a link.
To jump from a test result to the test, select the test name in the Test Runner tab and choose Jump to Source from the context menu. The test file opens in the editor with the cursor placed at the test definition.
Configuring syntax highlighting
You can configure Cucumber.js-aware syntax highlighting according to your preferences and habits.
-
In the Settings/Preferences dialog (Ctrl+Alt+S), go to .
Select the color scheme, accept the highlighting settings inherited from defaults or customize them as described in Configuring Colors and Fonts.