Database consoles
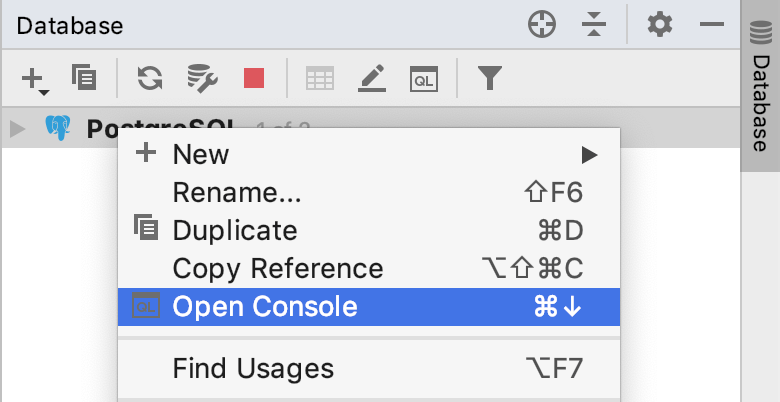
Database consoles are SQL files in which you can compose and execute SQL statements. Unlike scratch files, consoles are attached to a data source. When you create a data source, a database console is created automatically. If necessary, you can create additional consoles.
Create a database console
To create a console, use one of the following actions in the Database tool window ().
Click a data source and select .
Right-click a data source and select .
Click a data source, press Alt+Insert, and select Console.
Click a data source, press Ctrl+Shift+F10, and select New console.
Open a console
In the Project tool window (), navigate to , double-click a console file.
In the Database tool window, click the Jump to console icon (
 ) and select a console.
 Click a data source, press F4, and select the console that you need.

Delete a database console
In the Project tool window (), navigate to .
Expand a data source group that includes your console.
Right-click a console file and select Delete.
Modify console settings
Open a console and click the Settings icon (
 ) of the Hibernate Console tool window of the JPA Console tool window.
 The settings for the JPA Hibernate console are on the following pages:
Change the SQL dialect in a console
Right-click the editing area of the input pane, select Change Dialect (<current_dialect>), and select the necessary dialect.
Disable syntax error highlighting
Right-click the editing area of the input pane, select Change Dialect (<current_dialect>), and select <Generic SQL>. <Generic SQL> supports completion and highlighting for SQL keywords, table and column names. Syntax error highlighting for this option is disabled (statements in the Editor area are shown as syntactically correct).
Rename a database console
In the Project tool window (), navigate to .
Expand a data source group that includes your console.
Right-click a console file and select .
Copy a console file to a new location
In the Project tool window (), navigate to .
Expand a data source group that includes your console.
Right-click a console file and select .
In the To directory field, specify a new location for the file.
Group consoles under the data source directory
In the Project tool window (), navigate to .
Right-click a data source group where you want to create a new directory, select .
Specify a name of the directory.
Select and drag console files to the directory.
In the Move dialog, click OK.
View a console log
Open a console.
Right-click the Editor area and select Local History | Show History.