Add testing libraries
The libraries for JUnit and TestNG are shipped with IntelliJ IDEA, but are not included in the classpath of your project or module by default. Consequently, when a test class is created, the references to the TestCase class or test annotations are not resolved.
To add the necessary library to the classpath, you can use the general procedure of adding a dependency to a module. The corresponding libraries are located in the following directories:
JUnit libraries (hamcrest-core-1.3.jar and junit-4.12.jar): <IntelliJ IDEA directory>\lib.
TestNG library testng-jdk15.jar: <IntelliJ IDEA directory>\plugins\testng\lib.
IntelliJ IDEA can add the necessary library to the classpath automatically. The corresponding features are available when creating a test for a class or when writing the code for a test.
Add a test library when creating a test for a class
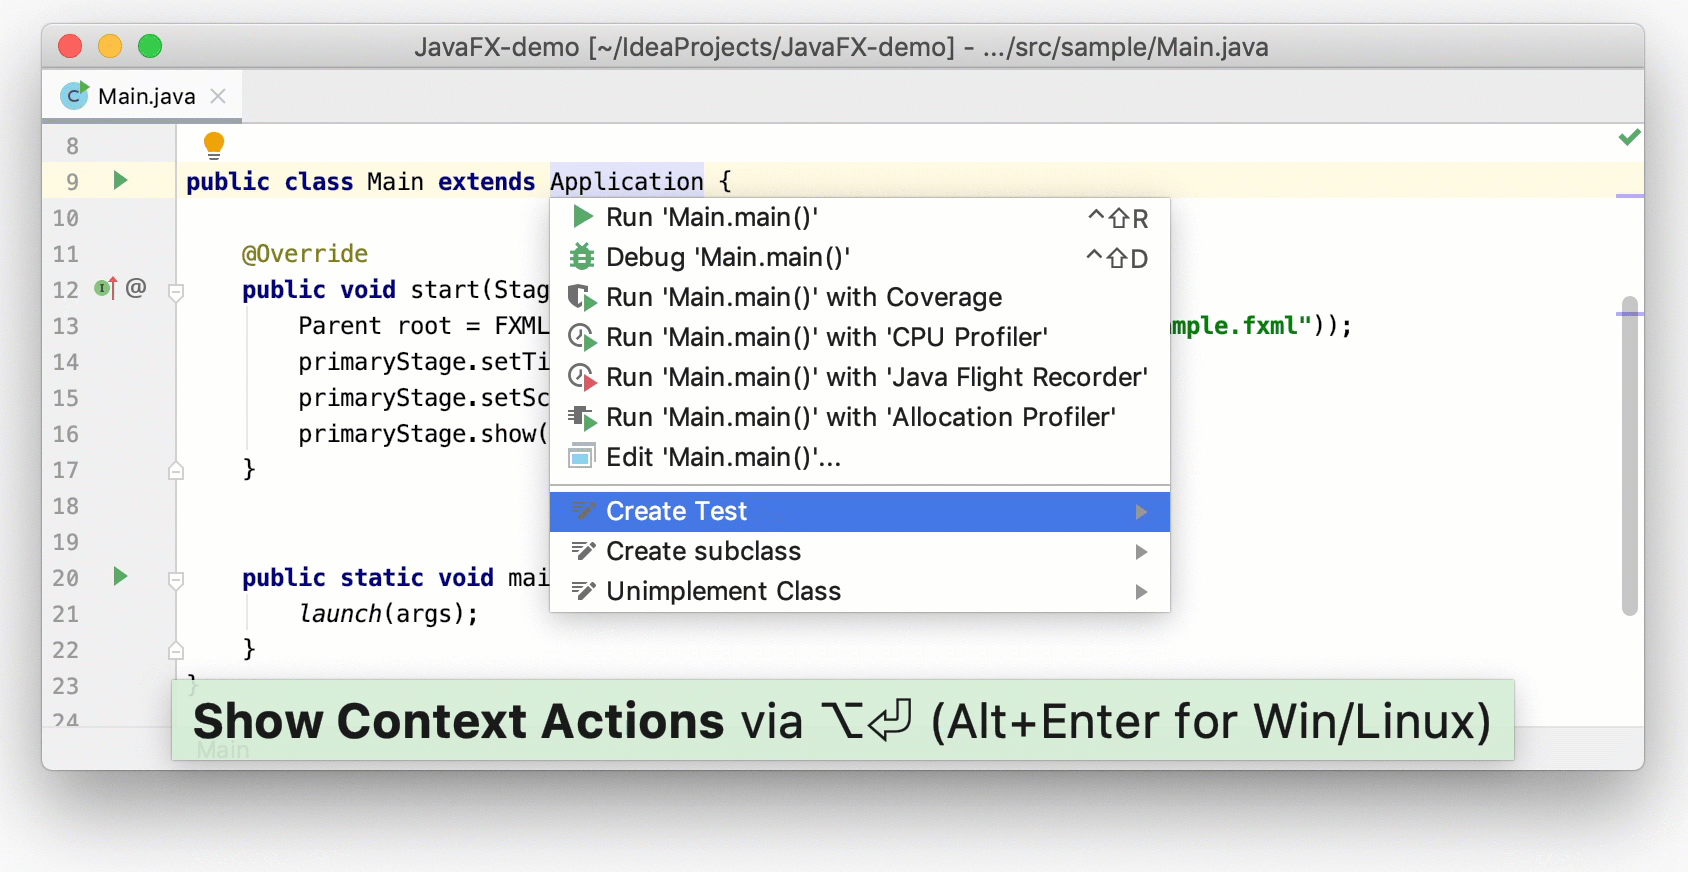
In the editor, place the caret within the line containing the class declaration.
Press Alt+Enter to open the list of available context actions and select Create Test.
In the Create Test dialog, to the right of the text informing you that the corresponding library is not found, click Fix.
Add a test library when writing the code for a test
In the source code of a test class, place the caret within an unresolved reference to
TestCaseor annotation.Press Alt+Enter to open the list of available context actions and select Add <library> to classpath.

Manually add a library to a project
From the main menu, select Ctrl+Shift+Alt+S or click
 on the toolbar.
Select and click
 .
. -
In the dialog that opens, specify the necessary library artifact, for example:
org.junit.jupiter:junit-jupiter:5.4.2.
Apply the changes and close the dialog.