Gradle dependencies diagram
You can work with Gradle dependencies in the diagram format. It might be helpful when you have a large project and want to see the whole picture of how dependencies (including the transitive ones) are connected inside the project.
In the Gradle tool window, on the toolbar, click
 or select the Show Dependencies option from the context menu.
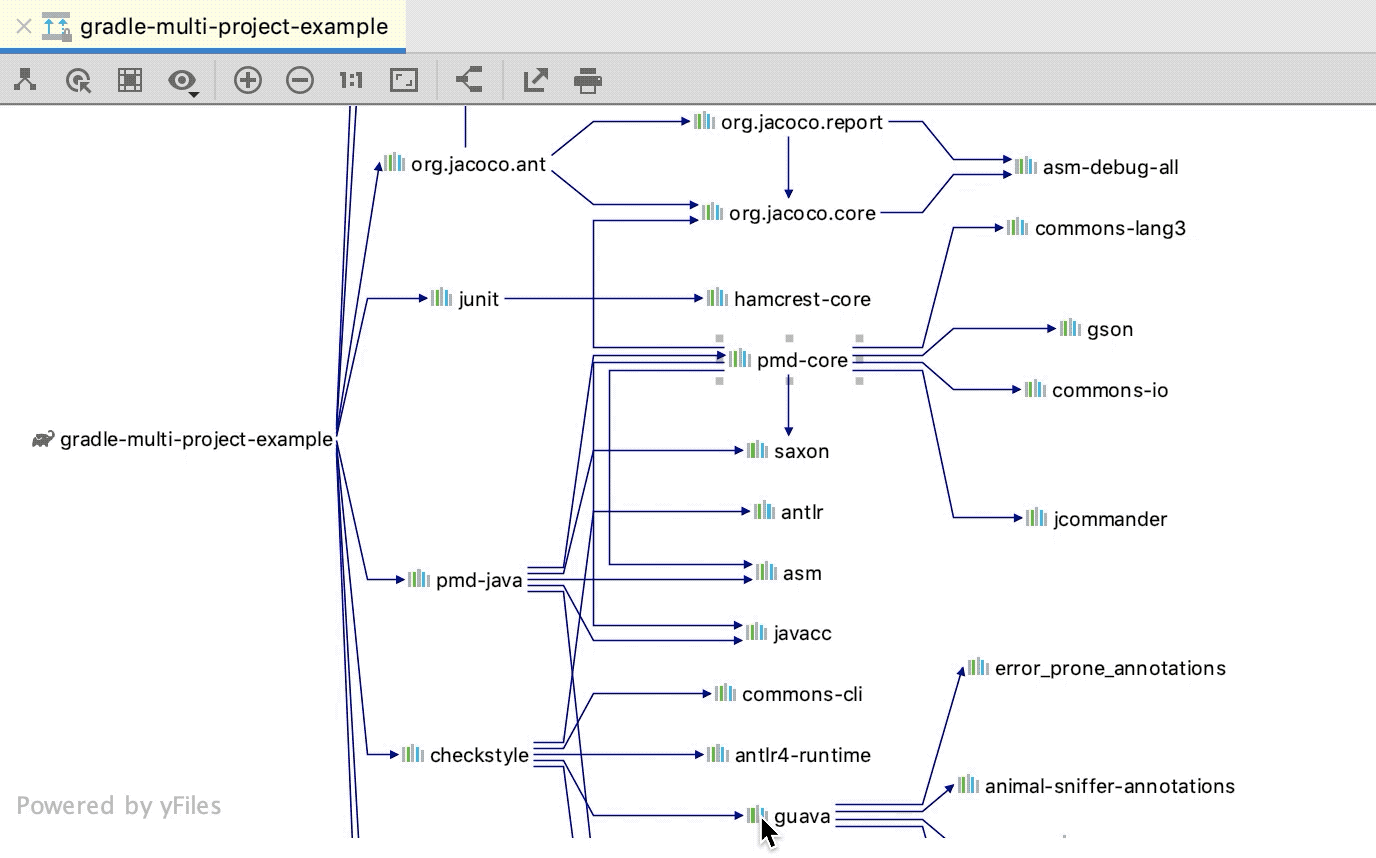
- In the diagram window, IntelliJ IDEA displays all project dependencies including the transitive ones.

When you navigate to a dependency in a graph, IntelliJ IDEA displays its version, group and artifact IDs.

Use the diagram window toolbar to manage the diagram. You can change the size of a diagram, export it to a file, see only a part of the diagram you are interested in, and so on.
Change the visibility level
You can change the visibility level and, for example, view dependencies that have a specific scope (compile, test, and so on).
In the diagram window, select the project and click
 .
. From the list, select the dependency scope you want to see. IntelliJ IDEA displays only the specified dependency scope.
Show path from selection to root
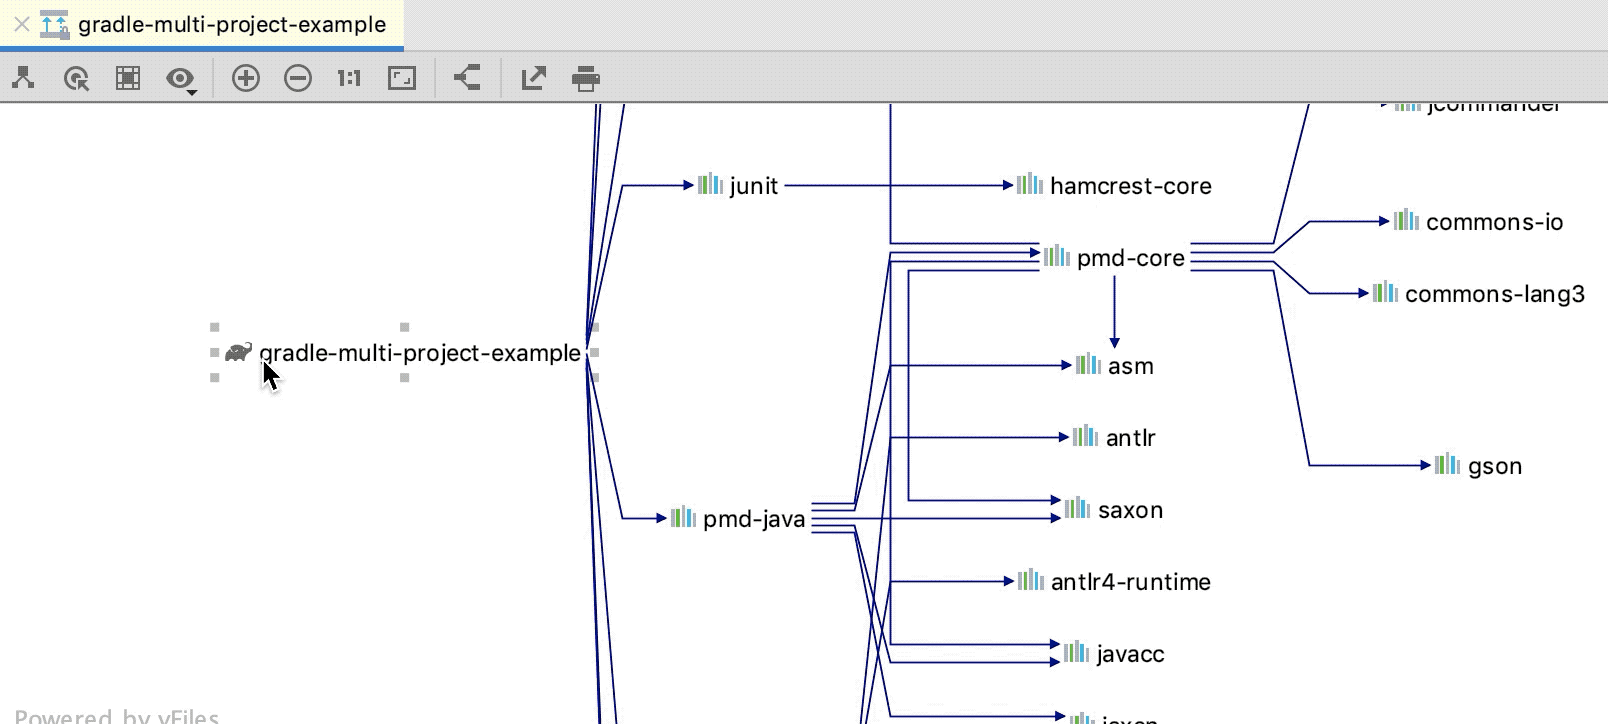
You can select dependencies and see how they are connected to the root.
In the diagram window, select a dependency for which you want to see the connection to a project. If you want to select several dependencies at once, hold down Shift and make the selection.
On the toolbar, click
 .
.
Show neighbors of the selected nodes
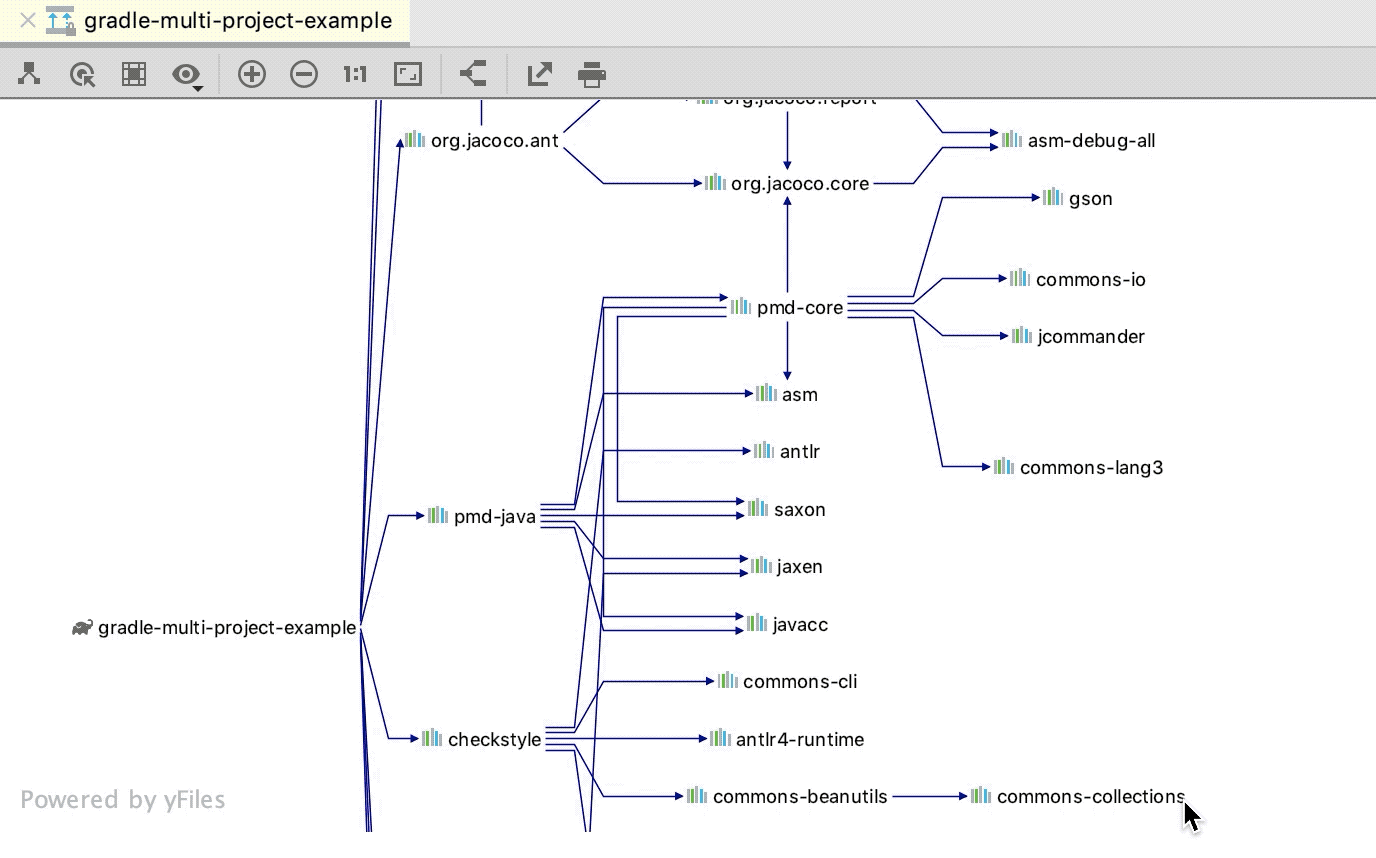
You can select dependencies and see what other dependencies are connected to the selected nodes. It might be helpful if you have a large diagram and want to focus on just a part of it.
In the diagram window, select a dependency you need. If you want to select several dependencies at once, hold down Shift and make the selection.
On the toolbar, click
 .
.