Modules
In IntelliJ IDEA, a module is an essential part of any project – it's created automatically together with a project. Projects can contain multiple modules – you can add new modules, group them, and unload the modules you don't need at the moment.
Generally, modules consist of one or several content roots and a module file, however, modules can exists without content roots. A content root is a folder where you store your code. Usually, it contains subfolders for source code, unit tests, resource files, and so on. A module file (the .iml file) is used for keeping module configuration.
Modules allow you to combine several technologies and frameworks in one application. In IntelliJ IDEA, you can create several modules for a project and each of them can be responsible for its own framework. For more information, refer to Add frameworks (facets).

IntelliJ IDEA modules vs Java modules
In version 9, Java introduced the Java Platform Module System. IntelliJ IDEA had already had a concept of modules: every IntelliJ IDEA module built its own classpath. With the introduction of the new Java platform module system, there appeared two systems of modularity: the IntelliJ IDEA modules, and the new Java 9 modules that are configured using module-info.java. This documentation section describes IntelliJ IDEA modules.
For more information on Java 9 support in IntelliJ IDEA refer to the Support for Java 9 Modules in IntelliJ IDEA 2017.1 and Java 9 and IntelliJ IDEA blog posts.
Projects with multiple modules
IntelliJ IDEA allows you to have many modules in one project, and they shouldn't be just Java. You can have one module for a Java application and another module for a Ruby on Rails application or for any other supported technology.
An application that consists of a client side and a server side is a good example a two-module project.
Add a new module to your project
Right-click the top-level directory in the Project tool window and select . The New Module wizard opens.
From the list on the left, select a module type.
In the right-hand part of the dialog, select an SDK that you want to use from the Module SDK list. You can use the project SDK or specify a new one.
In the Additional Libraries and Frameworks section, select additional assets that you want to use in this module.
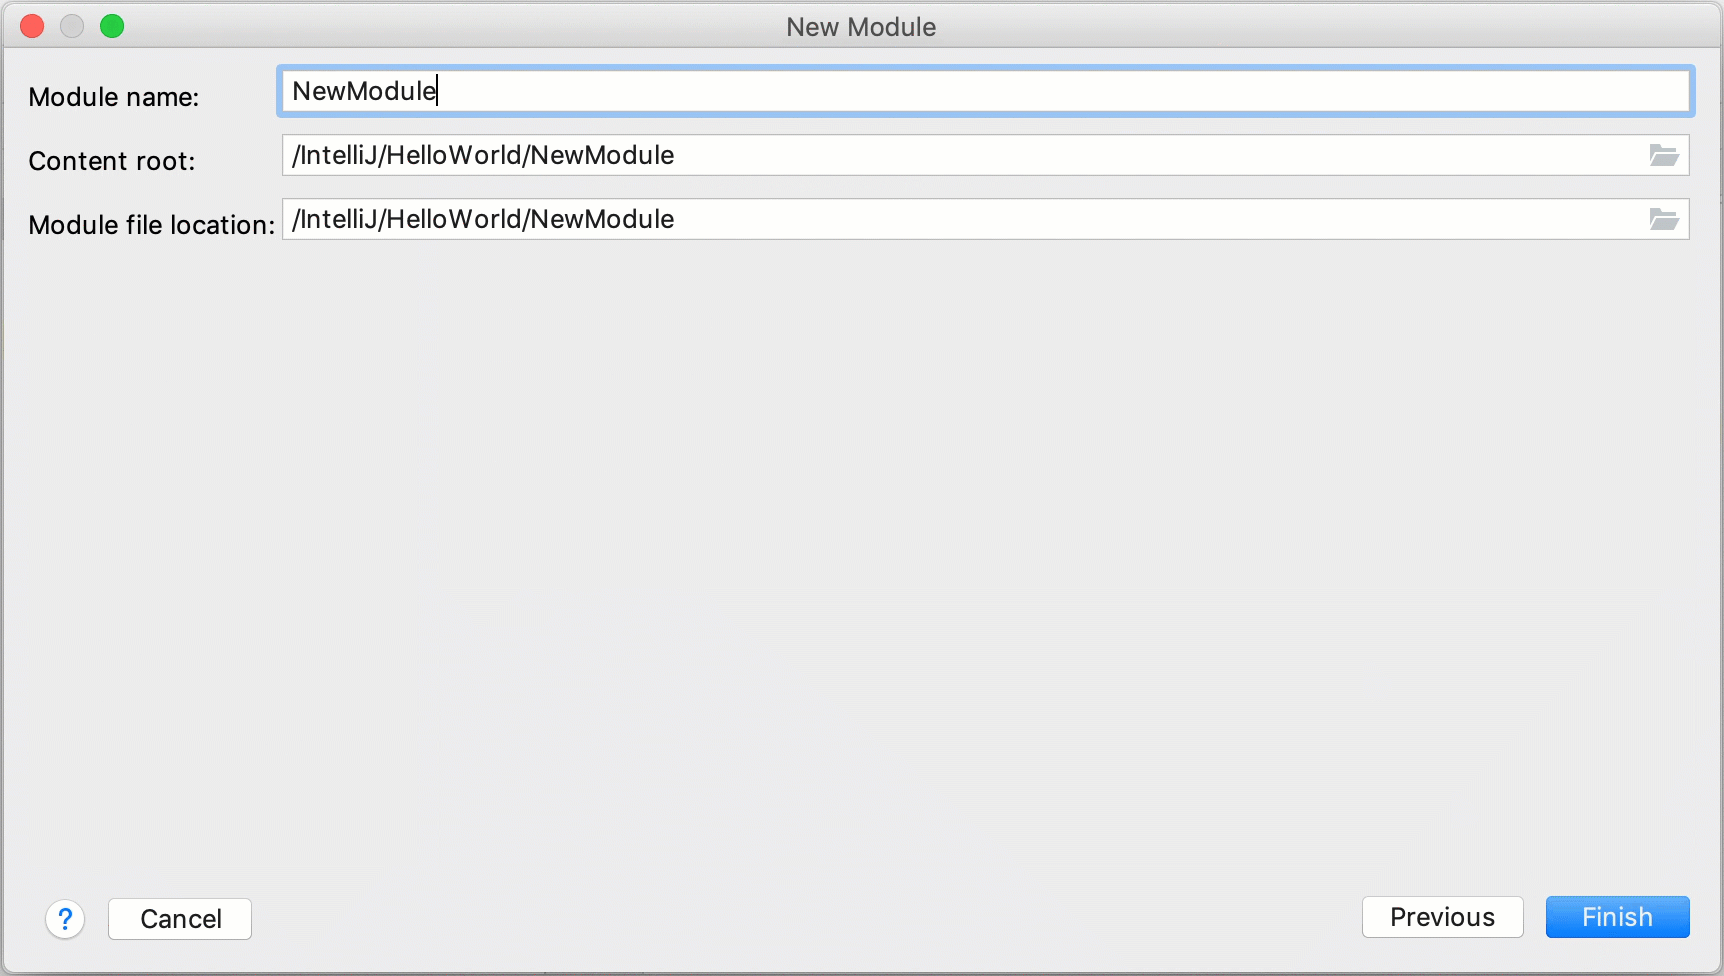
On the next step, name the module and specify the location of the content root and the .iml file. You can place them within or outside of the project.
Click Finish.
Import an existing module to the project
You can import a module and add it your project, or you can use the project as a shared view for multiple individual modules. This is useful if you have several projects and your workflow requires that you switch between them.
To add an existing module to your project, import the .iml file:
From the main menu, select .
-
In the dialog that opens, specify the path the .iml file of the module that you want to import, and click Open.
On this stage, the module is not a part of the project.
In the Project tool window, drag the imported module to the top-level directory to add it to the project.
Group modules
In IntelliJ IDEA, you can logically group modules. If you have a large project with multiple modules, grouping will make it easier to navigate through your project. Module groups can be nested: a group can contain other subgroups.
Create a new module group
-
In the Project tool window (Alt+1), select the modules that you want to group.
You can also do so on the Modules page of the Project Structure dialog (Ctrl+Shift+Alt+S).
From the context menu, select .
-
Name the new group and click OK.
The new group is now created and is marked with the
 icon.
icon.
Select Outside Any Group to exclude the selected module from the group, To This Group to add the module to the group, or To New Subgroup to create a new group in another group.
Convert module groups to qualified names
Depending on your needs, you can use manual module groups, or you can use fully qualified names to group modules. For example, if you want to group all CDI modules, add the cdi prefix to their names. To enable qualified names:
From the main menu, select .
In the next dialog, review the new module names and adjust them if necessary.
Apply the changes and close the dialog.
Group modules by fully qualified names
Open the Project Structure dialog Ctrl+Shift+Alt+S and click Modules.
Select the modules you want to group, open the context menu, and click Change Module Names.
-
Specify a prefix and apply the changes.
To view all modules on the same level in the Project Structure dialog, use the Flatten Modules context menu option.
