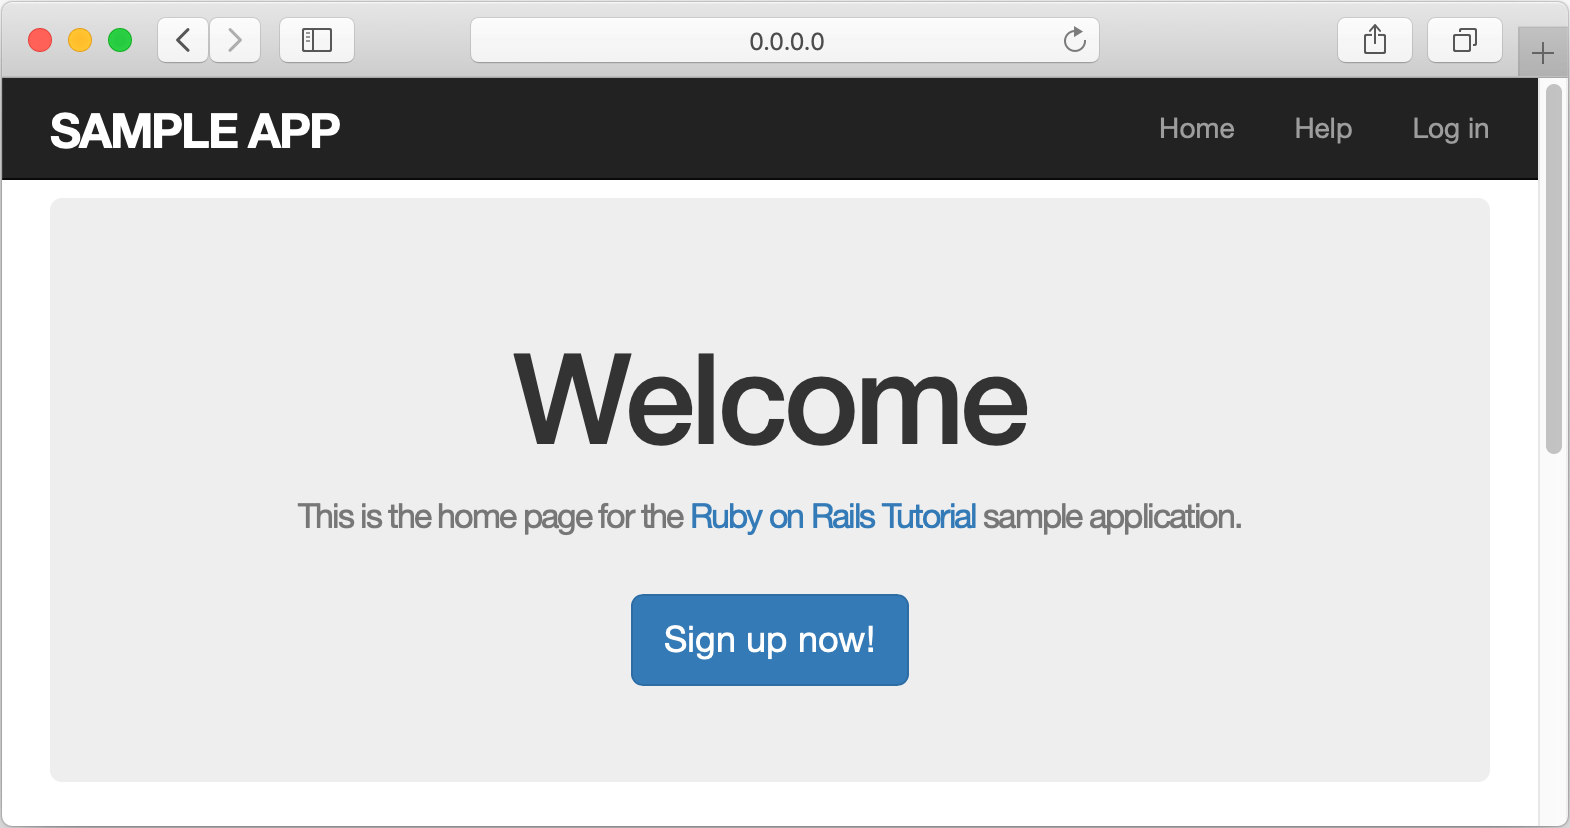
Open and run Rails project in IntelliJ IDEA
In this tutorial, we’ll show you how to clone an existing Rails application, configure the Ruby interpreter, install dependencies, and run this application. The following application will be used for this purpose: Sample Rails App.
Prerequisites
Before working with the sample Rails project mentioned above, do the following:
Install the Ruby distribution for your platform.
Install and enable the Ruby plugin. See Manage plugins to learn to work with plugins.
Check out a project
First, we need to clone the repository containing the sample application:
-
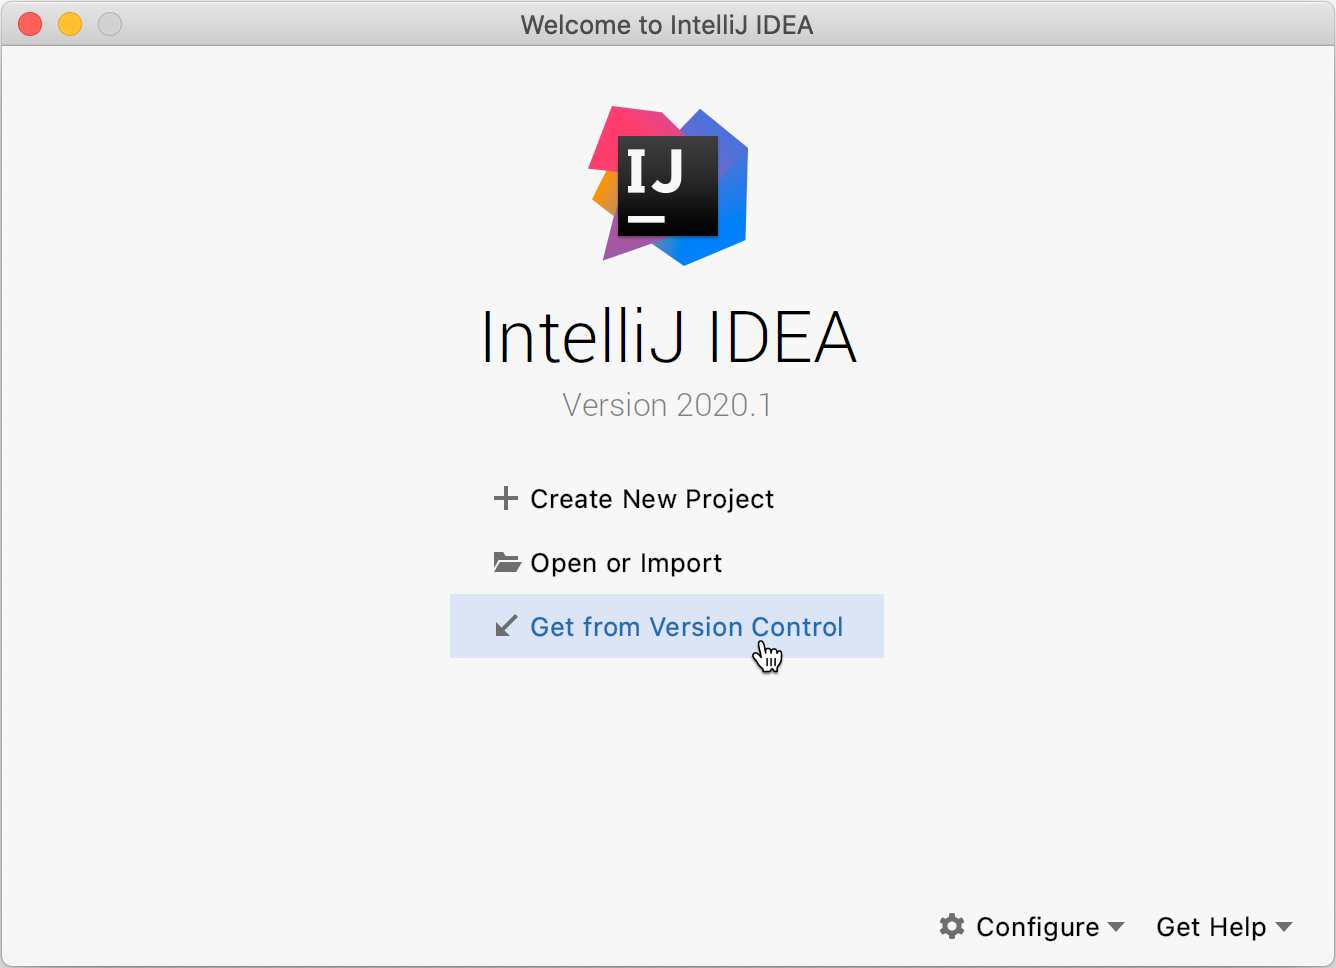
On the Welcome Screen, click Get from Version Control and select Git.
-
In the invoked Clone Repository dialog, insert the following repository address to the URL field: https://github.com/JetBrains/sample_rails_app.git.
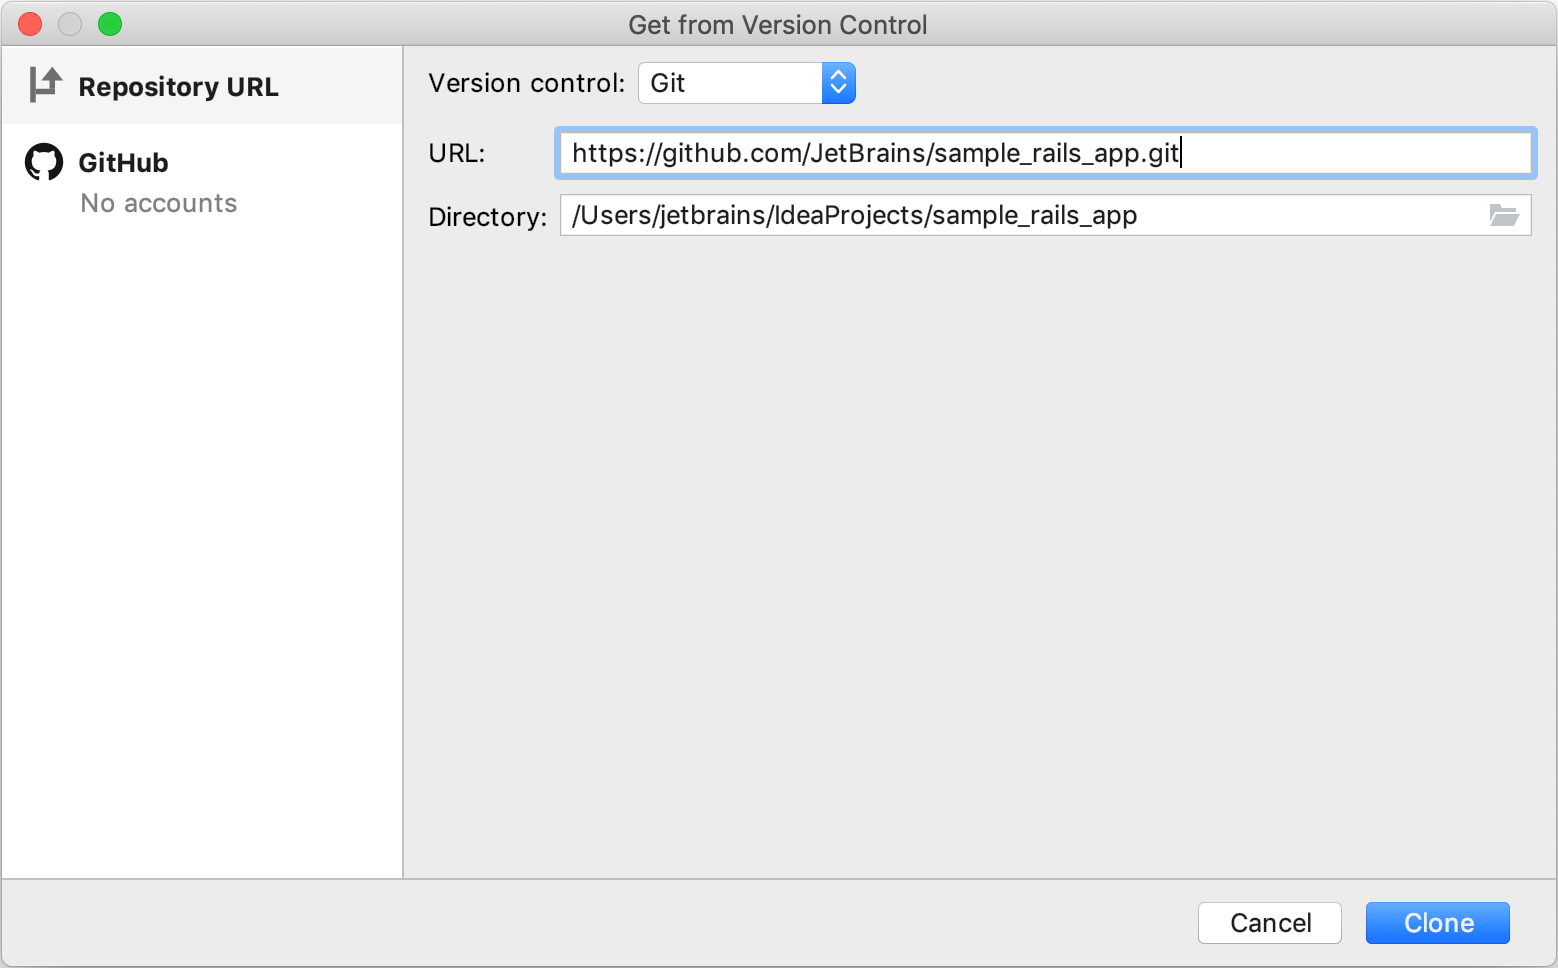
Then, click the Clone button.
-
After cloning the repository, you will be prompted to create an IntelliJ IDEA project from these sources.
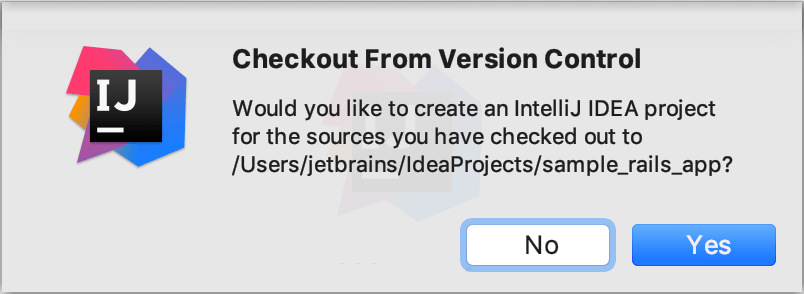
Click Yes.
-
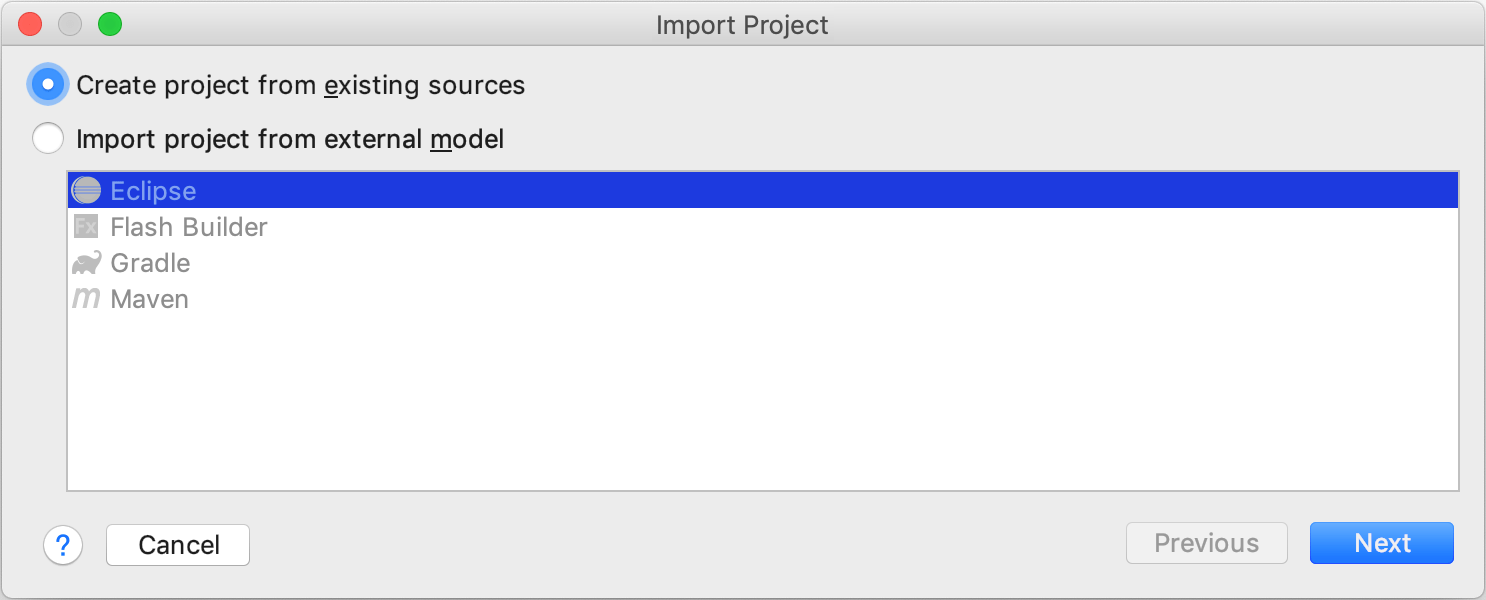
In the invoked Import Project wizard, click Next on each page of the wizard leaving the default settings.
-
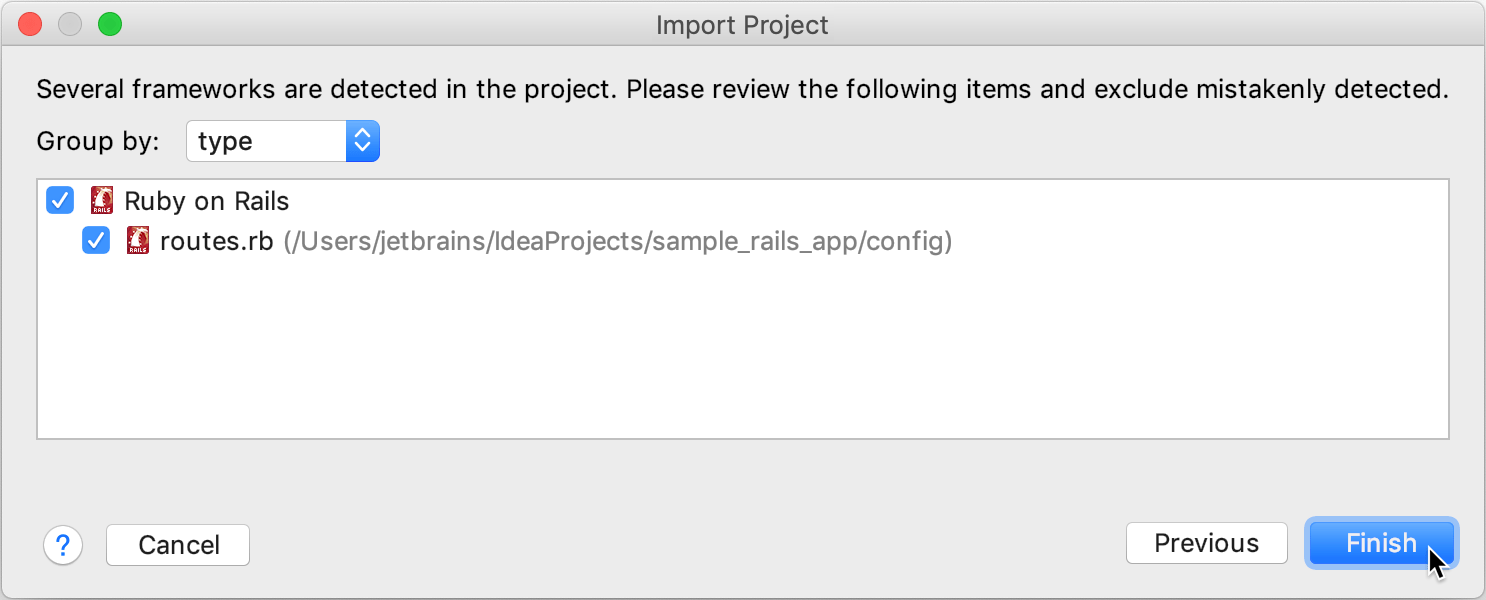
On the last page, click Finish.
Configure Ruby SDK
Now we need to configure the Ruby interpreter for the project:
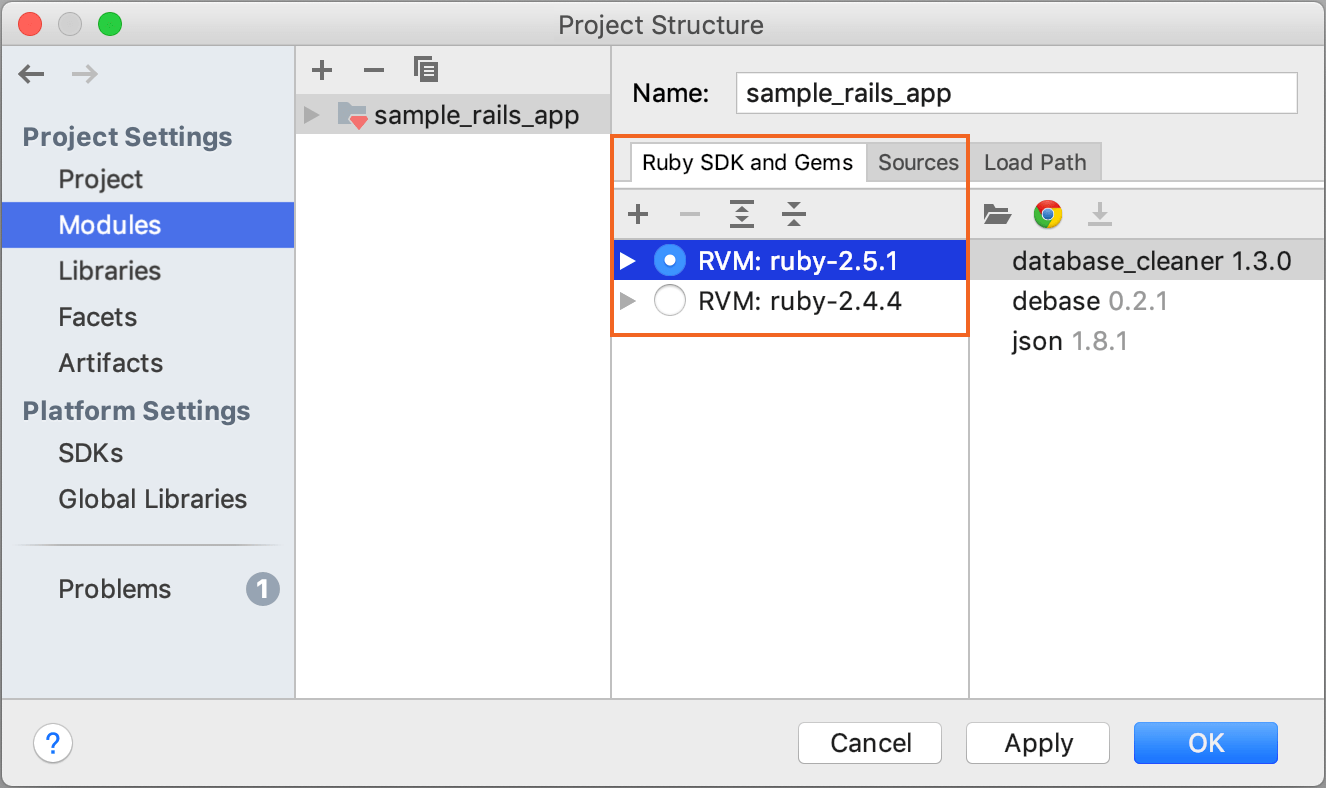
Go to , or press Ctrl+Shift+Alt+S.
-
In the invoked Project Structure dialog, switch to the Modules page and select the Ruby interpreter.
Click OK.
Install gem dependencies
To install gems specified in the project’s Gemfile, do the following:
-
Press Ctrl twice and enter the following command:
gem install bundler.
Press Enter and wait until the Bundler gem is installed.
-
Press Ctrl twice again and start typing bundle install. Then, select the
bundle installcommand from the list and press Enter.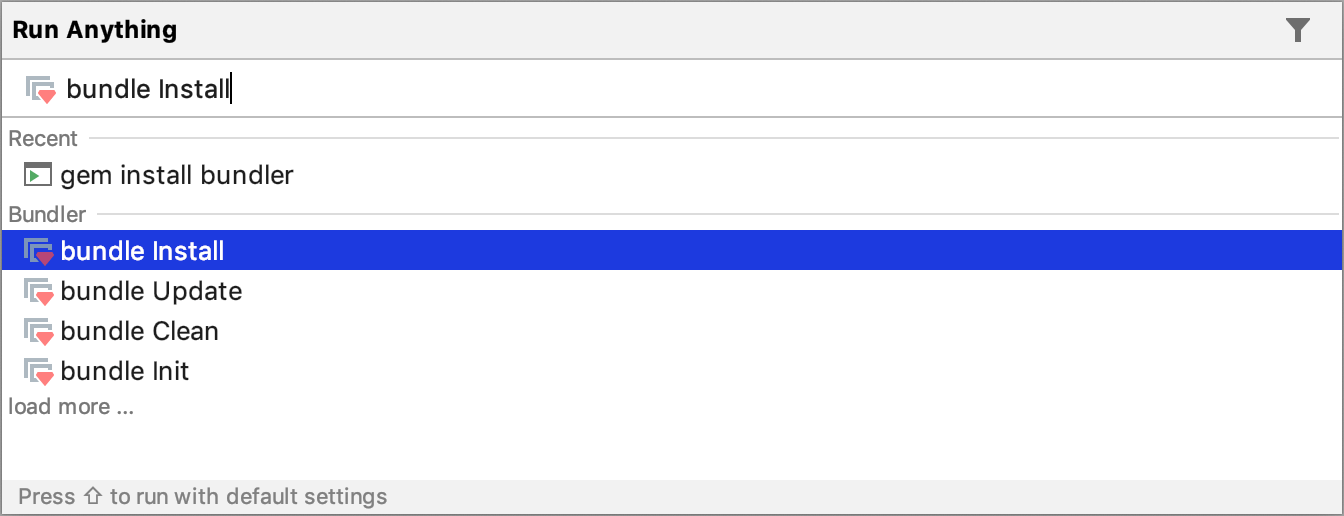
-
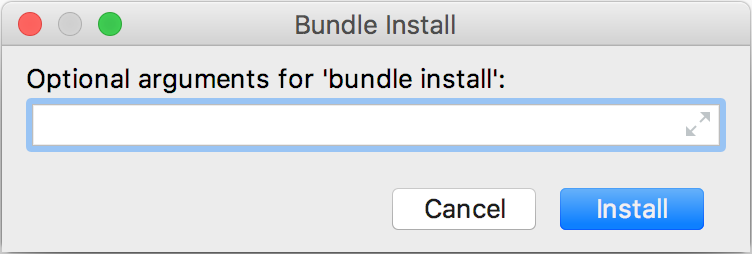
In the invoked Bundle Install dialog, click Install.
-
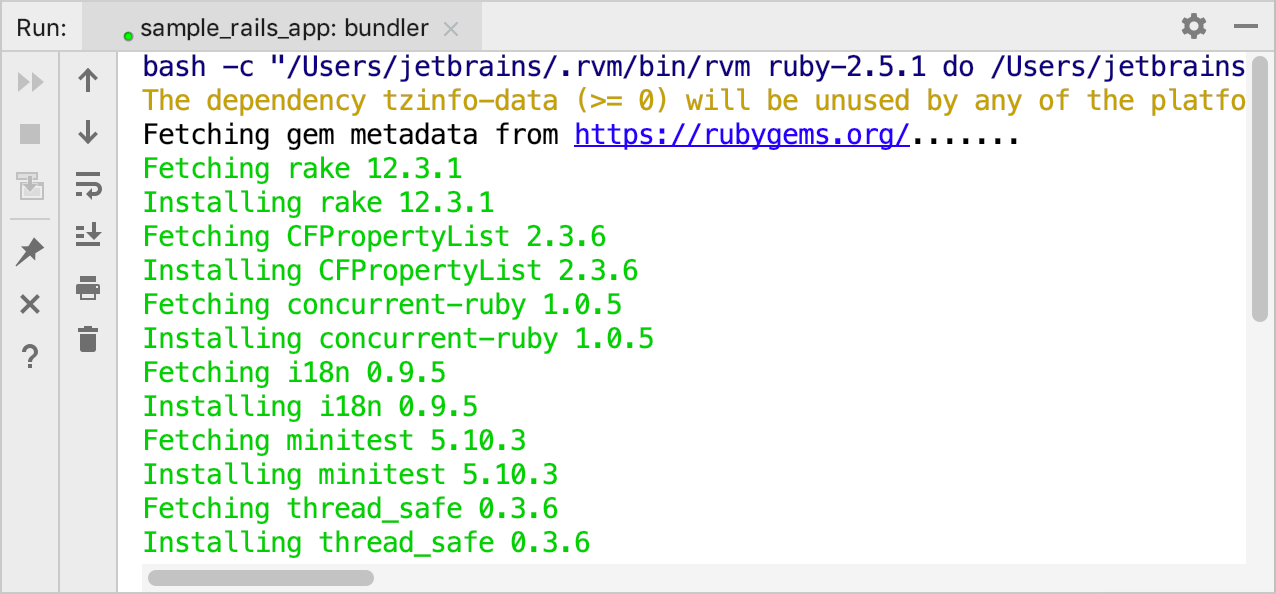
Wait until IntelliJ IDEA installs all gems.
Install JavaScript dependencies
To install JavaScript dependencies mentioned in the project's package.json file using Yarn, do the following:
-
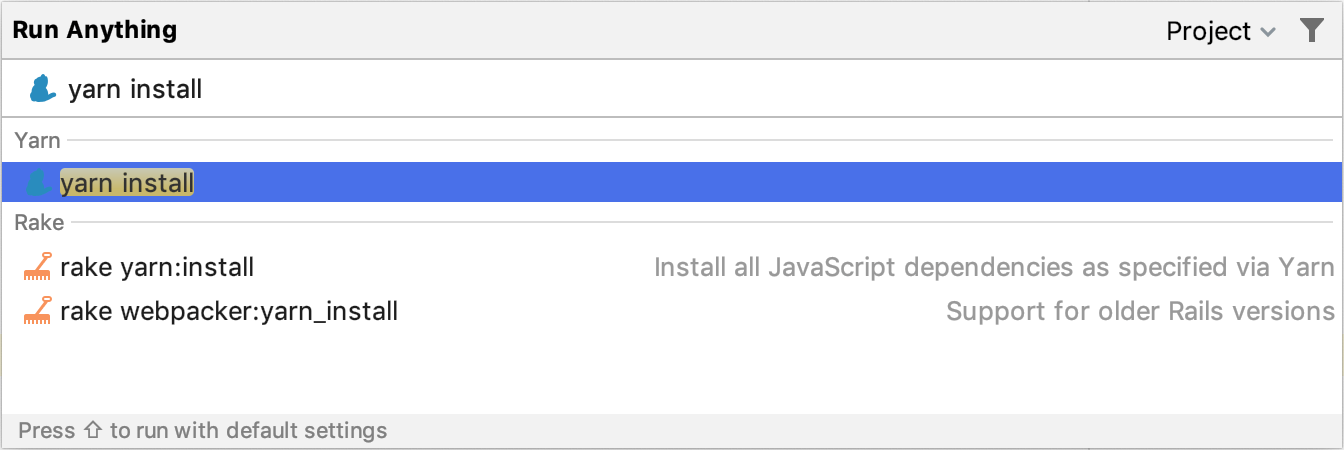
Press Ctrl twice again and start typing yarn install. Then, select the yarn install command from the list and press Enter.
-
Wait until IntelliJ IDEA installs all gems.

Run migrations
To run our Rails application, first we need to migrate the database:
-
Press Ctrl twice and type db:migrate. Select
rake db:migratein the dropdown and press Enter.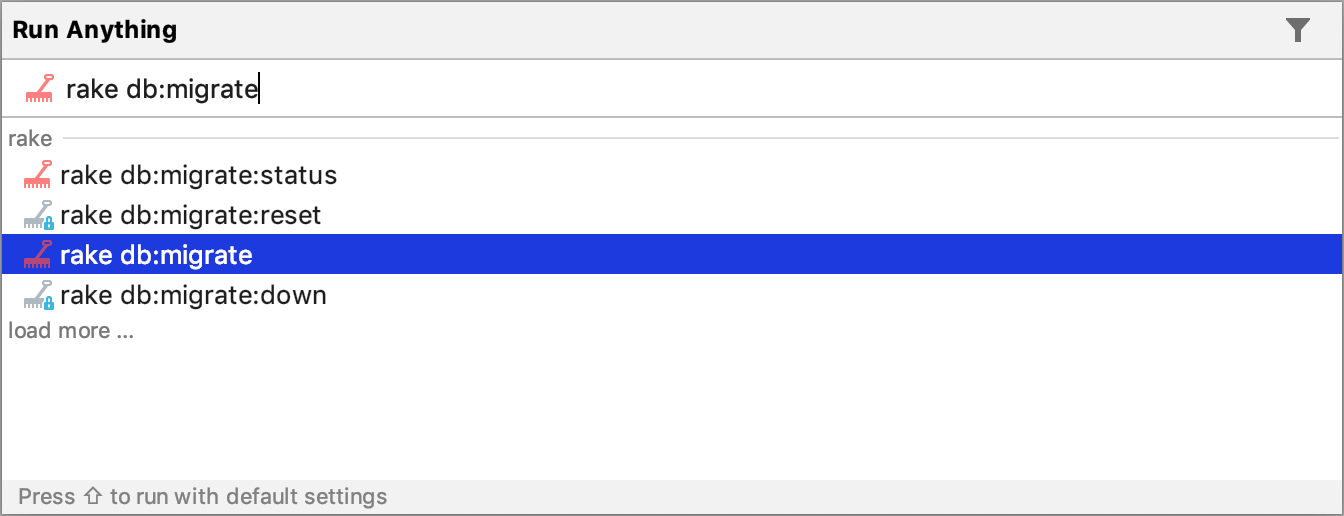
-
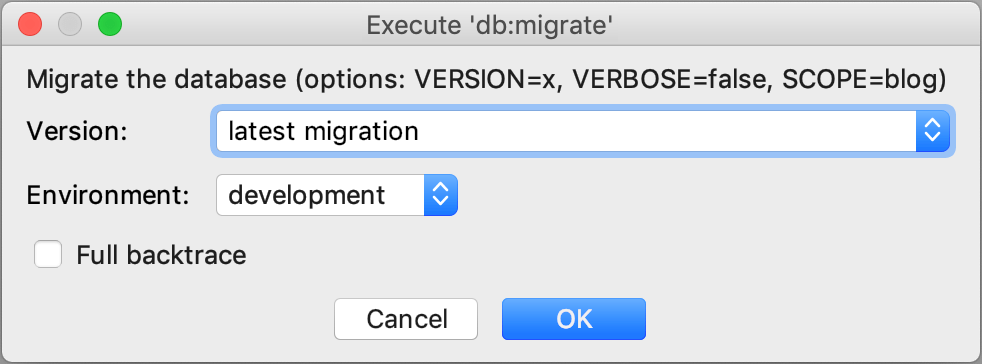
Leave the default settings in the invoked Execute ‘db:migrate’ dialog and click OK.
-
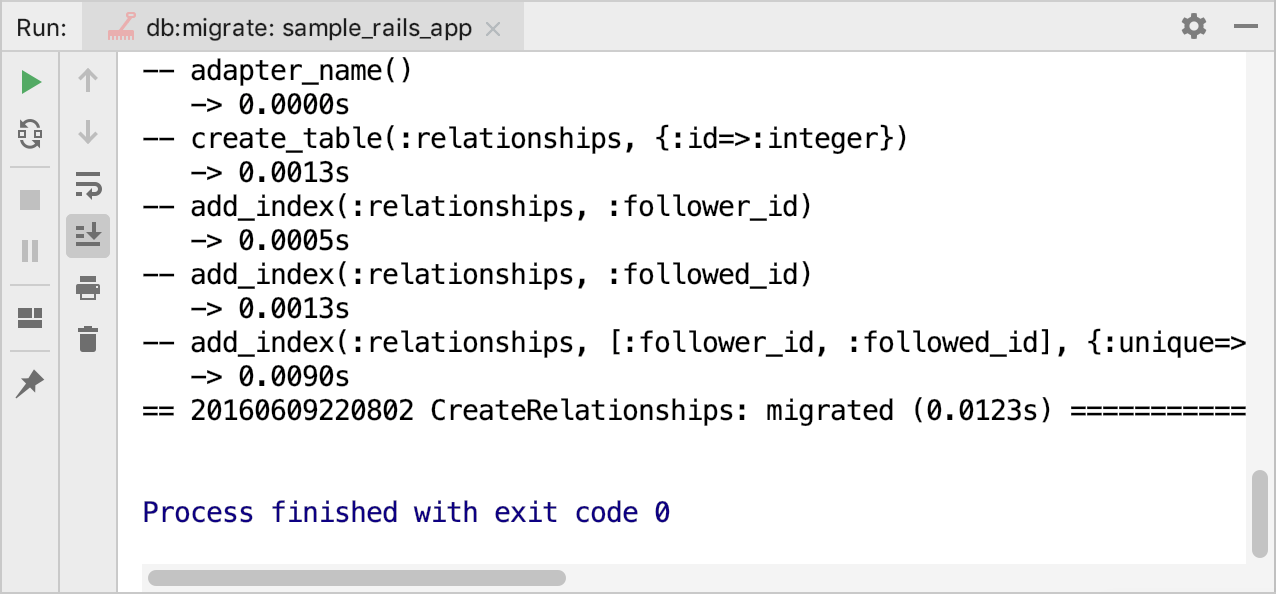
Wait until the migration is finished.
Run the application
To run our Rails application, we need to create a corresponding Rails configuration:
-
Press Ctrl+Shift+A and start typing edit configurations. Select Edit Configurations and press Enter.

-
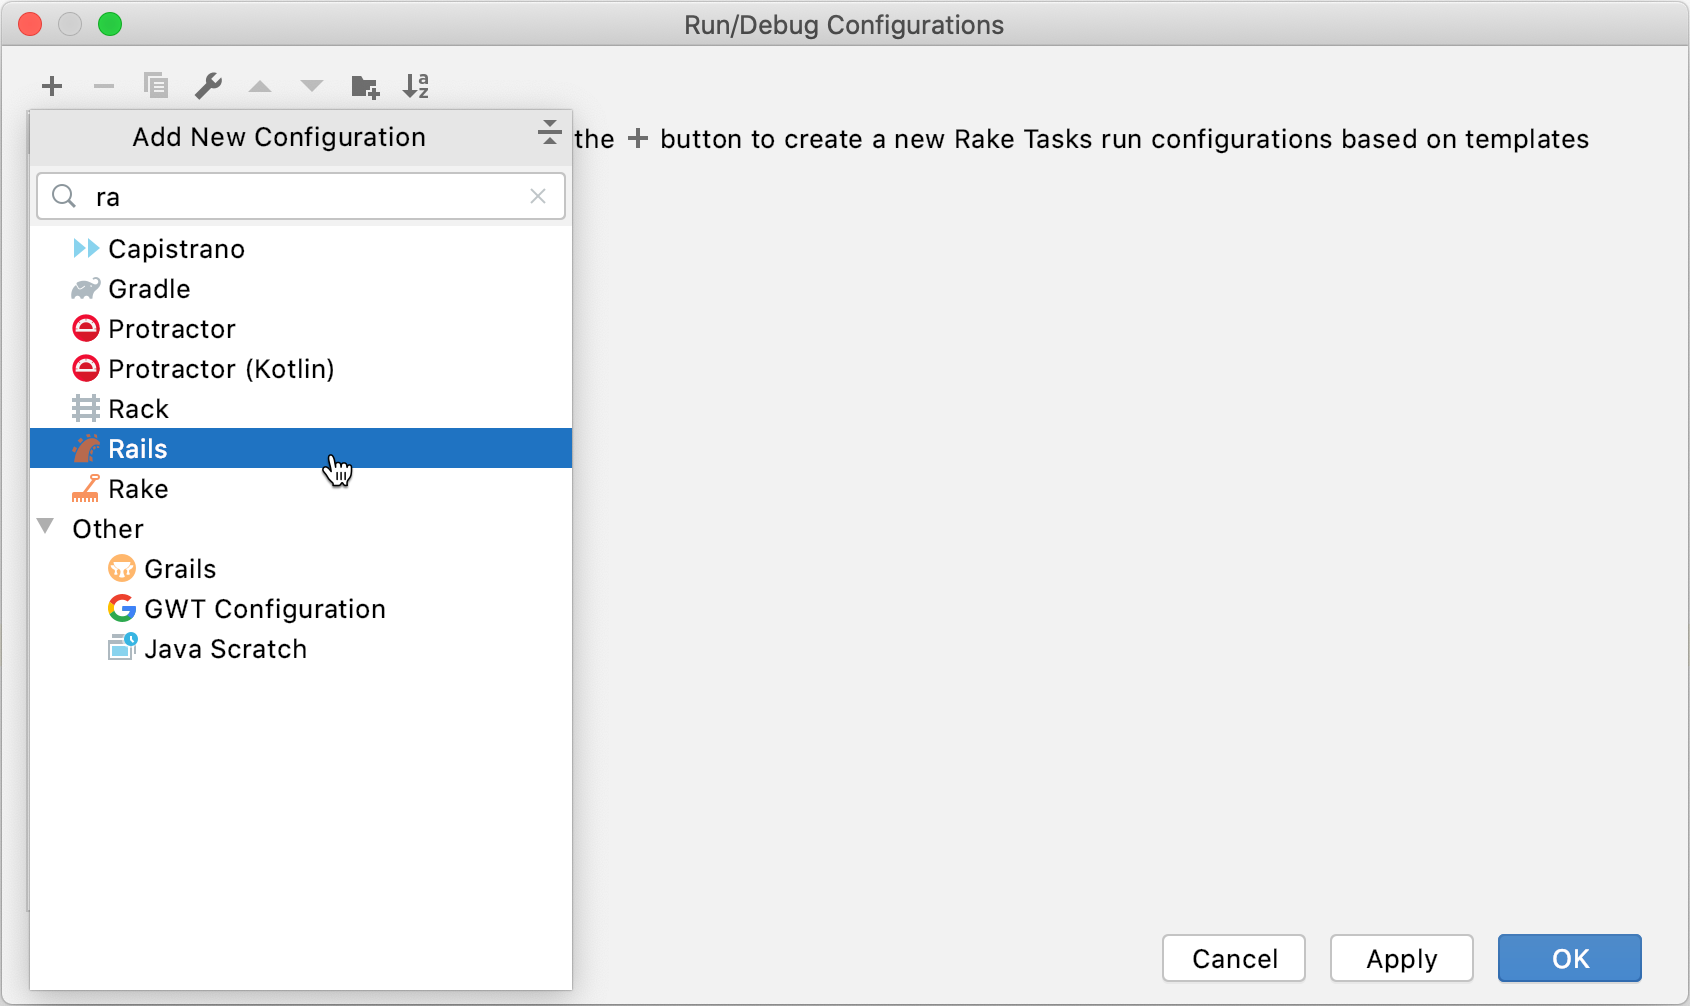
In the invoked Run/Debug Configurations dialog, click
 and select Rails.
-
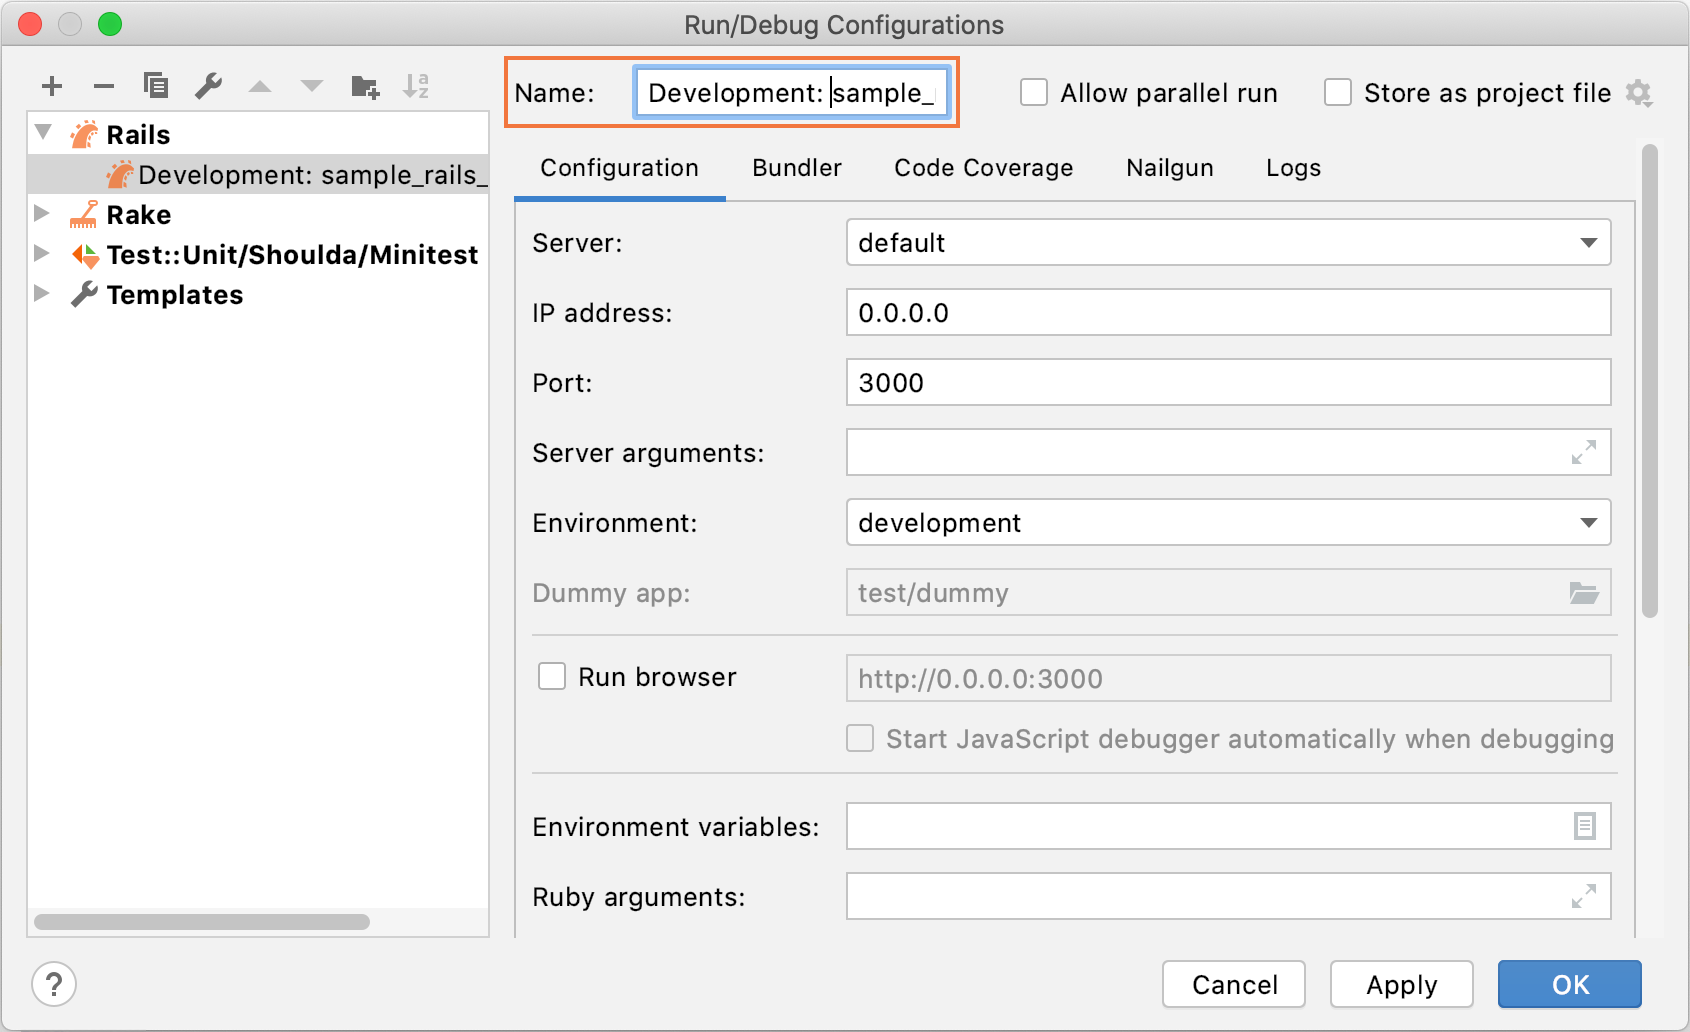
Change the created configuration name to development and enable the Run browser option.
Click OK.
-
Press Ctrl twice and start typing the name of the created configuration (development). Select it from the list and press Enter.

-
In the Run tool window, IntelliJ IDEA will show the process of preparing the application to run ...
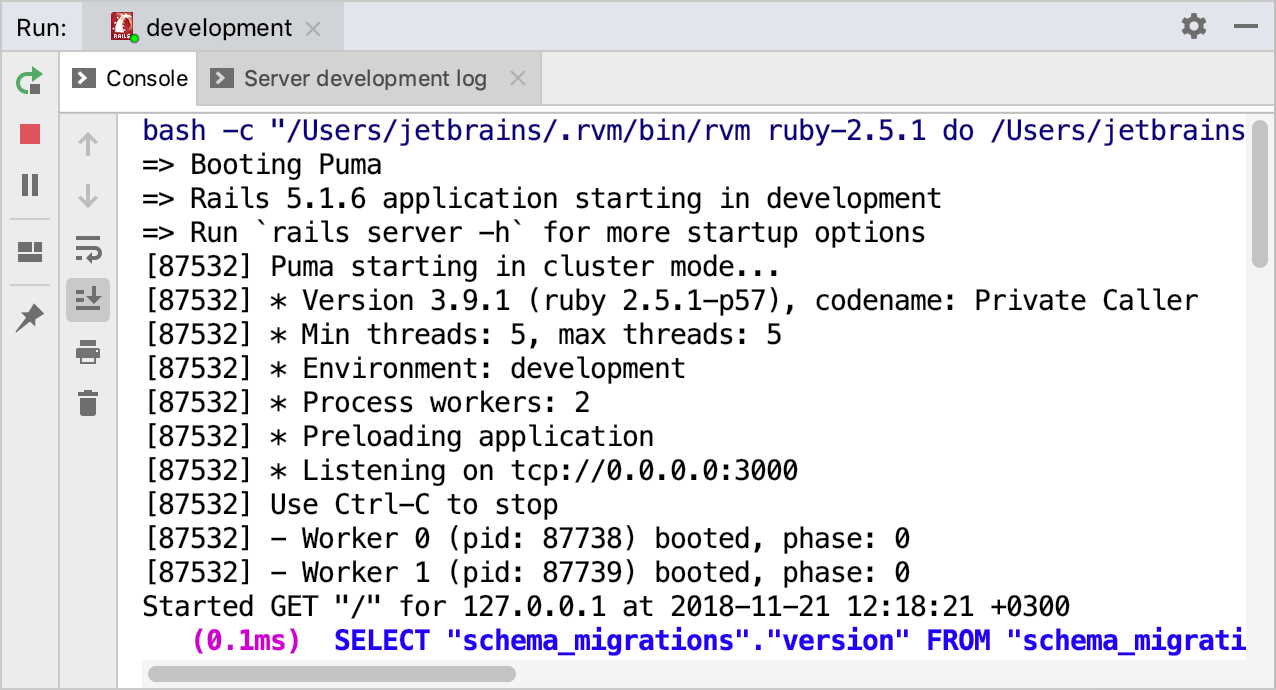
... and then open the application in a browser.
