Javadocs
Add a new comment
Add a javadoc using automatic comments
For documentation comments, IntelliJ IDEA provides completion that is enabled by default.
-
Type
/**before a declaration and press Enter. The IDE auto-completes the doc comment for you.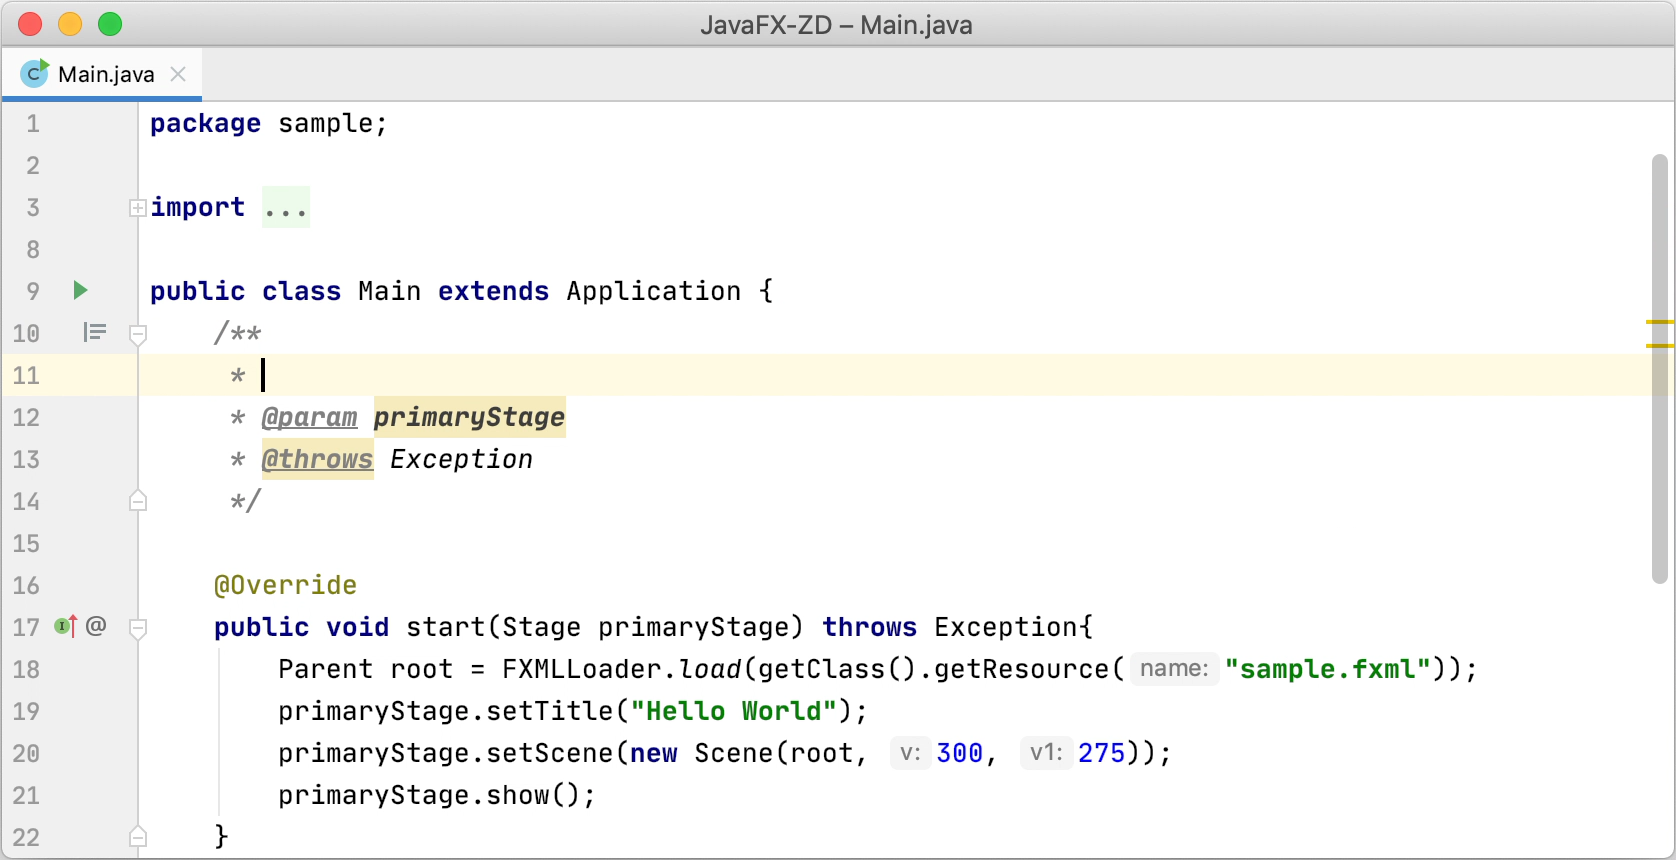
Disable automatic comments
In the Settings/Preferences dialog Ctrl+Alt+S, go to , and clear the Insert documentation comment stub checkbox.
Add a javadoc using context actions
Place the caret at the declaration in the editor, press Alt+Enter, and select Add Javadoc from the list.

Add a javadoc using the Fix Doc Comment action
Place the caret within a class, method, function, or a field, and press Ctrl+Shift+A.
Type
fix doc commentand press Enter.
IntelliJ IDEA adds the missing documentation stub with the corresponding tags.
In Kotlin, the @param and other tags are not generated because the recommended style requires incorporating the description of parameters and return values directly into the documentation comment.
Fix a javadoc
If a method signature has been changed, IntelliJ IDEA highlights the tag that doesn't match the method signature and suggests a quick-fix. Press Alt+Enter to apply the fix.
You can also update an existing javadoc comment in order to account for the changes in the declaration using the Fix doc comment action:
Place the caret within a class, method, function, or a field, and press Ctrl+Shift+A.
Type
fix doc commentand press Enter.
Render Javadocs
IntelliJ IDEA allows you to render Javadocs in the editor. Rendered comments are easier to read, and they don't overload your code with extra tags.
Click ![]() in the gutter next to the necessary documentation comment (or press Ctrl+Alt+Q) to toggle the rendered view; click
in the gutter next to the necessary documentation comment (or press Ctrl+Alt+Q) to toggle the rendered view; click ![]() to edit the comment.
to edit the comment.


Rendered Javadocs allow you to click links to go to the referenced web pages, or view quick documentation for the referenced topics.
To change the font size, right-click a Javadoc in the editor and select Adjust Font Size from the context menu. Note that the rendered comments use the same font size as the quick documentation popup.
Render Javadocs by default
You can configure the IDE to always render Javadocs in the editor.
-
Right-click the icon in the gutter (
 or
or  ) and enable the Render All on File Opening option.
Alternatively, in the Settings/Preferences dialog Ctrl+Alt+S, select and enable the Render documentation comments on file opening option.
Reopen the files you're working with in the editor to apply the changes.
To edit rednered Javadocs, click the ![]() icon in the gutter next to the comment.
icon in the gutter next to the comment.
Generate a Javadoc reference
IntelliJ IDEA provides a utility that enables you to generate a Javadoc reference for your project.
From the main menu, select .
-
In the dialog that opens, select a scope — a set of files or directories for which you want to generate the reference, and set the output directory where the generated documentation will be placed.
The Output directory is a mandatory field: you cannot generate a Javadoc file as long it is empty.
-
Use the slider to define the visibility level of members that will be included in the generated documentation. Select one of the following options:
Private: to include all classes and members to the reference.
Package: to include all classes and members except the private ones.
Protected: to include public and protected classes and members.
Public: to include only public classes and members.
-
You can specify a locale (for example
en_US.UTF-8), command line arguments, and the maximum heap size. Click OK to generate the reference.

Specify Generate JavaDoc Scope dialog
The dialog invokes the JavaDoc utility. The controls of the dialog correspond to the options and tags of this utility.
Item | Description |
|---|---|
Generate JavaDoc scope | Use this area to specify the subset of files, folders, and packages for which JavaDoc should be generated. This scope can be the whole project, uncommitted files (when VCS is enabled), current file, custom scope, and so on. |
Include test sources | Include documentation comments for test to the generated JavaDoc. |
Include JDK and library sources in | If this checkbox is selected, then paths to the JDK and library sources will be passed to the JavaDoc utility. Refer to documentation for details. |
Include link to JDK documentation | If this checkbox is selected, the references to the classes and packages from JDK will turn into links, which corresponds to using the -link option of the JavaDoc utiity. This checkbox is only enabled when a link to the online documentation is specified in the Documentation Paths tab of the SDK settings. Refer to JavaDoc documentation for details. |
Output directory | Specify the fully qualified path to the directory where the generated documentation will be stored. Type the path manually or click |
Slider | Specify the visibility level of members that you want to include in the generated documentation:
|
Generate hierarchy tree | Generate the class hierarchy. If this checkbox is cleared, the |
Generate navigator bar | Generate the navigator bar. If this checkbox is cleared, the |
Generate index | Generate the documentation index. If this checkbox is cleared, the |
Separate index per letter | Generate a separate index file for each letter. If this checkbox is cleared, the The checkbox is available only if the Generate index checkbox is selected. |
@use | Document the use of the class and the package. When selected, the checkbox corresponds to the |
@author | Include the |
@version | Include the |
@deprecated | Include the |
deprecated list | Generate the deprecated list. When the checkbox is cleared, the The checkbox is available only if the @deprecated checkbox is selected. |
Locale | Type the desired locale. |
Other command line arguments | Type additional arguments to be passed to JavaDoc. Use the command line syntax. |
Maximum heap size (Mb) | Type the maximum heap size in Mb to be used by Java VM for running JavaDoc. |
Open generated documentation in browser | Automatically open the generated JavaDoc in a browser. |