Project Reactor
Project Reactor is an open-source framework based on Reactive Streams for developing non-blocking applications. IntelliJ IDEA provides full support for Reactive applications, including code completion, inspections, quick-fixes, and a dedicated debug mode.
Add Reactor support
There are several options for adding Reactor support to your project: you can add the necessary dependencies to the build file of Maven or Gradle projects, or you can manually download the Reactor library. For Spring Boot applications, IntelliJ IDEA allows you to add the required dependencies when you create a new project.
Add Reactor to a Maven project
For Maven projects, it's recommended that you import the Bill of Materials (BOM) together with the core, as it ensures that Reactor components work well together.
In the
pom.xmlfile, add the following dependency to import the BOM:<dependencyManagement> <dependencies> <dependency> <groupId>io.projectreactor<groupId> <artifactId>reactor-bom<artifactId> <version>Dysprosium-SR1<version> <type>pom</type> <scope>import<scope> <dependency> <dependencies> <dependencyManagement>Add the following dependency to import Reactor:
<dependencies> <dependency> <groupId>io.projectreactor<groupId> <artifactId>reactor-core<artifactId> <dependency> <dependencies>
Add Reactor to Gradle (Gradle 5.0 and later)
For Gradle projects, it's recommended that you import the Bill of Materials (BOM) together with the core, as it ensures that Reactor components work well together.
In the
build.gradle, add the following dependencies:dependencies { // import BOM implementation platform('io.projectreactor:reactor-bom:Dysprosium-SR1') // add dependencies without a version number implementation 'io.projectreactor:reactor-core' }
Add Reactor to Gradle (Gradle 4.x and earlier)
For Gradle projects, it's recommended that you import the Bill of Materials (BOM) together with the core, as it ensures that Reactor components work well together.
Previous Gradle versions don't support the BOM, however, you can use the Spring gradle-dependency-management plugin to import it to your project.
- Obtain the plugin from Gradle Plugin Portal by adding the following code to
build.gradle:plugins { id "io.spring.dependency-management" version "1.0.6.RELEASE" } Import the BOM by adding the following code:
dependencyManagement { imports { mavenBom "io.projectreactor:reactor-bom:Dysprosium-SR1" } }Add Reactor support:
dependencies { compile 'io.projectreactor:reactor-core' }
Add the Reactor library to a project
If you build your project with the native IDE builder, you can add Reactor support as a library.
From the main menu, select Ctrl+Alt+Shift+S or click
on the toolbar.
Select and click
.
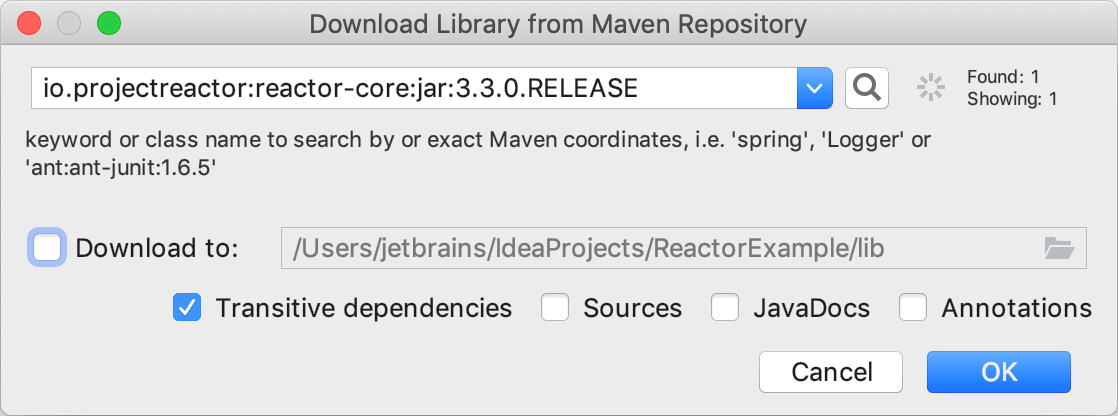
In the dialog that opens, specify the library artifact
io.projectreactor:reactor-core:jar:3.3.0.RELEASEand click OK.
Create a new Spring Boot project with Reactor
Launch IntelliJ IDEA.
If the Welcome screen opens, click Create New Project.
Otherwise, from the main menu, select .
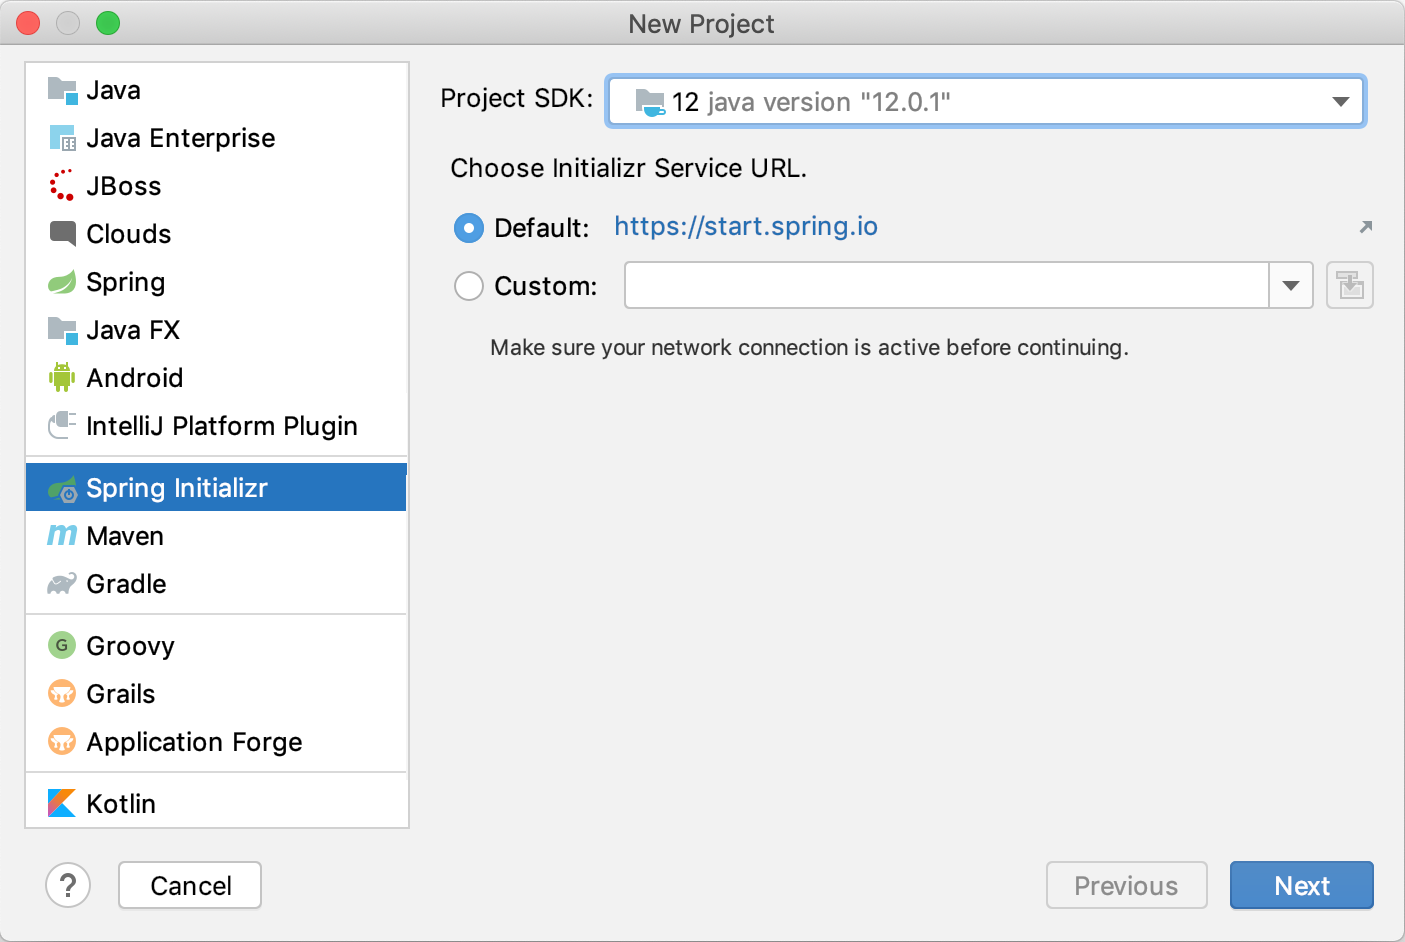
From the Project SDK list, select the JDK that you want to use in your project.
If the JDK is installed on your computer, but not defined in the IDE, select Add JDK and specify the path to the JDK home directory.
If you don't have the necessary JDK on your computer, select Download JDK.
Enter the URL of the Initializr service that you want to use, or leave the default one.
Click Next.

Configure project metadata: select a language (Java or Kotlin), a build tool (Maven or Gradle), and specify an artifact ID and version.
If you want to build your project on a Java version different from your project JDK version, you can select it here.
Click Next.
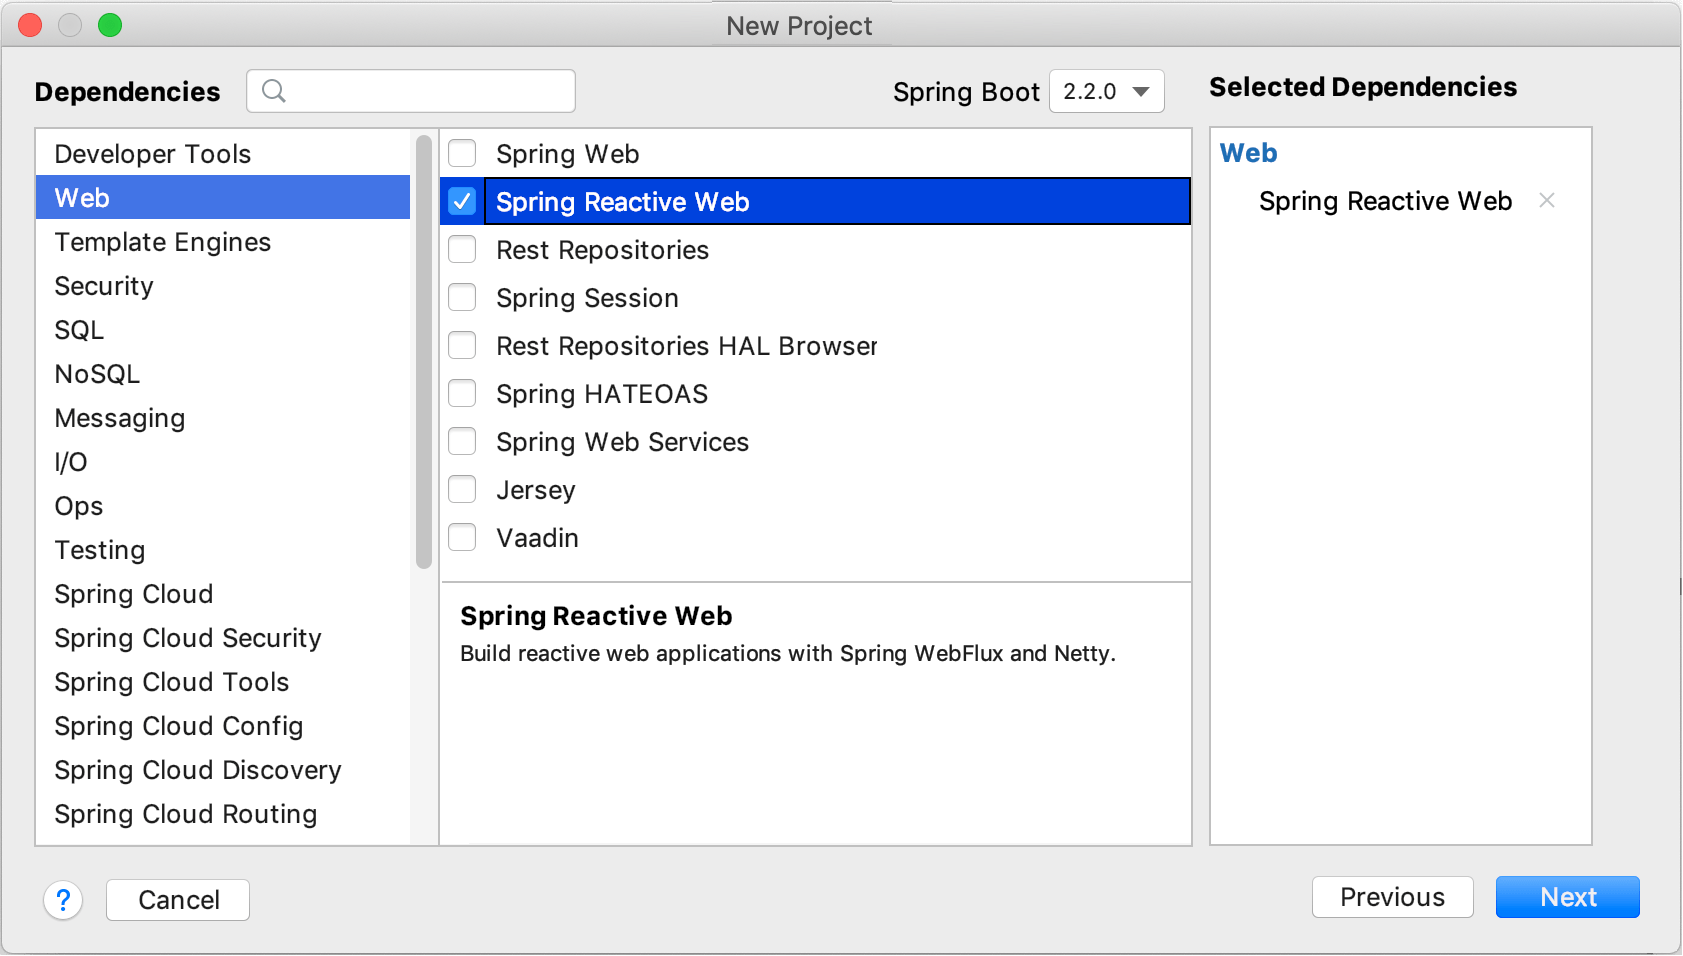
On the Dependencies page, select Spring Reactive Web and click Next.

If necessary, change the default project location and click Finish.
Reactor debug mode
IntelliJ IDEA allows you to get a more convenient view of the frame stack after the program has been suspended.
If you have a debug mode that is enabled by using Hooks.onOperatorDebug(), ReactorDebugAgent, or the checkpoint() operator, this view shows the backtrace to the failed operation on the Frame tab of the Debug tool window.

This mode can help you better examine the frames and more easily understand why particular parameters were passed to a method in a Reactive application.
The feature is enabled by default. If you want to disable it, In the Settings/Preferences dialog Ctrl+Alt+S, select and deselect the Enable stack frame customization checkbox.
Advanced Reactor inspection
The IDE provides an option for adjusting the Inappropriate thread-blocking method calls inspection that reports thread-blocking method calls detected in code fragments where a thread should not be blocked. With this option, the IDE can locally understand on which thread the operator will be executed by processing the subscribeOn and publishOn operators.

The feature is enabled by default. If you want to disable it, In the Settings/Preferences dialog Ctrl+Alt+S, select and deselect the Use advanced analysis to detect non-blocking scopes option.
Postfix completion in Reactor
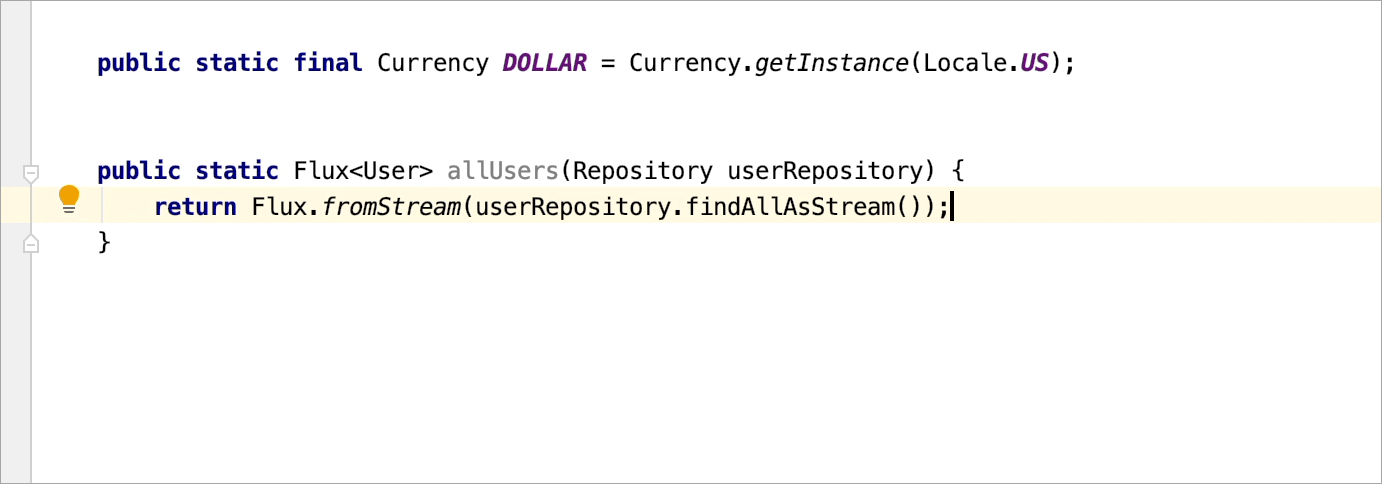
IntelliJ IDEA provides postfix code completion for projects that use Reactor. Postfix completion can transform an already-typed expression to a different one based on what you have typed.
In projects with Reactor support, the IDE can wrap an expression with a suitable reactor.core.publisher.Flux factory or a reactor.core.publisher.Mono factory.

If you want to learn more
Watch the video below for a detailed demonstration of how you can create a working Reactive Spring Boot application from the very beginning.