Logs
When running your application, you can view the associated local log files in separate tabs of the Run or Debug tool window. For IntelliJ IDEA to identify which logs to show, you need to specify them in the respective run/debug configuration.
Log settings
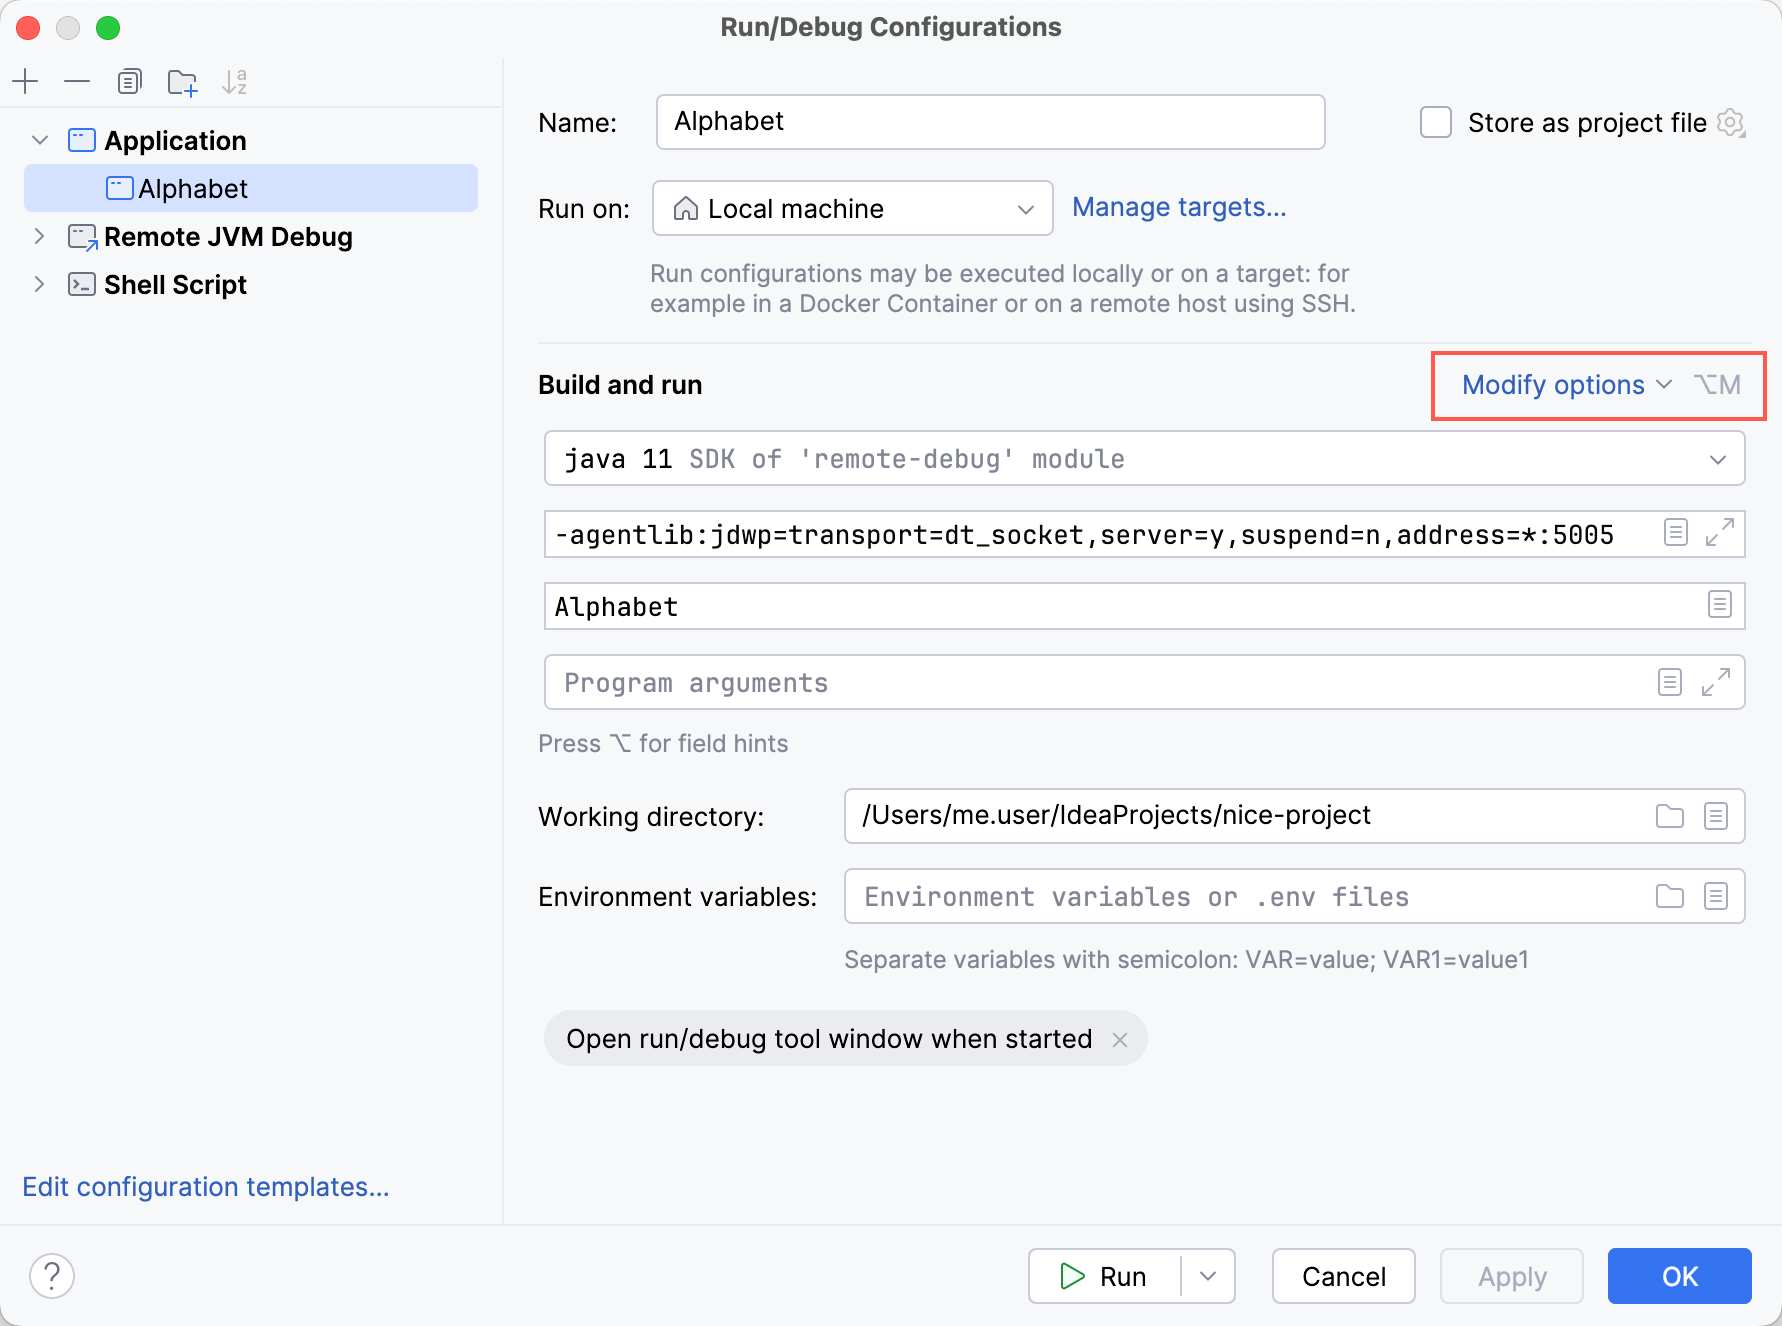
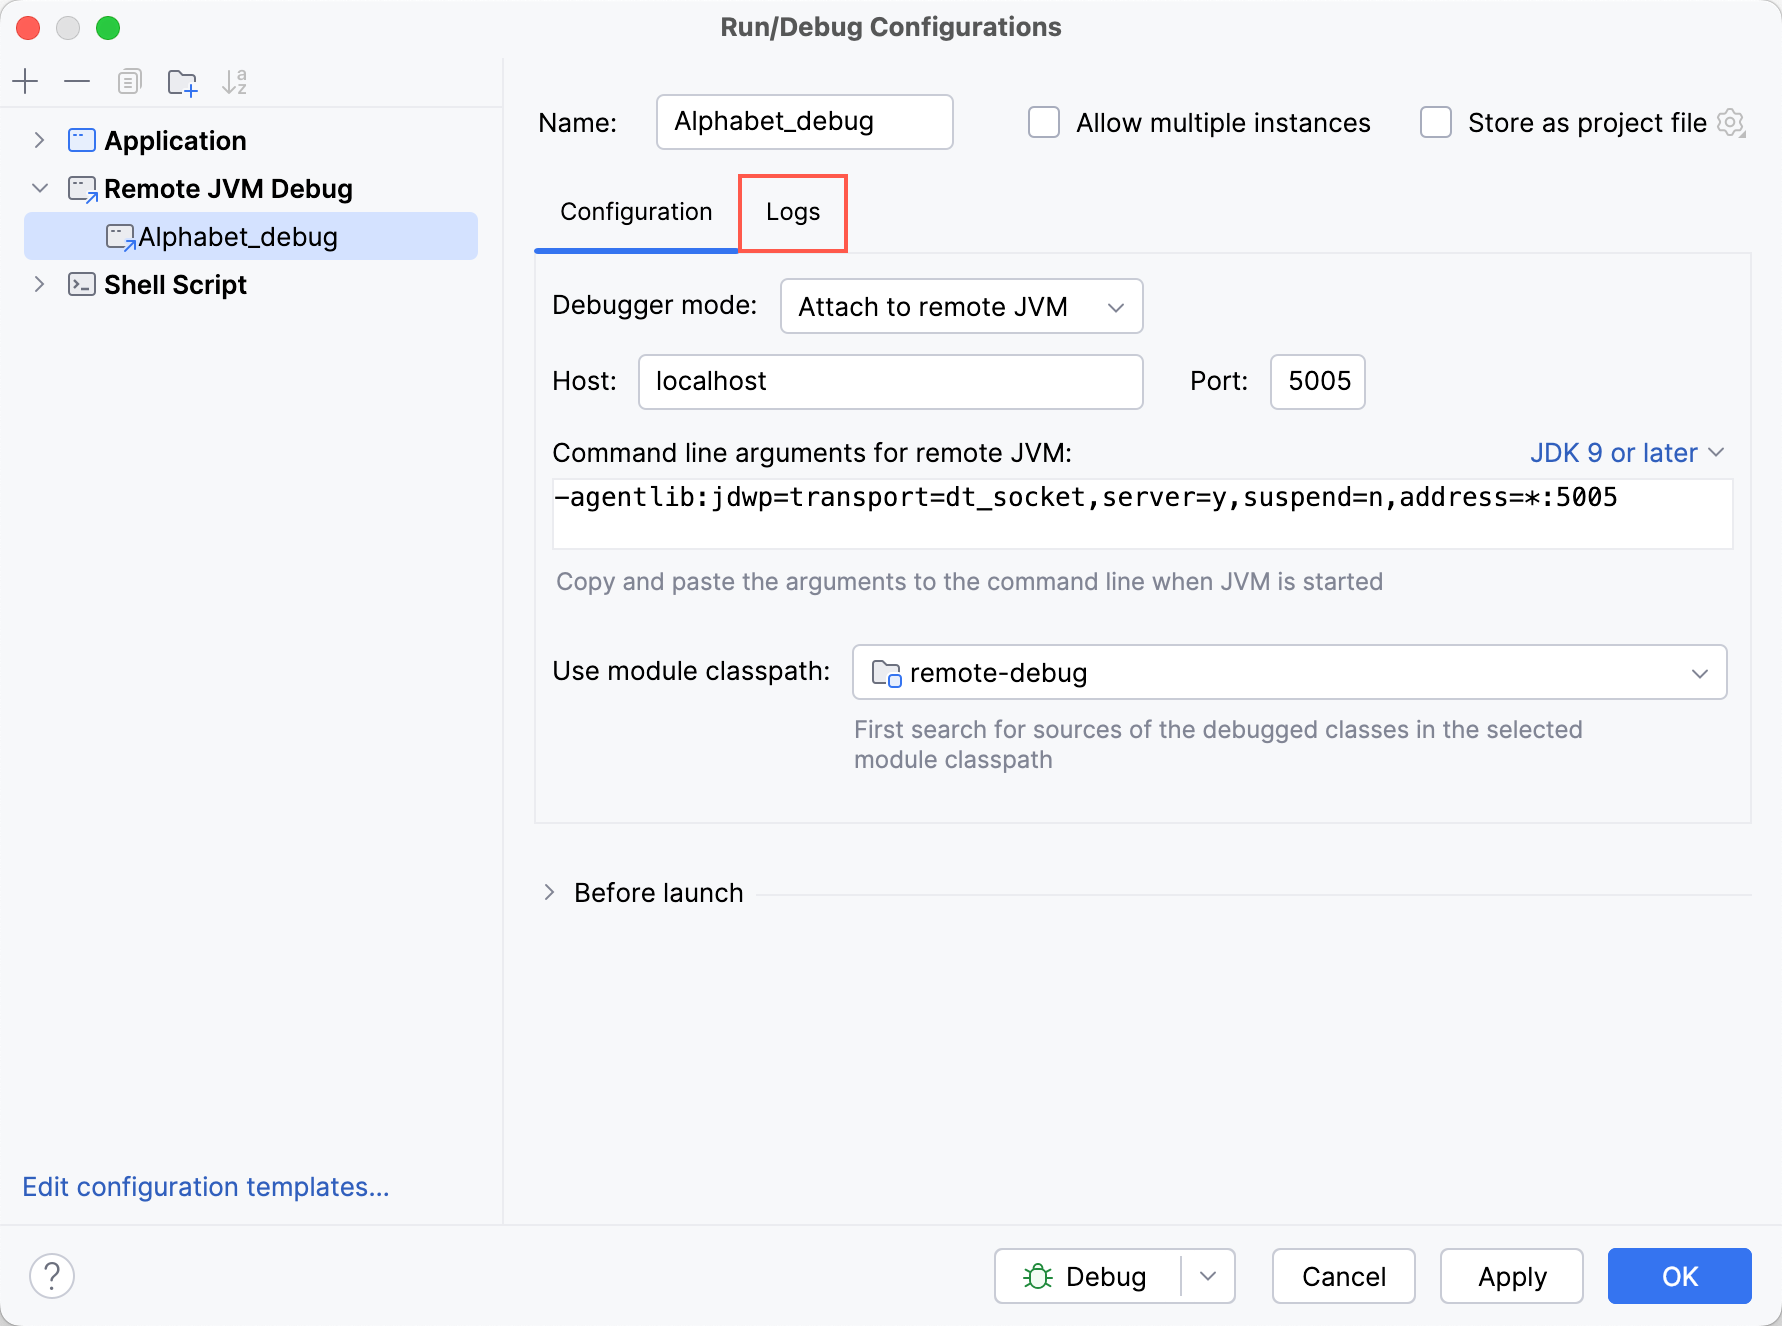
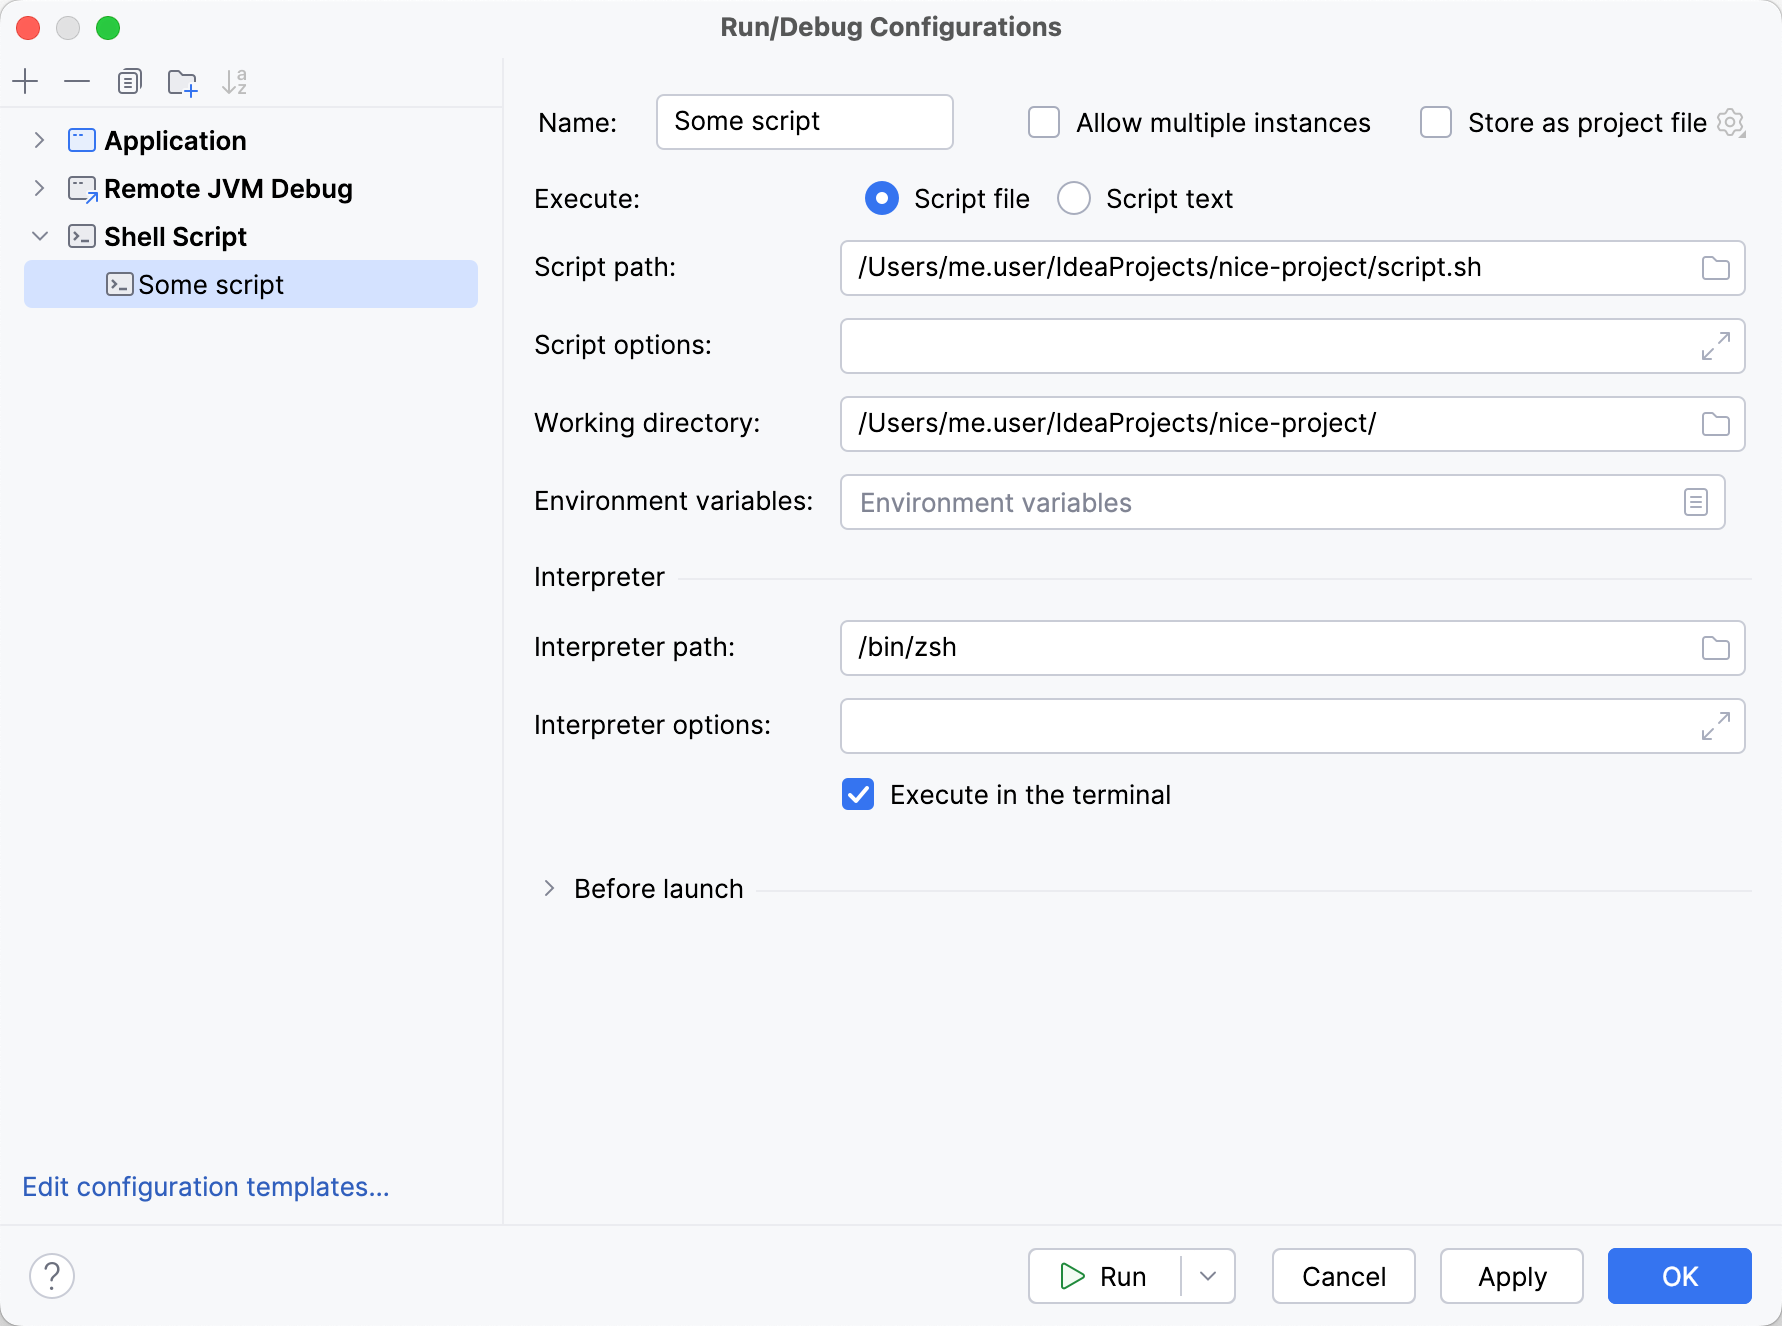
Depending on the run/debug configuration type, you can access logs by clicking the Modify options button or opening the Logs tab. If there is neither, it means that the selected run/debug configuration type doesn't support logs.


Add a log
In the run/debug configuration that will be used for launching the app, add or navigate to the Specify logs to be shown in the console option.
In the table, click Add.
Specify Tab Name (the name that will be displayed in the tool window tabs) and the path to the log file.
You can also specify an Ant pattern for the log path. In case several files of a rolling log match the pattern, the most recent one will be taken. If you want to track all the logs that match the pattern, select Show all files coverable by pattern.
Specify whether the corresponding tab should only show the new log entries using the Skip Content option.
When you have set up a log in the Logs section, the log will open in a separate tab of the Run or Debug tool window whenever you run or debug the application. If you want to temporarily disable the log, you can do so by clearing the Is Active box.
Save console output to a file
If you use console output for logging, you can save it to a file for later inspection.
In the run/debug configuration that will be used for launching the app, add or navigate to the Save console output to file option.
Specify the path to the file. If the file does not exist, it will be created automatically upon the first write.
For a hands-on example, refer to Save console output to a file.
Navigate to loggers
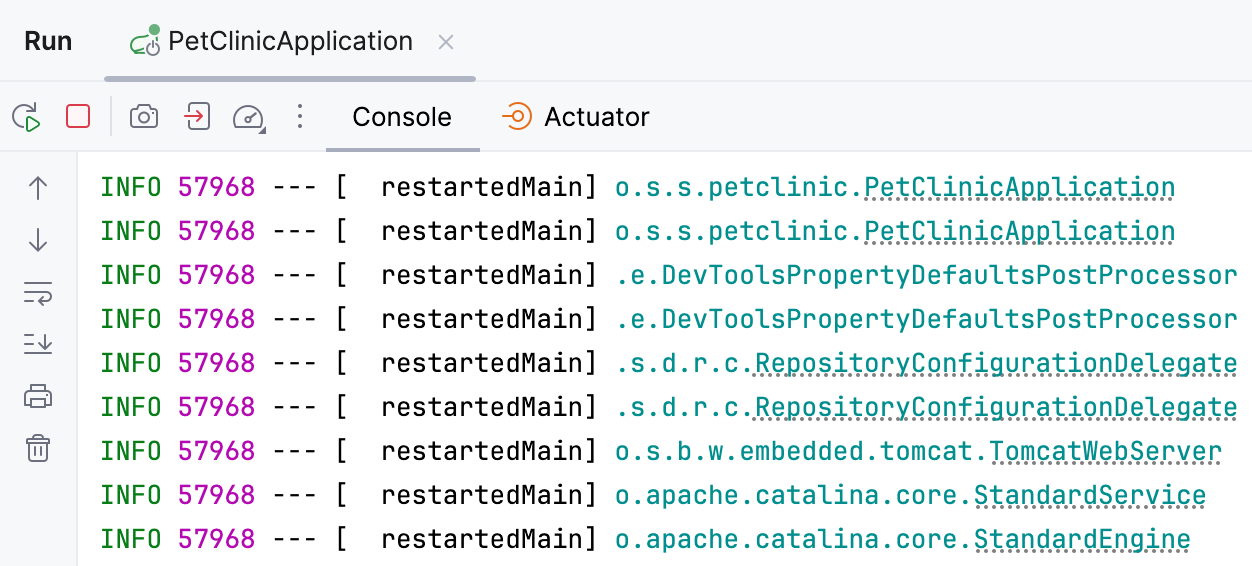
IntelliJ IDEA recognizes messages from common logging frameworks, such as slf4j and log4j2 and allows you to navigate to the corresponding logger calls from the console.
Logger links are marked with a dotted underline:

To turn this navigation off, go to , scroll down to JVM Languages, and clear the Process terminal output to find class names and highlight them option.