Run a Java application in a Docker container
You can use Docker to run a Java application in a container with a specific runtime environment. This tutorial describes how to create a Dockerfile for running a simple Java application in a container with OpenJDK 8. It also shows how to create a Docker image with your application to share it with others.
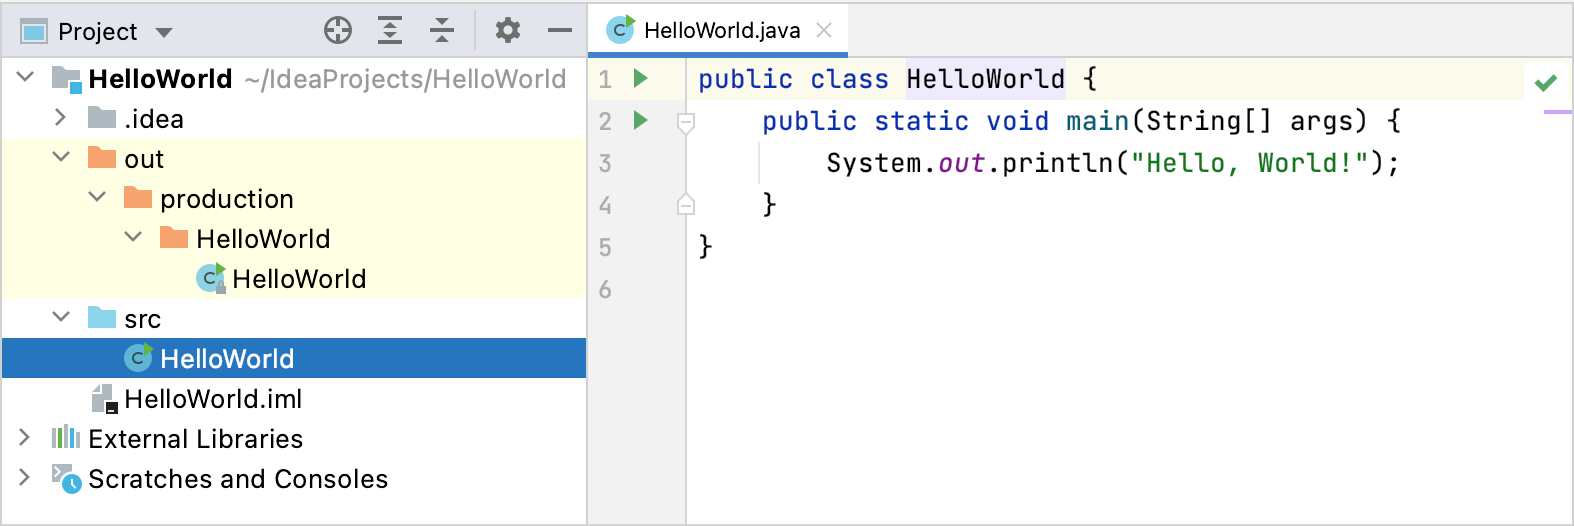
The sample application consists of a single HelloWorld.java file, which prints Hello, World! to the console and exits. By default, IntelliJ IDEA compiles the output to the project directory under /out/production/HelloWorld, where HelloWorld is the name of the current module.

Run the Java application in a Docker container
In the Project tool window, right-click the project name, point to New and click File.
In the New File dialog, type Dockerfile and click OK.
Paste the following code to the new Dockerfile:
FROM openjdk:8 COPY ./out/production/HelloWorld/ /tmp WORKDIR /tmp ENTRYPOINT ["java","HelloWorld"]Click
in the gutter and select Run on 'Docker'.
IntelliJ IDEA creates a Docker run configuration, which builds an image from the Dockerfile and then runs a container based on that image. You should see the whole process in the Services tool window: the container's build log.
The resulting image is based on the openjdk:8 image from Docker Hub. The Dockerfile has instructions to copy the contents of your project's output directory (in this case, the main class HelloWorld.class) to the /tmp directory in the container. When you start the container, it runs the java HelloWorld command from inside the /tmp directory. As a result, you should see Hello, World! printed to the container log. To check this, select the container in the Services tool window and open the Attached Console tab.
You can share the image with others, for example, to demonstrate exactly how your application is expected to run, without the need to install the necessary runtime (only Docker is required).
Share your Java application as a Docker image
In the Services tool window, find the image that was built from the Dockerfile.
By default, it is designated by a unique image ID, because no image tag was provided when you created the image. You can edit the corresponding run configuration, specify an image tag of your choice, and run the configuration again.
To find out the image ID, select the running container and open the Properties tab.
Right-click the image with the required ID and then click Push Image in the context menu.
In the Push Image dialog, select your registry, specify the repository name and tag for the image, and click OK.
Once the image is pushed to the registry, anyone with access to it can pull it and run a container from the image. You can be sure that they will run the exact version of your application on the specific runtime version that you've set when building the image.