Run/Debug Configuration: Mocha
Create: 
This page describes the configuration-specific items as well as options that are common for all run/debug configurations. For more information about using this configuration, refer to Mocha.
In this dialog, create configurations for running and debugging JavaScript unit tests using the Mocha test framework.
Before you start
Download and install Node.js.
Make sure the JavaScript and TypeScript and Node.js required plugins are enabled on the Settings | Plugins page. For more information, refer to Managing plugins.
Mocha-specific configuration settings
Item | Description |
|---|---|
Node runtime | In this field, specify the Node.js runtime to use. Choose one of the configured runtimes or click |
Node options | In this field, type the Node.js-specific command-line options to be passed to the Node.js executable file. For more information, refer to Node Parameters. |
Working directory | In this field, specify the working directory of the application. By default, the Working directory field shows the project root folder. To change this predefined setting, specify the path to the desired folder. |
Environment variables | In this field, specify the custom environment variables for the Node.js executable file. The definitions of variables are displayed in the Environment variables field with semicolons (
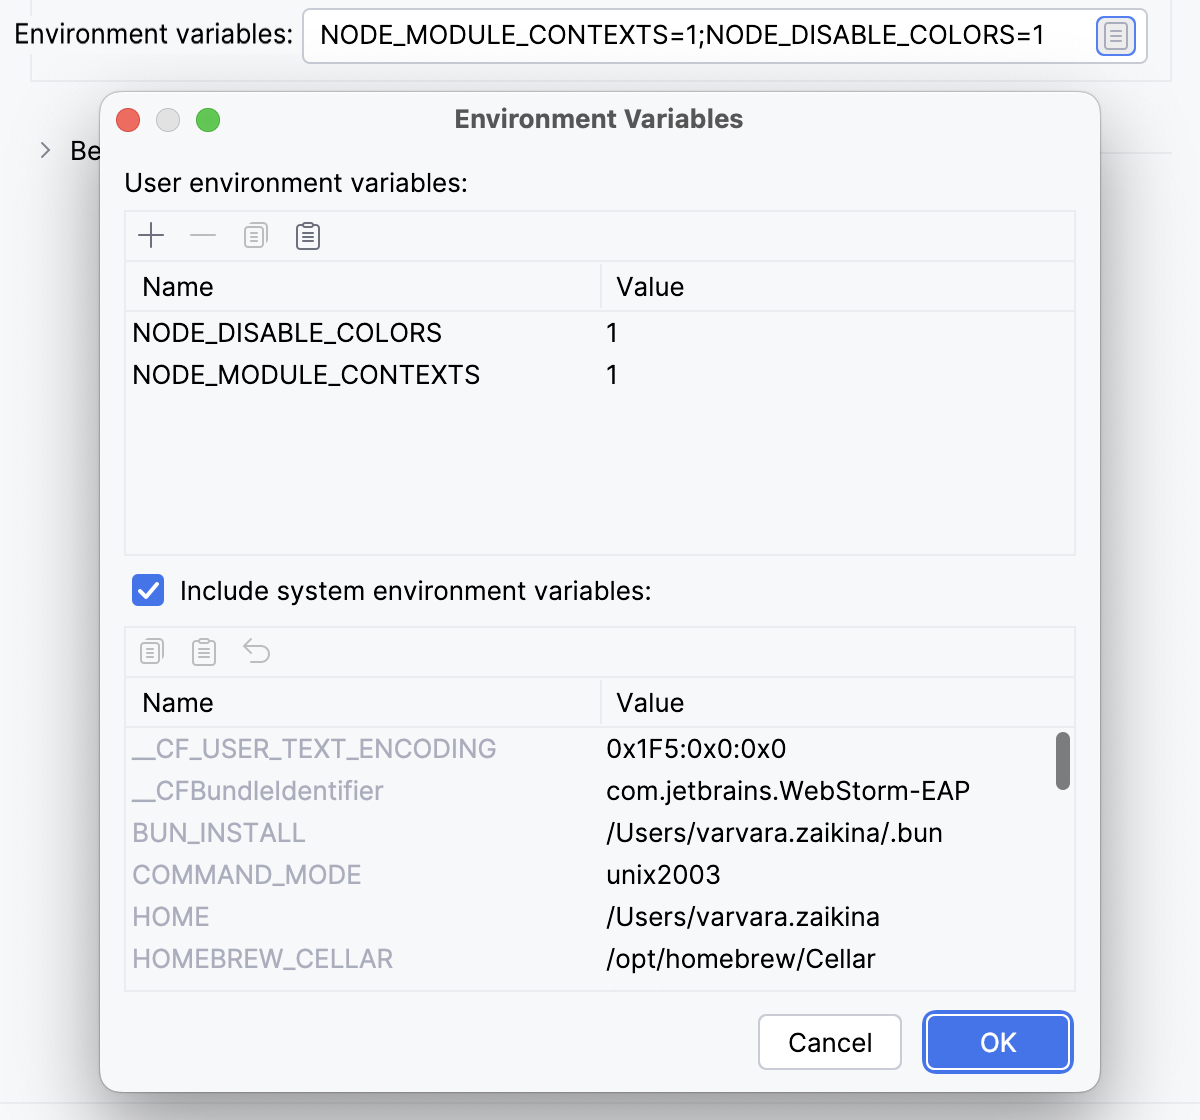 Alternatively, click Browse
|
Mocha package | In this field, specify the Mocha installation home /npm/node_modules/mocha. If you installed Mocha regularly through the Node Package Manager, IntelliJ IDEA detects the Mocha installation home itself. Alternatively, type the path to executable file manually, or click Browse |
User interface | From this list, choose the interface according to which the tests in the test folder are written. IntelliJ IDEA will recognize only tests that comply with the chosen interface. If during test execution IntelliJ IDEA runs against a test of another interface, the test session will be canceled with an error. This means that all the tests in the specified test folder must be written according to the same interface and this interface must be chosen from the list. |
Extra Mocha options | In this field, specify additional Mocha command-line options. For example, add a As a result, any test in the current run configuration restarts automatically on changing the related source code, without clicking the Rerun button |
Tests | In this area, specify the tests to be executed. The available options are:
|
Docker container settings | This read-only field shows port and volume bindings. Click 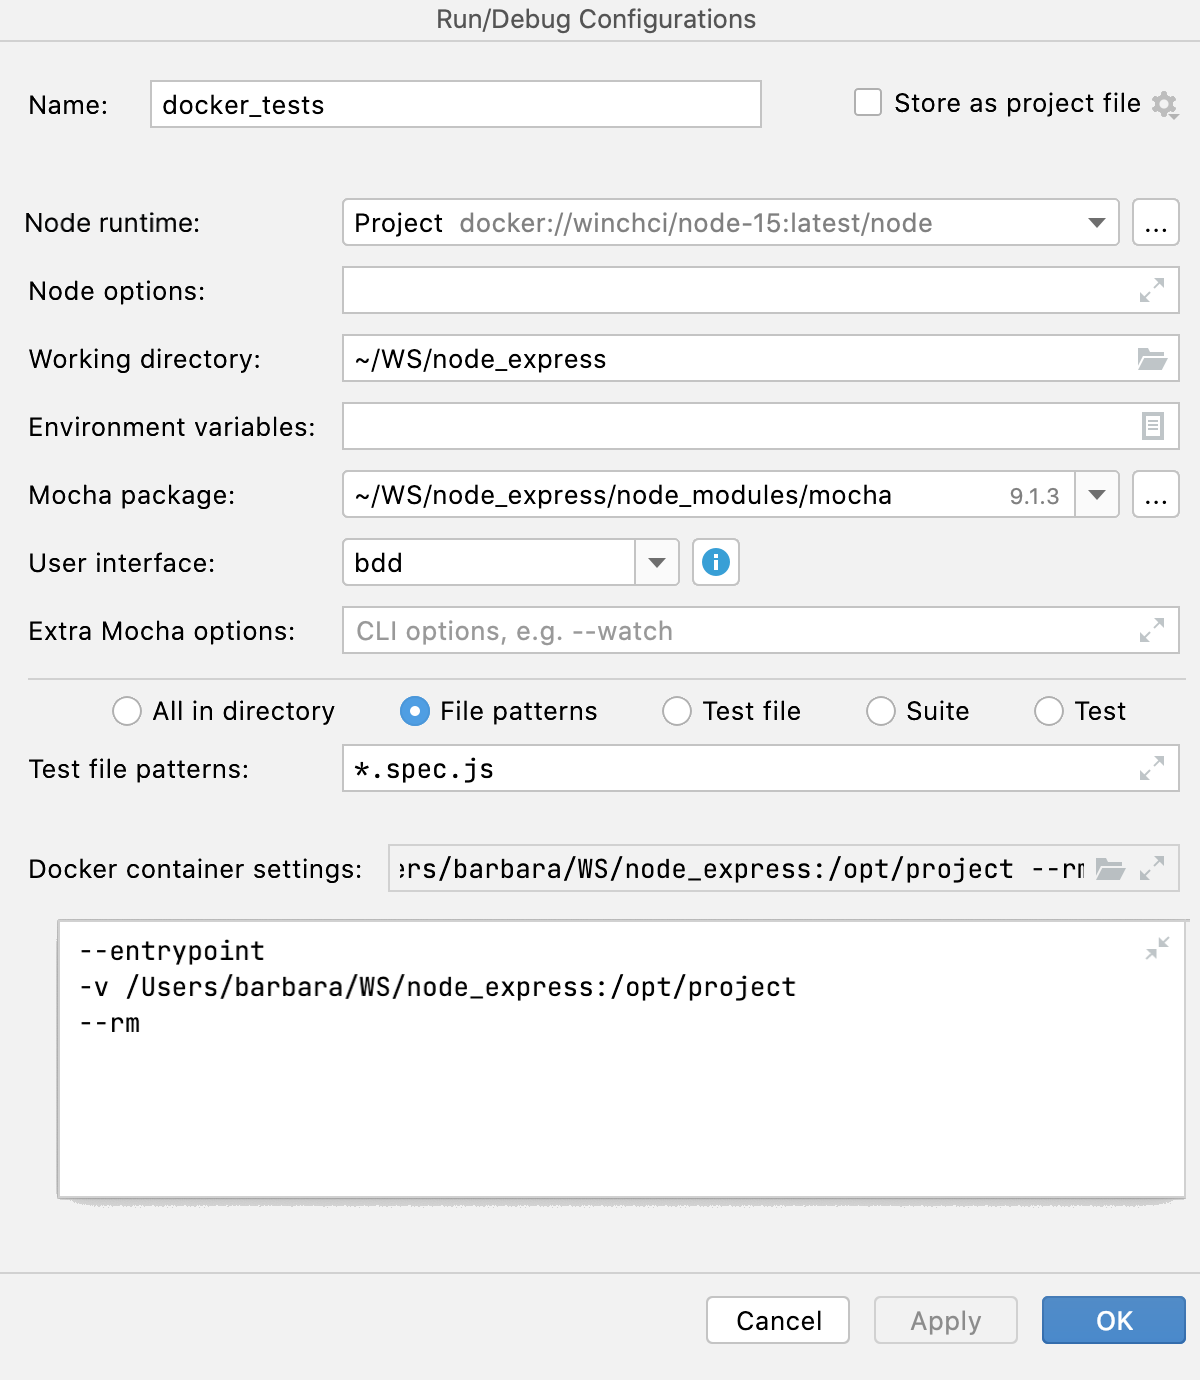 |
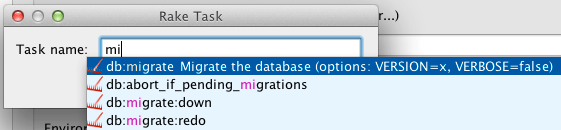
Docker Compose | In this area, specify the commands and options to be passed to Docker Compose. Accept the default settings or click Check the Command Preview. |
 and configure a new one as described in
 to the right of the field and configure a list of variables in the
 ,
 and
 buttons to manage the list of custom variables.
 .
 in the
 to open the command preview.
Common settings
When you edit a run configuration (but not a run configuration template), you can specify the following options:
Item | Description |
|---|---|
Name | Specify a name for the run configuration to quickly identify it among others when editing or running. |
Store as project file | Save the file with the run configuration settings to share it with other team members. The default location is .idea/runConfigurations. However, if you do not want to share the .idea directory, you can save the configuration to any other directory within the project. By default, it is disabled, and IntelliJ IDEA stores run configuration settings in .idea/workspace.xml. |
Stepping tab
On this tab, specify the stepping options.
Some scripts (for example, methods of standard Java classes like System) are skipped by Step into as you normally might not need to debug them. This list can be fine-tuned on the page of the Settings dialog (Ctrl+Alt+S) .
Open the run/debug configuration to launch a debugging session with and switch to the Stepping tab.
To suppress automatic Smart Step Into, clear the Always do smart step into checkbox.
To skip scripts from the
ignoreListfield of the sourcemaps, select the Ignore known third party scripts specified in source maps checkbox.The older Chrome-specific field name
x_google_ignoreListis deprecated but may still be recognized when theignoreListfield is absent. Learn more from the source map specification.To suppress stepping into custom scripts, select the Do not step into scripts with a URL matching the patterns below checkbox and expand the default list of such scripts below. Use
*,?,**and!.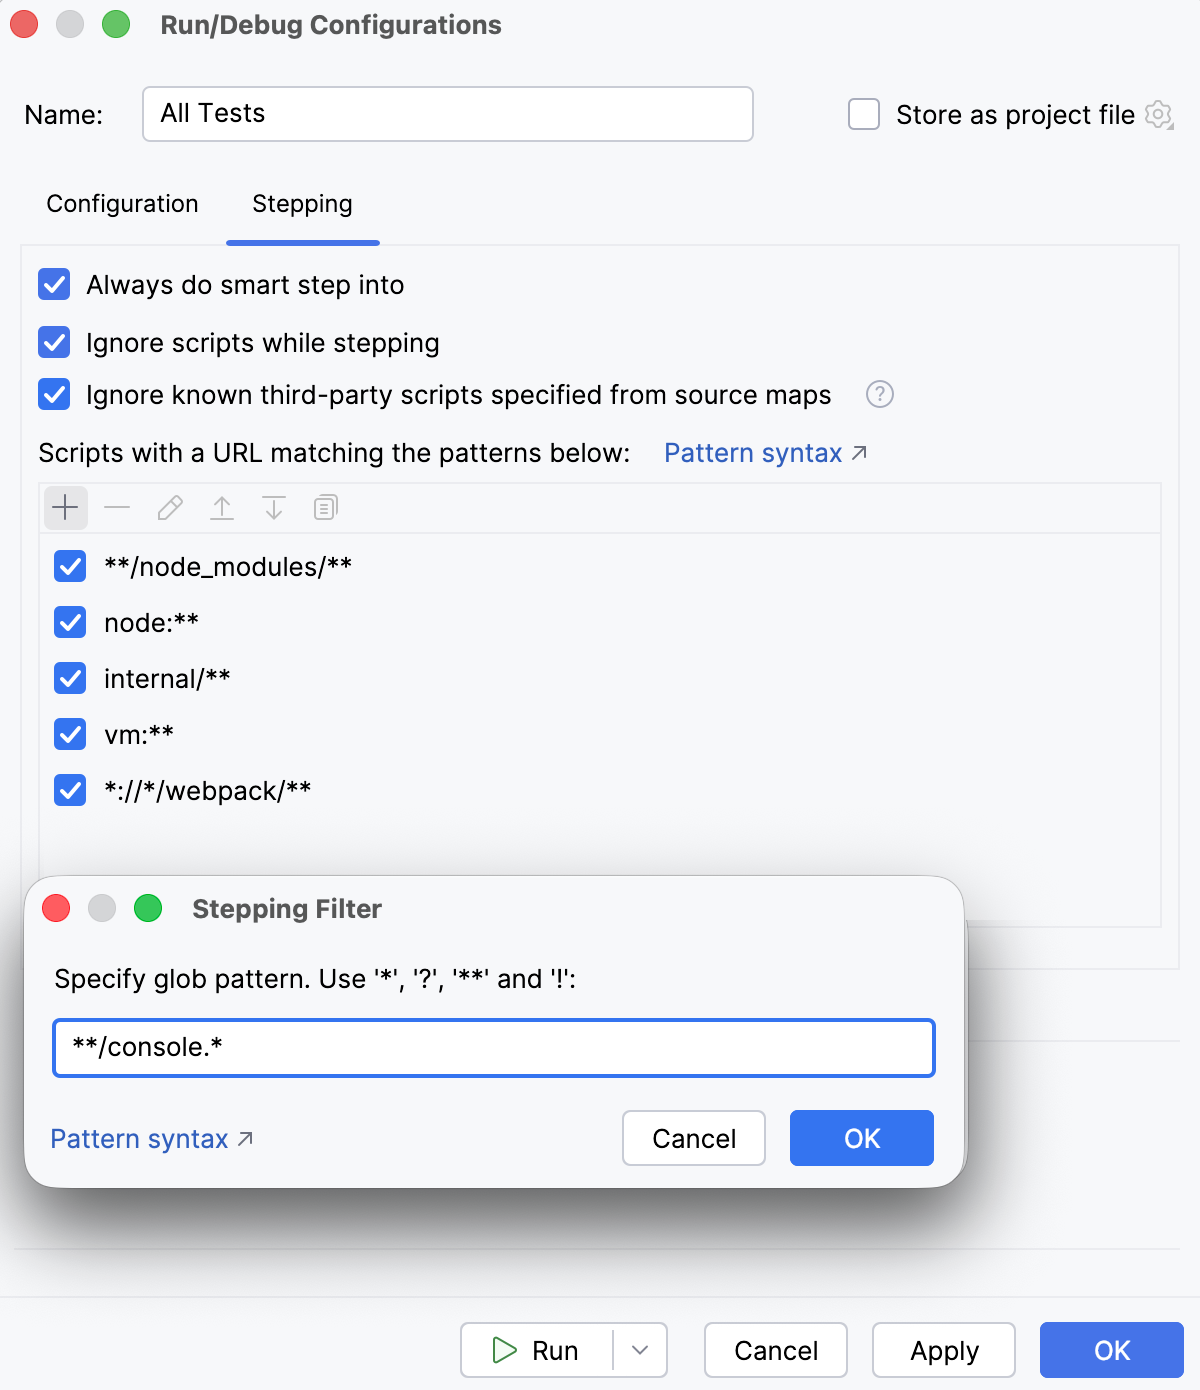
Pattern syntax
The following characters are supported in patterns:
An asterisk
*matches zero or more characters except a slash/. Use this character inside a single path part.A question mark
?matches exactly one character except a slash/.A double asterisk
**as a whole segment matches zero or more path segments. Its meaning depends on its position:As the first part, it matches any leading symbols.
As the last part, it matches any trailing symbols.
In the middle, it matches one or more parts. For example,
a/**/bmatchesa/x/banda/x/y/bbut nota/b.
A trailing double asterisk
**at the end of the last segment (not on its own a full segment, for example,foo**) matches any suffix after that segment. For example,foo**matchesfoo,foobar, andfoo/bar.A pattern that starts with and exclamation mark
!negates the given pattern and modifies the patterns added before it in the list. It does not add a new pattern of its own.
- Example 1
In the pattern list
["**/*.ts", "!**/*.test.ts"], the first glob matches every .ts file. The second pattern modifies the first glob to exclude every .test.ts file from match.- Example 2
A passed URL is split into parts by means of a slash
/. Accordingly,**/node_modules/**is split as follows::Double asterisk
**matches any path before thenode_modulessegment.node_modulesmatches against anode_modulesin the URL.Double asterisk
**matches anything trailing.
As a result, the pattern
**/node_modules/**matches any URL that containsnode_modules.Keep in mind that the URLs of the scripts are matched against the whole pattern. If we remove the second double asterisk
**, the pattern will match any URL that ends withnode_modulesof which there will likely be zero.- Example 3
Skip the second double asterisk
**to match against any pattern that ends with a particular filename.**/app.jsmatches all URLs that end withapp.js.The following pattern list will ignore all scripts in node_modules except those named app.js.
**/node_modules/** !**/app.js
Toolbar
The tree view of run/debug configurations has a toolbar that helps you manage configurations available in your project as well as adjust default configurations templates.
Item | Shortcut | Description |
|---|---|---|
| Alt+Insert | Create a run/debug configuration. |
| Alt+Delete | Delete the selected run/debug configuration. Note that you cannot delete default configurations. |
| Ctrl+D | Create a copy of the selected run/debug configuration. Note that you create copies of default configurations. |
| The button is displayed only when you select a temporary configuration. Click this button to save a temporary configuration as permanent. | |
| Move into new folder / Create new folder. You can group run/debug configurations by placing them into folders. To create a folder, select the configurations within a category, click Then, to move a configuration into a folder, between the folders or out of a folder, use drag or To remove grouping, select a folder and click | |
| Click this button to sort configurations in the alphabetical order. |


 , and specify the folder name. If only a category is in focus, an empty folder is created.
 and
 buttons.

Before launch
In this area, you can specify tasks to be performed before starting the selected run/debug configuration. The tasks are performed in the order they appear in the list.
Item | Shortcut | Description |
|---|---|---|
| Alt+Insert | Click this icon to add one of the following available tasks:
|
| Alt+Delete | Click this icon to remove the selected task from the list. |
| Enter | Click this icon to edit the selected task. Make the necessary changes in the dialog that opens. |
| Alt+Up Alt+Down | Click these icons to move the selected task one line up or down in the list. The tasks are performed in the order that they appear in the list. |
Show this page | Select this checkbox to show the run/debug configuration settings prior to actually starting the run/debug configuration. | |
Activate tool window | By default this checkbox is selected and the Run or the Debug tool window opens when you start the run/debug configuration. Otherwise, if the checkbox is cleared, the tool window is hidden. However, when the configuration is running, you can open the corresponding tool window for it yourself by pressing Alt+4 or Alt+5. |