RuboCop
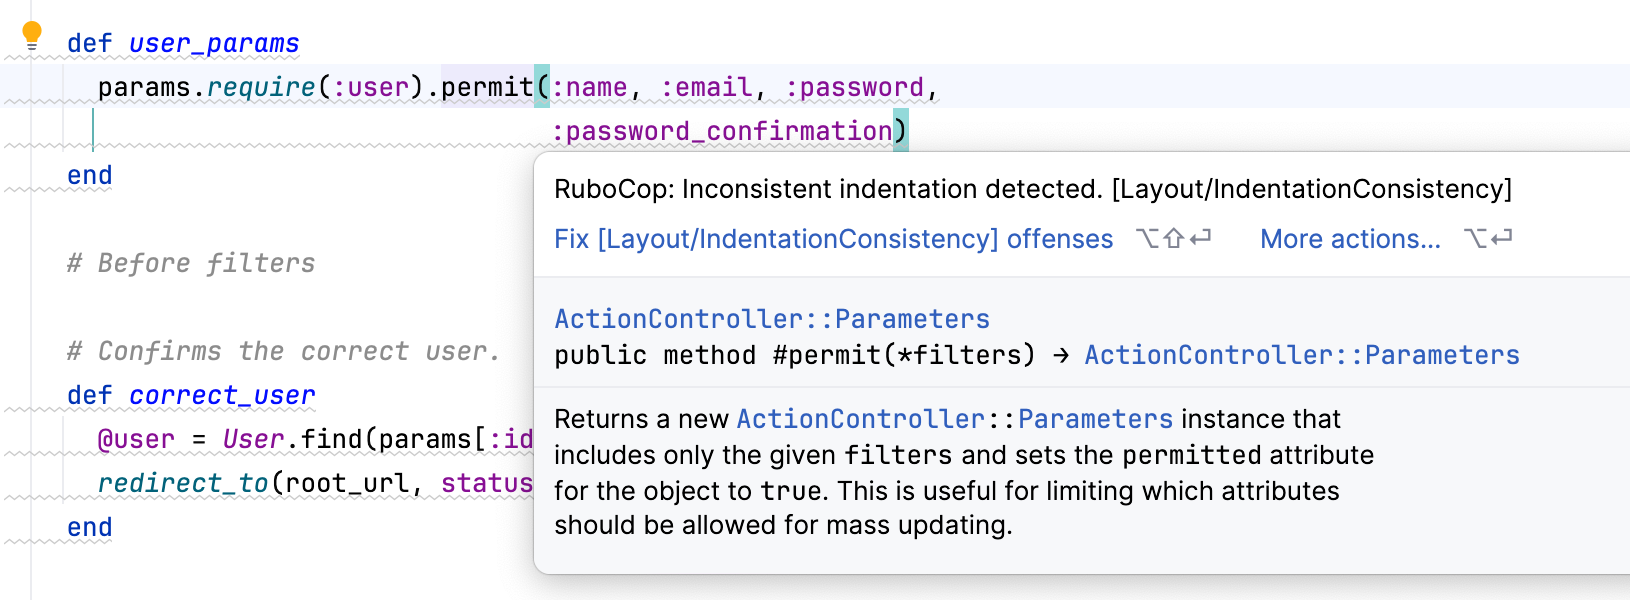
IntelliJ IDEA supports integration with RuboCop and enables you to fix its offenses right inside the IDE, for example, in the code editor.
You can also check the entire project and display all RuboCop warnings in a single report.
If necessary, you can enable the Standard wrapper and use it for analyzing project sources.
Install RuboCop/Standard gems
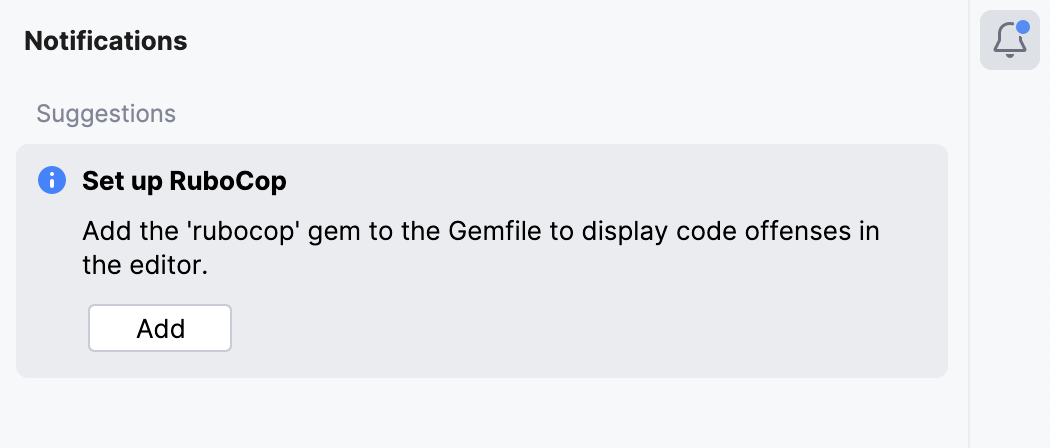
The RuboCop inspection is enabled in IntelliJ IDEA by default and requires the 'rubocop' gem to be installed in the project’s SDK. If this gem is not installed, IntelliJ IDEA will suggest doing this.
If you want to use Standard to analyze your project, add the 'standard' gem to your Gemfile and install it.
Enable/Disable RuboCop and Standard inspections
To enable or disable RuboCop and Standard inspections, do the following:
Open the Settings dialog Ctrl+Alt+S.
Go to the page and enable/disable the RuboCop inspection under .
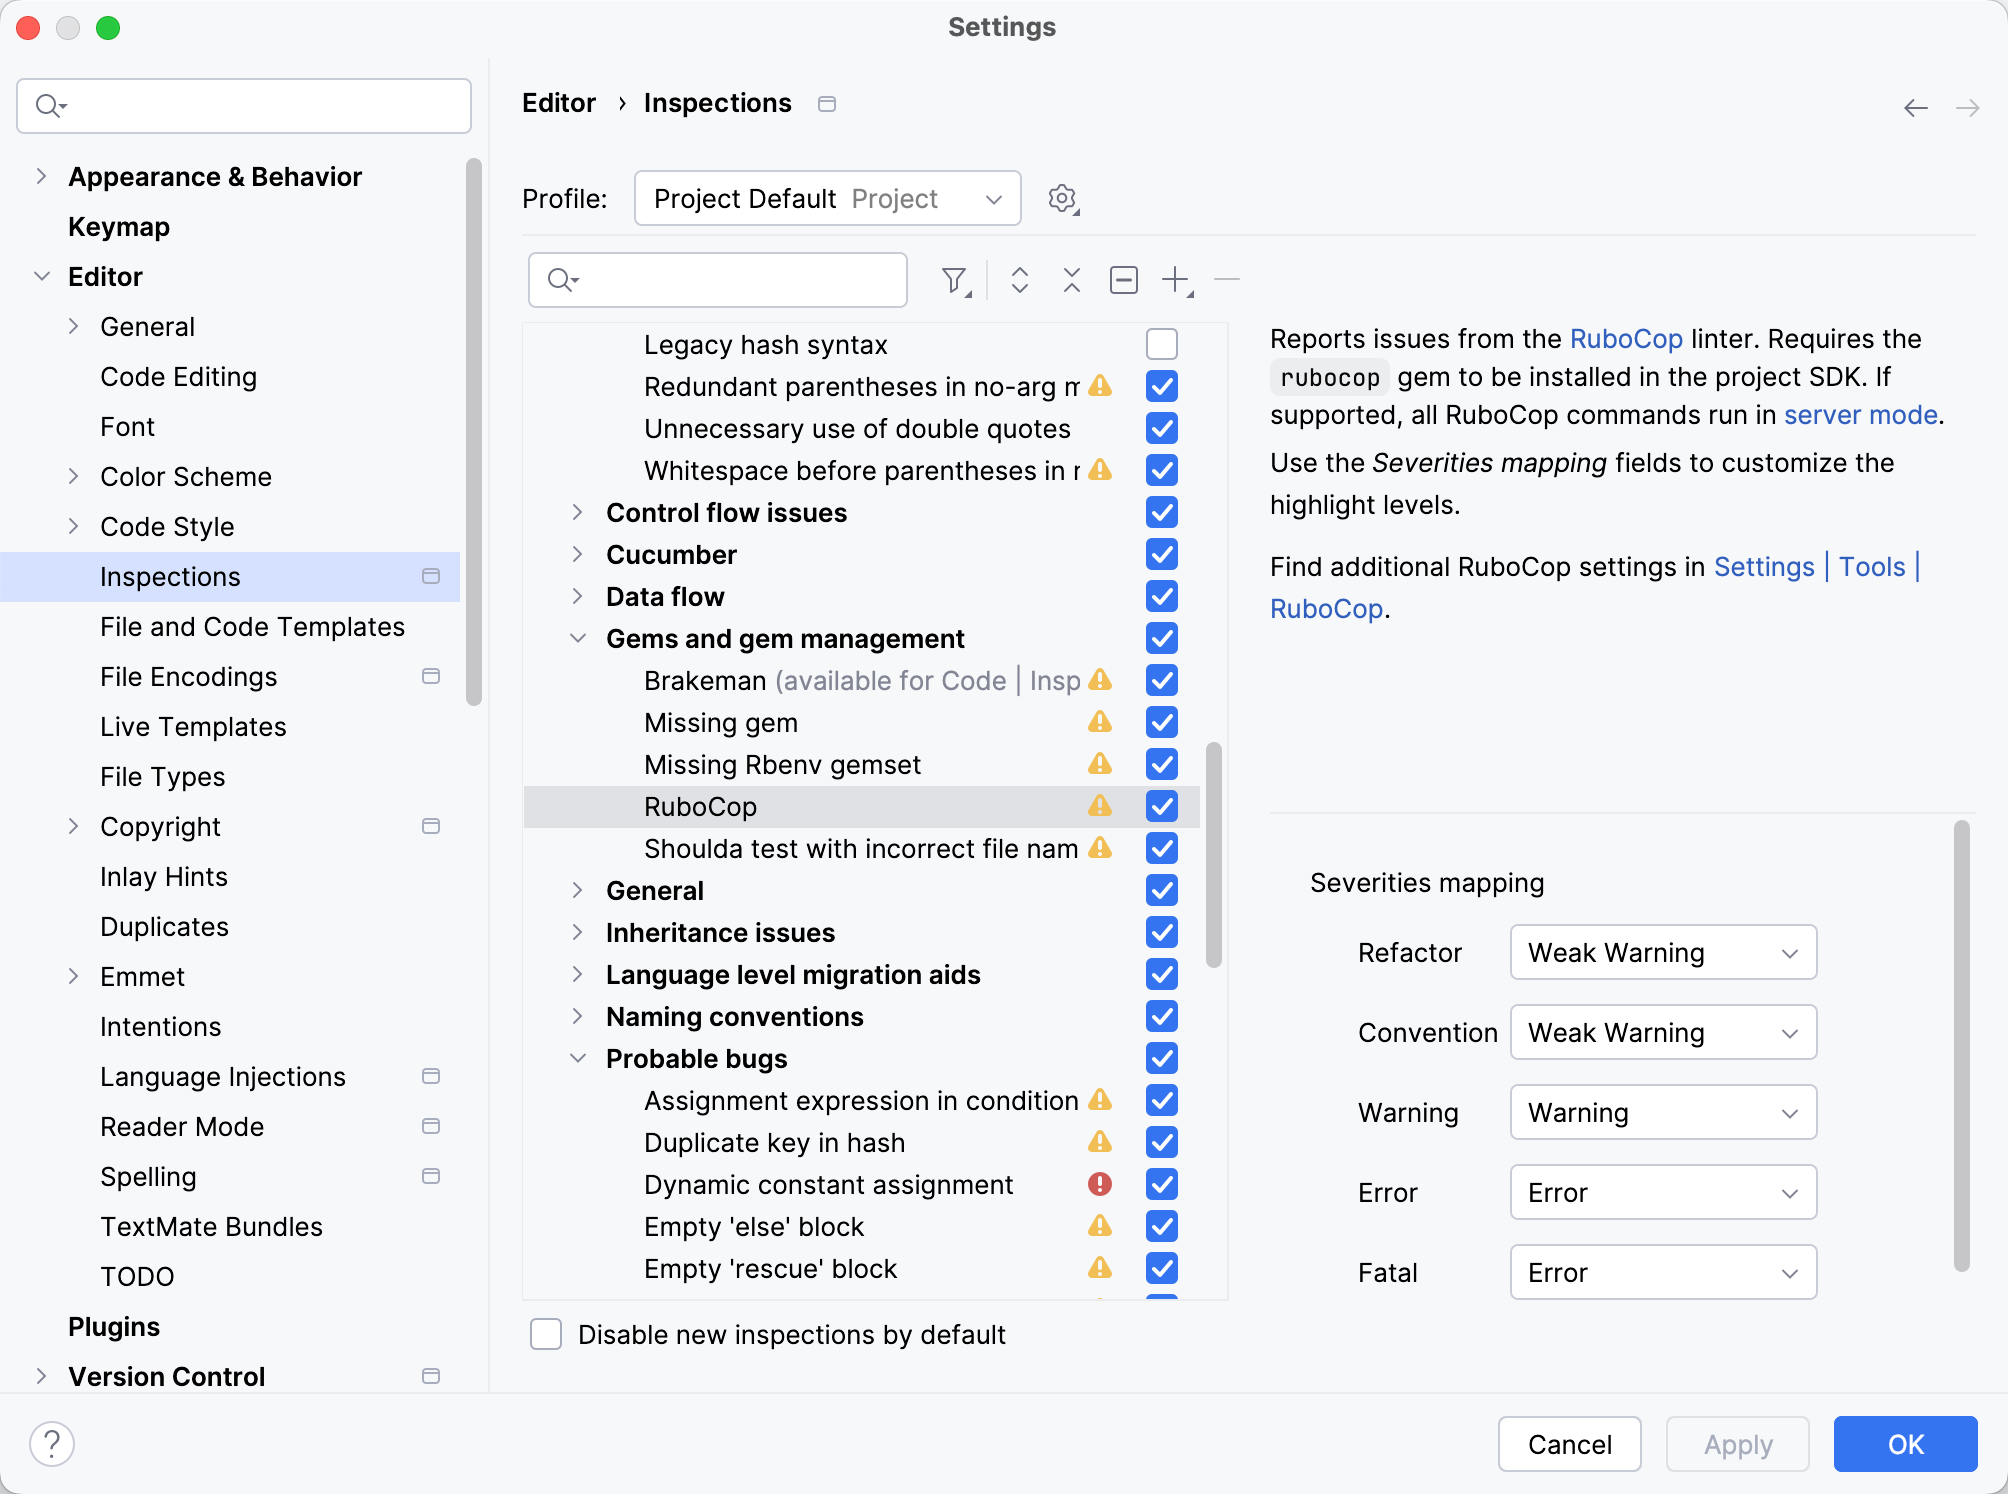
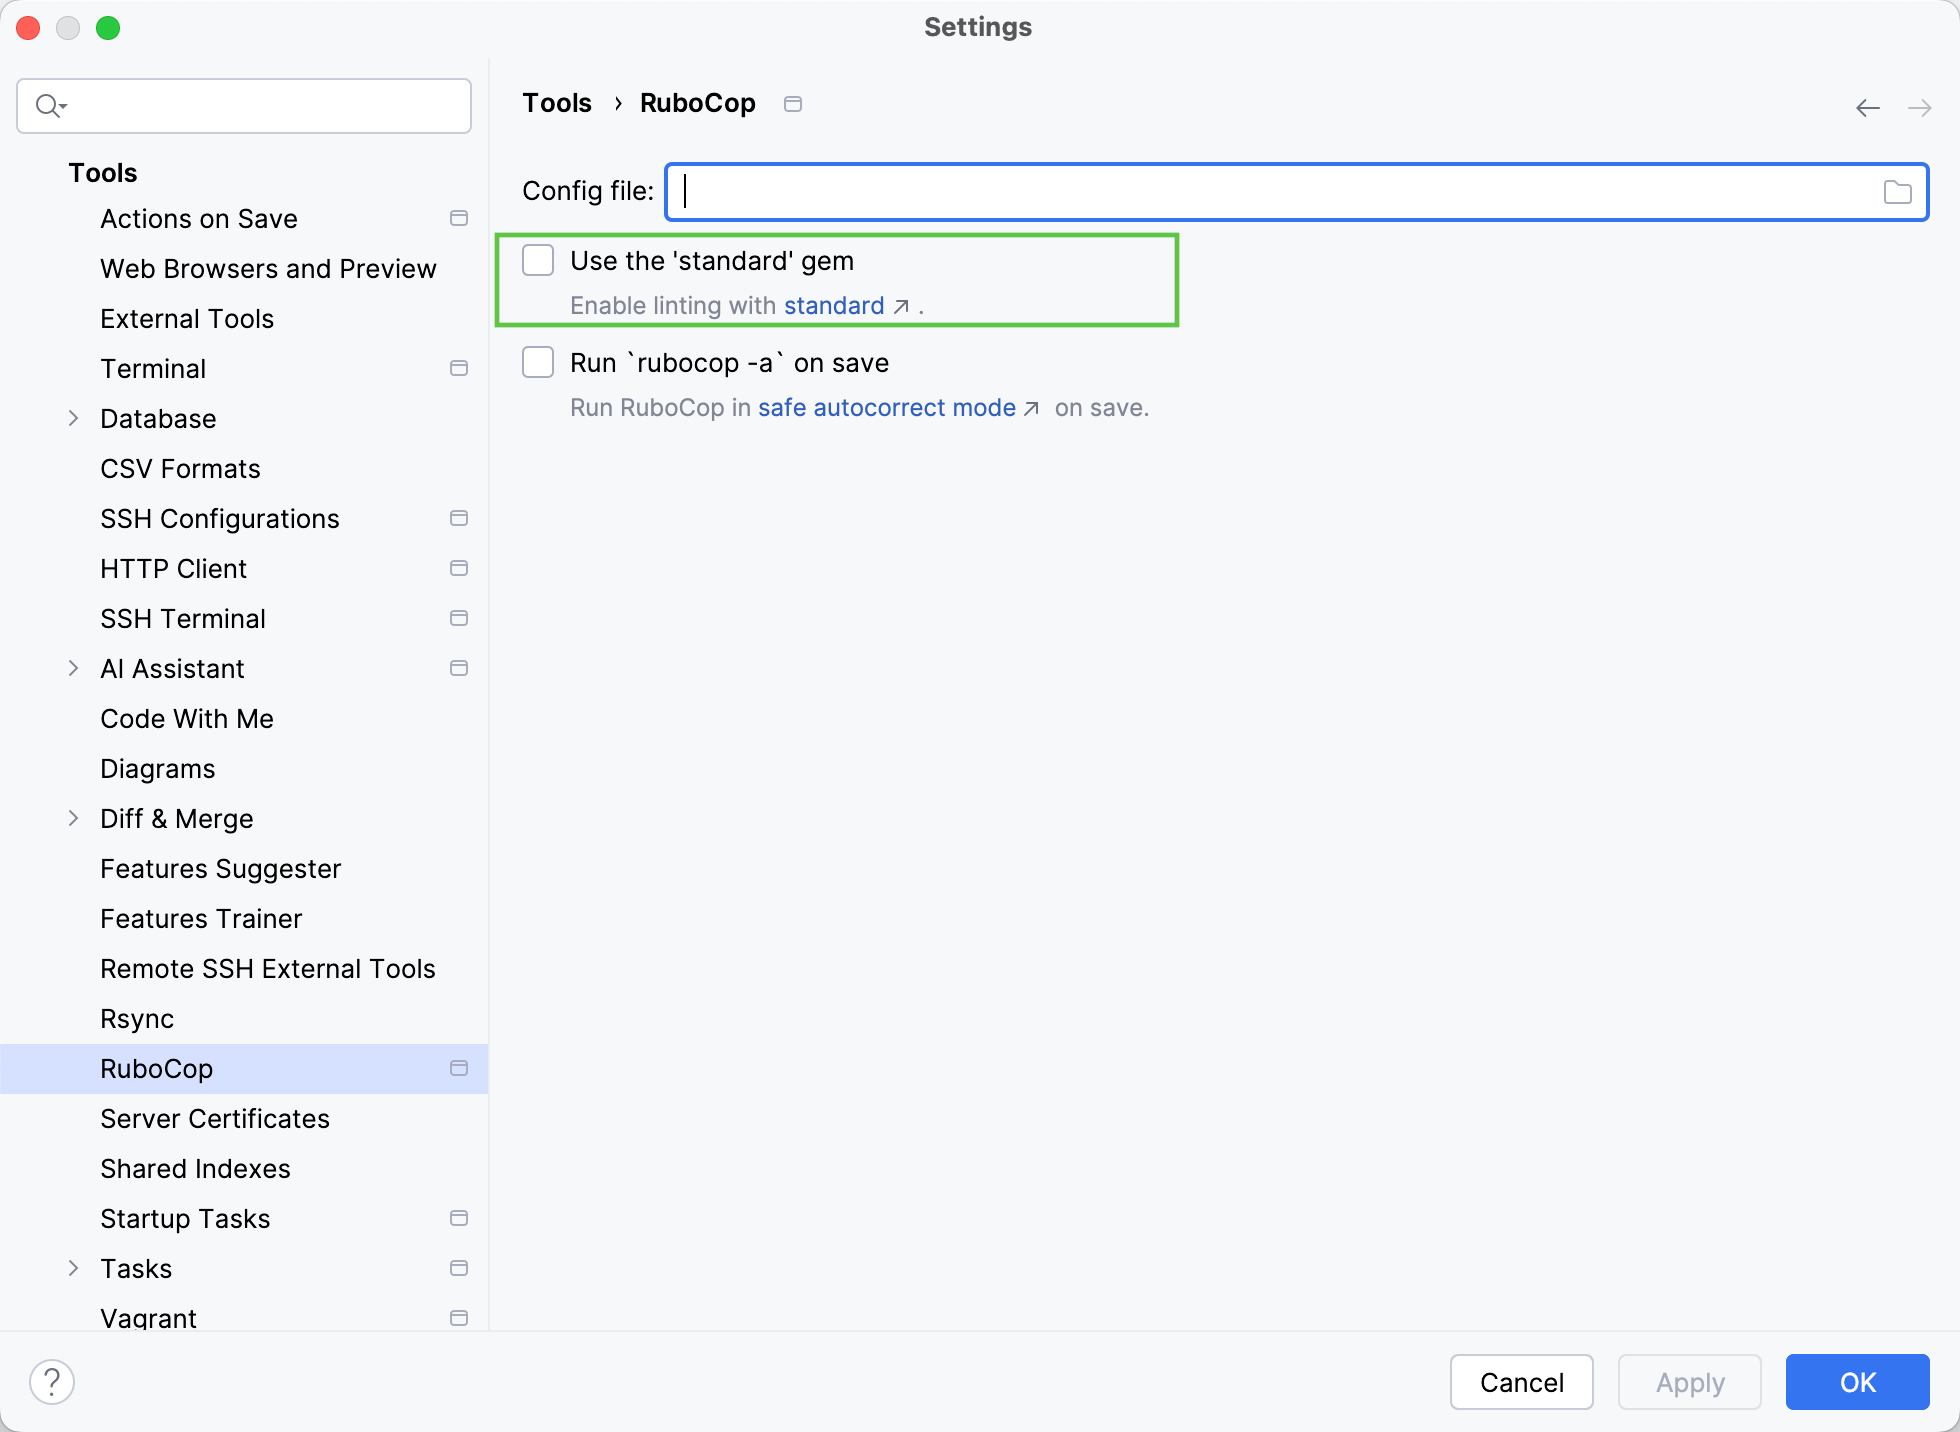
To use the Standard linter and formatter, go to the page and enable the Use 'standard' gem option.
Fix RuboCop offenses in the editor
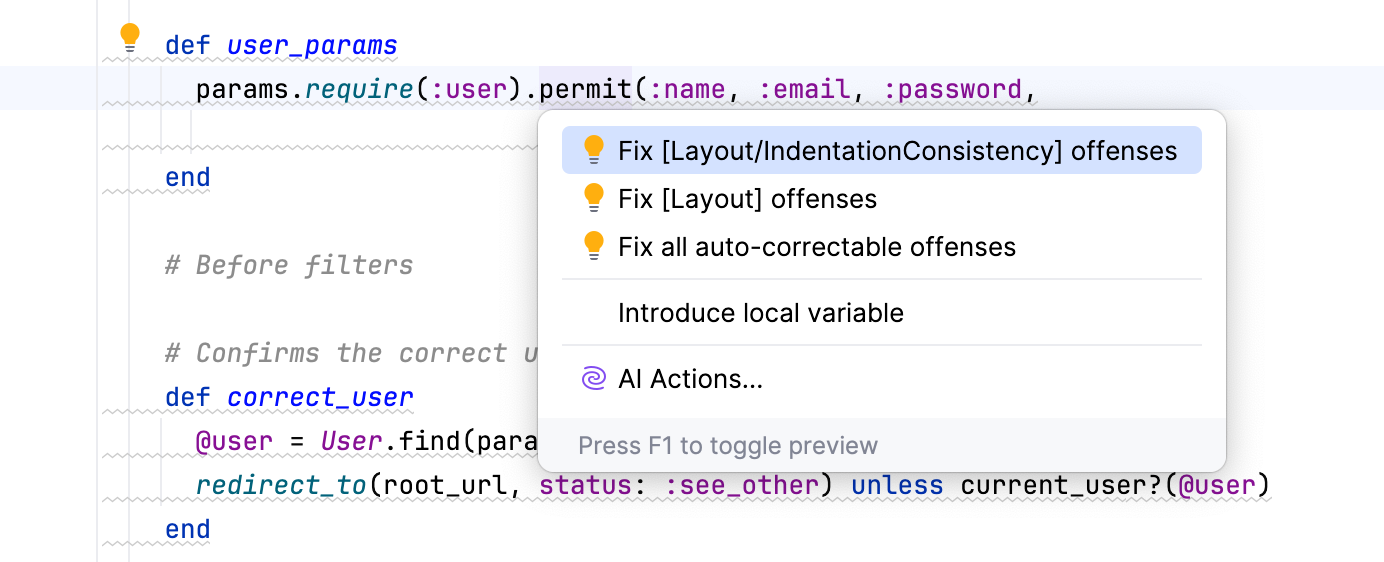
When RuboCop inspections are enabled, IntelliJ IDEA highlights its offenses in the code editor. To see the warning description and fix it, do the following:
Place the caret at the highlighted area and press Ctrl+F1.

To fix the offense, press Alt+Enter. You can fix all suggested offenses in a file, or you can apply only specific fixes by a class offense or cop department.
Run Rubocop inspection
IntelliJ IDEA enables you to find RuboCop offenses for the entire project by running a corresponding inspection. To do this, follow the steps below:
Press Ctrl+Alt+Shift+I or go to in the main menu.
In the popup, find RuboCop and press Enter.
In the Run 'RuboCop' dialog, specify the scope of files that you want to analyze. If necessary, enable Use 'standard' gem. Click OK.
Wait until IntelliJ IDEA analyzes your project. In the Inspection Results tool window, you can explore RuboCop offenses and fix auto-correctable ones using the Fix all auto-correctable RuboCop offenses button.
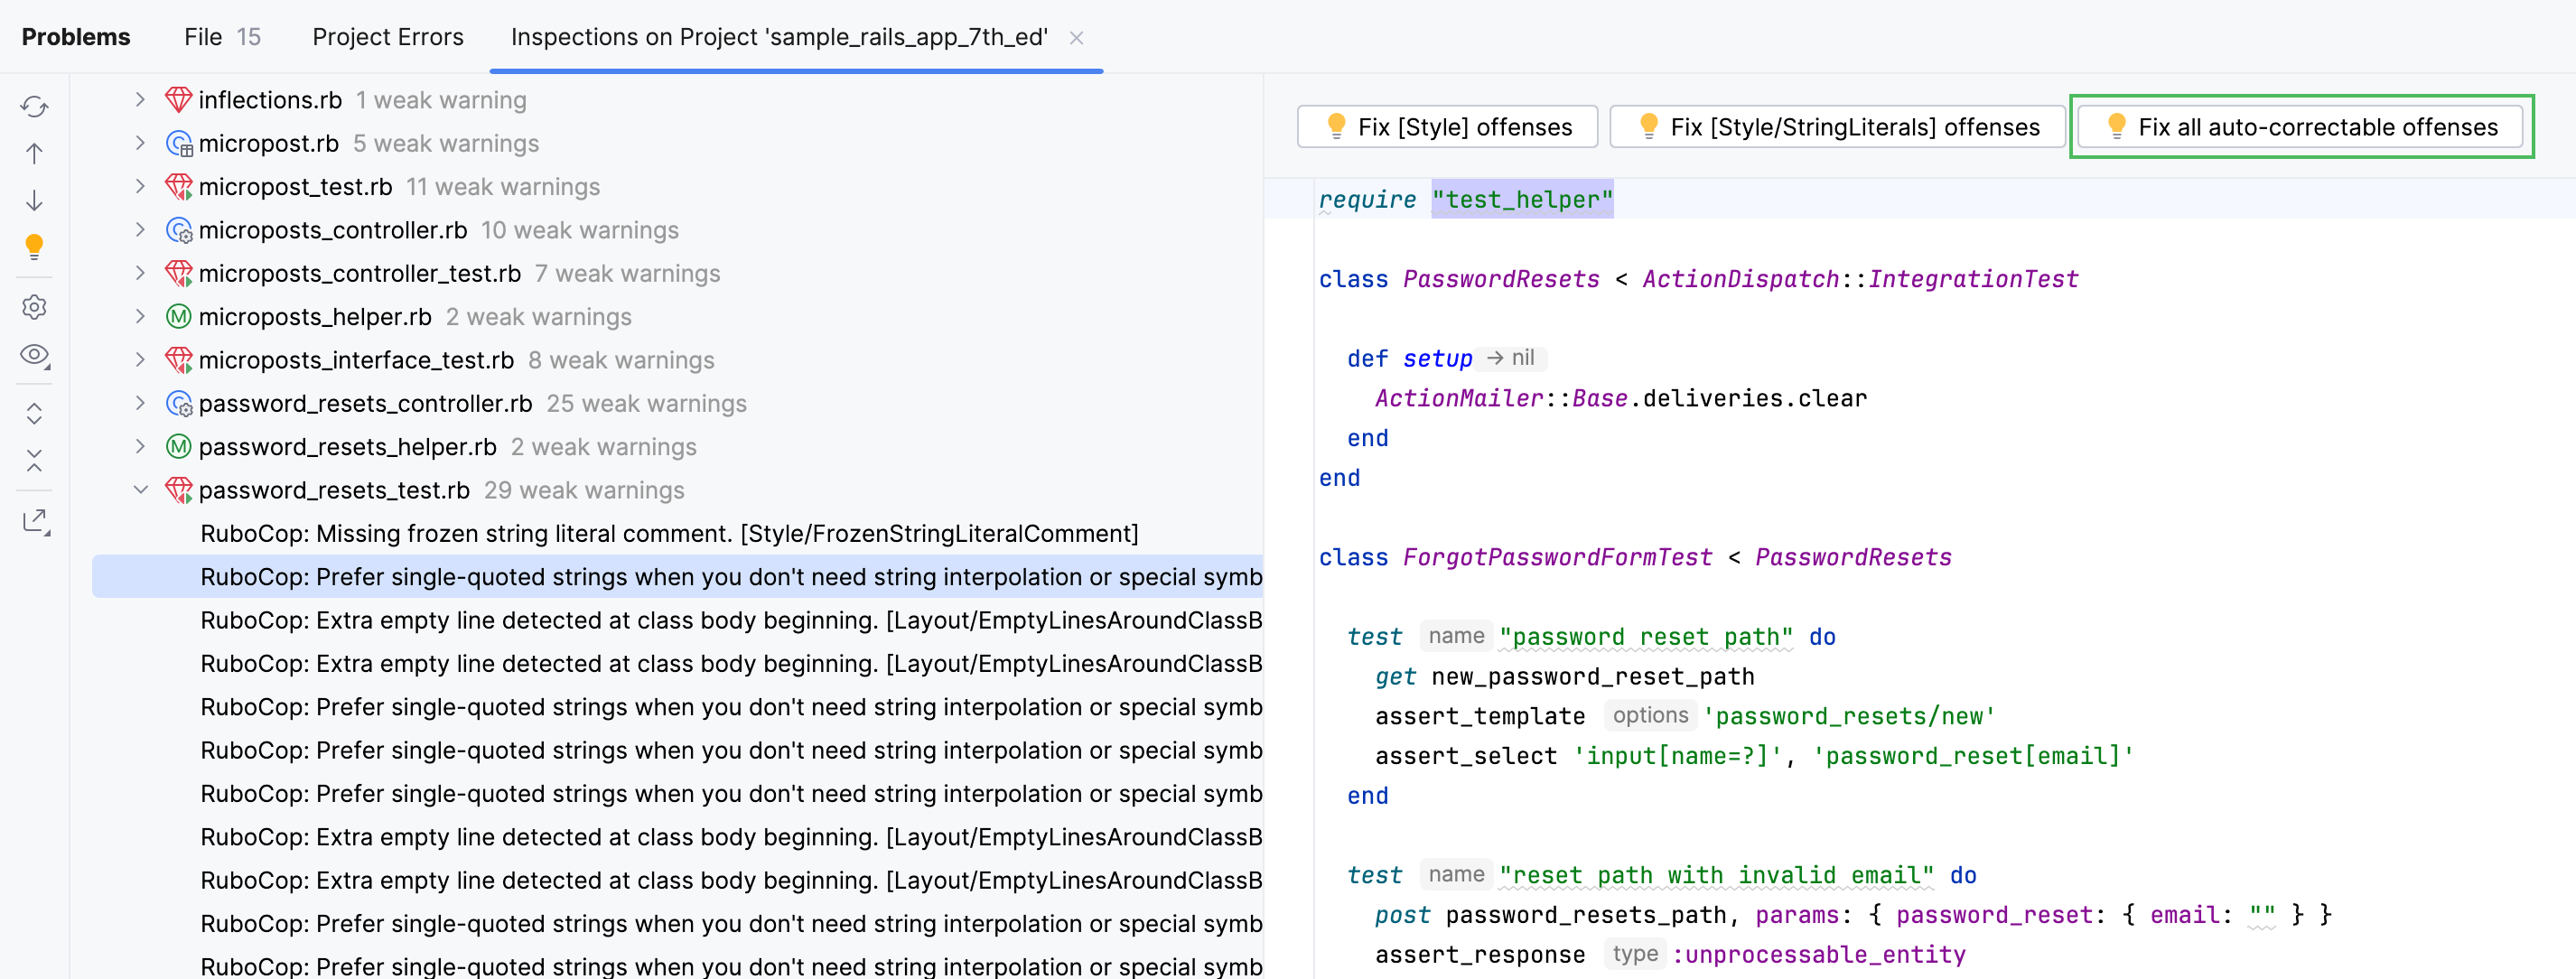
You can also explore individual files and apply specific fixes by a class offense or cop department.

Run RuboCop on save
You can configure IntelliJ IDEA to automatically launch RuboCop and autocorrect your code in safe mode every time you save your changes.
In the Settings dialog (Ctrl+Alt+S) , select .
Select the Run `rubocop -a` on save option to enable RuboCop autocorrection on save.
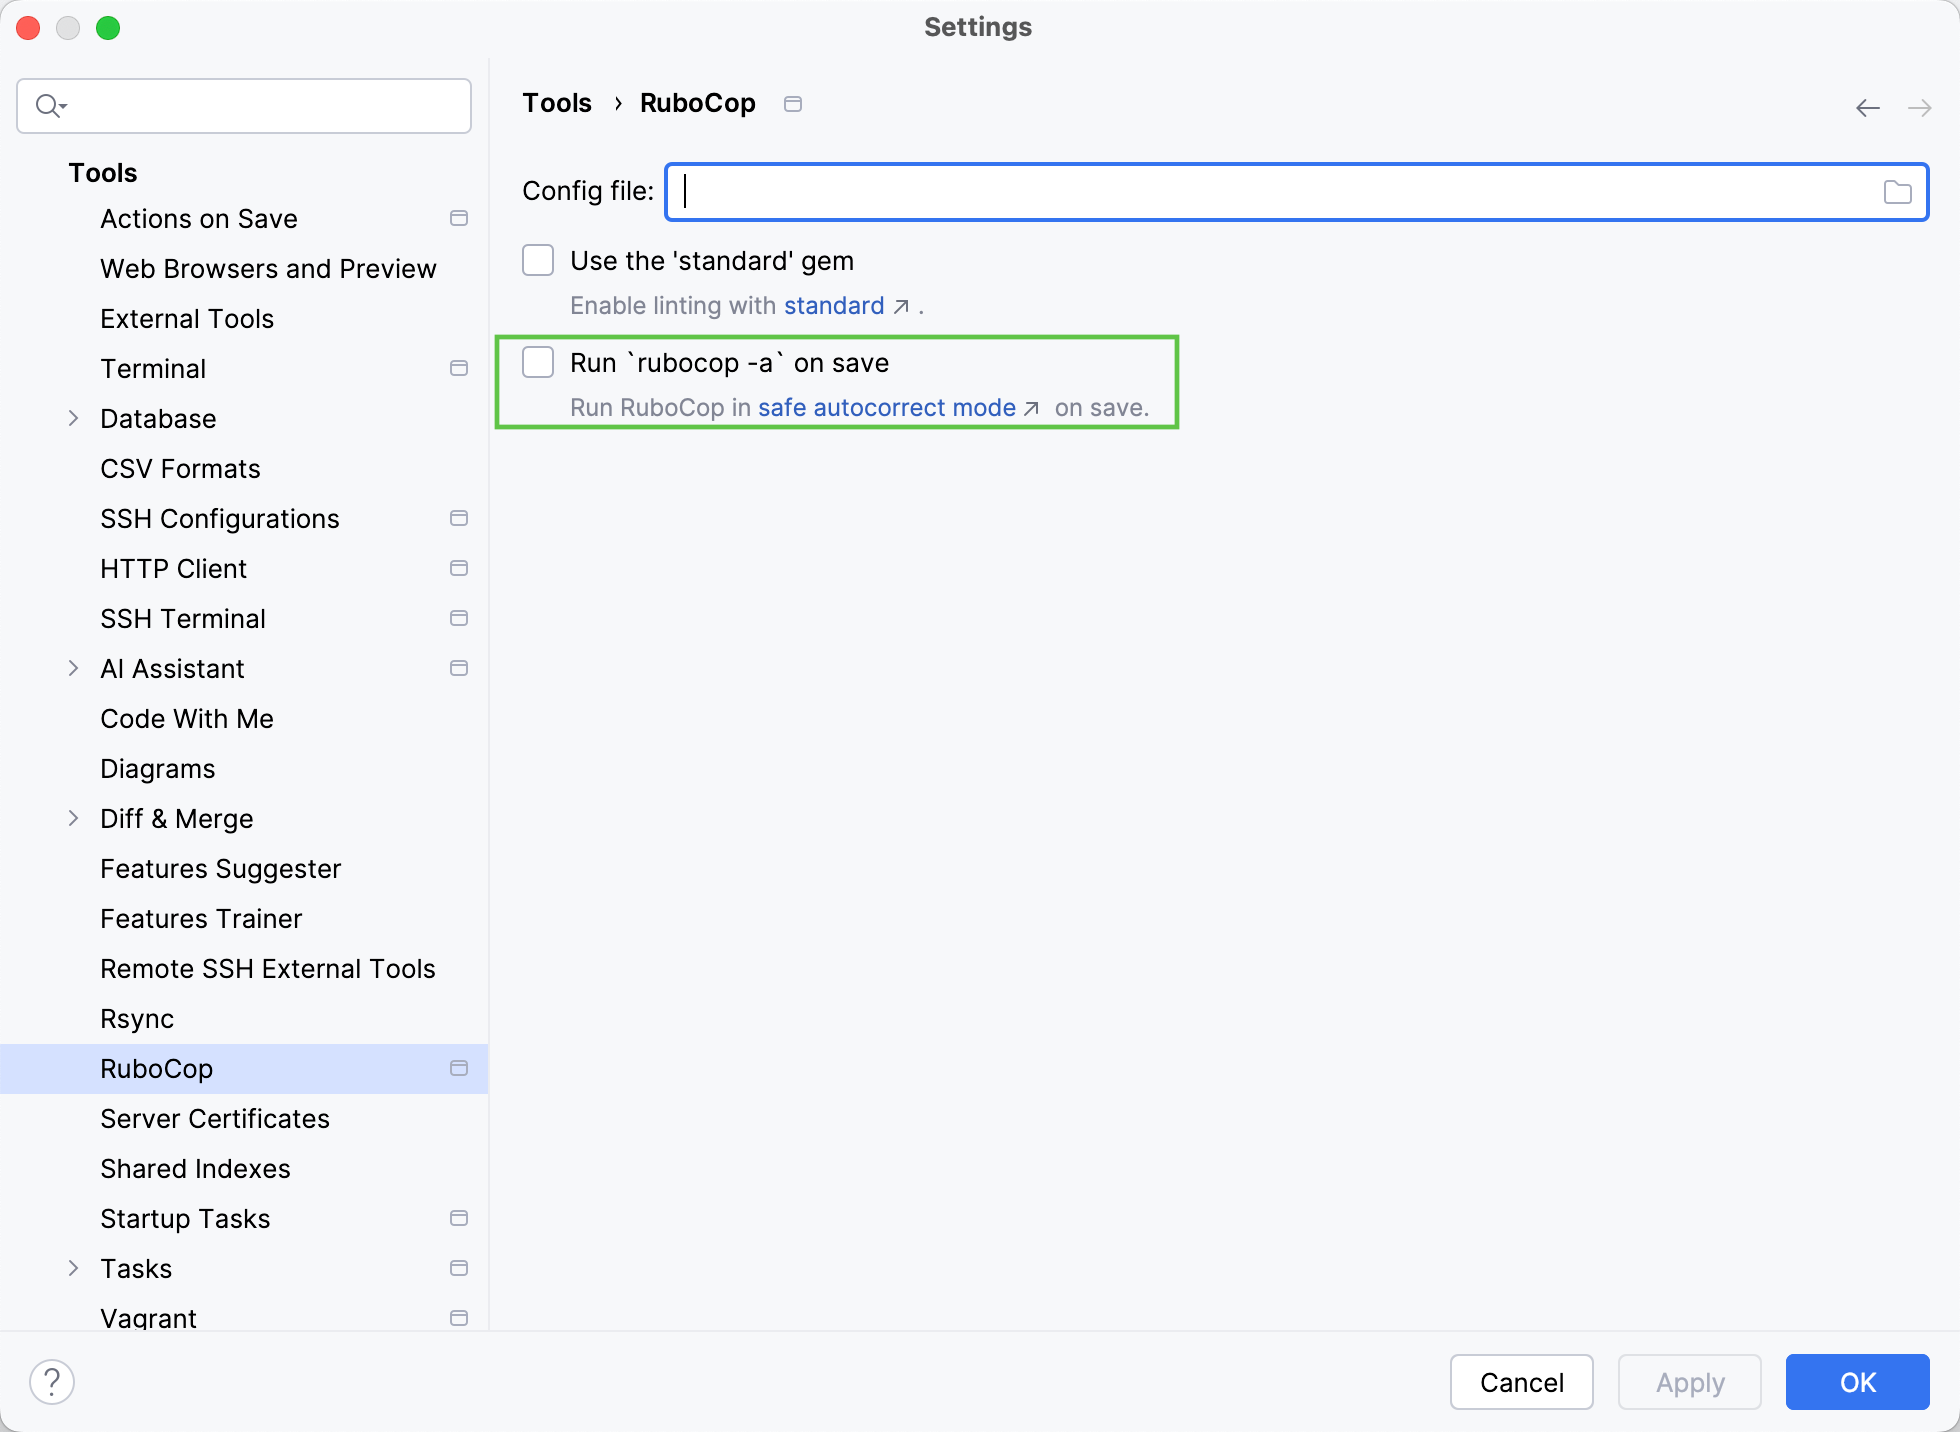
Click OK to apply the changes.
Map RuboCop and IDE severities
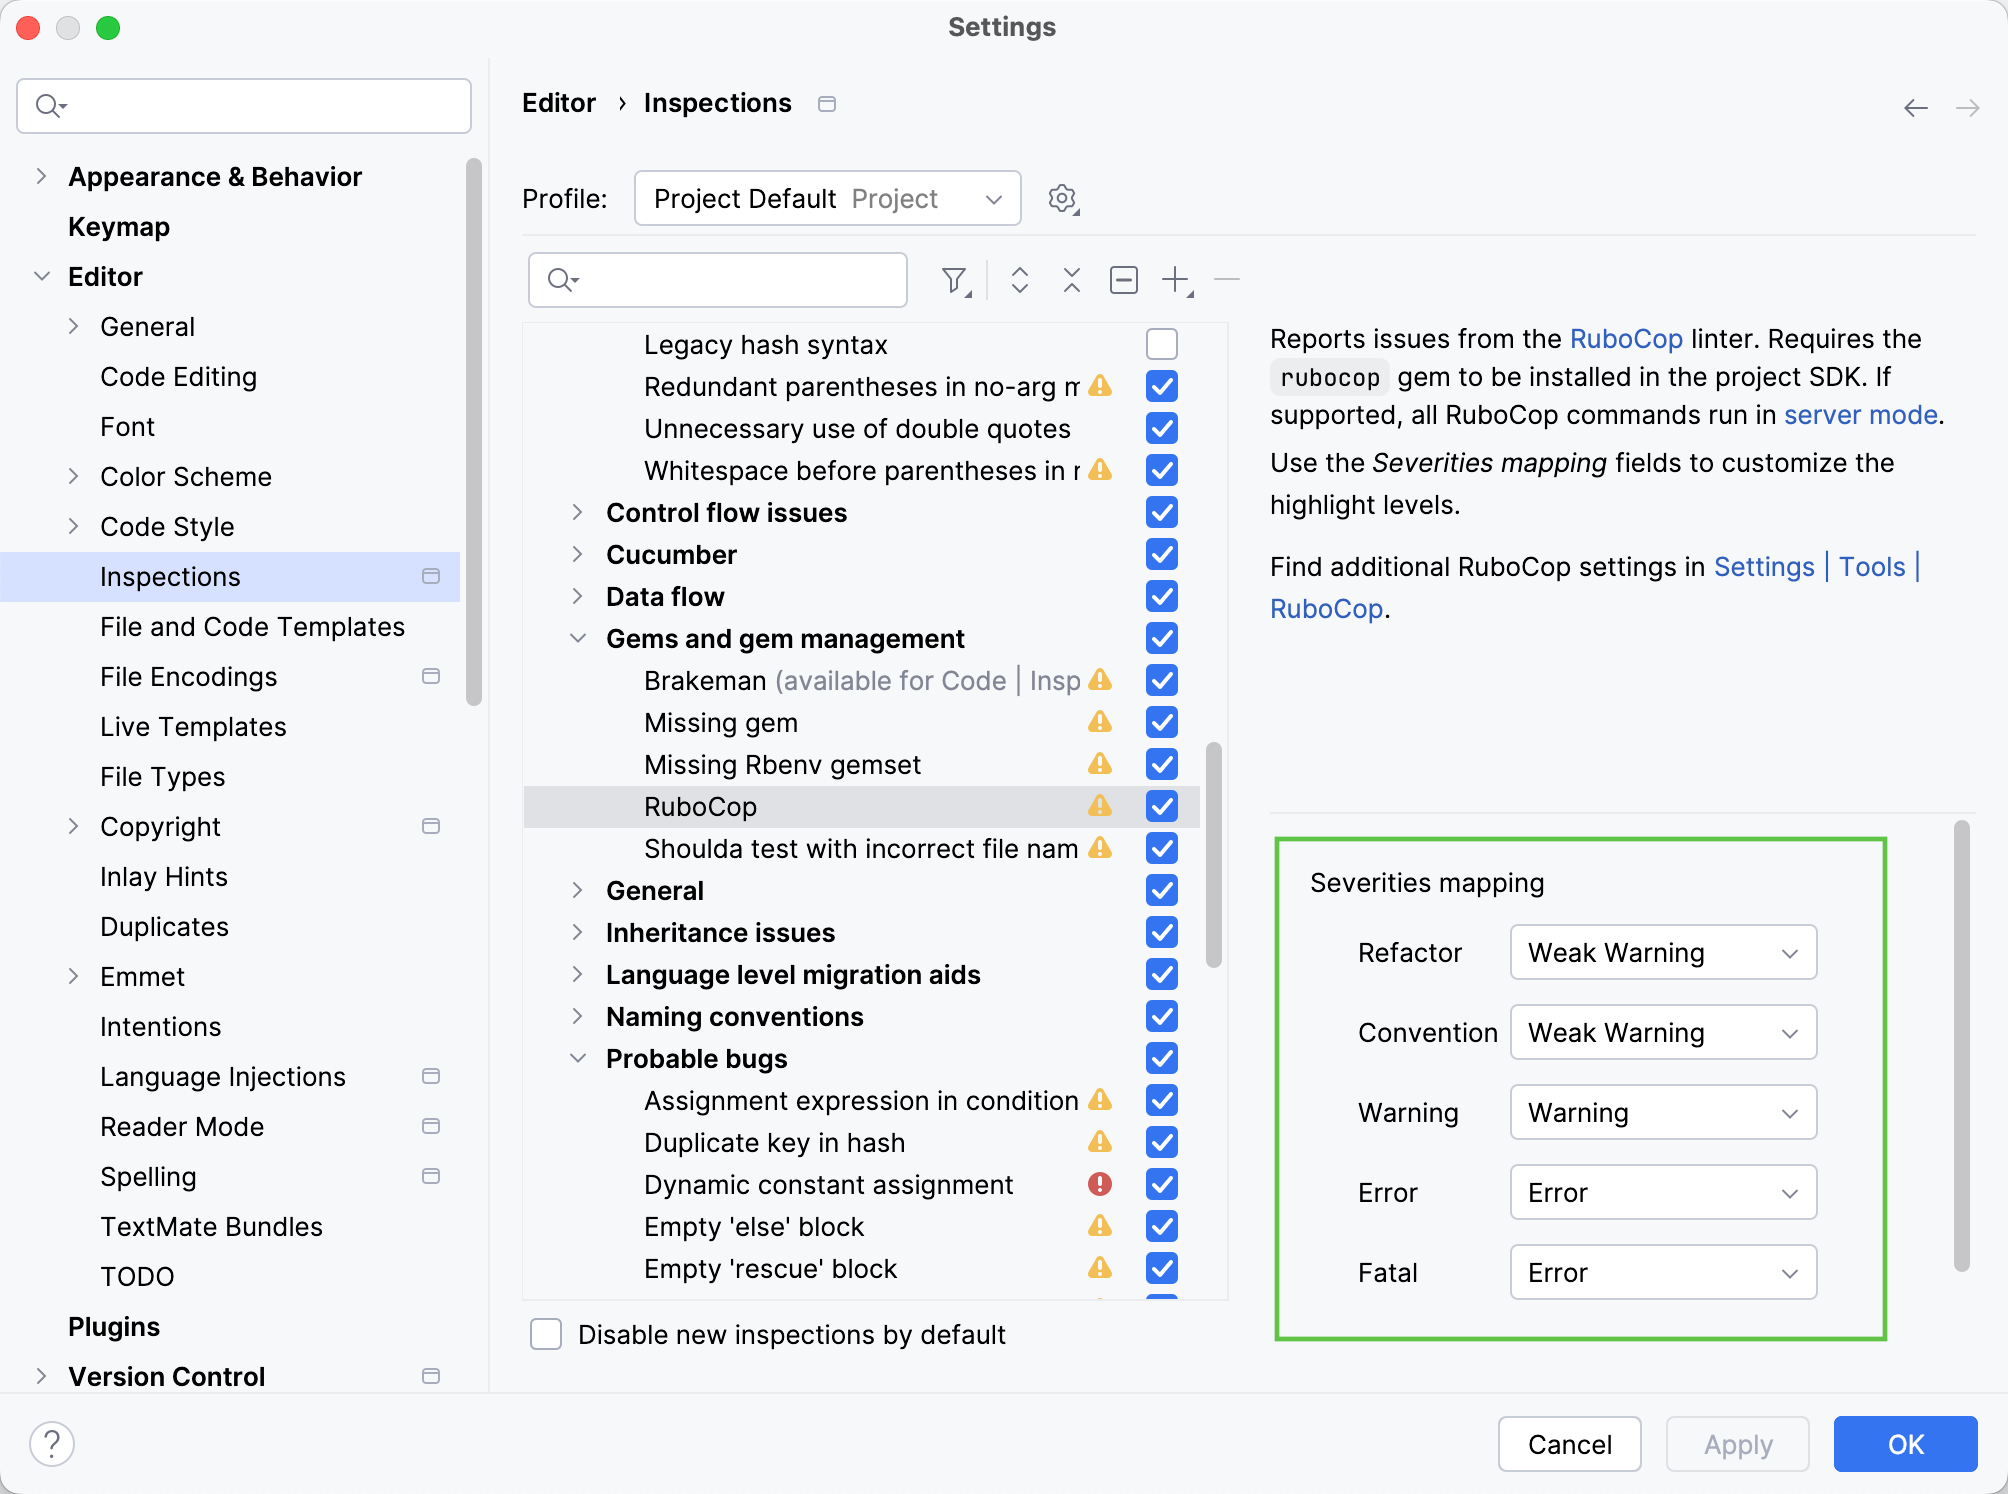
By default, IntelliJ IDEA maps RuboCop severities and inspection severities in the following way:
RuboCop severity | Inspection severity |
|---|---|
Refactor, Convention | Weak Warning |
Warning | Warning |
Error, Fatal | Error |
To change the default mapping, follow the steps below:
Open the Settings dialog Ctrl+Alt+S.
Go to the page and select the RuboCop inspection.
Configure how RuboCop severities map to inspection severities in the RuboCop Severities Mapping group.
RuboCop Configuration files
RuboCop allows you to customize its behavior through configuration files. IntelliJ IDEA automatically detects .rubocop.yml file and uses it to run the inspection. Alternatively, you can specify a custom configuration file for the inspection.
.rubocop.yml
IntelliJ IDEA takes into account all settings specified in the .rubocop.yml file. For example, if you disable some checks for a specified cop department, the editor will not show corresponding offenses. Moreover, these offenses won't be shown in the RuboCop inspection report.
Custom RuboCop configuration
To specify a custom RuboCop configuration file:
In the Settings dialog (Ctrl+Alt+S) , select .
Specify the configuration file in the Config file field.
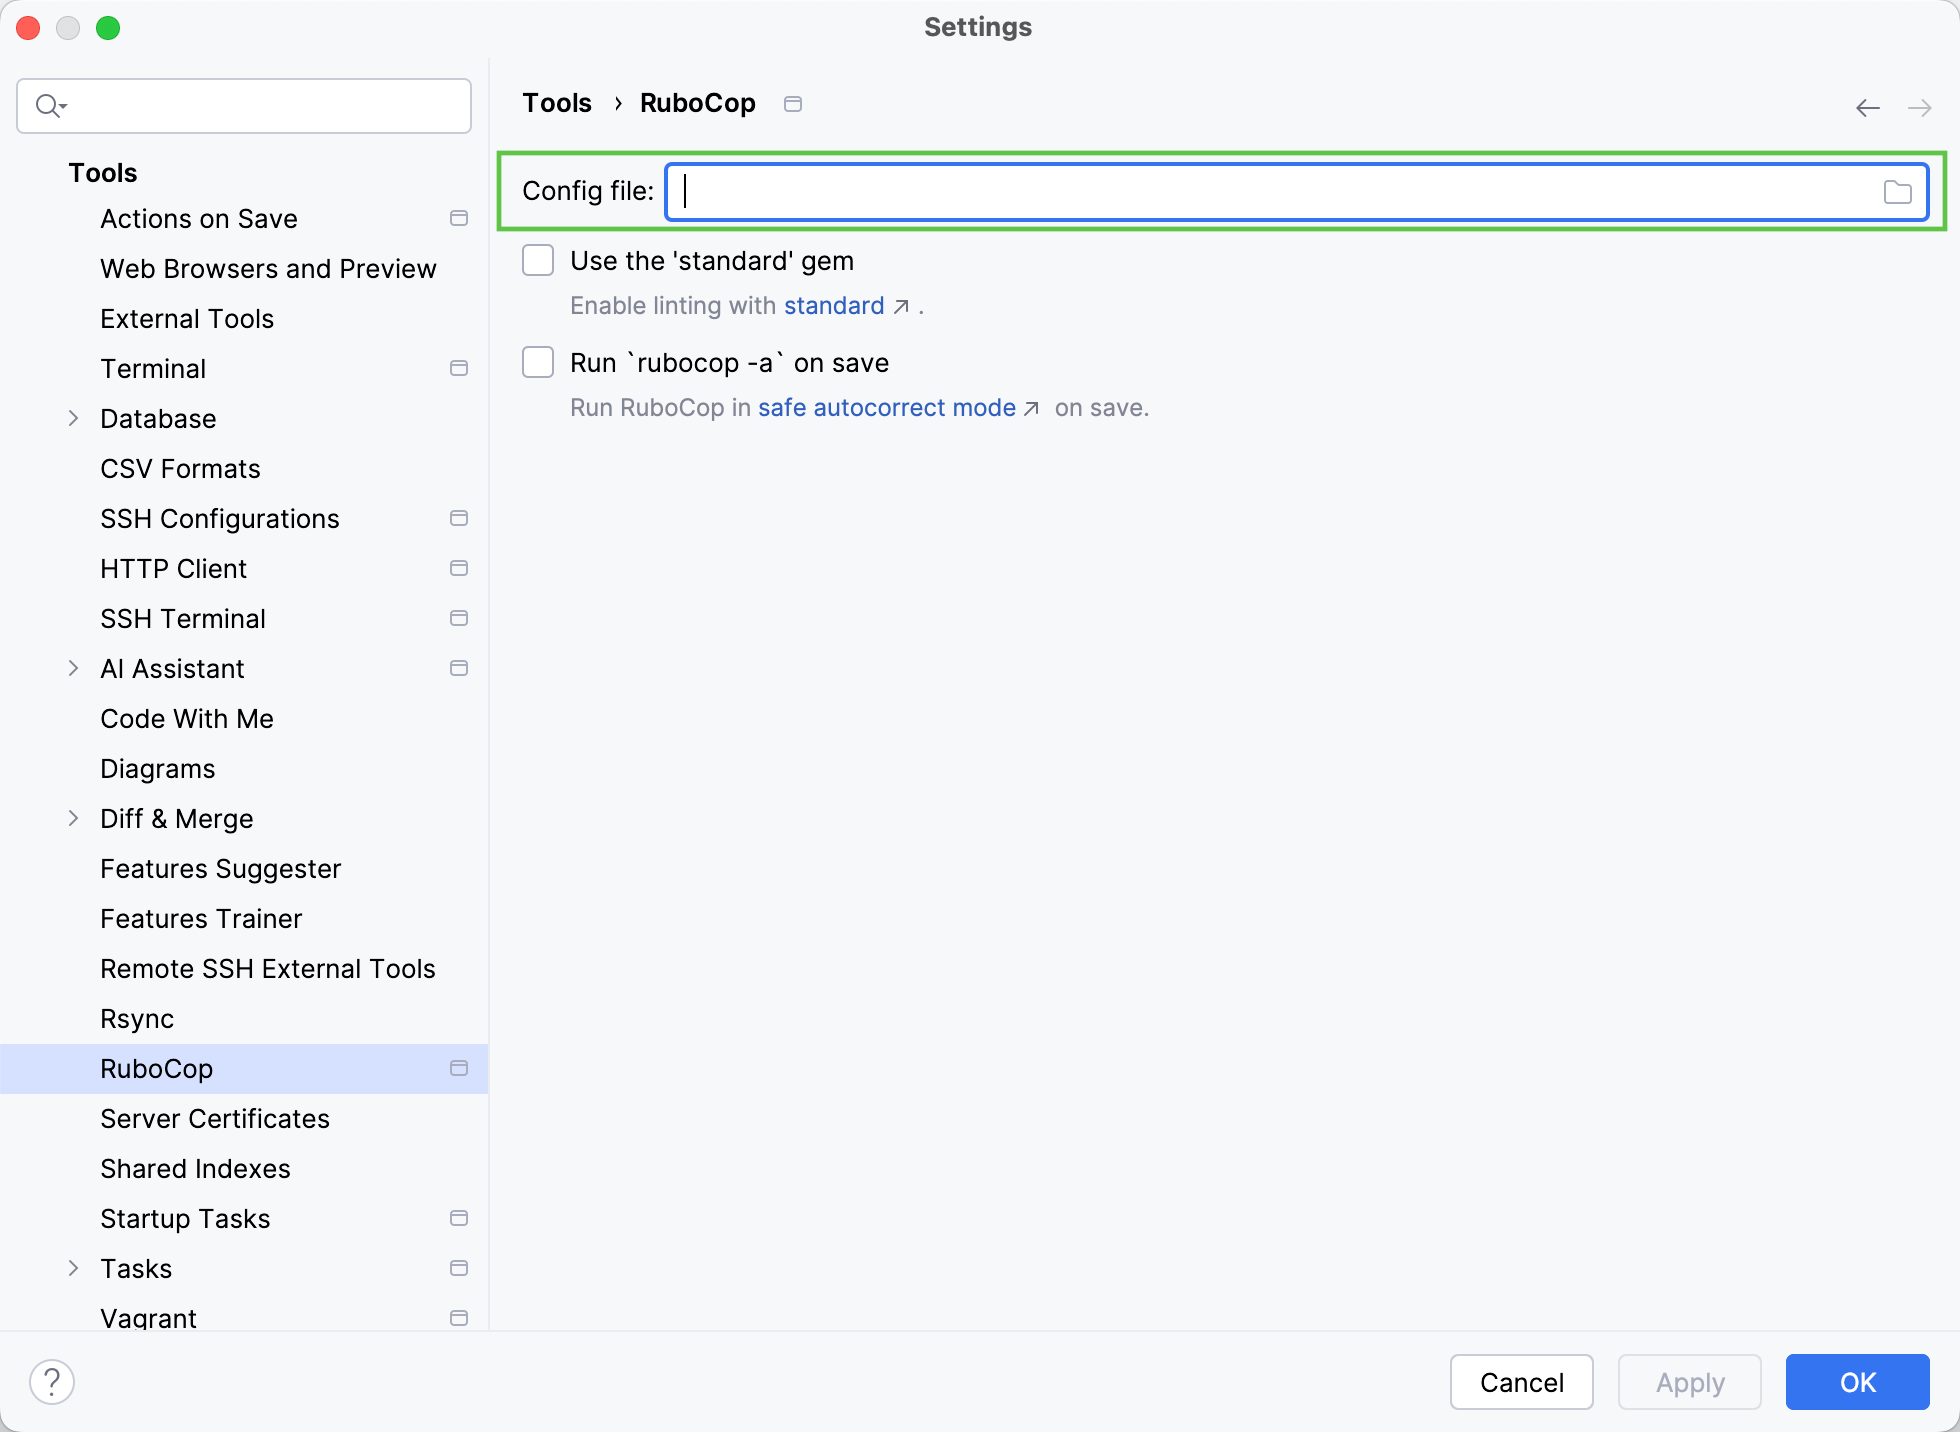
If no configuration file is selected, the inspection runs using .rubocop.yml if present in the project. Otherwise, IntelliJ IDEA uses the default settings.
How to: Run RuboCop for the opened file with custom options
Sometimes it is necessary to run RuboCop for the currently opened file with custom options. For example, this can be useful when RuboCop inspections are disabled, or you want to assign a shortcut for a specific RuboCop action.
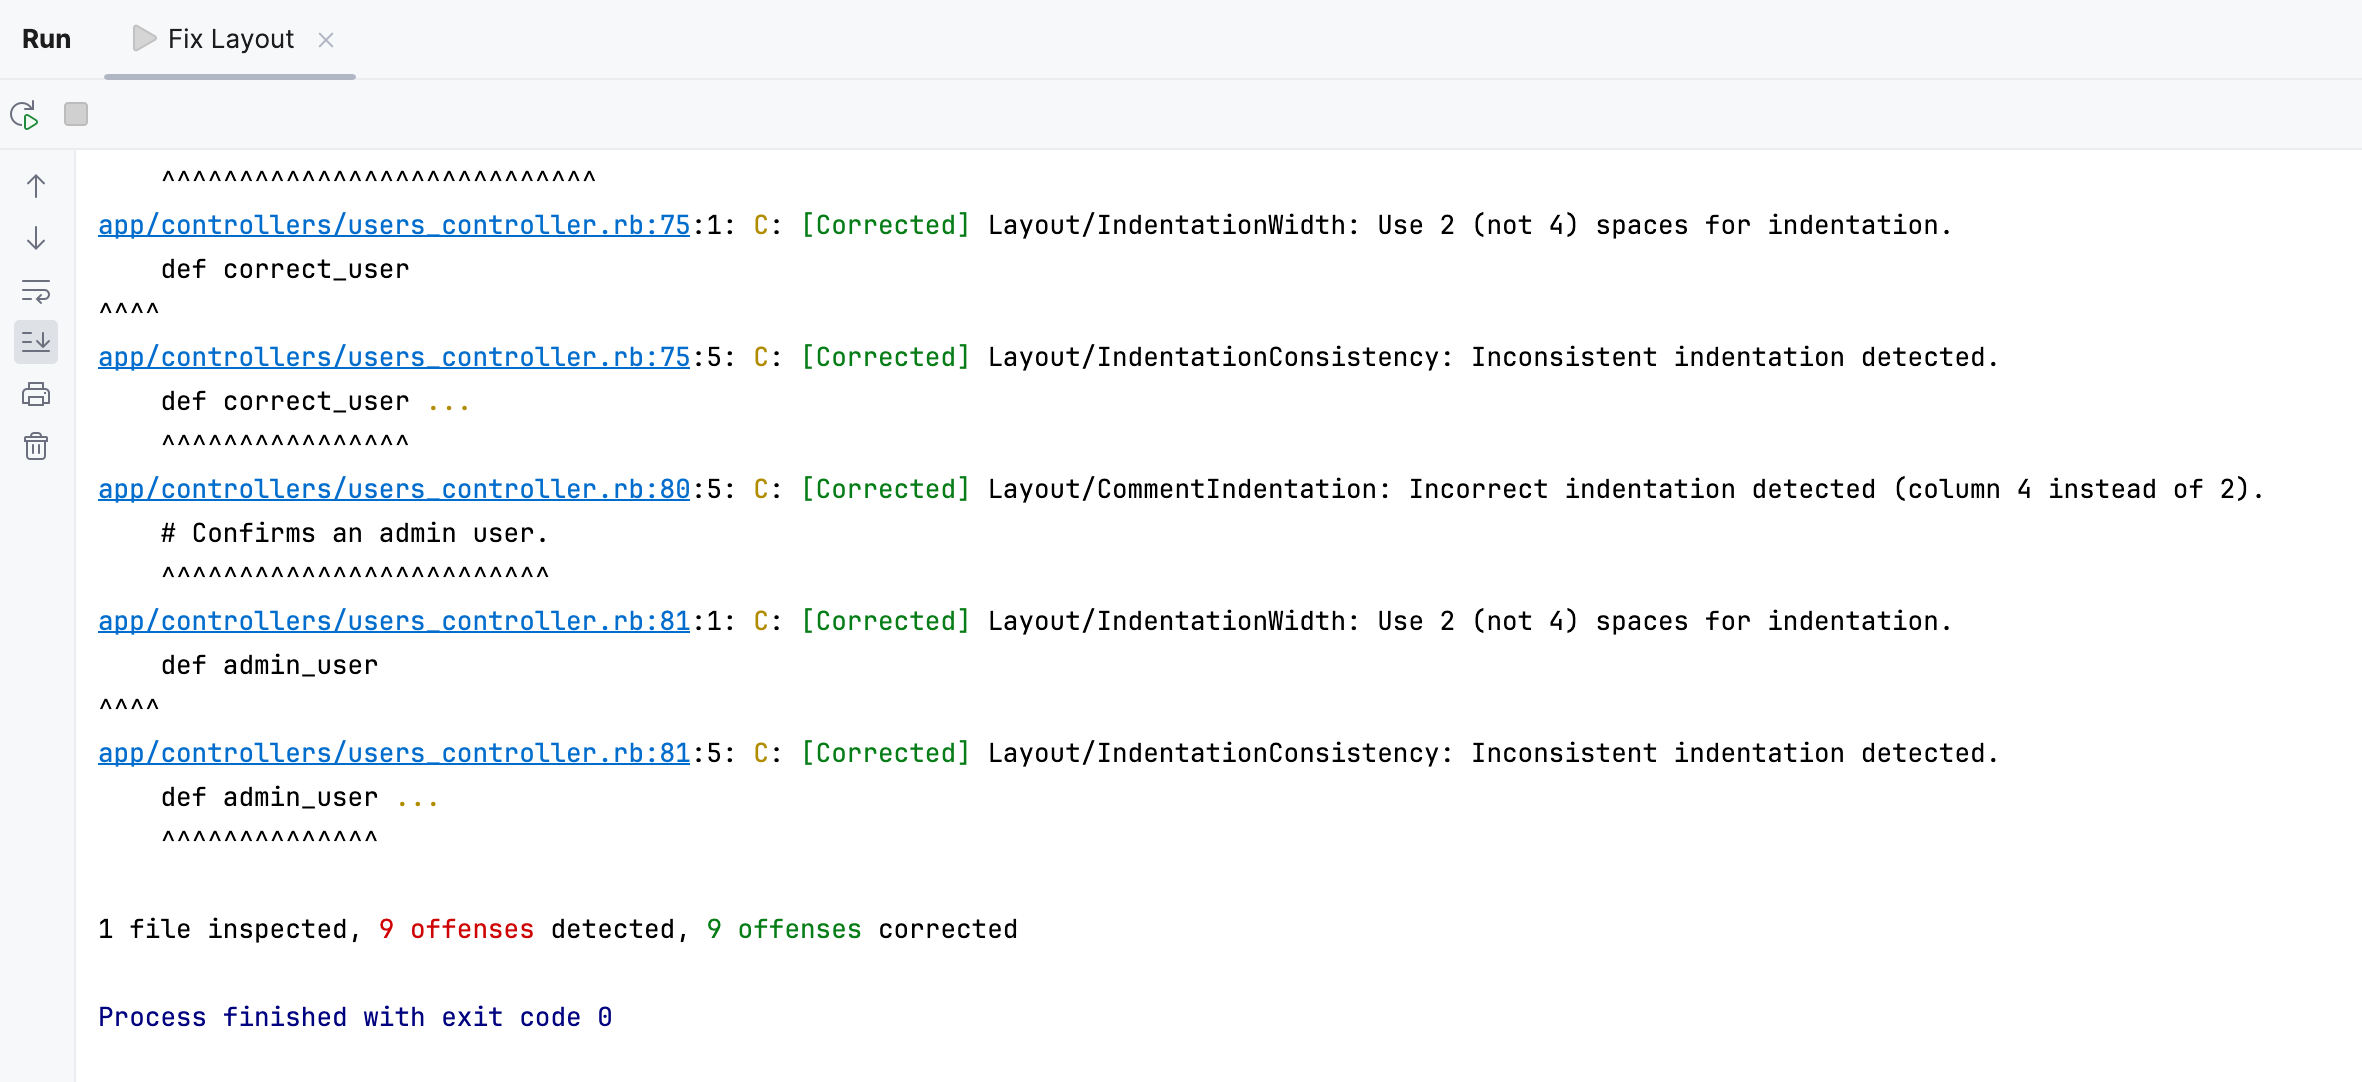
In this example, we'll show how to use RuboCop as an external tool to correct layout offenses in the currently opened file.
Create a custom RuboCop action
In the Settings dialog (Ctrl+Alt+S) , select Tools | External Tools.
Click
and specify the following settings:
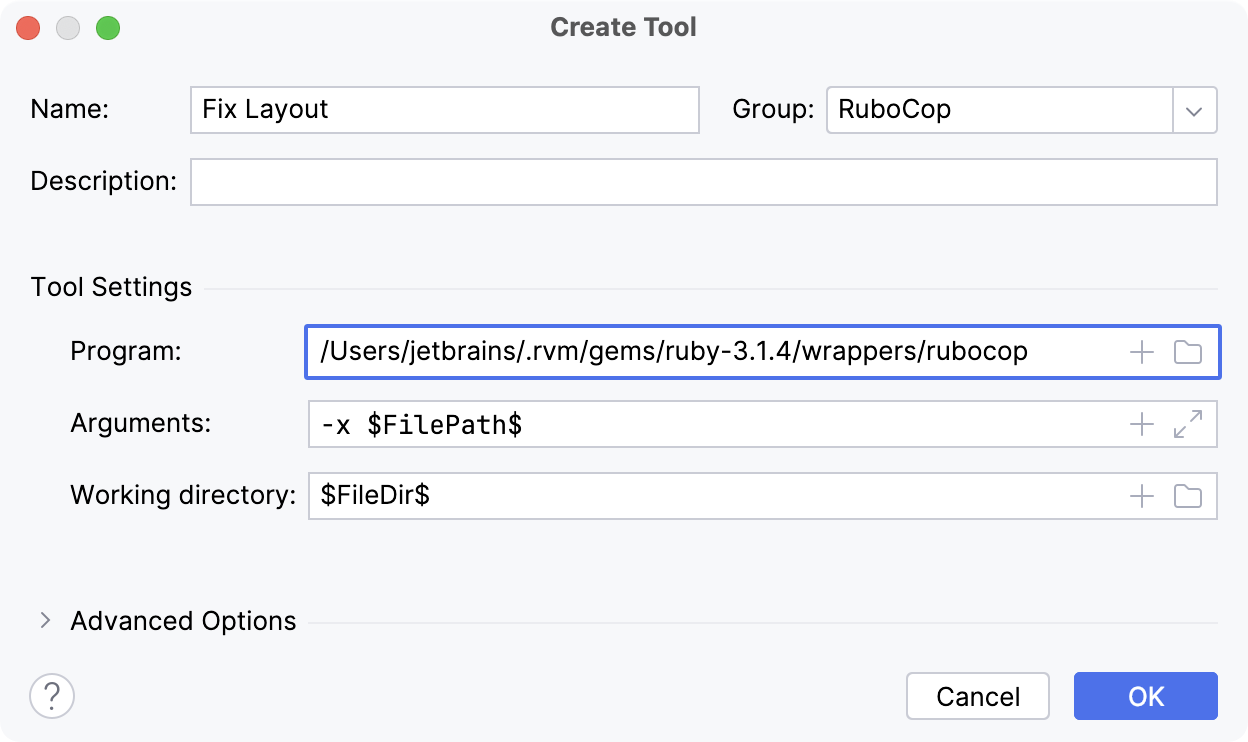
Name: The menu command that will be displayed in the IntelliJ IDEA interface (the Tools menu and context menus).
Group: The name of the group to which the command belongs. You can select an existing group or type the name of a new group.
Program: The name of the RuboCop executable.
Arguments: The arguments passed to the executable file, as you would specify them on the command line. Here we use
-xRuboCop option to run only layout cops for the current file.Working directory: The path to the current working directory from which the tool is executed.
Click OK to add the tool and then apply the changes.
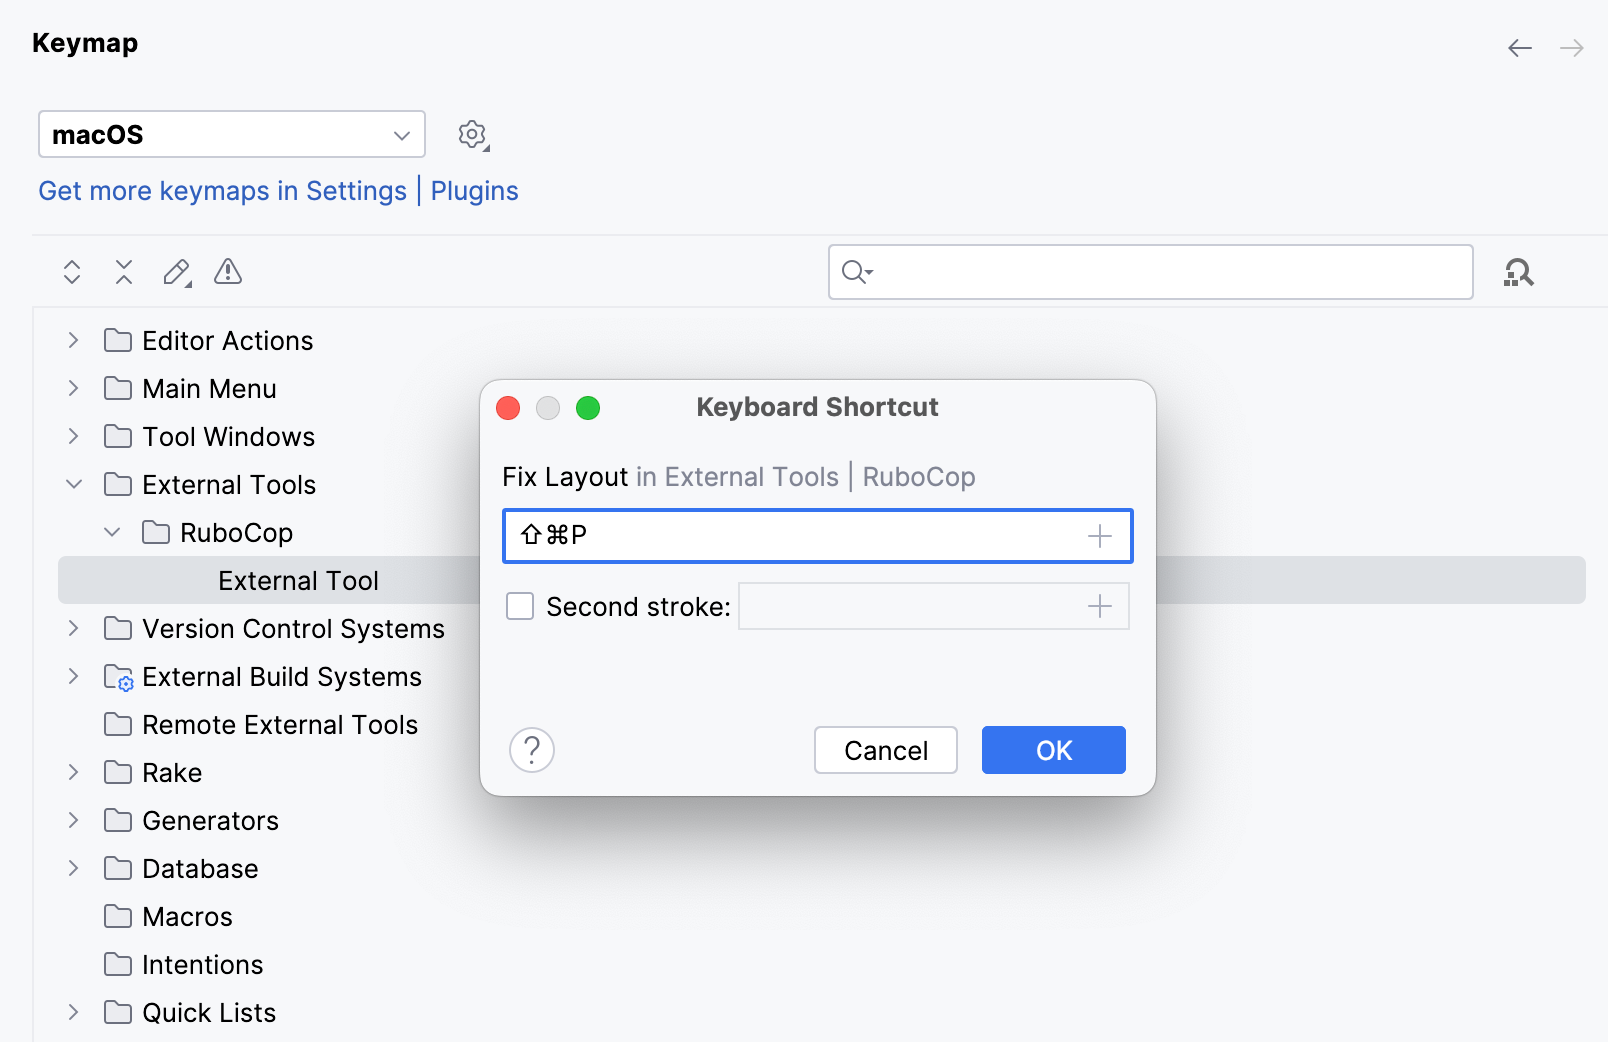
(Optional) Assign a shortcut for the created action. In the Settings dialog (Ctrl+Alt+S) , select Keymap, find the External Tool action under the RuboCop node and specify a shortcut.
Run a custom RuboCop action
To run the created RuboCop action, go to the main menu or use the context menu of a file.
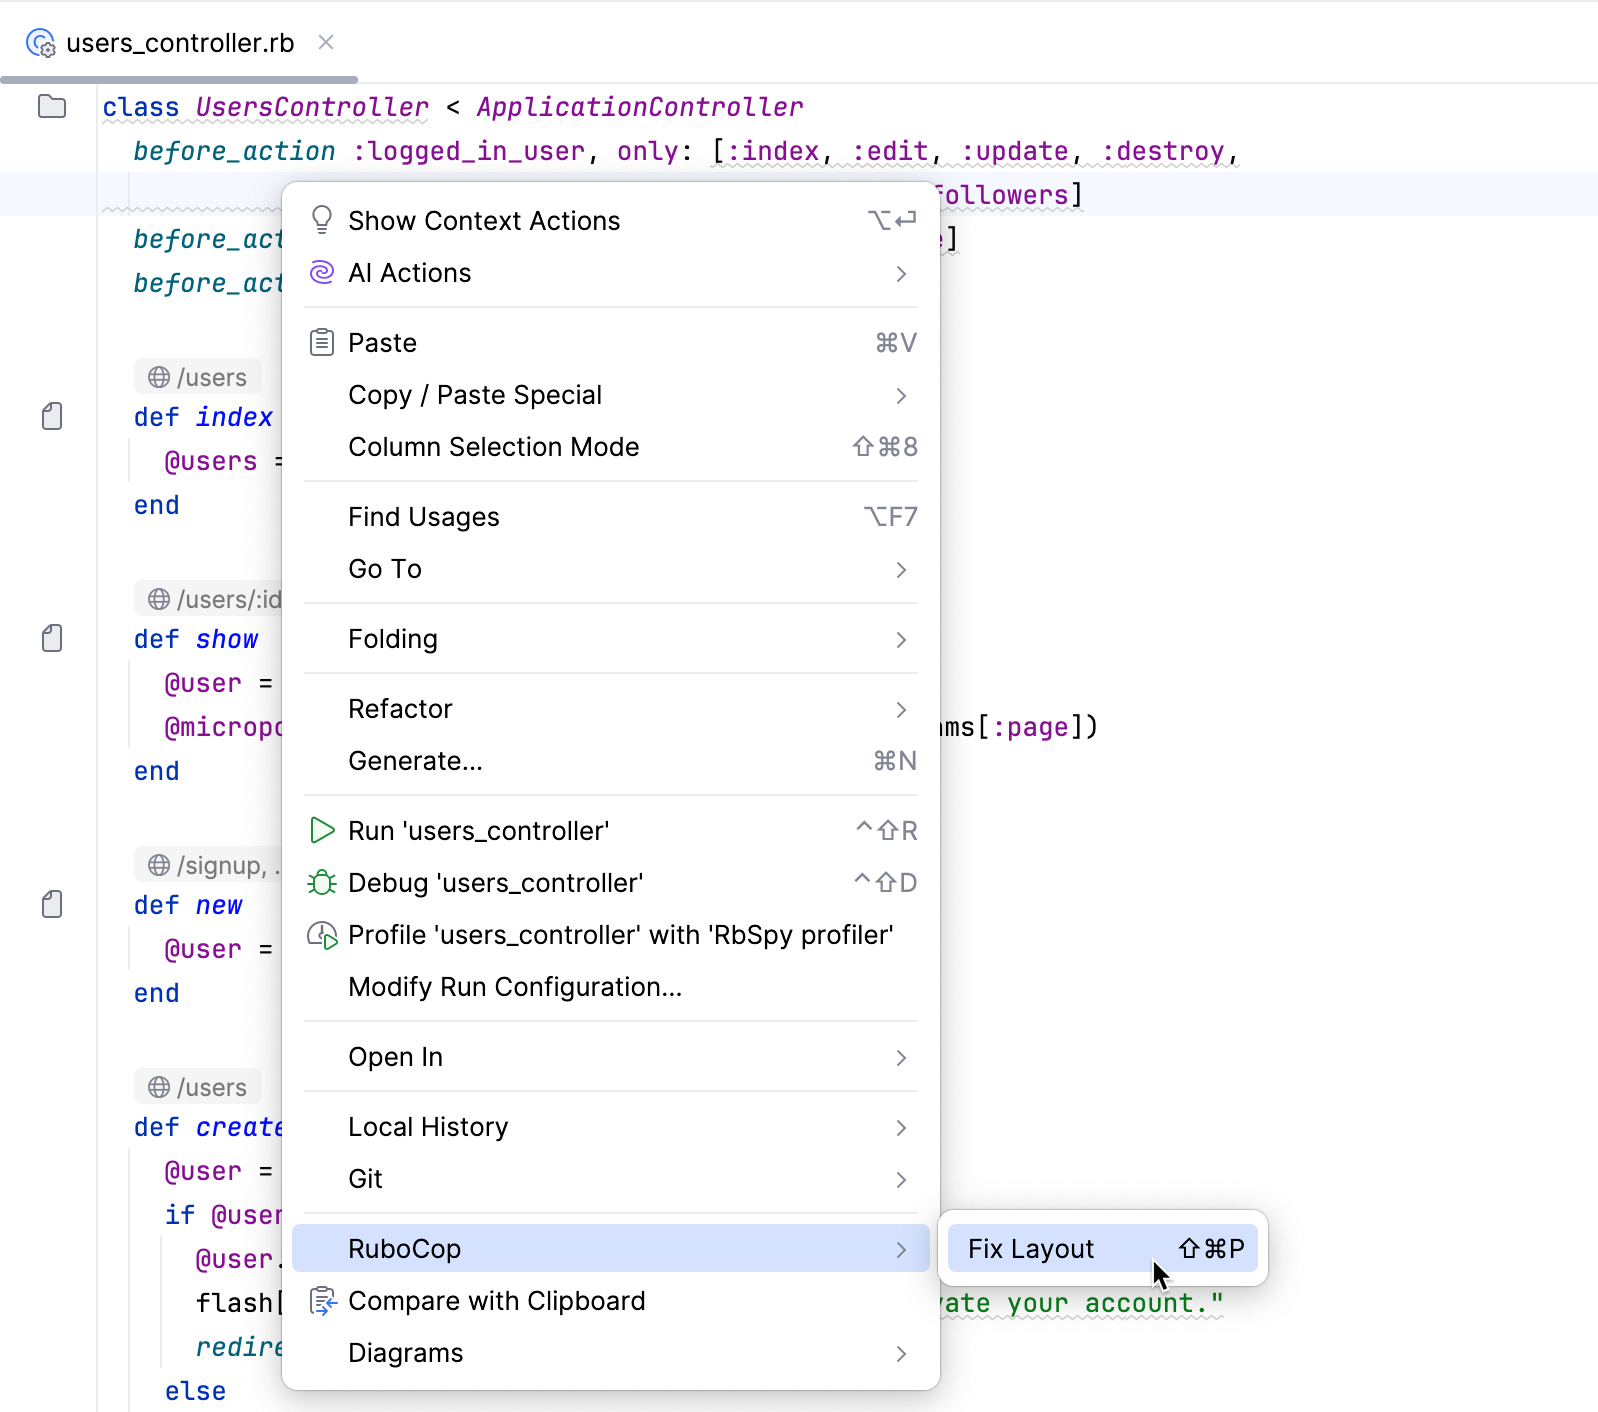
When the command runs, its output is displayed in the Run tool window.
