Run/debug configuration: Scala REPL
The Scala REPL configuration launches an interactive Scala console (Read-Eval-Print Loop) using the classpath of the selected module and SDK, so you can experiment with code, inspect classes, and test snippets without running a full application.
Create a new configuration for Scala REPL
In the main menu, go to .
In the Run/Debug Configuration dialog, click
 on the toolbar or press Alt+Insert.
The list shows the run/debug configuration templates. Select Scala REPL on the left.
On the right, you will see configuration options.
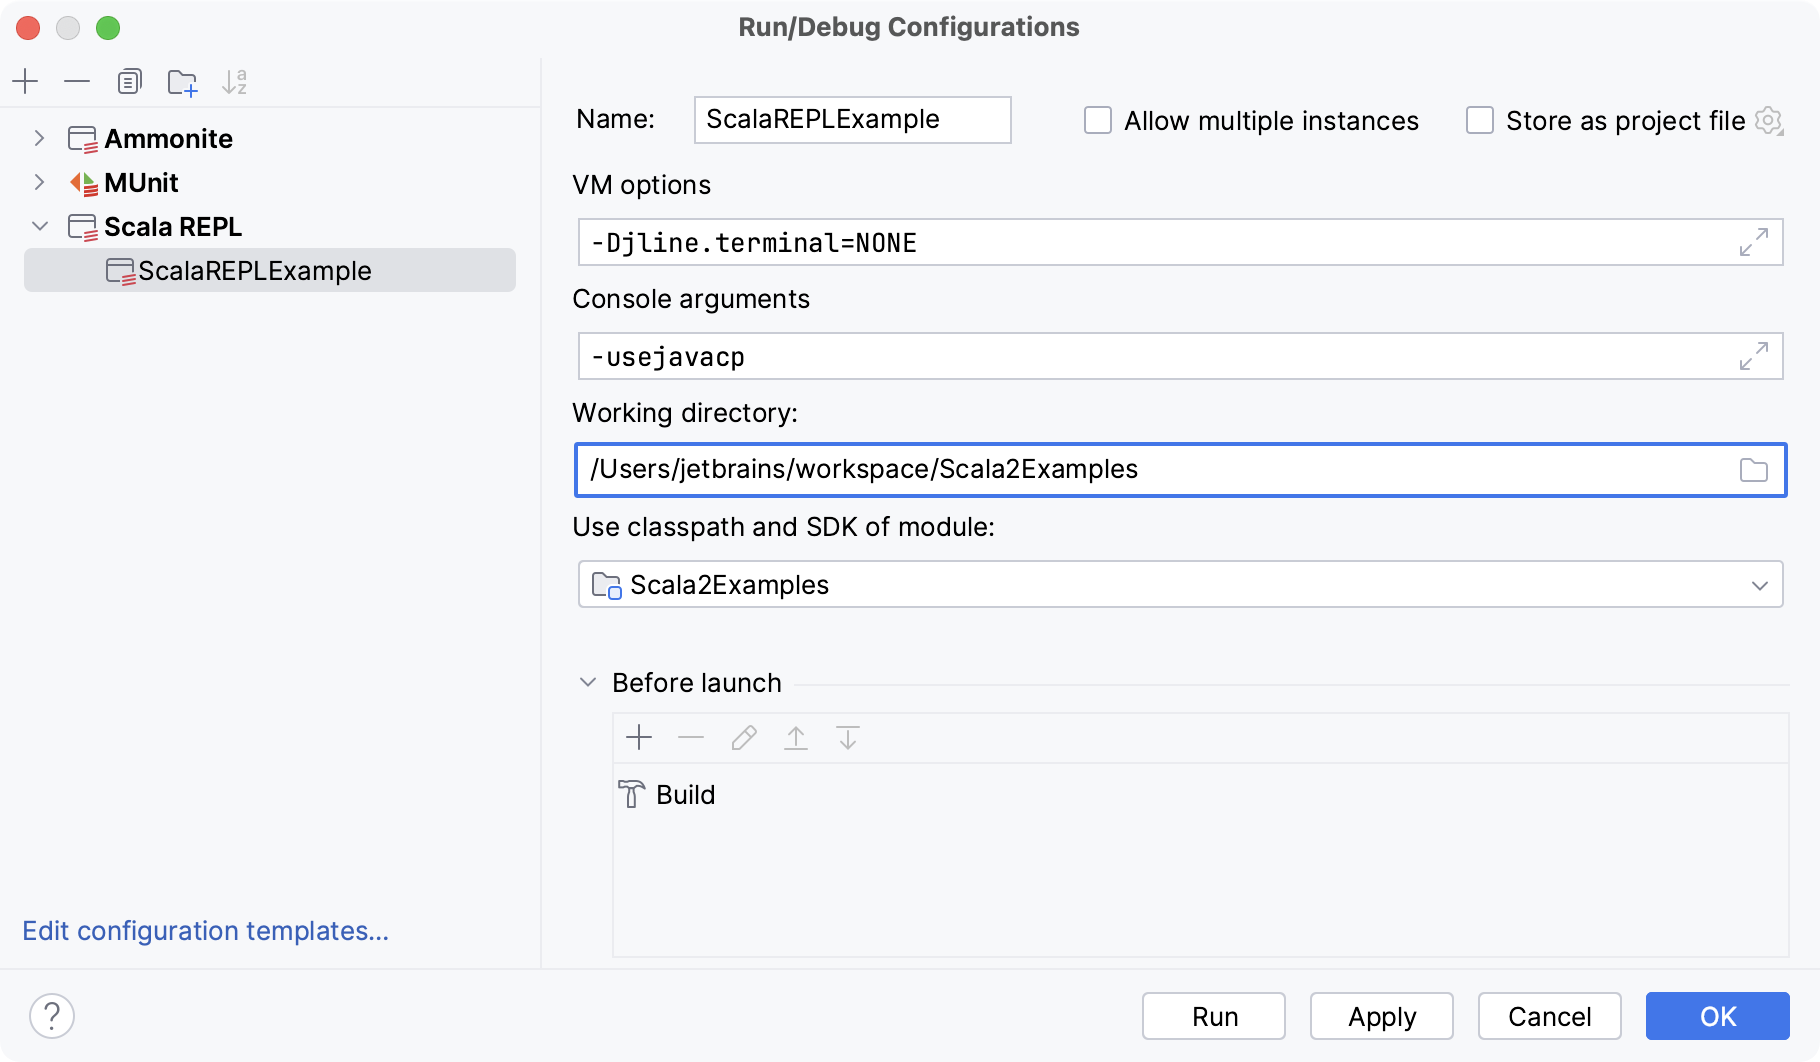
For more information about using Scala REPL in IntelliJ IDEA, refer to Scala worksheet, Scala REPL and Ammonite.
Scala REPL settings
Item | Description |
|---|---|
VM options | Specify the options to be passed to the Java virtual machine when launching the application, for example, When specifying JVM options, follow these rules:
-Xmx1024m -Dspaces="some arg" -Dmy.prop=\"quoted_value\" -Dfoo=${MY_ENV_VAR}
Use code completion in this field: start typing the name of a flag, and the IDE suggests a list of available command line options. This works for The |
Console arguments | Specify command-line arguments that should be passed to Scala REPL. For example, you can specify |
Working directory | Specify the directory that will act as the current directory when running the test. It will act as the root directory for all relative input and output paths. By default, the directory where the project file resides is used as a working directory. Type directory name, or click |
Use classpath and SDK of module | Specify the module name to make sure Scala REPL has access to that module's code and libraries. |
 and select the desired directory in the dialog that opens.
Common settings
When you edit a run configuration (but not a run configuration template), you can specify the following options:
Item | Description |
|---|---|
Name | Specify a name for the run configuration to quickly identify it among others when editing or running. |
Allow multiple instances | Allow running multiple instances of this run configuration in parallel. By default, it is disabled, and when you start this configuration while another instance is still running, IntelliJ IDEA suggests stopping the running instance and starting another one. This is helpful when a run configuration consumes a lot of resources and there is no good reason to run multiple instances. |
Store as project file | Save the file with the run configuration settings to share it with other team members. The default location is .idea/runConfigurations. However, if you do not want to share the .idea directory, you can save the configuration to any other directory within the project. By default, it is disabled, and IntelliJ IDEA stores run configuration settings in .idea/workspace.xml. |
Before launch
In this area, you can specify tasks to be performed before starting the selected run/debug configuration. The tasks are performed in the order they appear in the list.
Item | Shortcut | Description |
|---|---|---|
| Alt+Insert | Click this icon to add one of the following available tasks:
|
| Alt+Delete | Click this icon to remove the selected task from the list. |
| Enter | Click this icon to edit the selected task. Make the necessary changes in the dialog that opens. |
| Alt+Up Alt+Down | Click these icons to move the selected task one line up or down in the list. The tasks are performed in the order that they appear in the list. |
Show this page | Select this checkbox to show the run/debug configuration settings prior to actually starting the run/debug configuration. | |
Activate tool window | By default this checkbox is selected and the Run or the Debug tool window opens when you start the run/debug configuration. Otherwise, if the checkbox is cleared, the tool window is hidden. However, when the configuration is running, you can open the corresponding tool window for it yourself by pressing Alt+4 or Alt+5. | |
Focus tool window | Select this checkbox to automatically move focus to the Run or the Debug tool window when you start the run/debug configuration. |


Logs
The following options are related to logging the execution of this configuration. For more information, refer to Logs.
Item | Description |
|---|---|
Specify logs to be shown in the console | Specify which log files to display while running the application. Click
For logs in the table, you can configure the following options:
|
Save console output to file | Save the console output to the specified location. Type the path manually or click the browse button and point to the desired location in the dialog that opens. |
Show console when a message is printed to stdout | Activate the console when the application writes to the standard output stream. |
Show console when a message is printed to stderr | Activate the console when the application writes to the standard error stream. |