Creating Template-based Files
AppCode provides file templates for most of the languages that it supports. This lets you create the files with the initial content appropriate for the file purpose. For example, there are file templates for Objective-C classes and protocols, for HTML, XML, and JavaScript files, XSLT Style Sheets, and other supported file types.
Generally, the file name extension for a template-based file is set automatically so you don't need to specify it. However, if there are several extensions allowed for the file type, you will be able to choose one. For example, when creating a new class, you will be able to choose between .m extension for Objective-C class and .mm extension for Objective-C++ class.
Creating a new file from a template
- Do one of the following:
In the Project Tool Window, select the group in which you want to create a new file, and then choose on the main menu.
Right-click the corresponding group and select New from the context menu.
Press ⌘N.
- Select the desired file type.
- To use the Objective-C/Objective-C++ templates, select one of the following:
- To use the Swift templates, select one of the following:
To use the C++ class template, select
To use the Xcode file template, choose the File from Xcode template option.
- In addition, the following file templates are also available:
- HTML
- Stylesheet
- JavaScript
- XSLT
An existing file template may be missing from the list if this is a custom template whose file name extension (template extension) does not match the registered patterns of any of the recognized file types. In such a case, you may want to register the corresponding pattern for an existing recognized file type or add a new file type and register the corresponding pattern for this new type. For more information, see Creating and registering file types.
- To use the Objective-C/Objective-C++ templates, select one of the following:
-
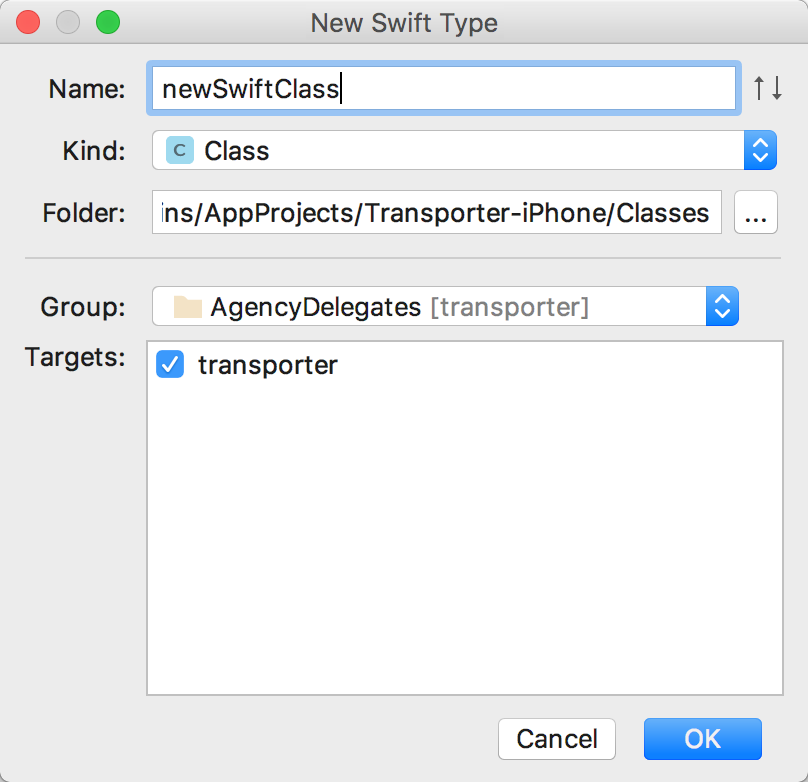
In the dialog that opens, type the name of the file in the corresponding field. Note that you should not type the file name extension.
Depending on the selected template, the dialog includes various controls that you can use to specify the details of the file. For example, for code files, you will be able to select location, group, and targets; if you select to create an HTML file, you'll be able to choose HTML, HTML4, or XHTML file - in other words, use one of the corresponding related file templates.

Specify other information as required. For example, you may be asked to define the values of custom variables if the corresponding file template contains such variables and their values are not currently set.
-
Click OK. The new file that corresponds to the selected file template will be created under the target location.