External tools
You can define standalone third-party applications as external tools and run them from AppCode.
You can pass contextual information from your project to the external tool as command-line arguments (for example, the currently selected or open file, the project source path, and so on), view the output produced by the tool, configure to launch the tool before a run/debug configuration, and more.
Add a local external tool
This example demonstrates how you can add OptiPNG as an external tool and use it to quickly optimize images in your project from AppCode.
Many image editors create non-optimized png images. To optimize images, you can use the OptiPNG command-line tool. Let's set it up for use in AppCode.
In the Preferences dialog ⌃⌥S, select Tools | External Tools.
Click
and specify the following settings:
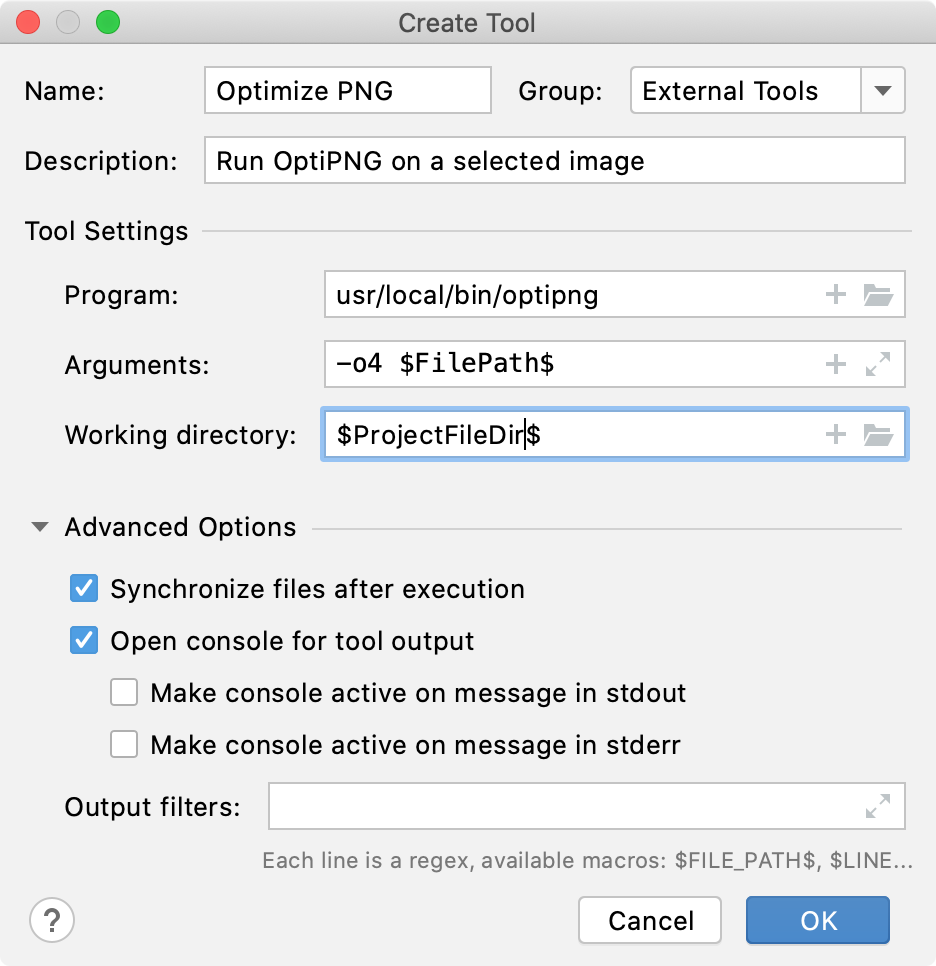
Name: The name of the tool that will be displayed in the AppCode interface (the Tools menu and context menus).
Group: The name of the group to which the tool belongs. You can select an existing group or type the name of a new group.
Description: A meaningful description of the tool.
Program: The name of the executable file. Specify it with an absolute path if the containing directory is not in your
PATHenvironment variable.Arguments: The arguments passed to the executable file, as you would specify them on the command line.
Working directory: The path to the current working directory from which the tool is executed.
In our case,
OptiPNGwill be run with the-o4 $FilePath$arguments. You can use macros that can refer to the project name, the current file path, and so on. Clickingwill open the Macros dialog that lists all available macros and their values.
Click OK to add the tool and then apply the changes.
Run the added local external tool
To run the added tool on the selected image, do one of the following:
From the main menu, select .
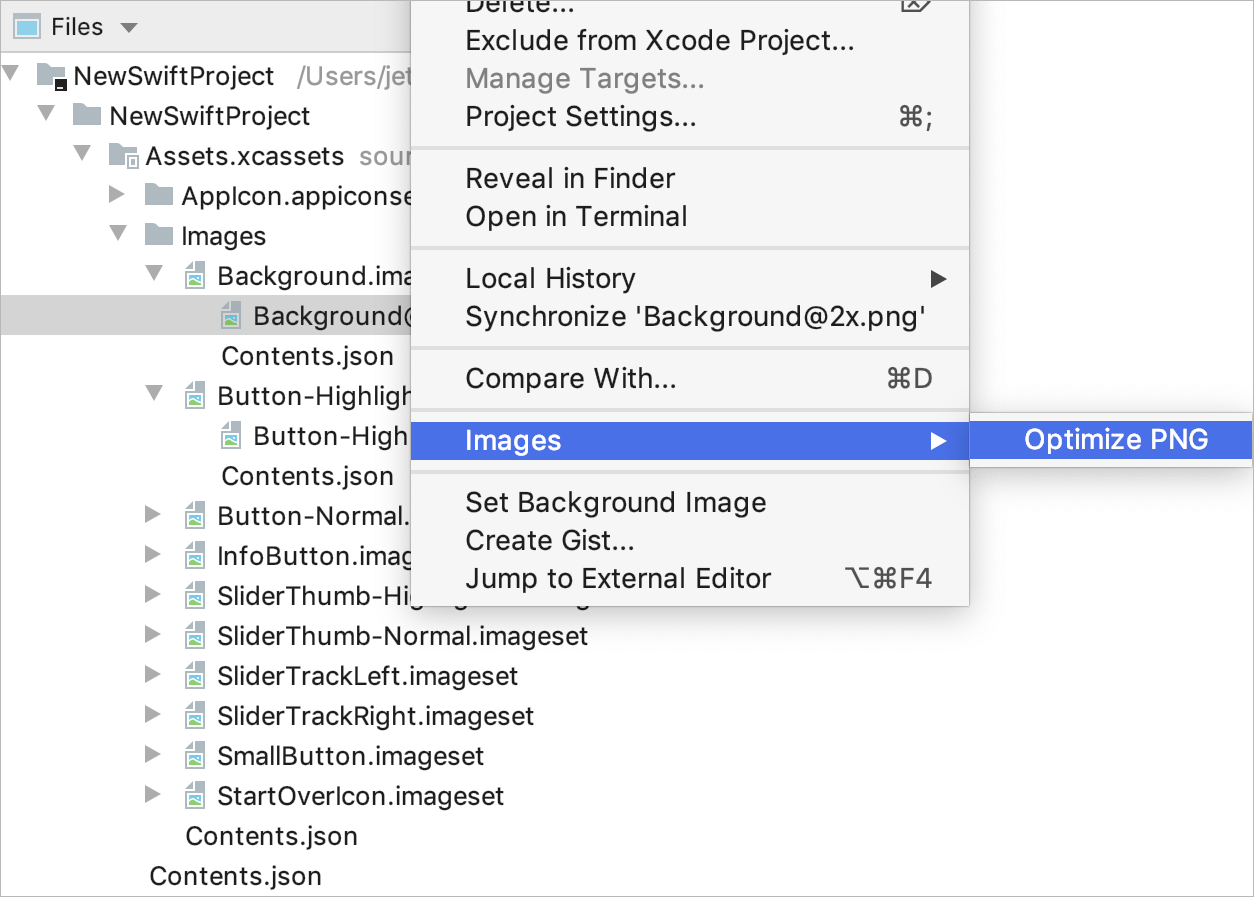
Right-click an image in the Project tool window and select from the context menu.
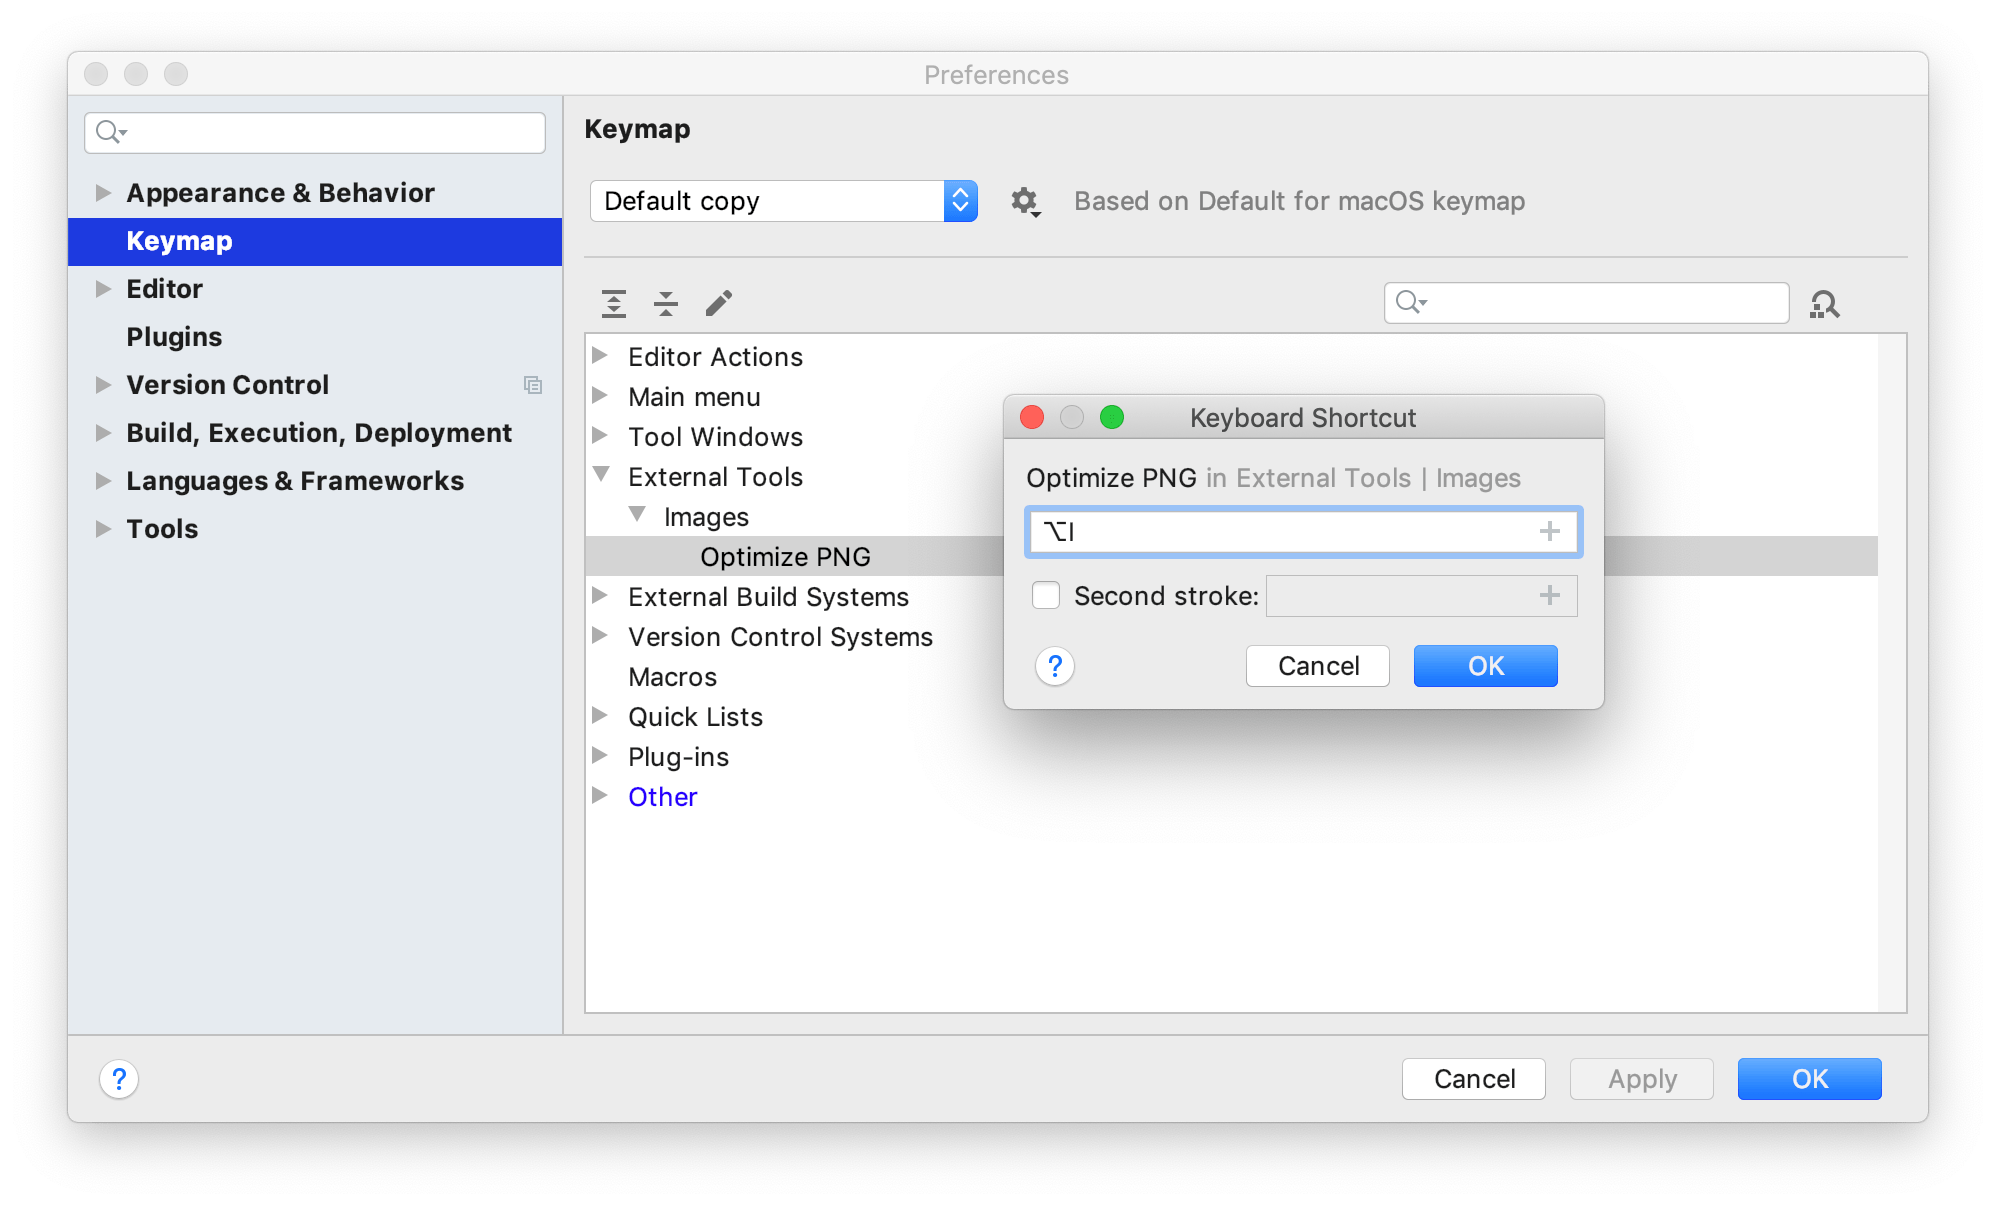
In the Preferences dialog ⌃⌥S, select Keymap, find the Optimize PNG action under the External Tools node, and assign a shortcut for it by selecting Add Keyboard Shortcut from the context menu. Use the shortcut to run the tool.
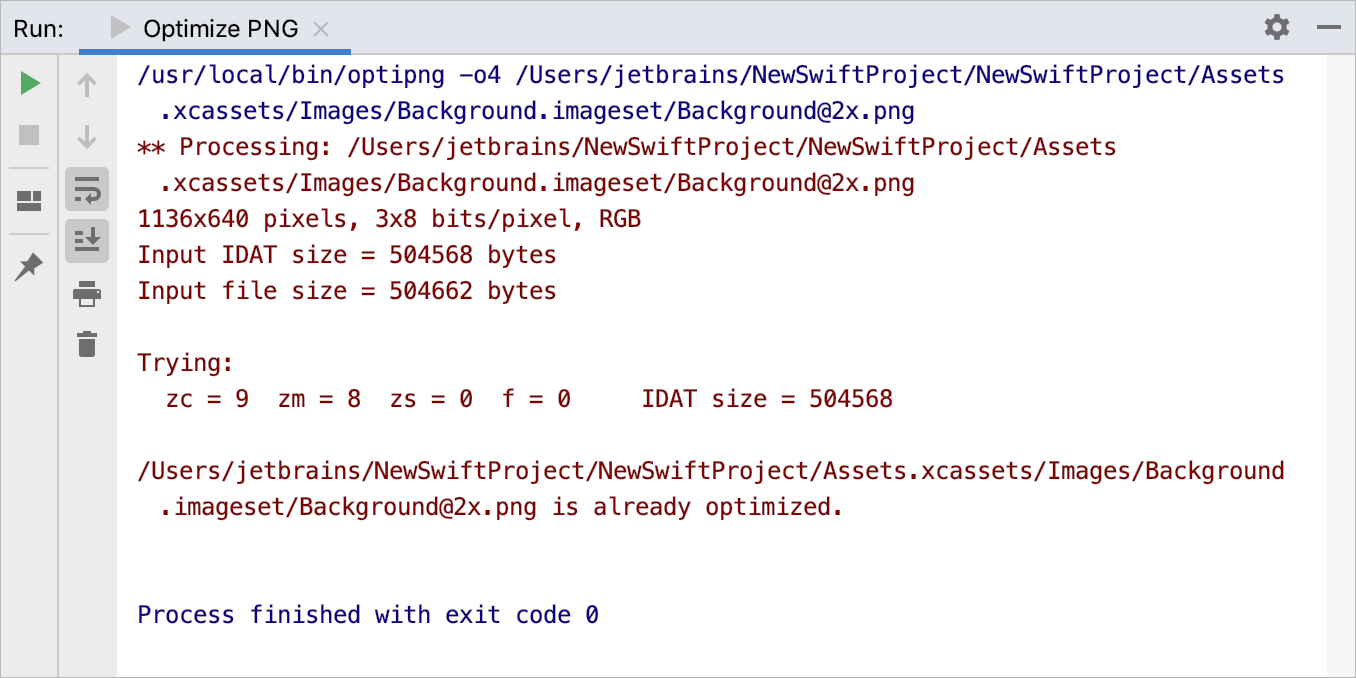
When the tool runs, its output is displayed in the Run tool window:
Run the added tool on a remote server
From the main menu, select Tools | Remote tools | Date and time.
In the Preferences dialog ⌃⌥S, select Keymap, find the
Date and timeaction, and assign a shortcut for it. Use the shortcut to run the tool.
After you specify the host, port, and credentials, AppCode will connect to the server via SSH and run the date command, returning the output to the Run tool window in AppCode.
Web browsers
You can use a web browser to open any file from your project but generally it is used to preview the output of an HTML file or run and debug web applications.
Open a file in a web browser
To open a file that is intended to be rendered by a web browser (HTML, XML, JSP, and so on), do one of the following:
Press ⌥F2.
Right-click a file and select Open in Browser.
From the main menu, select View | Open in Browser.
Use the browser popup in the top right part of the editor window. Click the browser button to open the web server file URL, or Shift+Click it to open the local file URL.

The Open in Browser action is not available for other file types. However, you can still execute it using Find Action ⌃⇧A.
By default, AppCode supports some of the most popular browsers, which are configured automatically, if available:
Chrome
Firefox
Safari
Opera
Internet Explorer
Edge
View and configure the list of browsers
In the Preferences dialog ⌃⌥S, select Tools | Web Browsers.
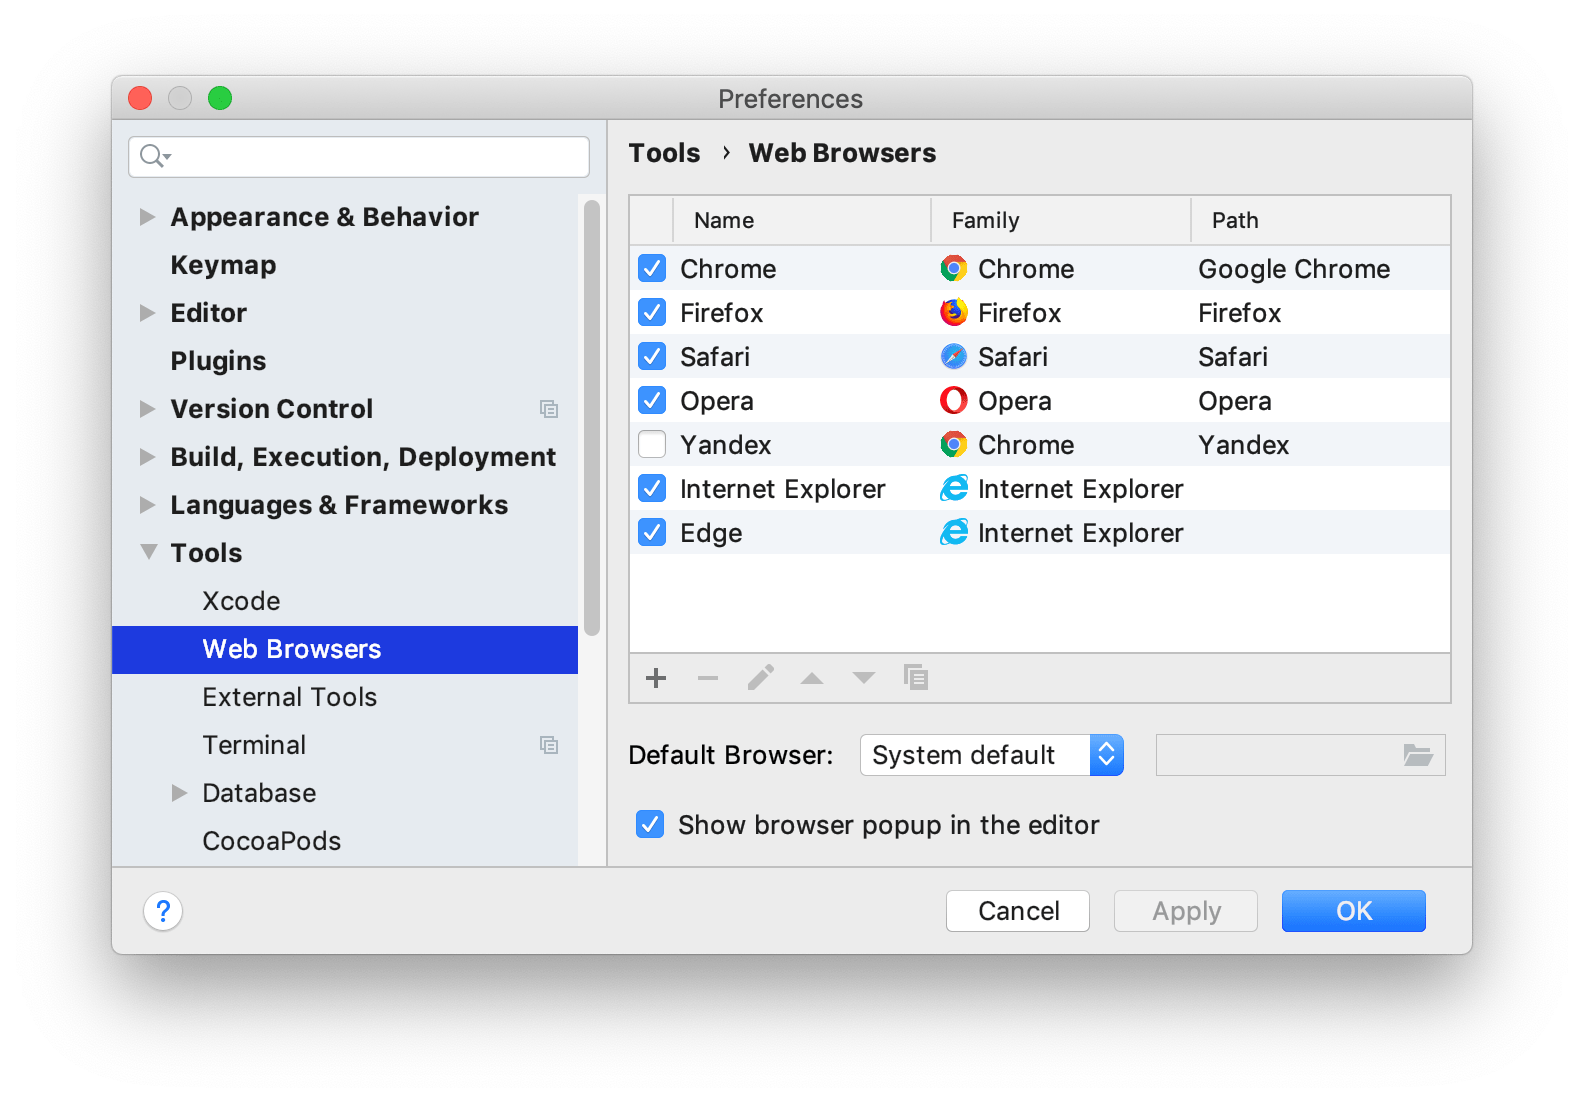
If a browser was installed using a standard procedure, the alias in the Path field should point to the right location. If it does not, specify the path to the corresponding executable file.
The order of browsers in the list corresponds to their order in the popup, context menu, and the View menu. If you disable a browser, it will not appear in the popup, context menu, and the View menu.
Add a custom browser
In the Preferences dialog ⌃⌥S, select Tools | Web Browsers.
Click
and specify the browser name, family, and location of the executable file or macOS application.
Select a default browser
The Open in Browser item in the View menu and in the context menu of a file lists all available browsers and the default browser, which is also used to render external resources.
In the Preferences dialog ⌃⌥S, select Tools | Web Browsers.
From the Default Browser list, choose one of the following:
System default: use the default browser for your operating system.
First listed: use the first browser in the list.
Custom path: use a browser that is not in the list. Specify the location of the executable file.
Use custom profile and settings
You can configure custom profiles for Firefox and Chrome family browsers.
In the Preferences dialog ⌃⌥S, select Tools | Web Browsers.
Select the browser in the list and click
.
For Firefox, specify the path to the profiles.ini file and choose the profile to use. For more information, see Firefox browser profile.
For Chrome, select Use custom user data directory and specify the location of the user data directory.
You can also specify additional command-line options to use when running Chrome from AppCode. For more information, open
chrome://flagsin the Chrome address bar.