Creating and Managing Projects
A project is an organizational unit that represents a complete software solution. It serves as a basis for coding assistance, bulk refactoring, coding style consistency, and so on.
AppCode uses the Xcode project format, which allows you to open your existing Xcode projects in AppCode and create new projects compatible with Xcode. All Xcode project templates are available in AppCode.
Create a new project
If no project is currently opened in AppCode, click New Project on the Welcome screen. Otherwise, select from the main menu.
In the dialog that opens, select a target and a project template and click Next:

On the next page, fill in the following fields:
Product Name: the name of your project, which will be also the name of your app.
Organization Name: the name of your company or your name.
Organization Identifier: the string identifying your company, usually in reverse-DNS format.
From the Language list, select the programming language. From the Interface filed select if you want to create a SwiftUI or Storyboard-based application. If you select SwiftUI, you can also choose a life cycle for your application: SwiftUI App or UIKit App Delegate (starting from Xcode 12).
If you want to add test targets to your project (for unit and UI tests), select Include tests. If you want to use the Core Data framework, select Use Code Data.
Click Finish.

Open projects
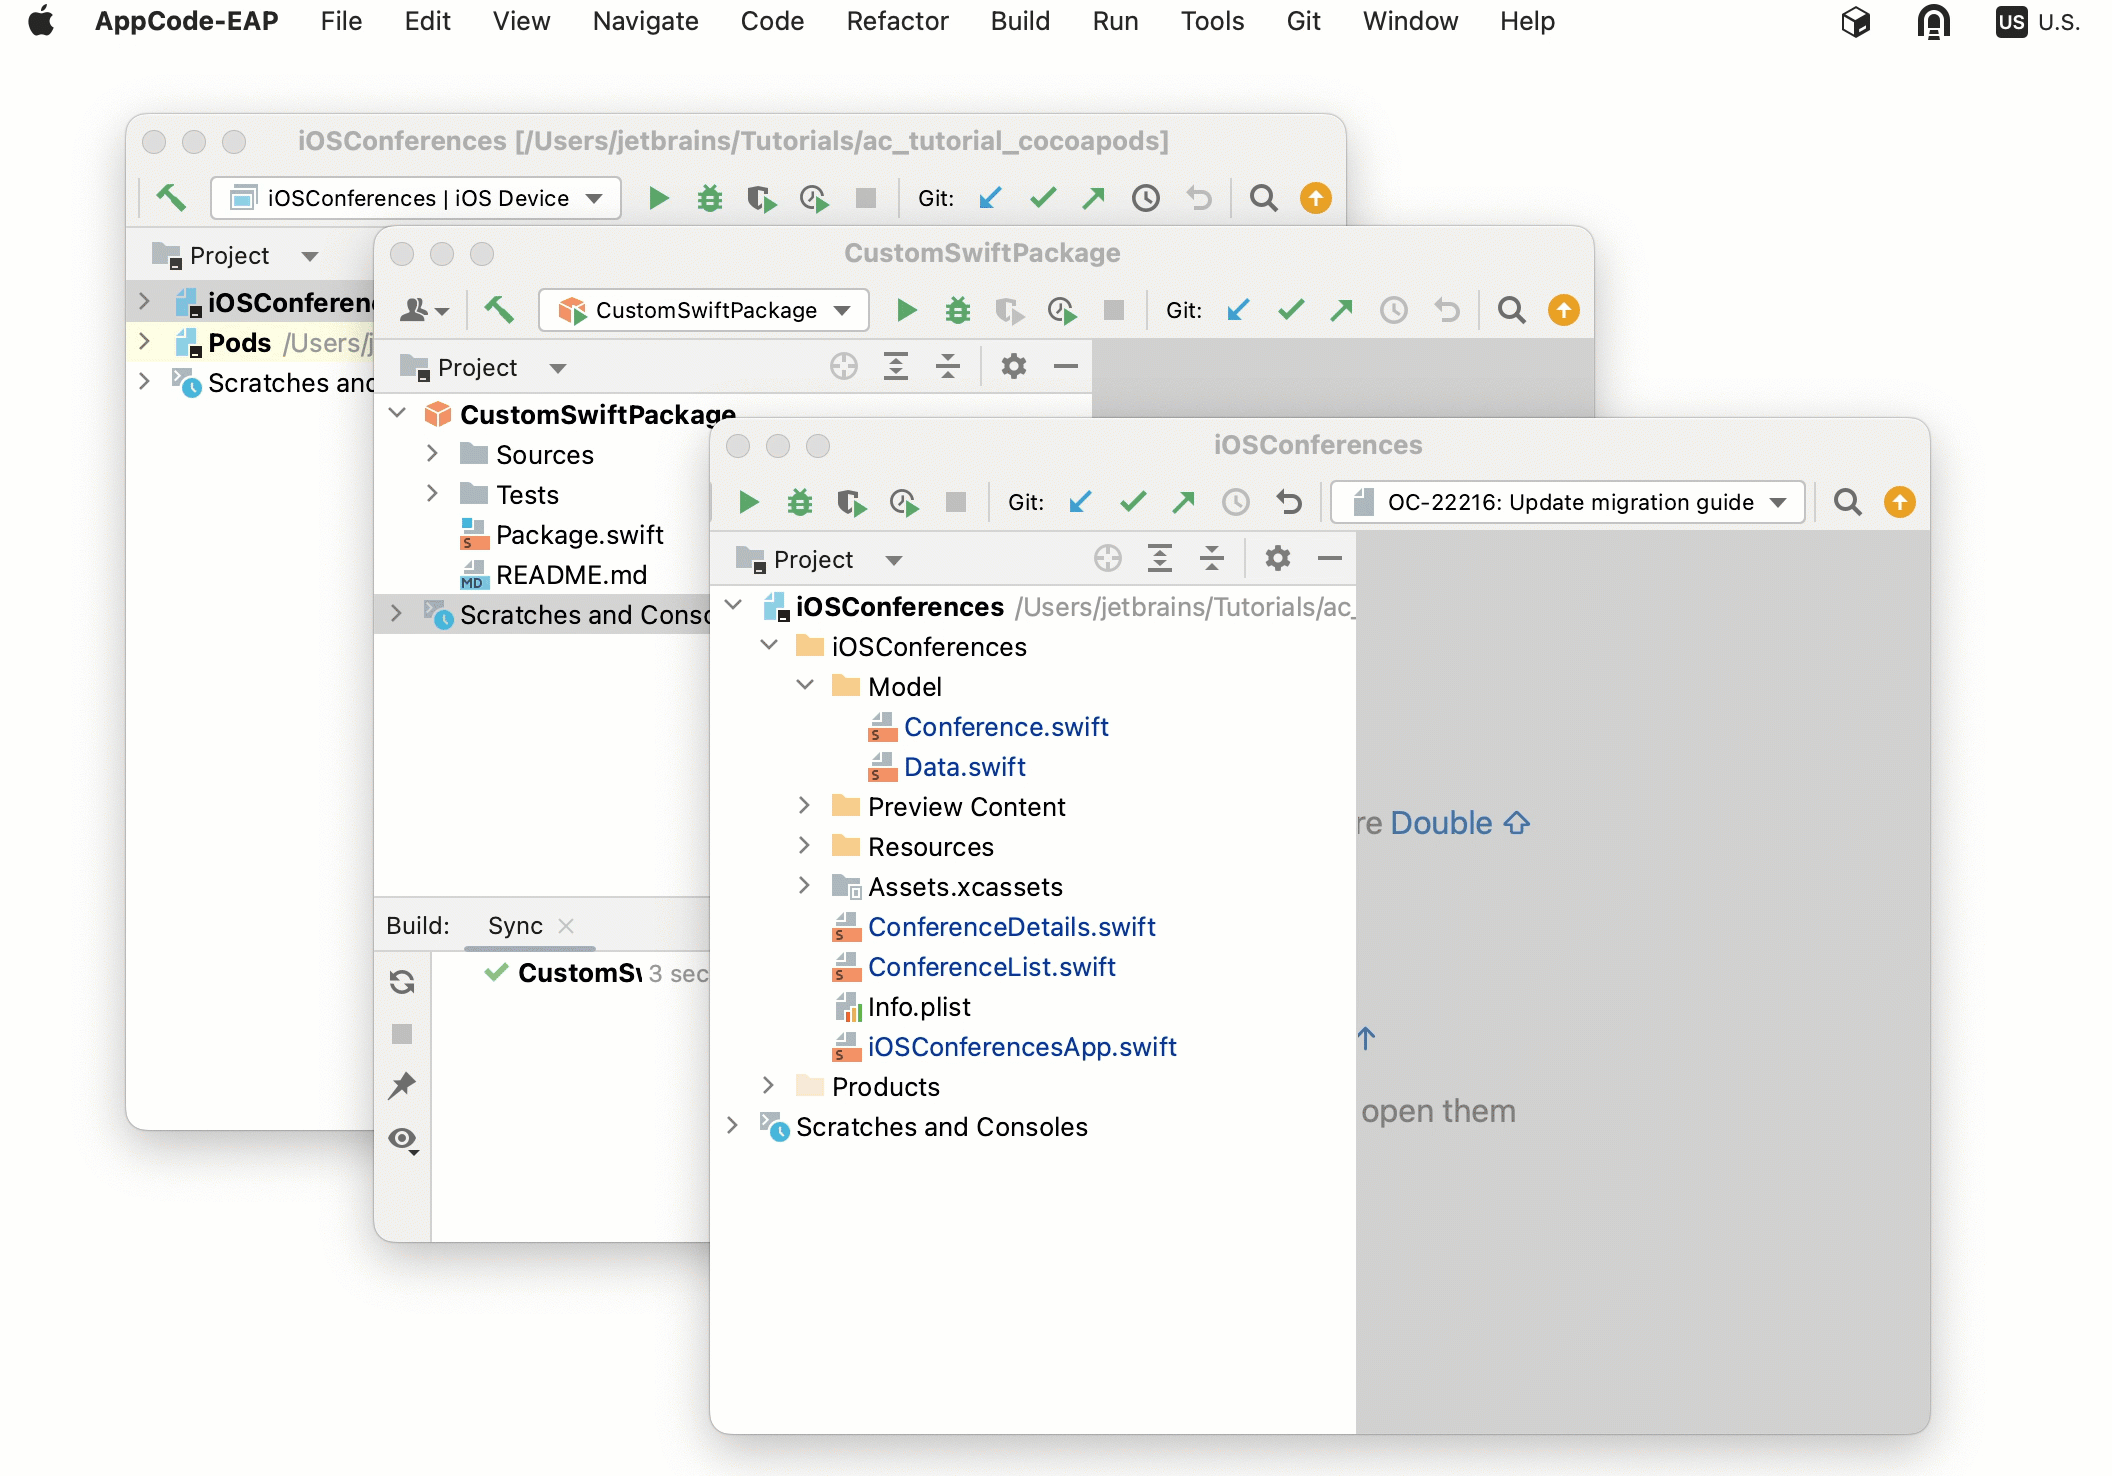
AppCode lets you open several projects simultaneously in different windows. By default, each time you open a project while another one is opened, AppCode prompts you to choose whether to open the project in the same window or in a new one. You can select the Remember, don't ask again checkbox to apply the desired behavior to all projects. If necessary, you can change this behavior later on.
Open a project
Click Open on the Welcome screen or from the main menu.
Navigate to the desired .xcodeproj directory.
Specify whether you want to open the project in a new window, or close the current project and reuse the existing window.
Open a project from the command line
In the command prompt, type:
<AppCode> <path_to_the_desired_*.xcodeproj folder>
<AppCode> is the AppCode launcher. See Command-line interface for more information.
Configure project opening
In the Preferences dialog (Ctrl+Alt+S), go to .
Select one of the following options:
Open project in new window: open a new AppCode window each time a new project is opened.
Open project in the same window: stay in the same AppCode window.
Confirm window to open project in: keep the default behavior and display a dialog to choose how to open each new project.
Merge project windows
On macOS, you can merge all opened project windows into one, turning them into tabs.
Make sure that there are several AppCode projects opened in separate windows.
From the main menu, select .
Drag a project's tab to work with the project in a separate window again.
Reopen recent projects
AppCode keeps the history list of the recent projects from which you can select the desired one.
When AppCode starts, the most recent project reopens by default (unless this option is disabled in the Preferences dialog (Ctrl+Alt+S).
Reopen a recent project
Select from the main menu and select the desired project from the list.
On the Welcome screen, click the project of interest in the left-hand pane where the list of your recent projects is shown. Start typing in the Welcome screen to filter the list of recent projects.
Remove a project from the list of recent projects
Select from the main menu and select the desired project from the list.
Click the closing icon for the project to remove.

The selected project will be removed from the list of the recent projects and won't appear on the Welcome screen.
To remove a project only from the list on the Welcome Screen, right-click the target project and select Remove Selected from Welcome Screen.
Close projects
When the only open project is closed, the Welcome screen is displayed. In case of multiple projects, each one is closed with its window.
Close a project
From the main menu, select .
Close all projects
From the main menu, select .
This action closes all projects that are currently opened in AppCode.
Close all but the current project
From the main menu, select .
This action closes all opened projects except the current one.
Project files
A project in AppCode is represented in the Directory Based Format. A project directory is marked with ![]() icon.
icon.
Such project directory contains the .idea directory, with the following files:
.iml file that describes the project structure.
workspace.xml file that contains your workspace preferences.
A number of xml files. Each xml file is responsible for its own set of settings, that can be recognized by its name: projectCodeStyle.xml, encodings.xml, vcs.xml, and so on.
Thus, for example, adding a new run/debug configuration and changing encoding will affect two different xml files. This helps avoid merge conflicts when the project settings are stored in a version control system and modified by the different team members.
All the settings files in the .idea directory should be put under version control except workspace.xml, which stores your local preferences. The workspace.xml file should be marked as ignored by VCS.
.idea directory is not visible in the Project view of the Project tool window Alt+1.